How to make tilted layer container candle
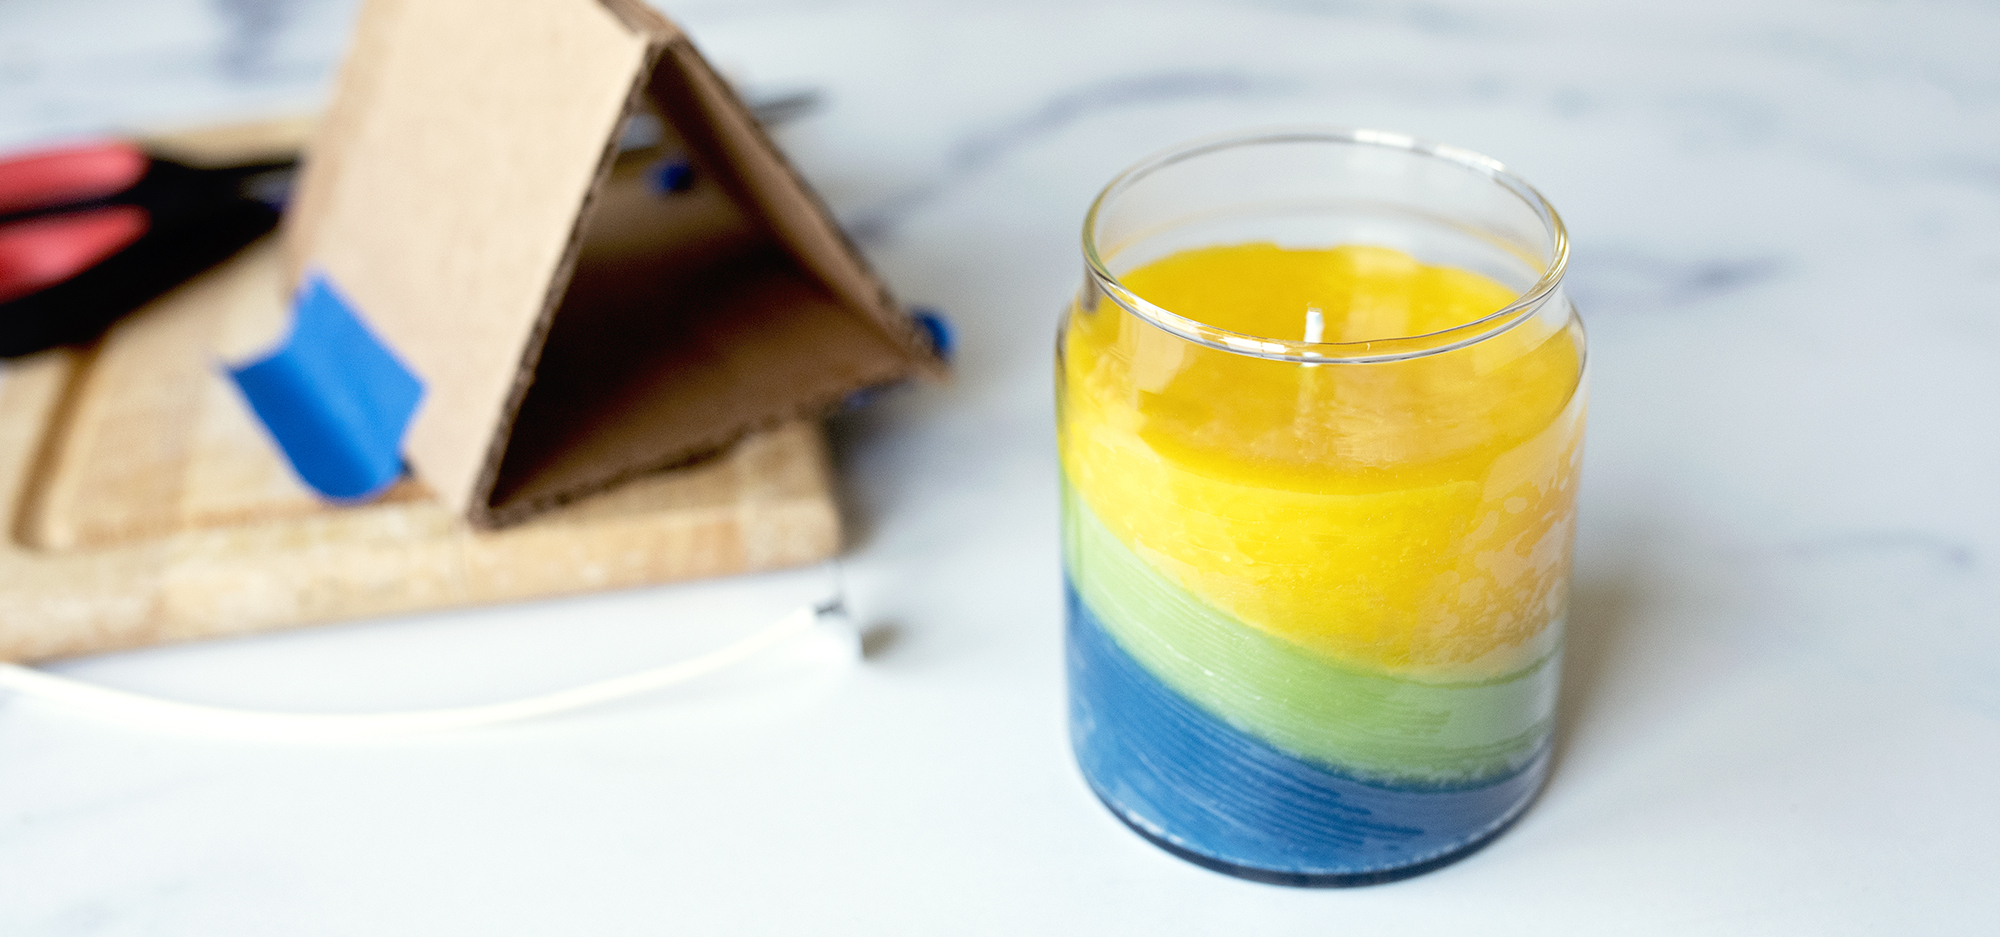
Tilt it up a notch with this beach-inspired tilted layer candle tutorial! We paired Sel de Mer’s sophisticated, beachy vibe with a coastal color scheme courtesy of our liquid candle dyes. This candle is sure to make you both nostalgic and excited for that crisp, salty ocean air. Playing with different colors and scents was a fun part of this project, and an area you can really get creative when making your own customized candle.
EO Notes: You can also use candle-approved essential oils for this project. Check the recommended usage percentage on the essential oil product page and start with low percentages. How to Make Soy Candles with Essential Oils
Additional items needed:
- Double boiler
- Stirring spatula
- Glass measuring cups
- Paper towels
- Isopropyl alcohol
- Tape
- Scissors
- Cardboard
- Something to prop up the candle (we used a small cutting board).
Directions:
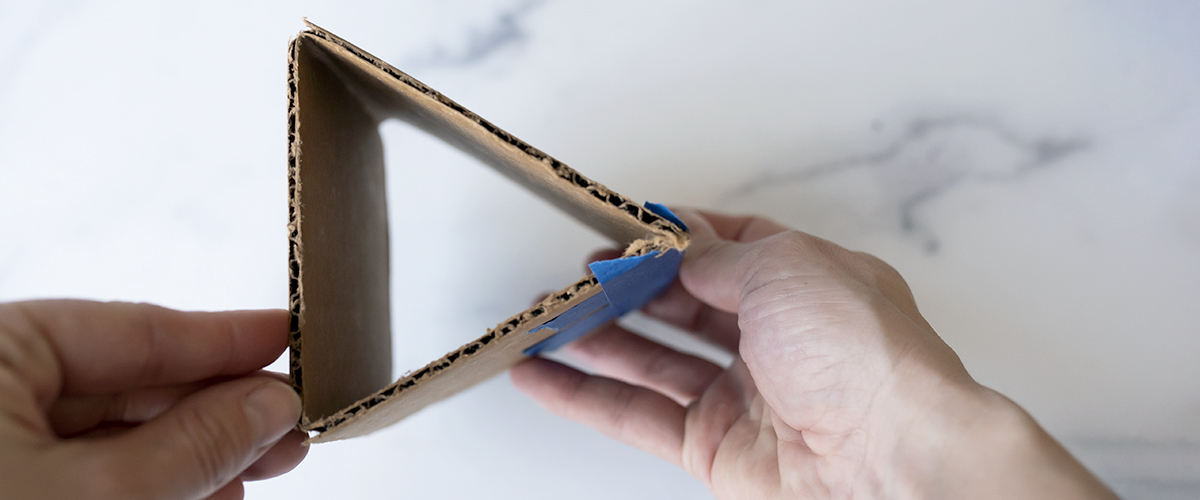
Step 1: Create the triangle
Note: This will require cooling time in between each layer.
Cut a piece of cardboard and bend into a triangle (score the the cardboard for easier bending). Tape the pieces together.
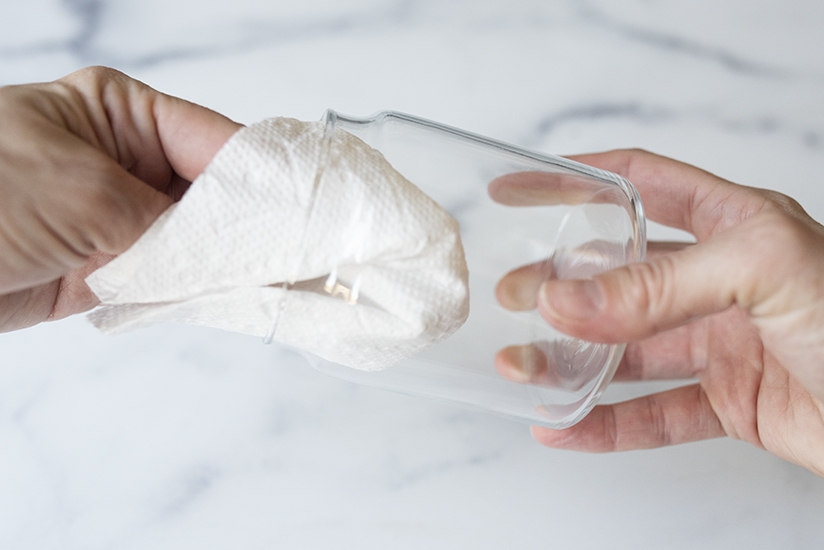
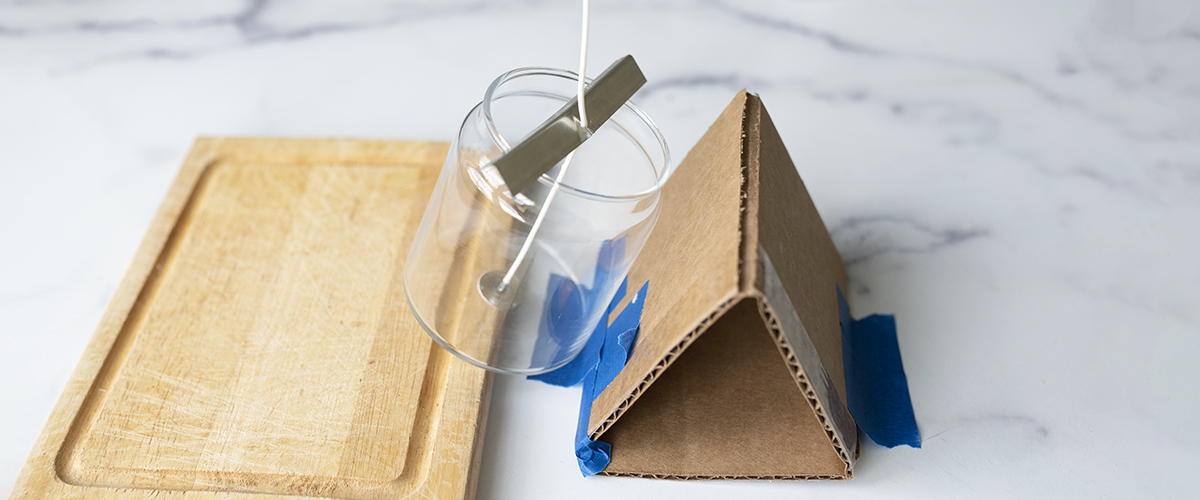
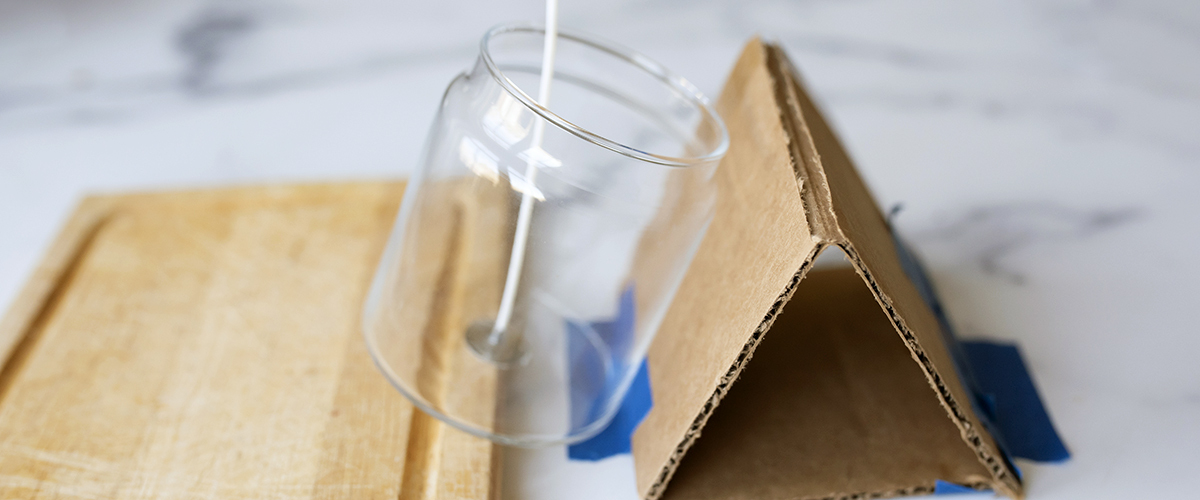
Step 2: Prepare your jar and tilted setup
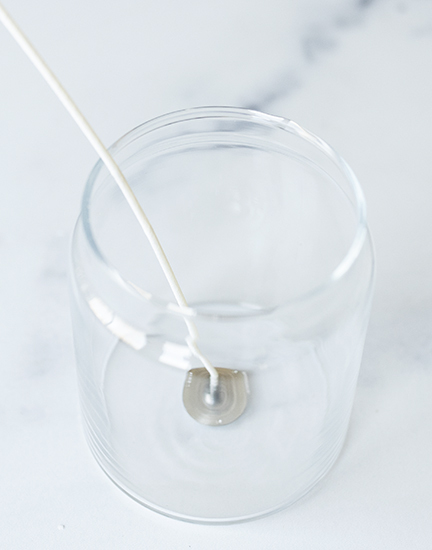
Wipe out your Small Apothecary Jar with a small amount of isopropyl alcohol and a clean paper towel. Using a wick sticker, center one LX 22 wick in the jar.
Prop your jar so that it's on a slight tilt. Make sure that it is secured and will not shift or slip.
We used a small cutting board and taped down our cardboard triangle to hold it in place.
Below is how your candle will cool. Make sure the table or surface is stable.
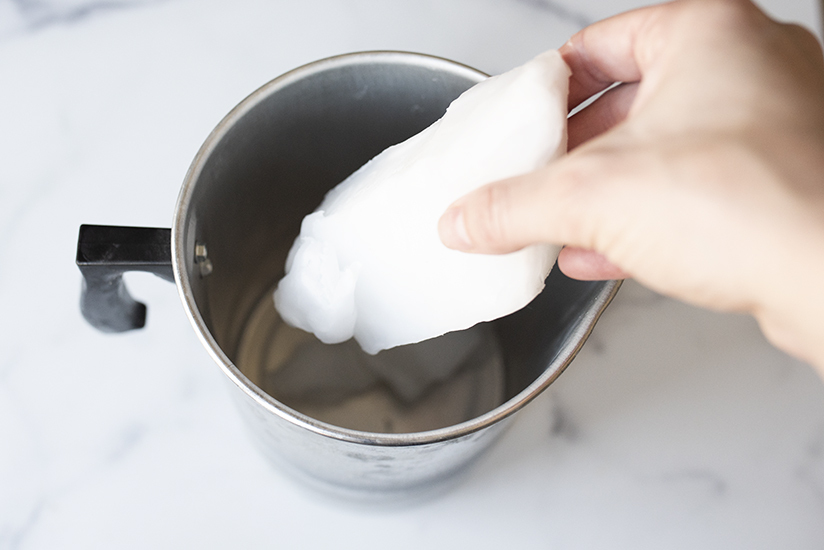
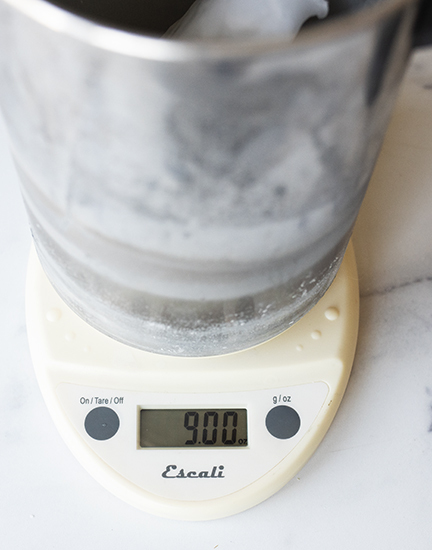
Step 2: Weigh and melt wax
Place the pouring pitcher on your digital scale and tare the weight. Weigh 9 oz. (255 g) of the IGI 4630 Harmony Blend Wax in the pouring pitcher. Begin to melt the wax with a double boiler or hot plate.
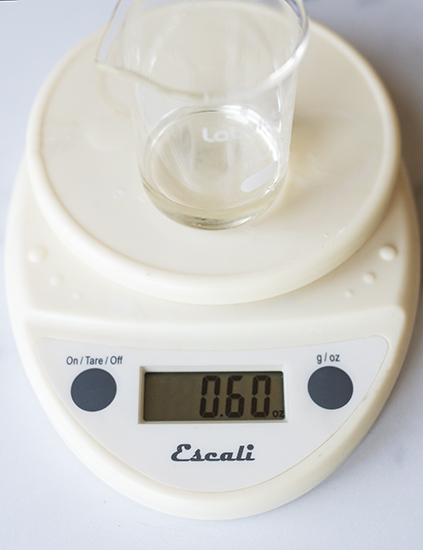
Step 3: Weigh and add the fragrance oil
Weigh 0.6 oz (17 g) of the Sel de Mer fragrance oil, which is a little less than a 7% fragrance load. You can adjust up or down to your preference.
Once your wax has reached 185°F (85°C), add the fragrance oil.
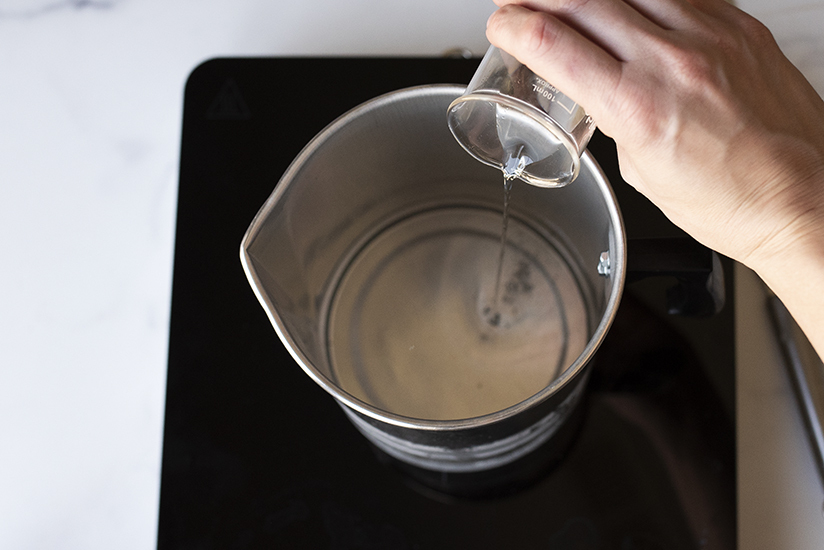
Stir gently for 2 minutes to ensure that the oil is fully incorporated with the wax.
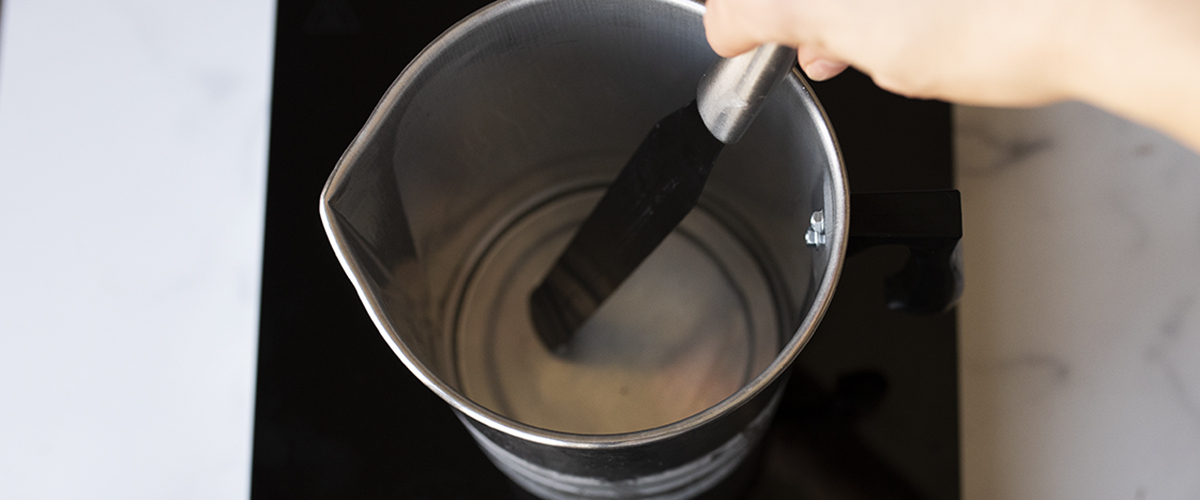
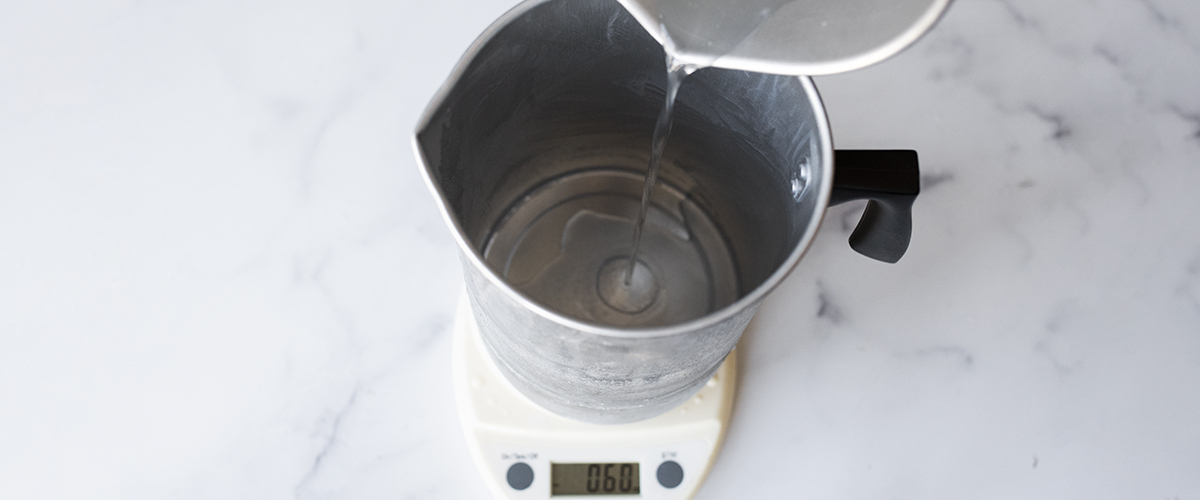
Step 4: Separate the wax and add the dye
Separate the 9 oz. (255 g) of heated fragranced wax into three equal parts by placing the two pouring pitchers, one at a time, on the scale and adding about 3 oz. (85 g) of the scented wax from the main pitcher.
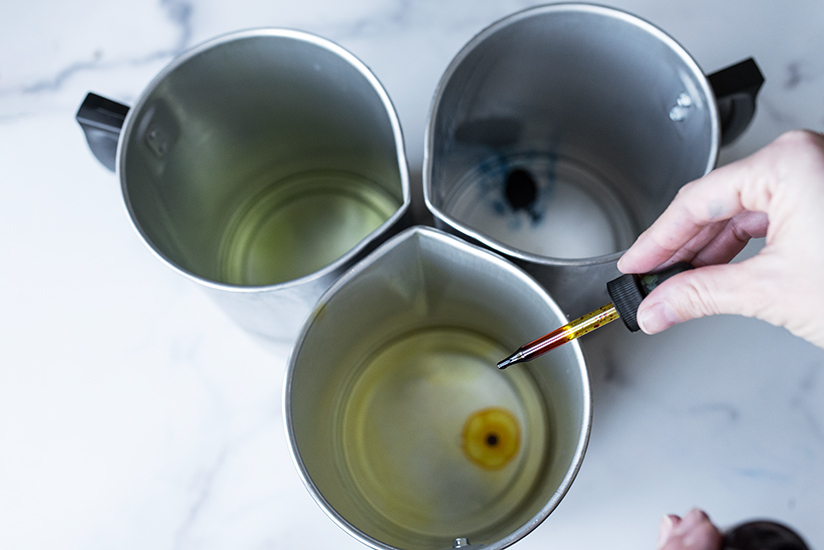
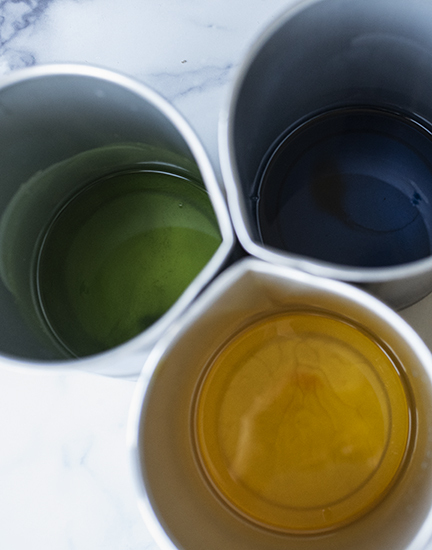
You now have 3 pitchers of wax, one for each color— Summer Breeze, Lime Green, and Yellow.
Add your liquid dye to each pouring pitcher, 2 drops per color. Stir until the dye is thoroughly mixed into the wax. Set the lime green and yellow pitchers aside to reheat later.
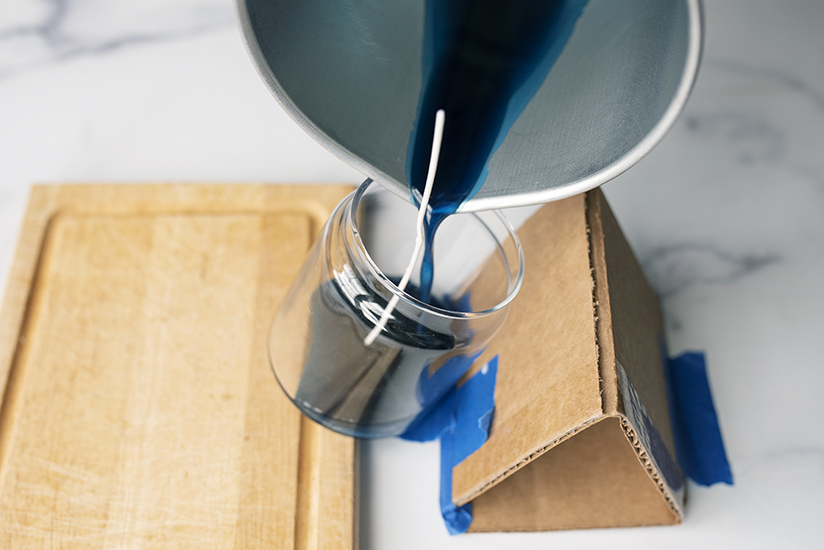
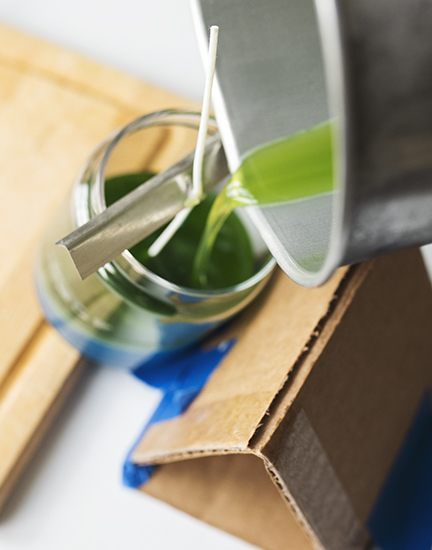
Step 5: Pour the first tilted layer
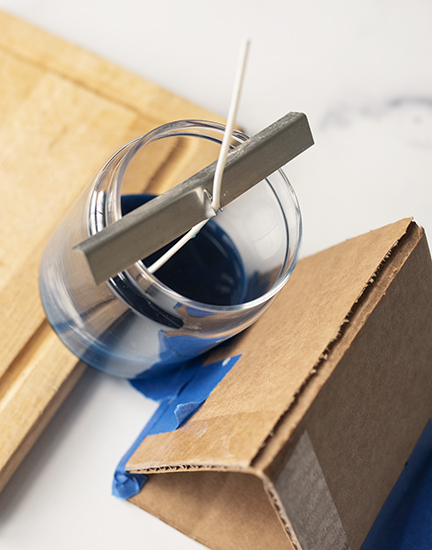
When the Summer Breeze dyed wax cools to 165°F (73.9°C), carefully pour the wax into the tilted apothecary jar. Place the wick bar, making sure it's parallel with the jar side. Let the layer cool about 30 minutes at room temperature (70°F-75°F or 21-24°C).
Note: We poured our first layer and then added our wick bar, but you can pour all layers with a wick bar in place if you prefer.
This wax can cool quickly so you might have to reheat it back up to 165°F (73.9°C) if Step 4 took too long.
Step 6: Pour the second tilted layer
Reheat the Lime Green wax to 165°F (73.9°C). Carefully pour the second layer, making sure not to splash any extra wax on the sides of the container. Let this layer cool for about 45 min.
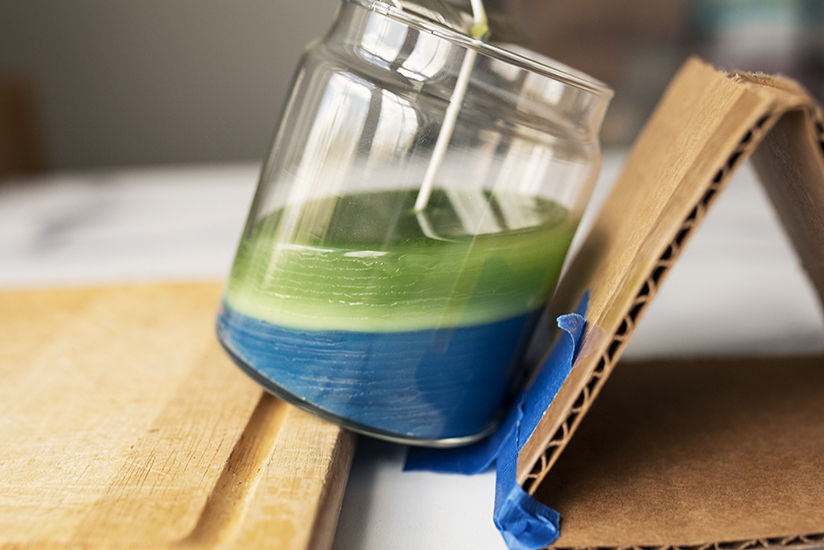
The lines in the cooled wax are from the wax cooling quickly. We liked the look for our beach-inspired candle, but pouring your wax at a slightly hotter temperature, and making sure your container isn't too cold, will help prevent the lines if you're not digging that look.
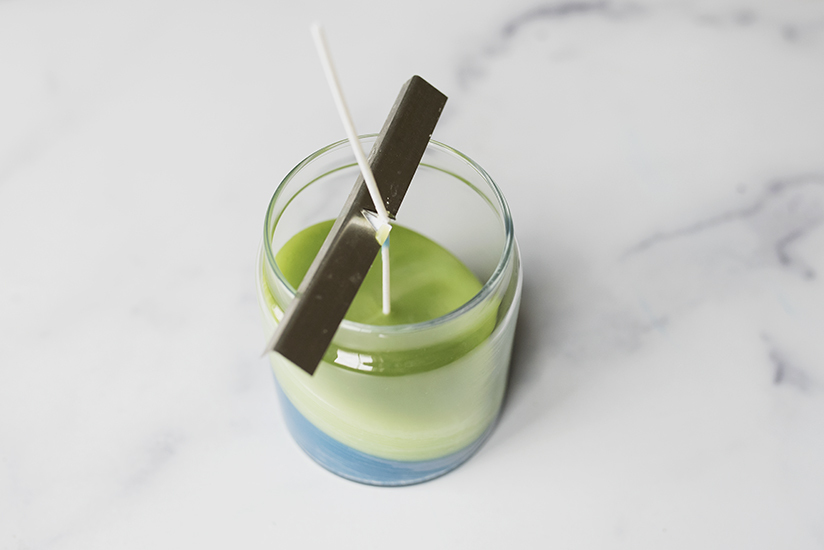
Step 7: Pour the third layer
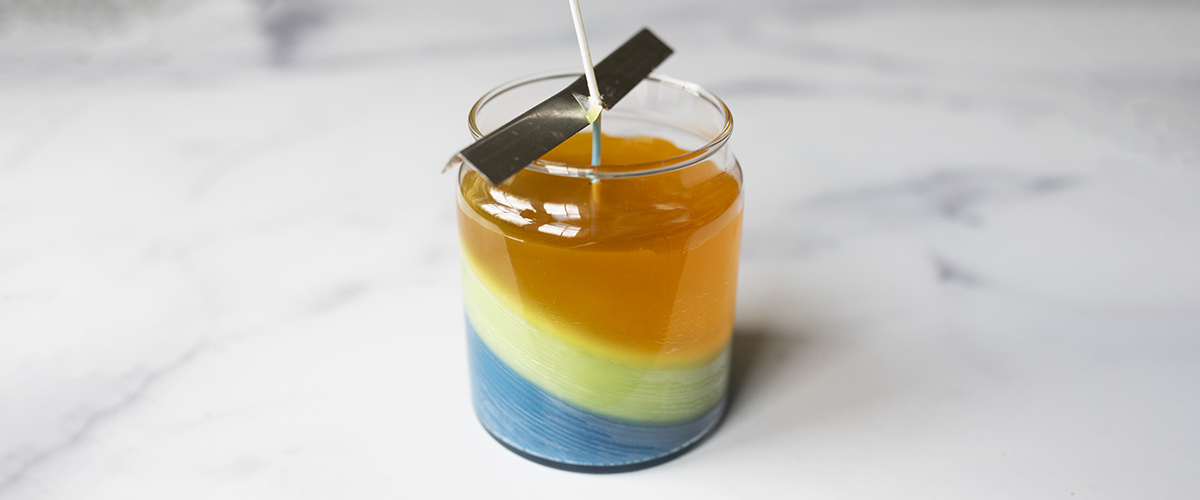
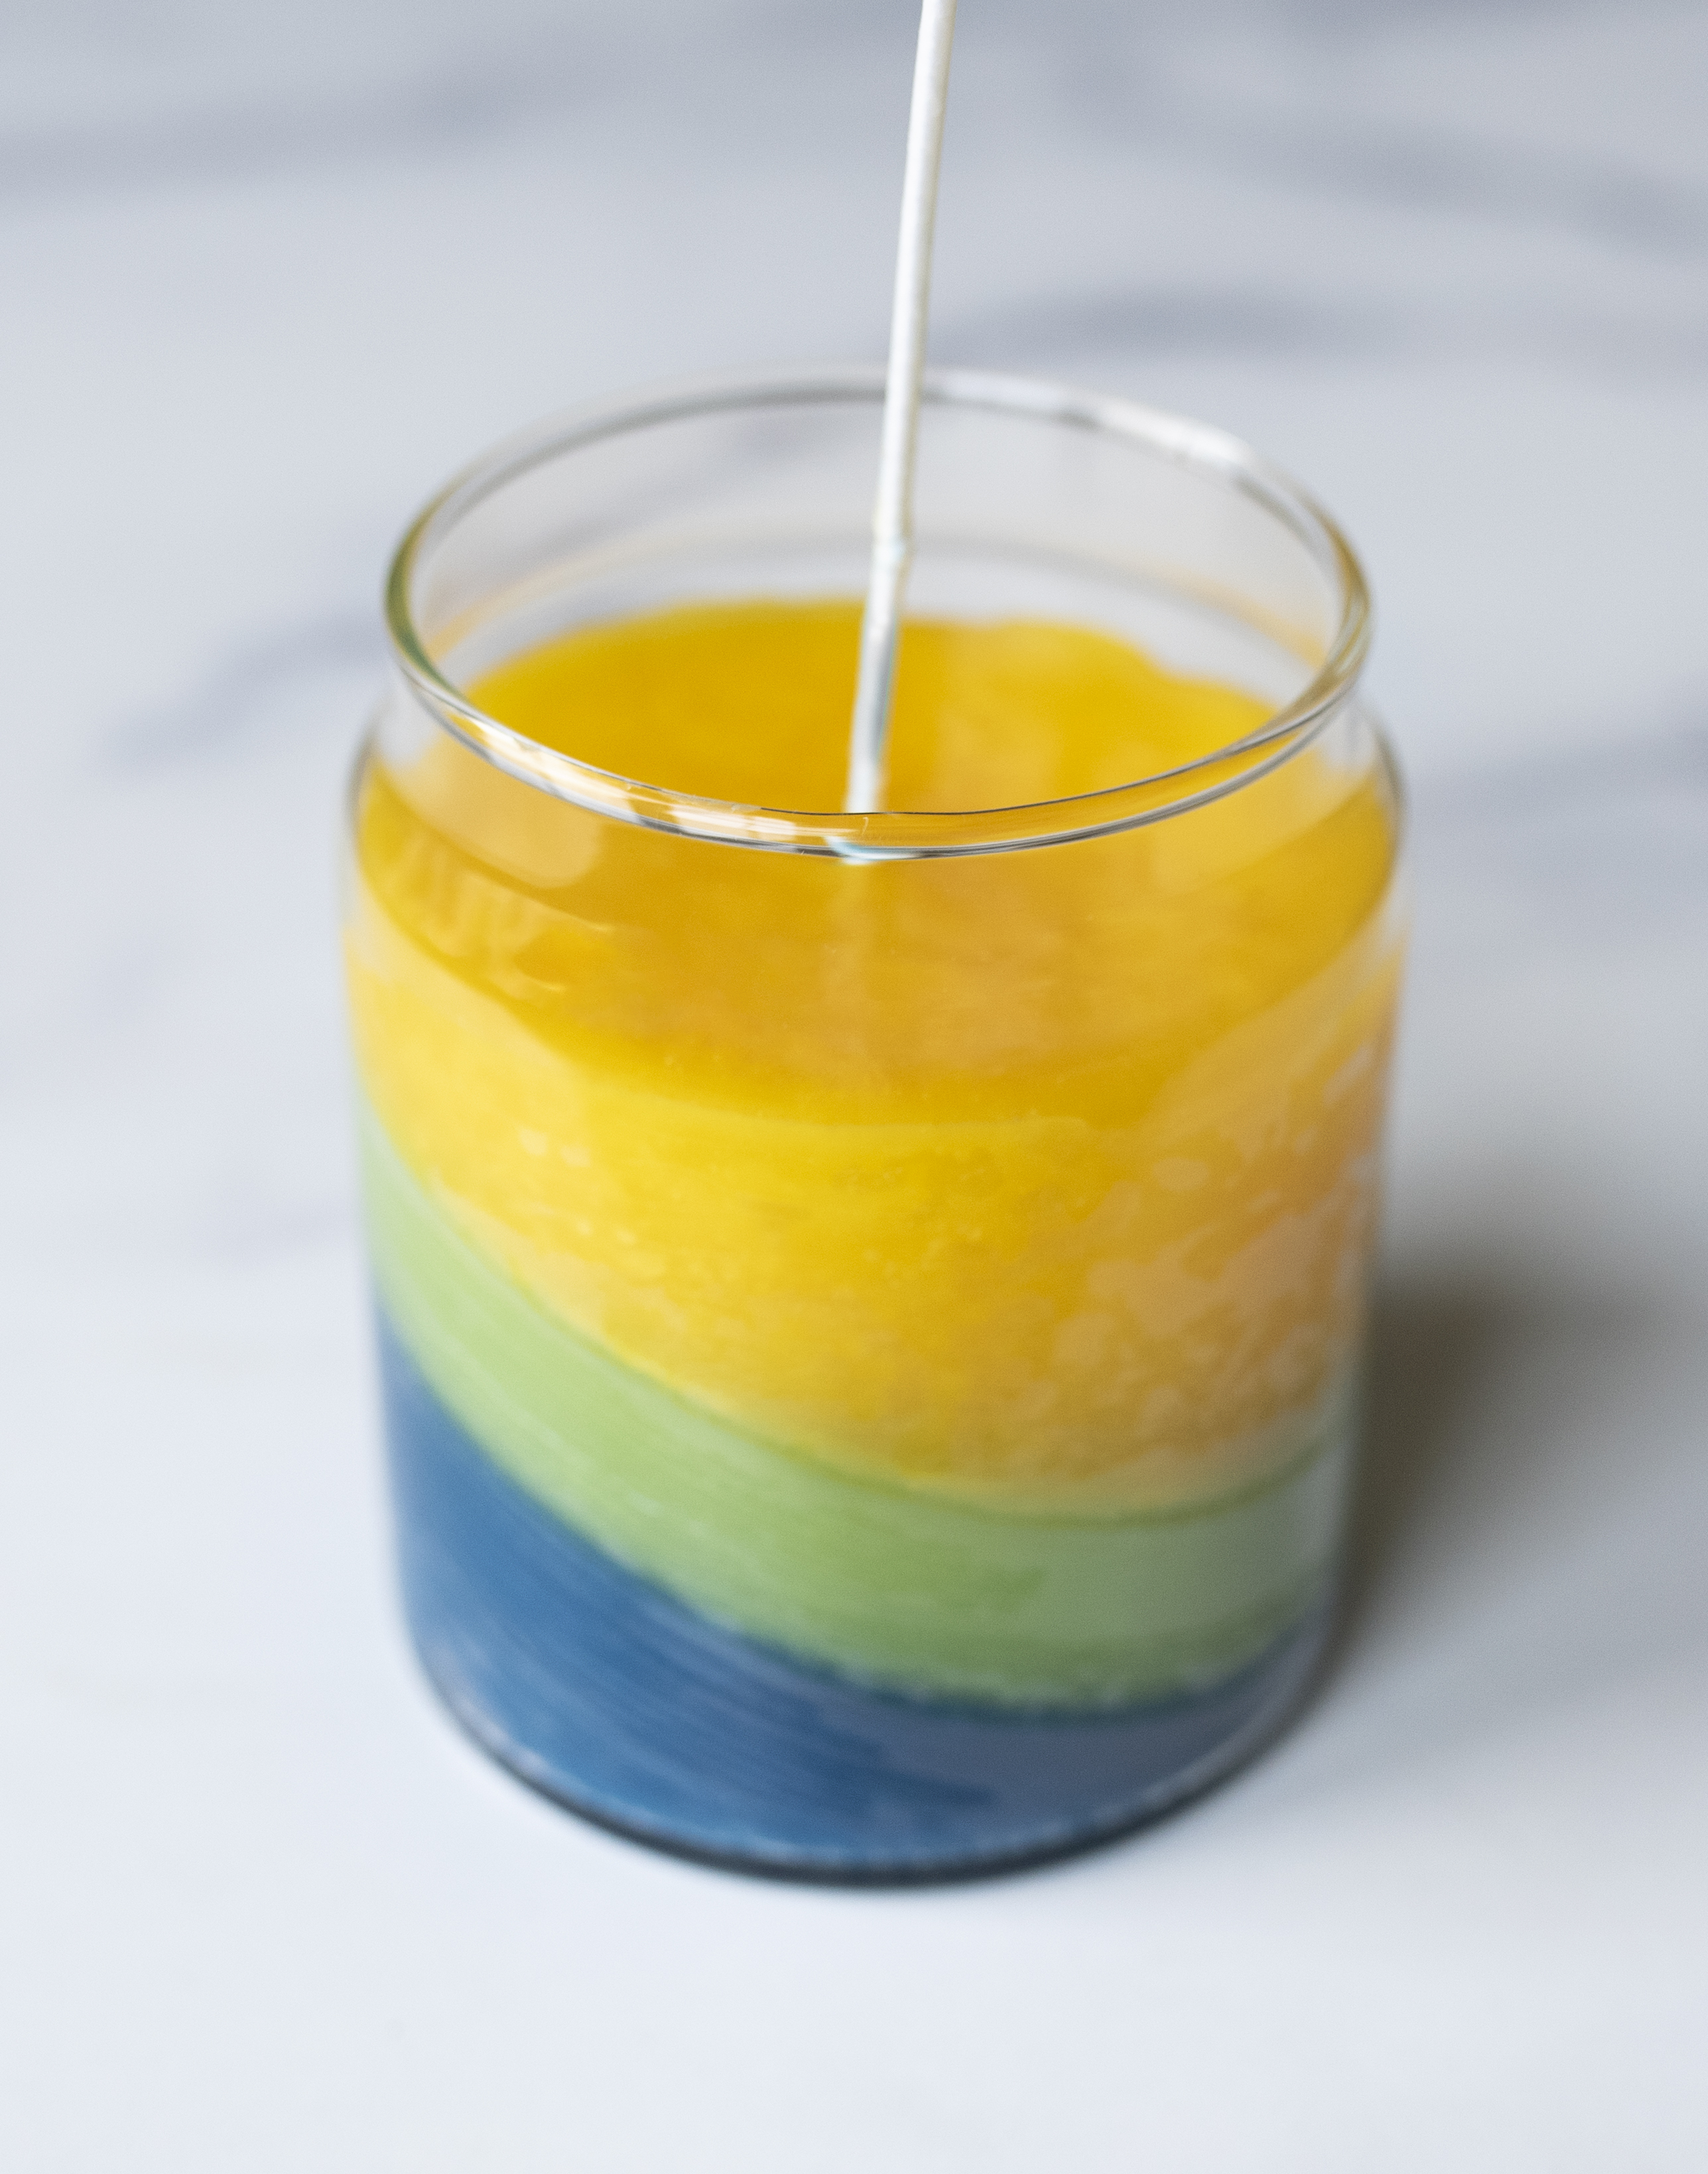
Place the Small Apothecary Jar upright on a level surface for the last layer of wax. Heat the Yellow wax to 165°F (73.9°C) and slowly pour into the container.
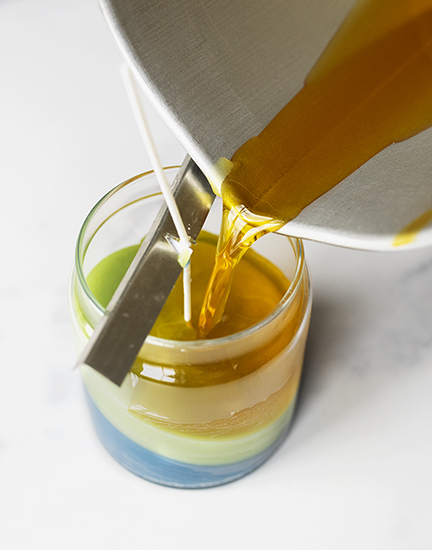
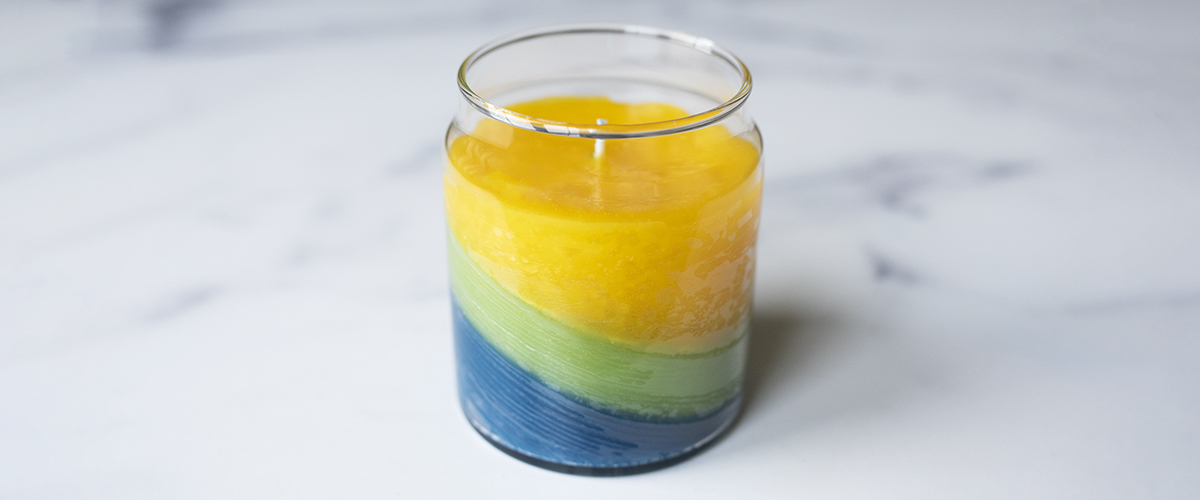
Let the wax cool completely.
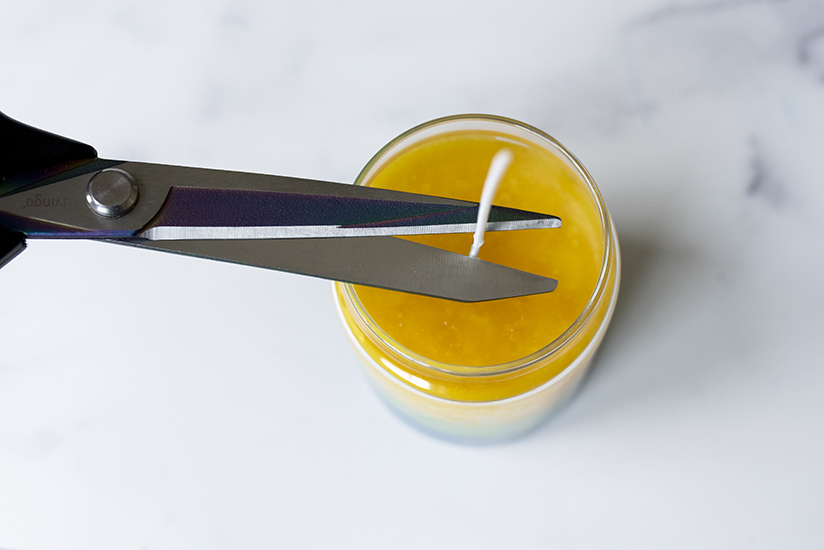
Trim the wick to ¼ in. (6 mm) and place a warning label on the bottom of the container. Your tilted candle is complete!
Show off your take on the tilted container candle and all your handmade creations, with the CandleScience community by tagging us @CandleScience and using the #CandleScientist hashtag on Facebook, Twitter, and Instagram. We may feature you in our Stories or on our website!