How to make mica swirl whipped soap
Mica swirl whipped soap does way more than cleanse the skin. This DIY whipped soap recipe is a luxurious multi-sensory treat!
What is whipped soap, though? Whipped soap is a light and airy wash-off product that cleanses the skin. It’s also branded as foaming bath butter, body souffle, bath whip, whipped bath butter, and foaming bath soap.
Videos of makers piping two-toned whipped soap into containers have gone viral on social media, and it’s easy to see why—they draw viewers in by engaging multiple senses and piquing their curiosity. Watch as various colors squish together in the piping bag then fill the container, listen to the satisfying sounds of the making process to satisfy your ASMR cravings, see how much soap the maker is able to fit into the container, and then marvel at the beautiful final product.
But mica swirl whipped soap isn’t only popular on social media. It’s also a bestselling product on the shelves of mass-market and prestige beauty stores. And many of you have written in asking how to make whipped soap from scratch!
In this guide, you’ll discover how to make whipped soap using mica, essential oil, and one of our favorite cosmetic bases. This project is a great opportunity to let your creativity shine. For the ultimate two-toned effect, select mica colors in similar hues or experiment with mixing your mica powders to create completely custom shades. Let’s get started!
Additional items needed:
- Mixing bowls (3)
- Hand mixer or stand mixer
- Piping bags
- Piping tip
- Scissors
- Plastic wrap
- Stirring utensil
- Gloves
Directions:
Prepare supplies and work space
Wash your equipment, soap molds, and utensils in warm soapy water and dry thoroughly. Don’t forget your workspace! Avoid any cross-contamination by spraying the area with rubbing alcohol or a 5% bleach solution, then wipe dry with a clean paper towel.
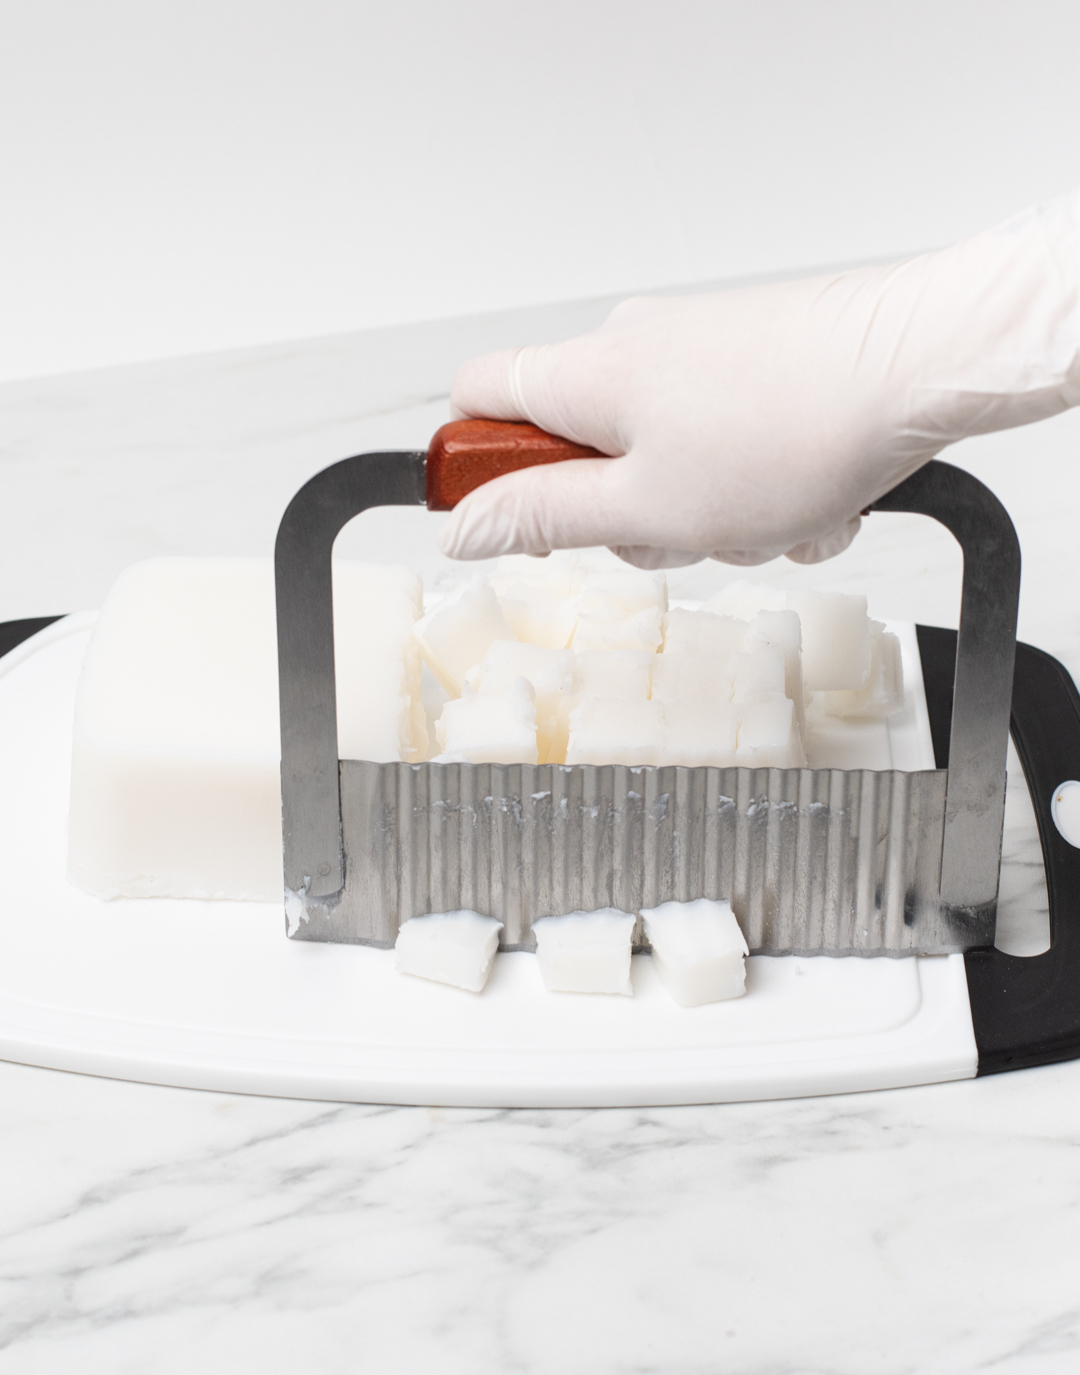
Step 1: Whip the soap base
Remove the Foaming Bath Butter base from the container. It will be soft and very easy to work with. Cut the base into rough cubes and place them into the mixing bowl.
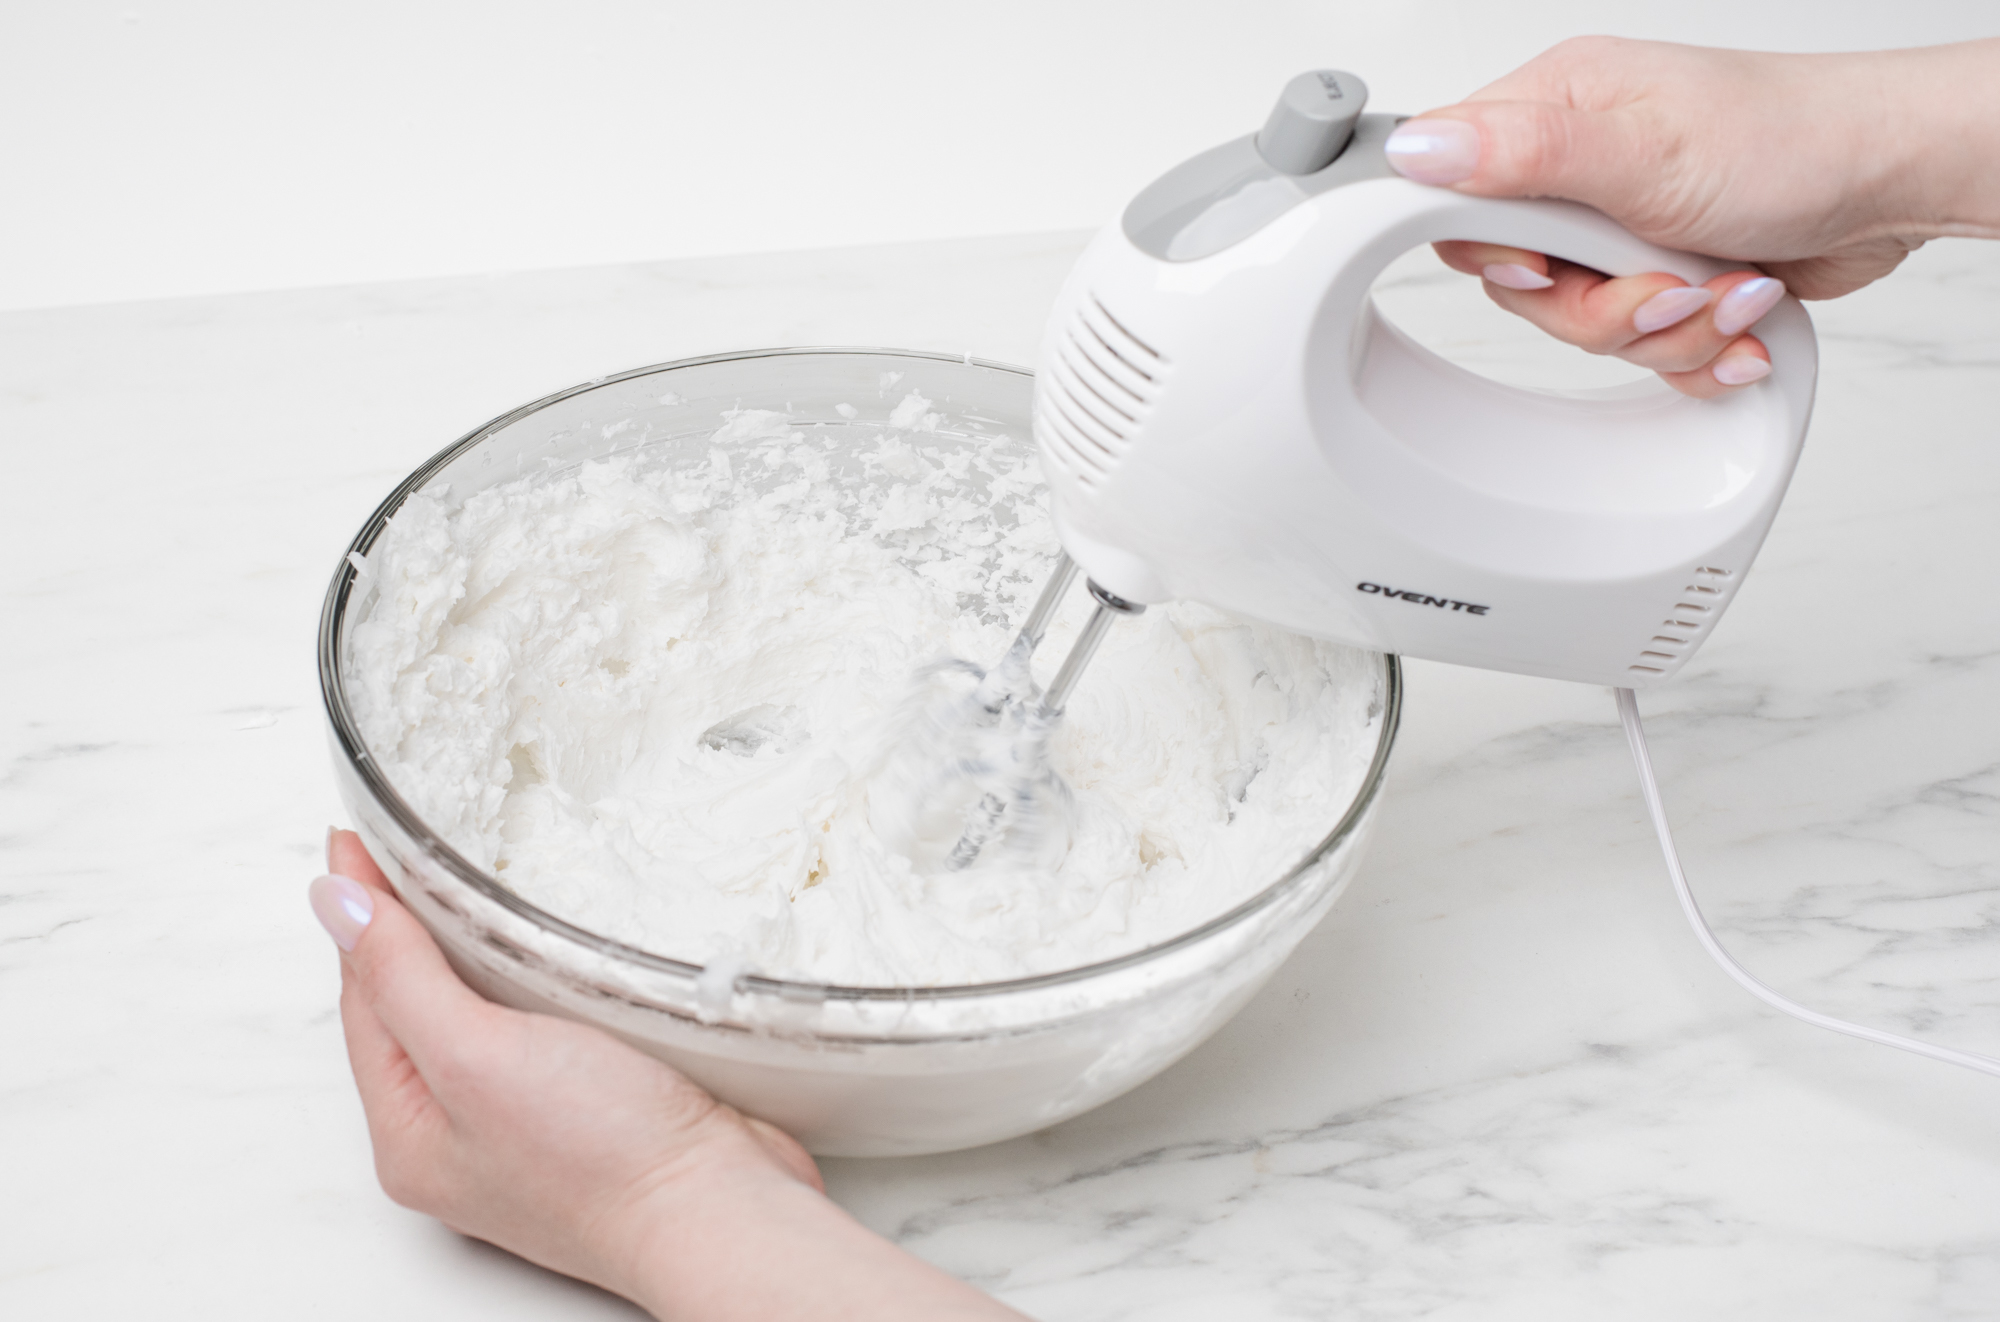
Using your hand mixer, place the beater all the way down into the base. Beat on a medium to medium-high speed for up to 10 minutes, or until the base looks like whipped cream.
Note: Whipping time can vary depending on the mixer used, and the temperature and humidity in your workspace.
Step 2: Add the essential oil to the soap base
Weigh out 0.64 oz (18.14 g) of Orange (Sweet) Essential Oil on the scale and add to the whipped soap base.
.jpg)
.jpg)
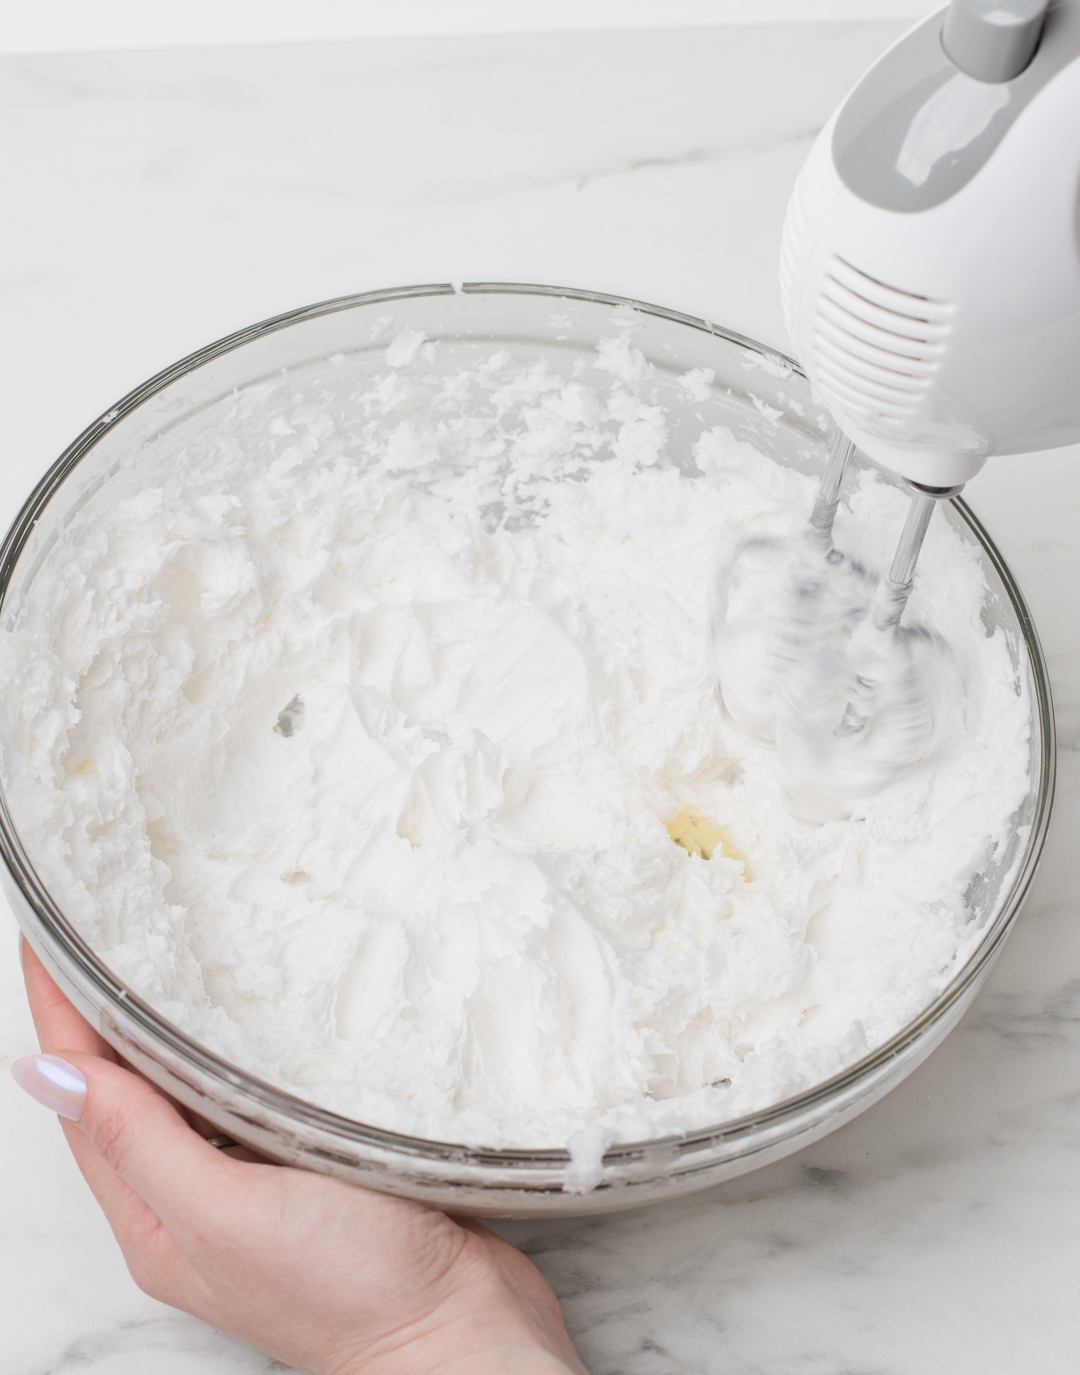
Step 3: Whip soap base until fluffy
Beat the base on high for 3-7 minutes until it is light, fluffy, and roughly double in volume.

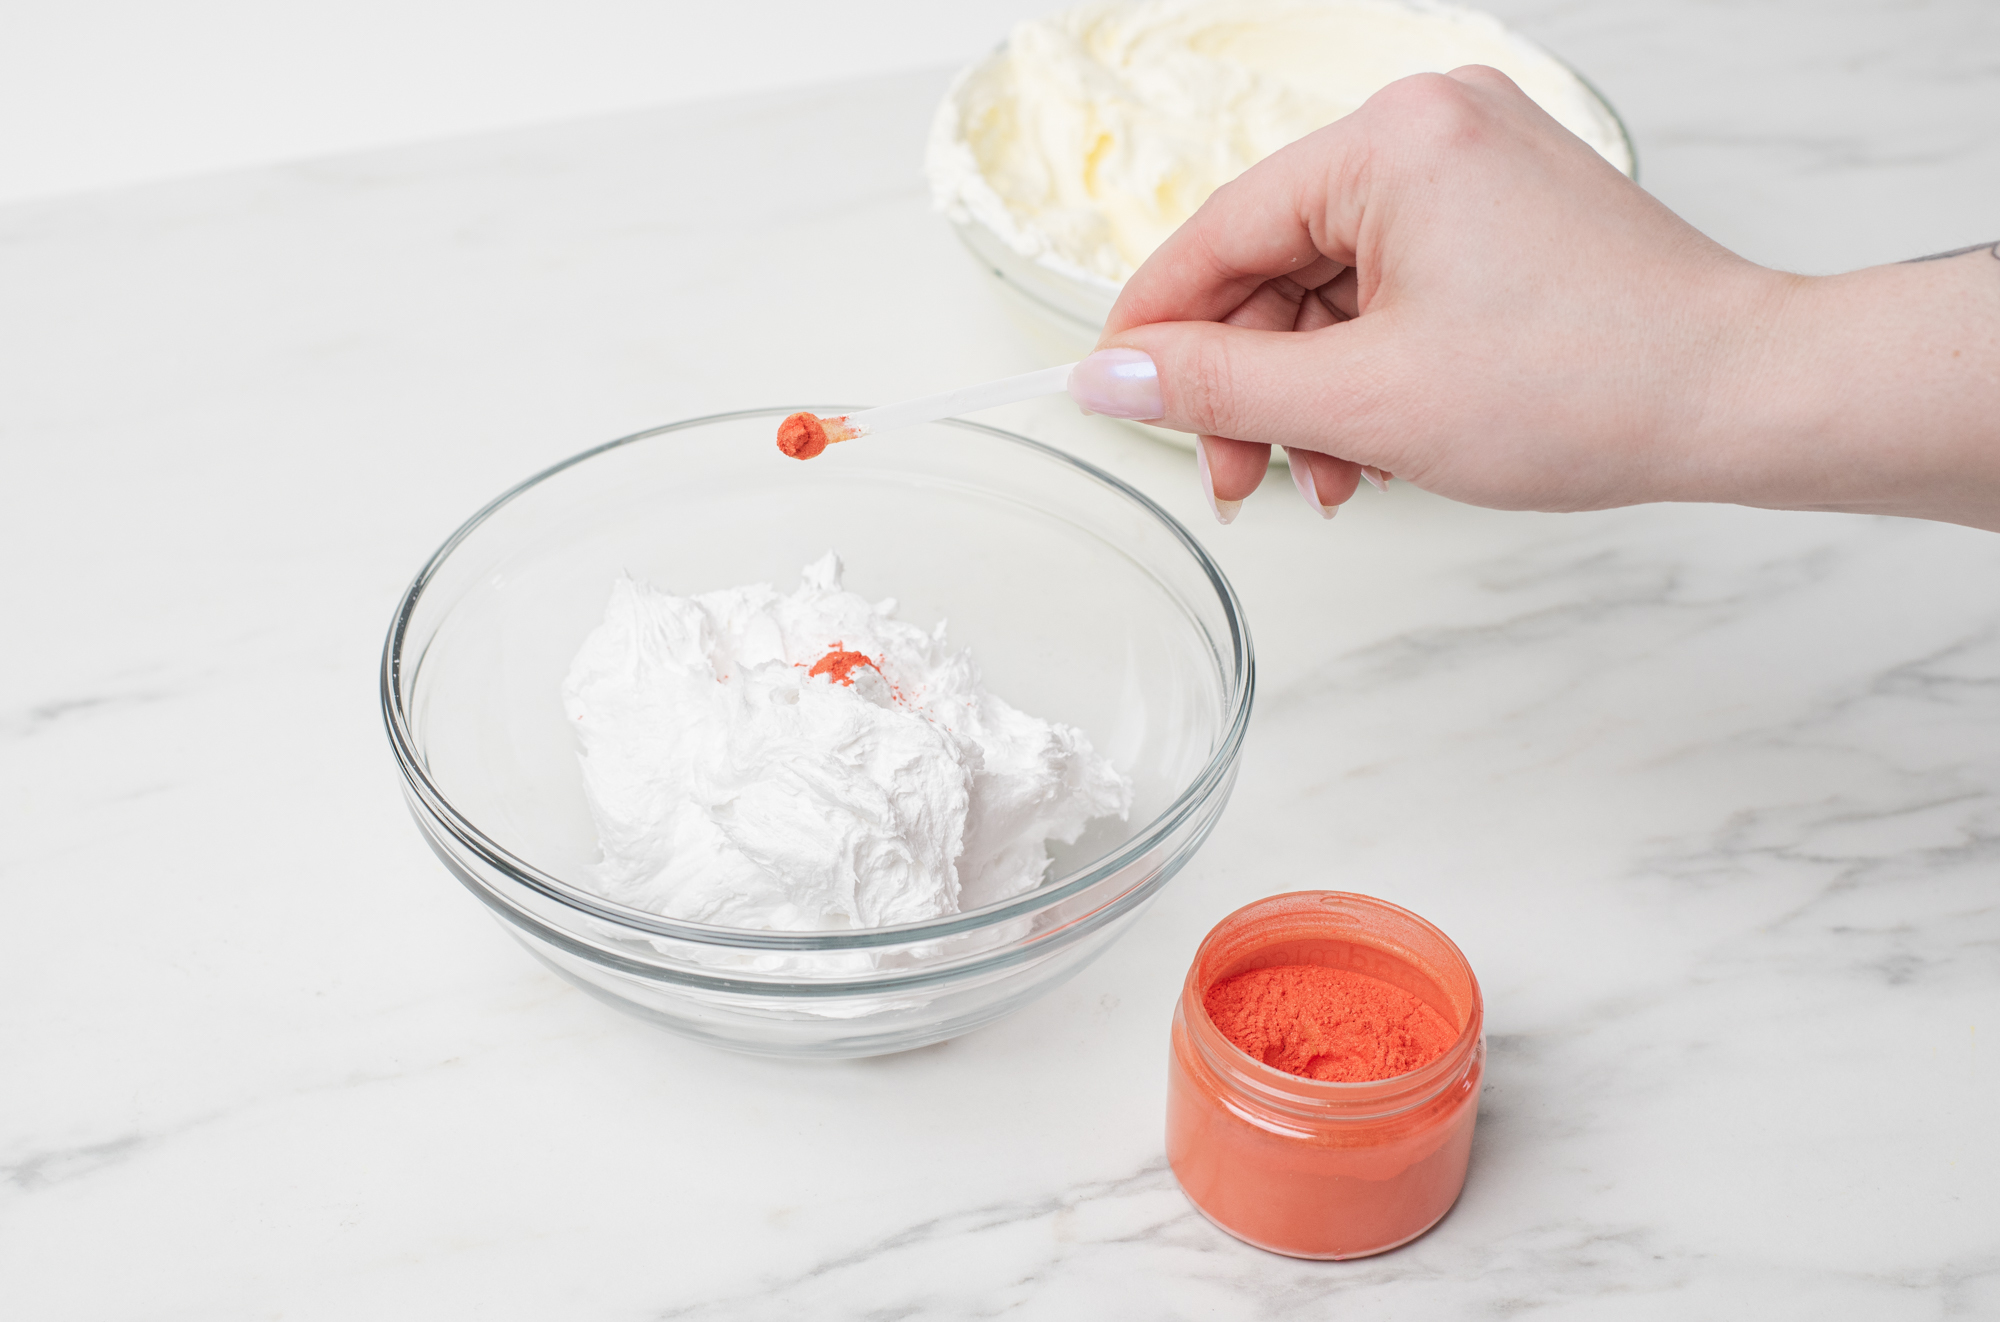
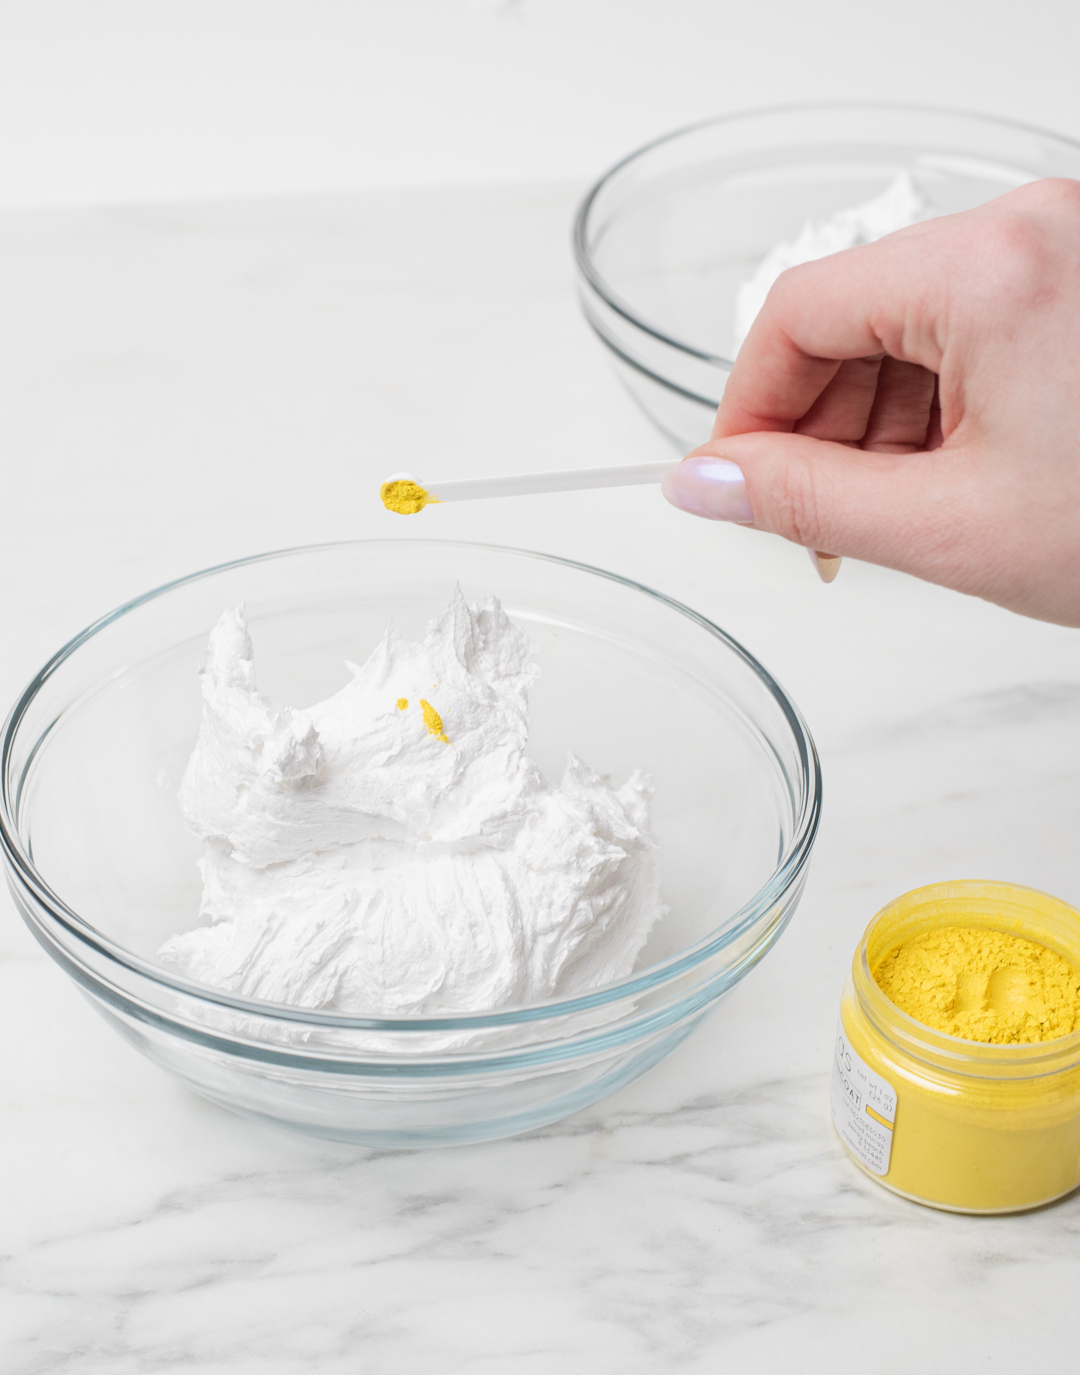
Step 4: Divide the soap base and add mica
Divide the whipped soap base into two bowls. In one bowl, add the 2 microscoops of Pumpkin Head Orange Mica and in the other, add 4 yellow microscoops Bright Yellow Raincoat Yellow Mica. Stir well to incorporate.
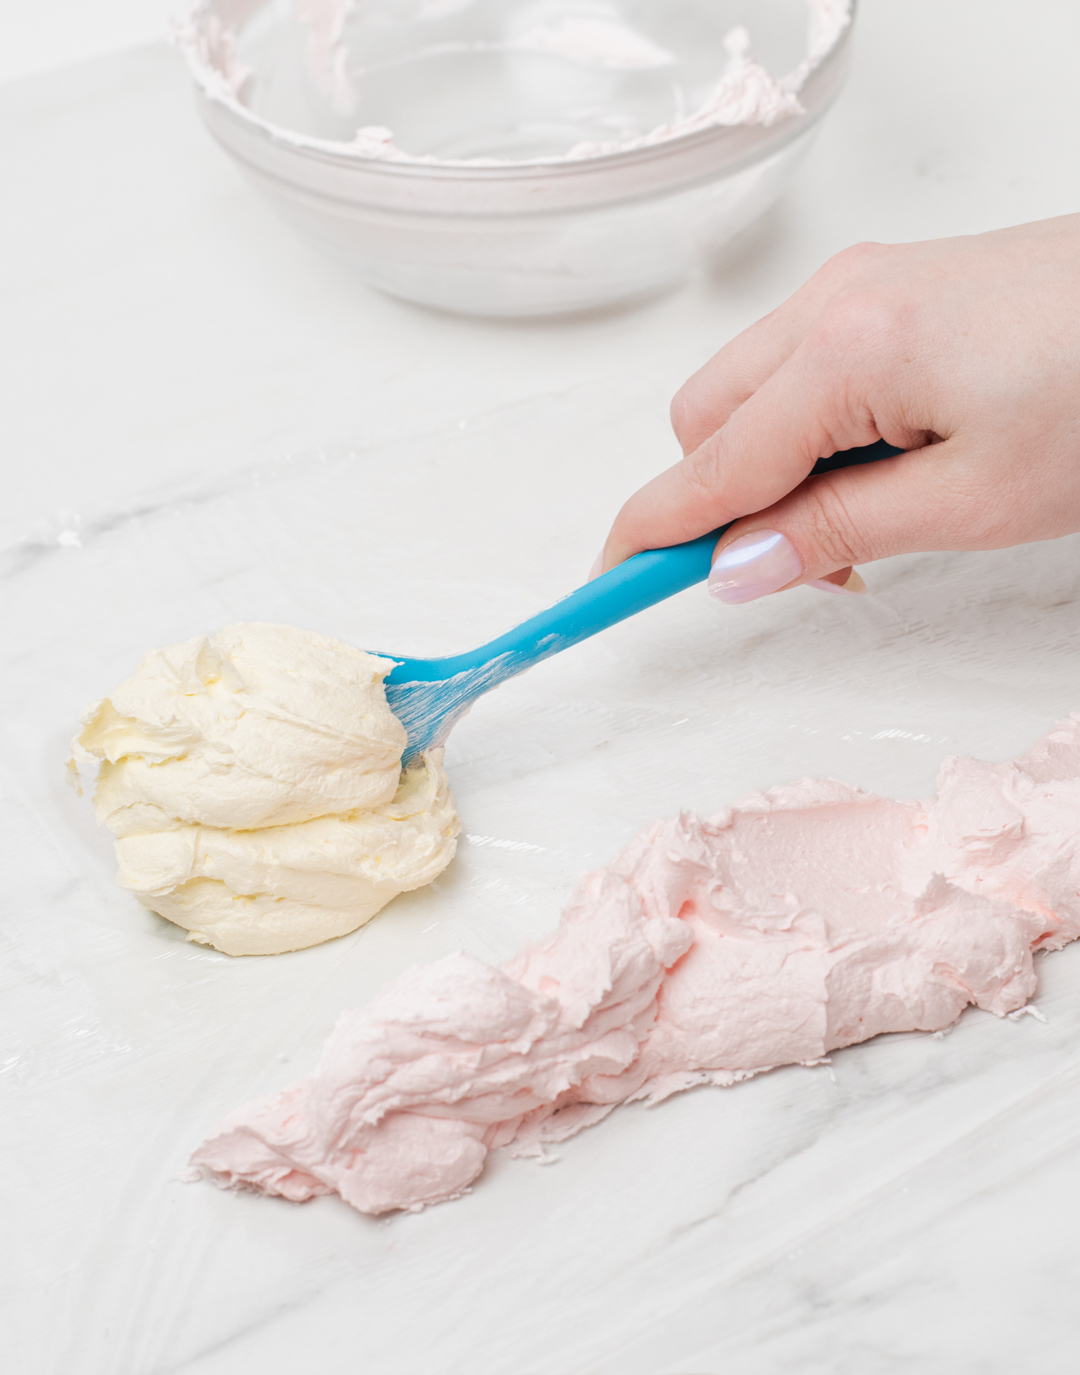
Step 5: Layer whipped soap in piping bag
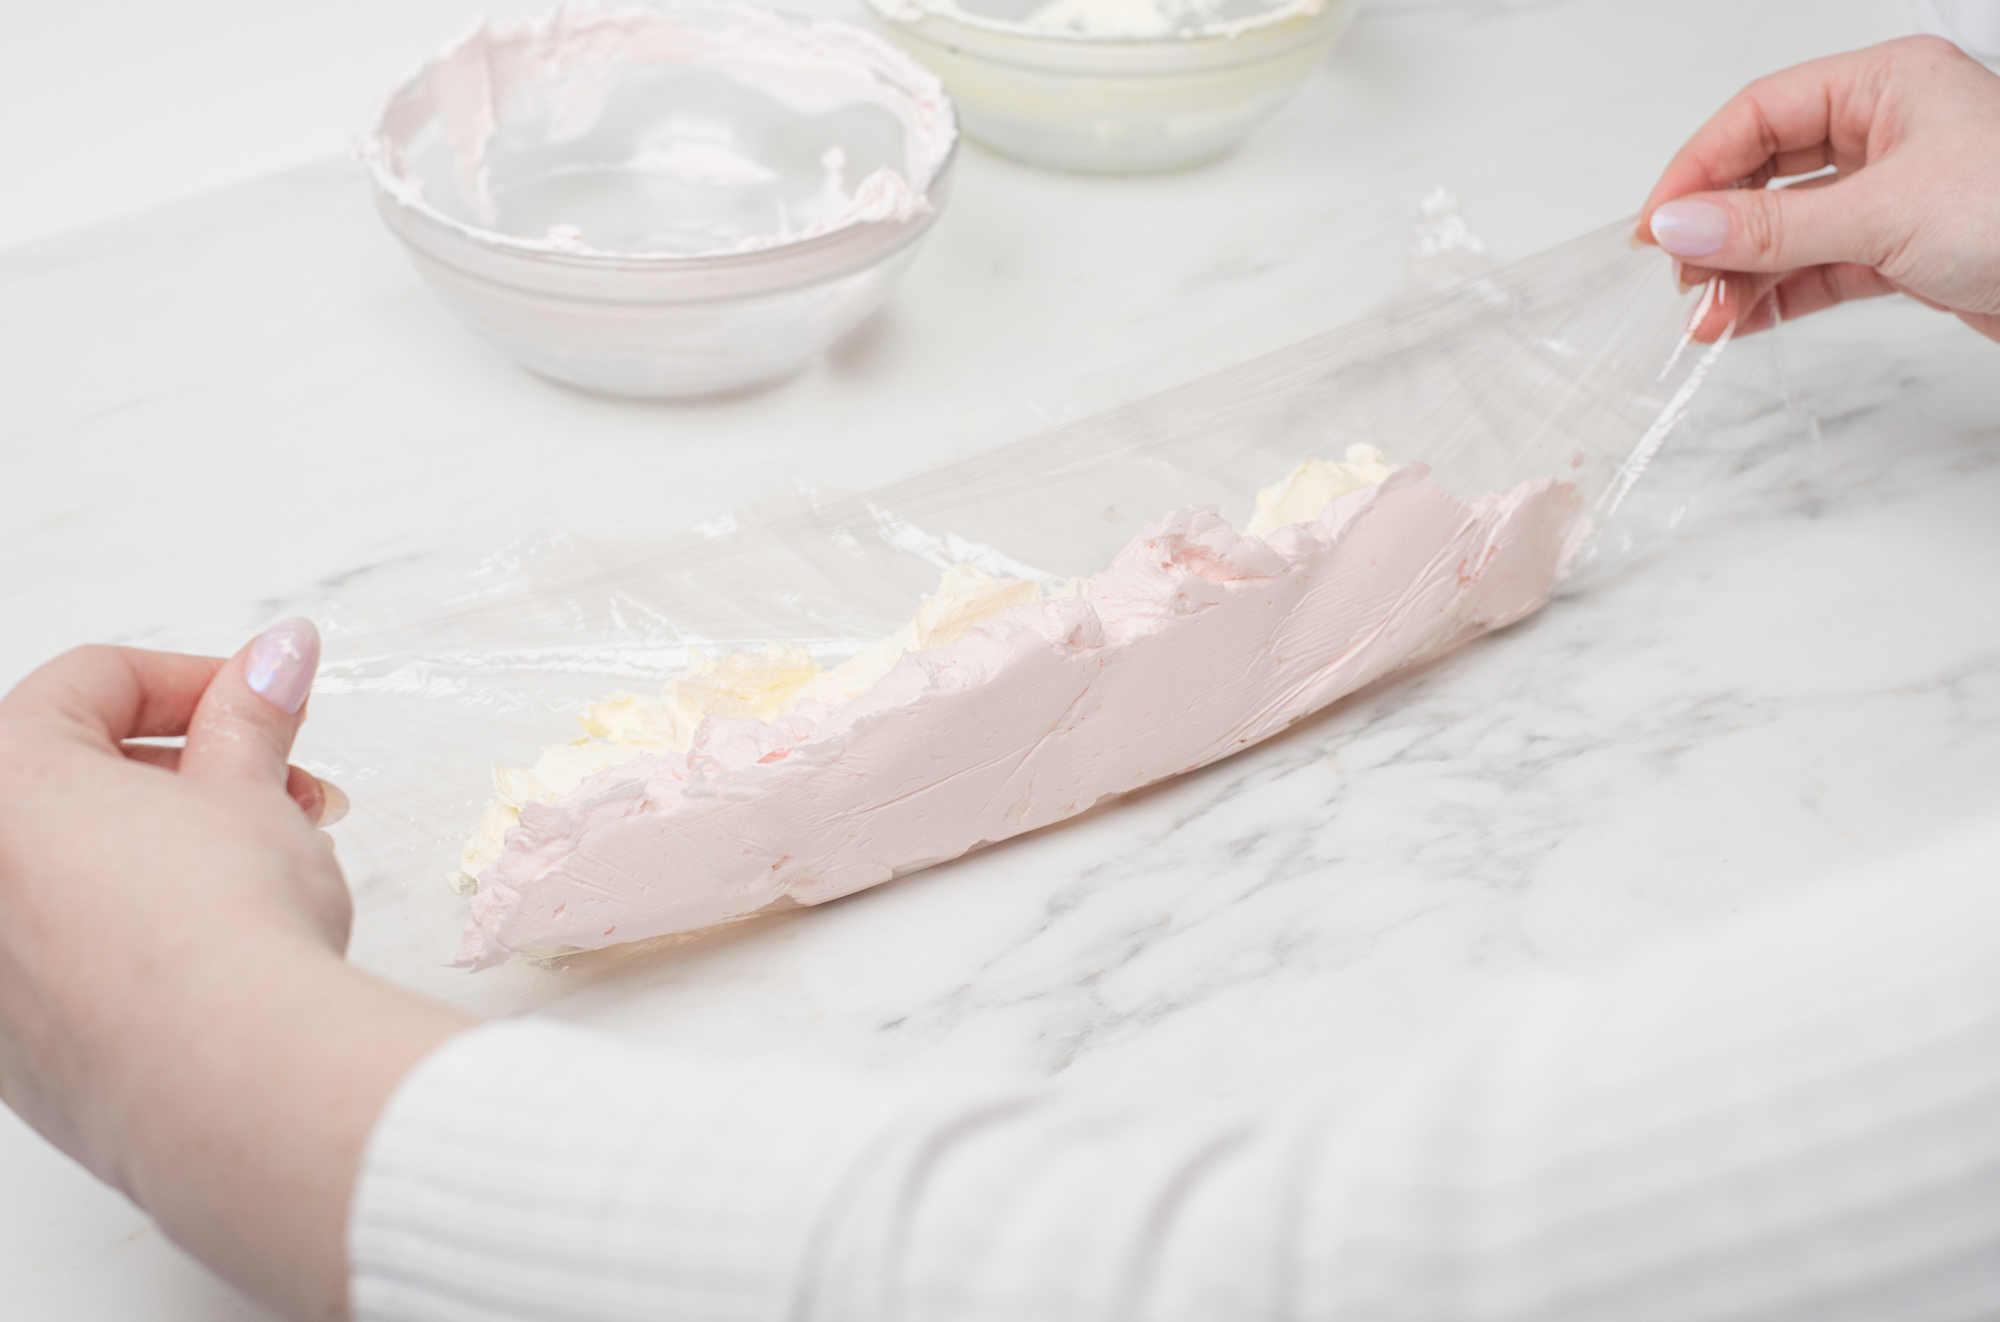
Lay out a sheet of plastic wrap and spread out two separate lines of each whipped soap color.
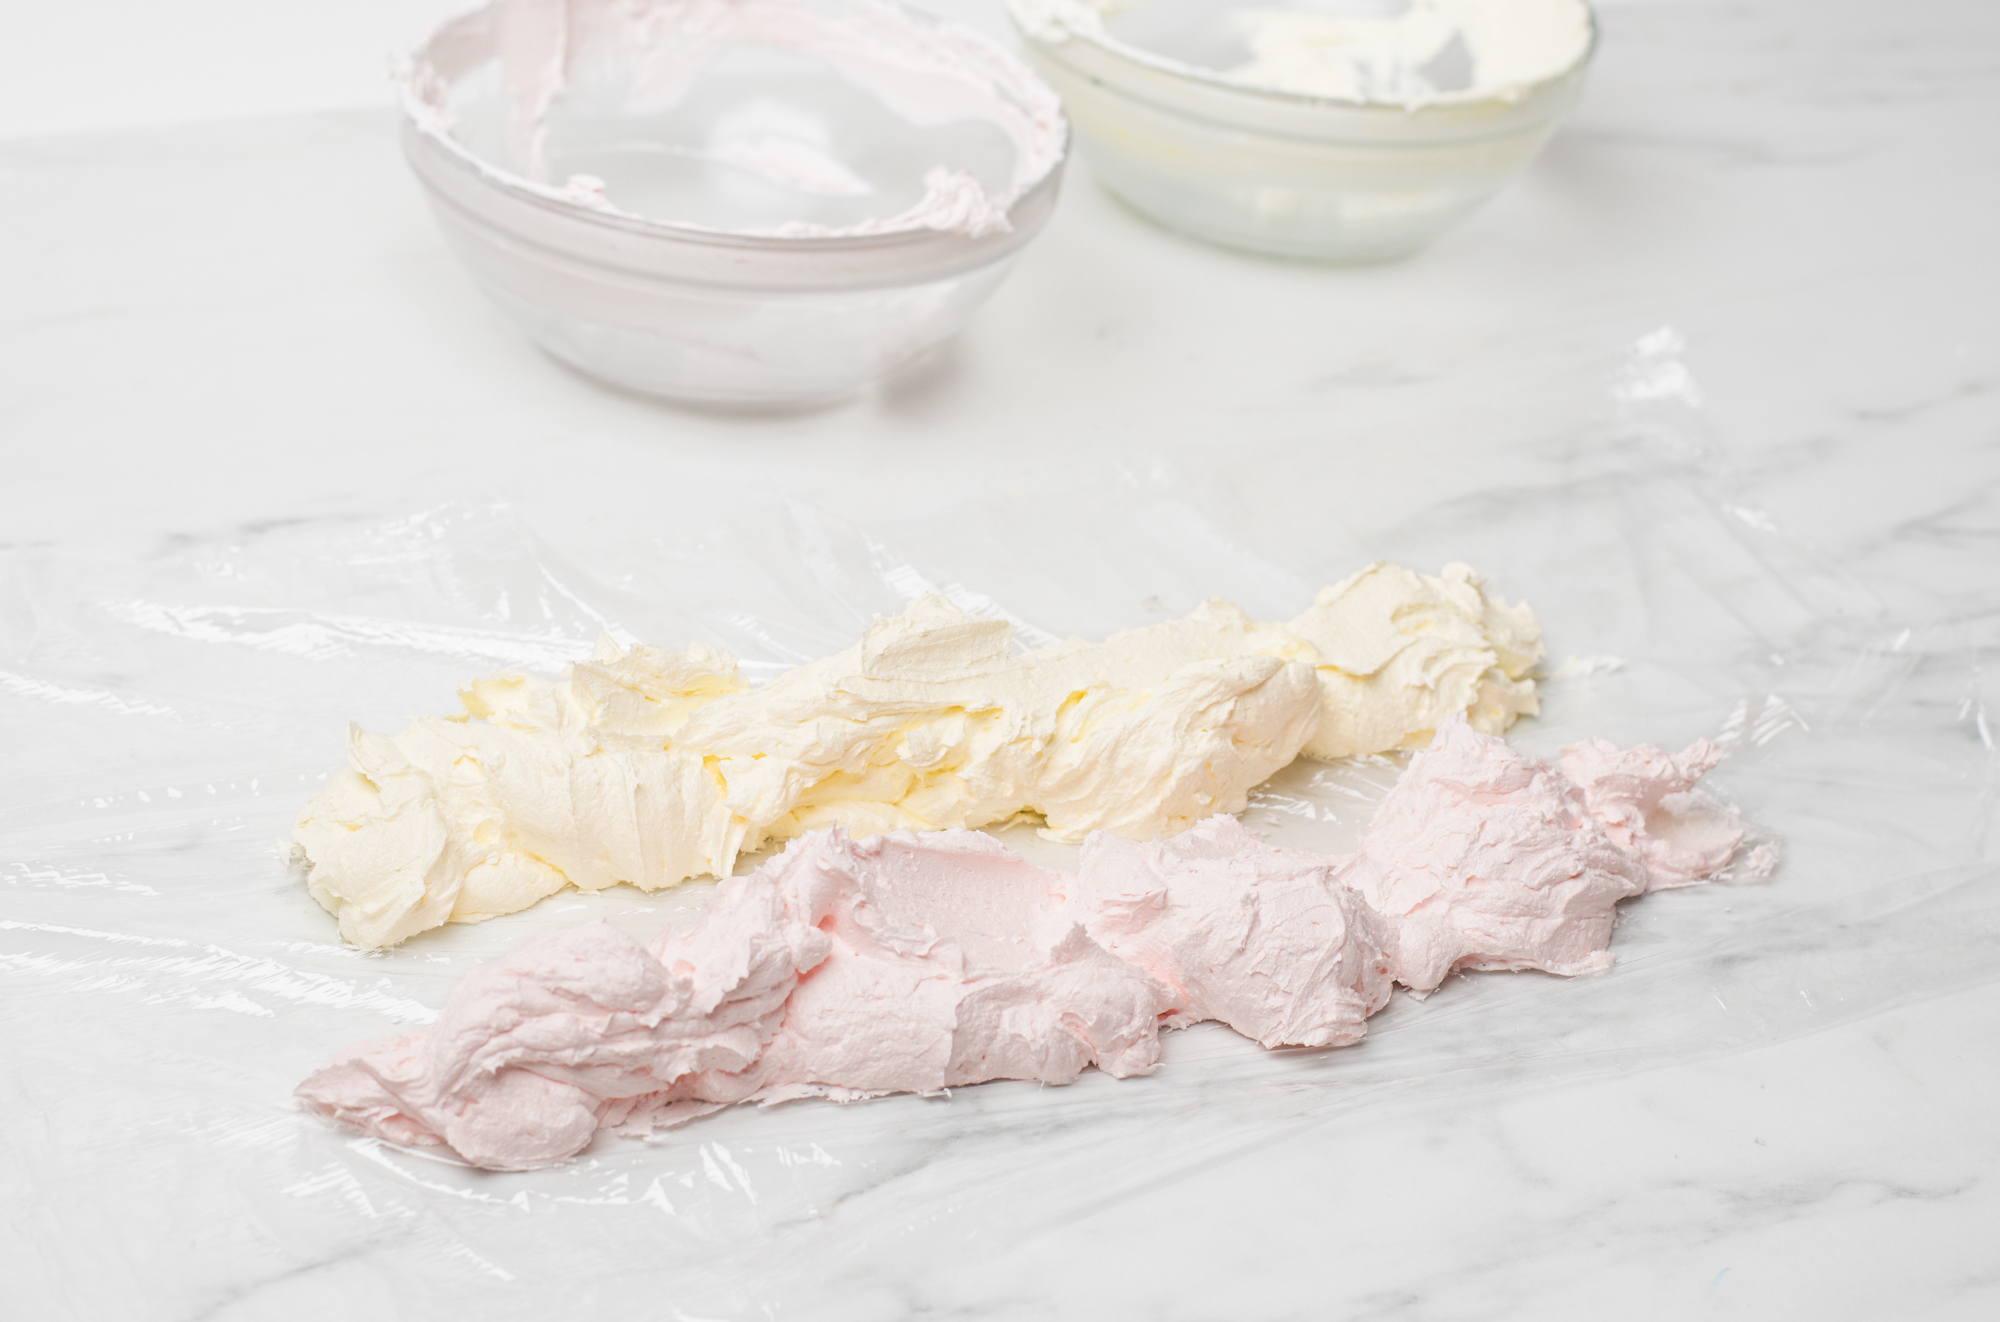
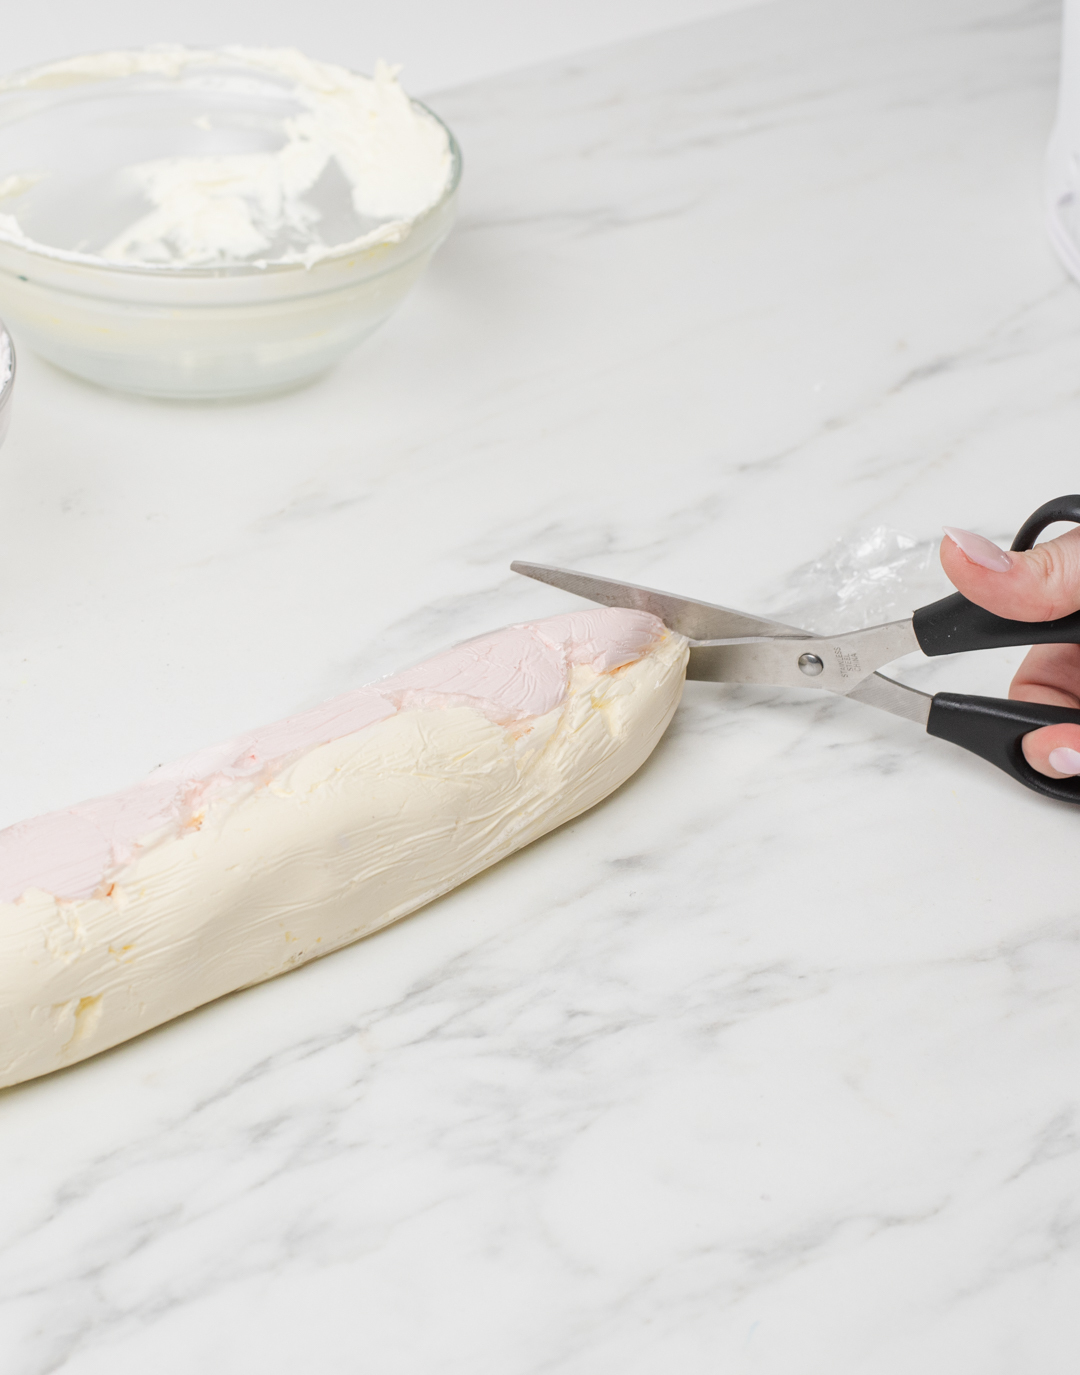
Roll into a log. and cut the excess material at one end to create an opening. Place the roll into your piping bag with the open side facing down towards the nozzle.
Note: You can fill each side of your piping bag or plastic bag with a different color if you prefer to skip this step.The two colors will mix together a bit more, creating a marble effect.
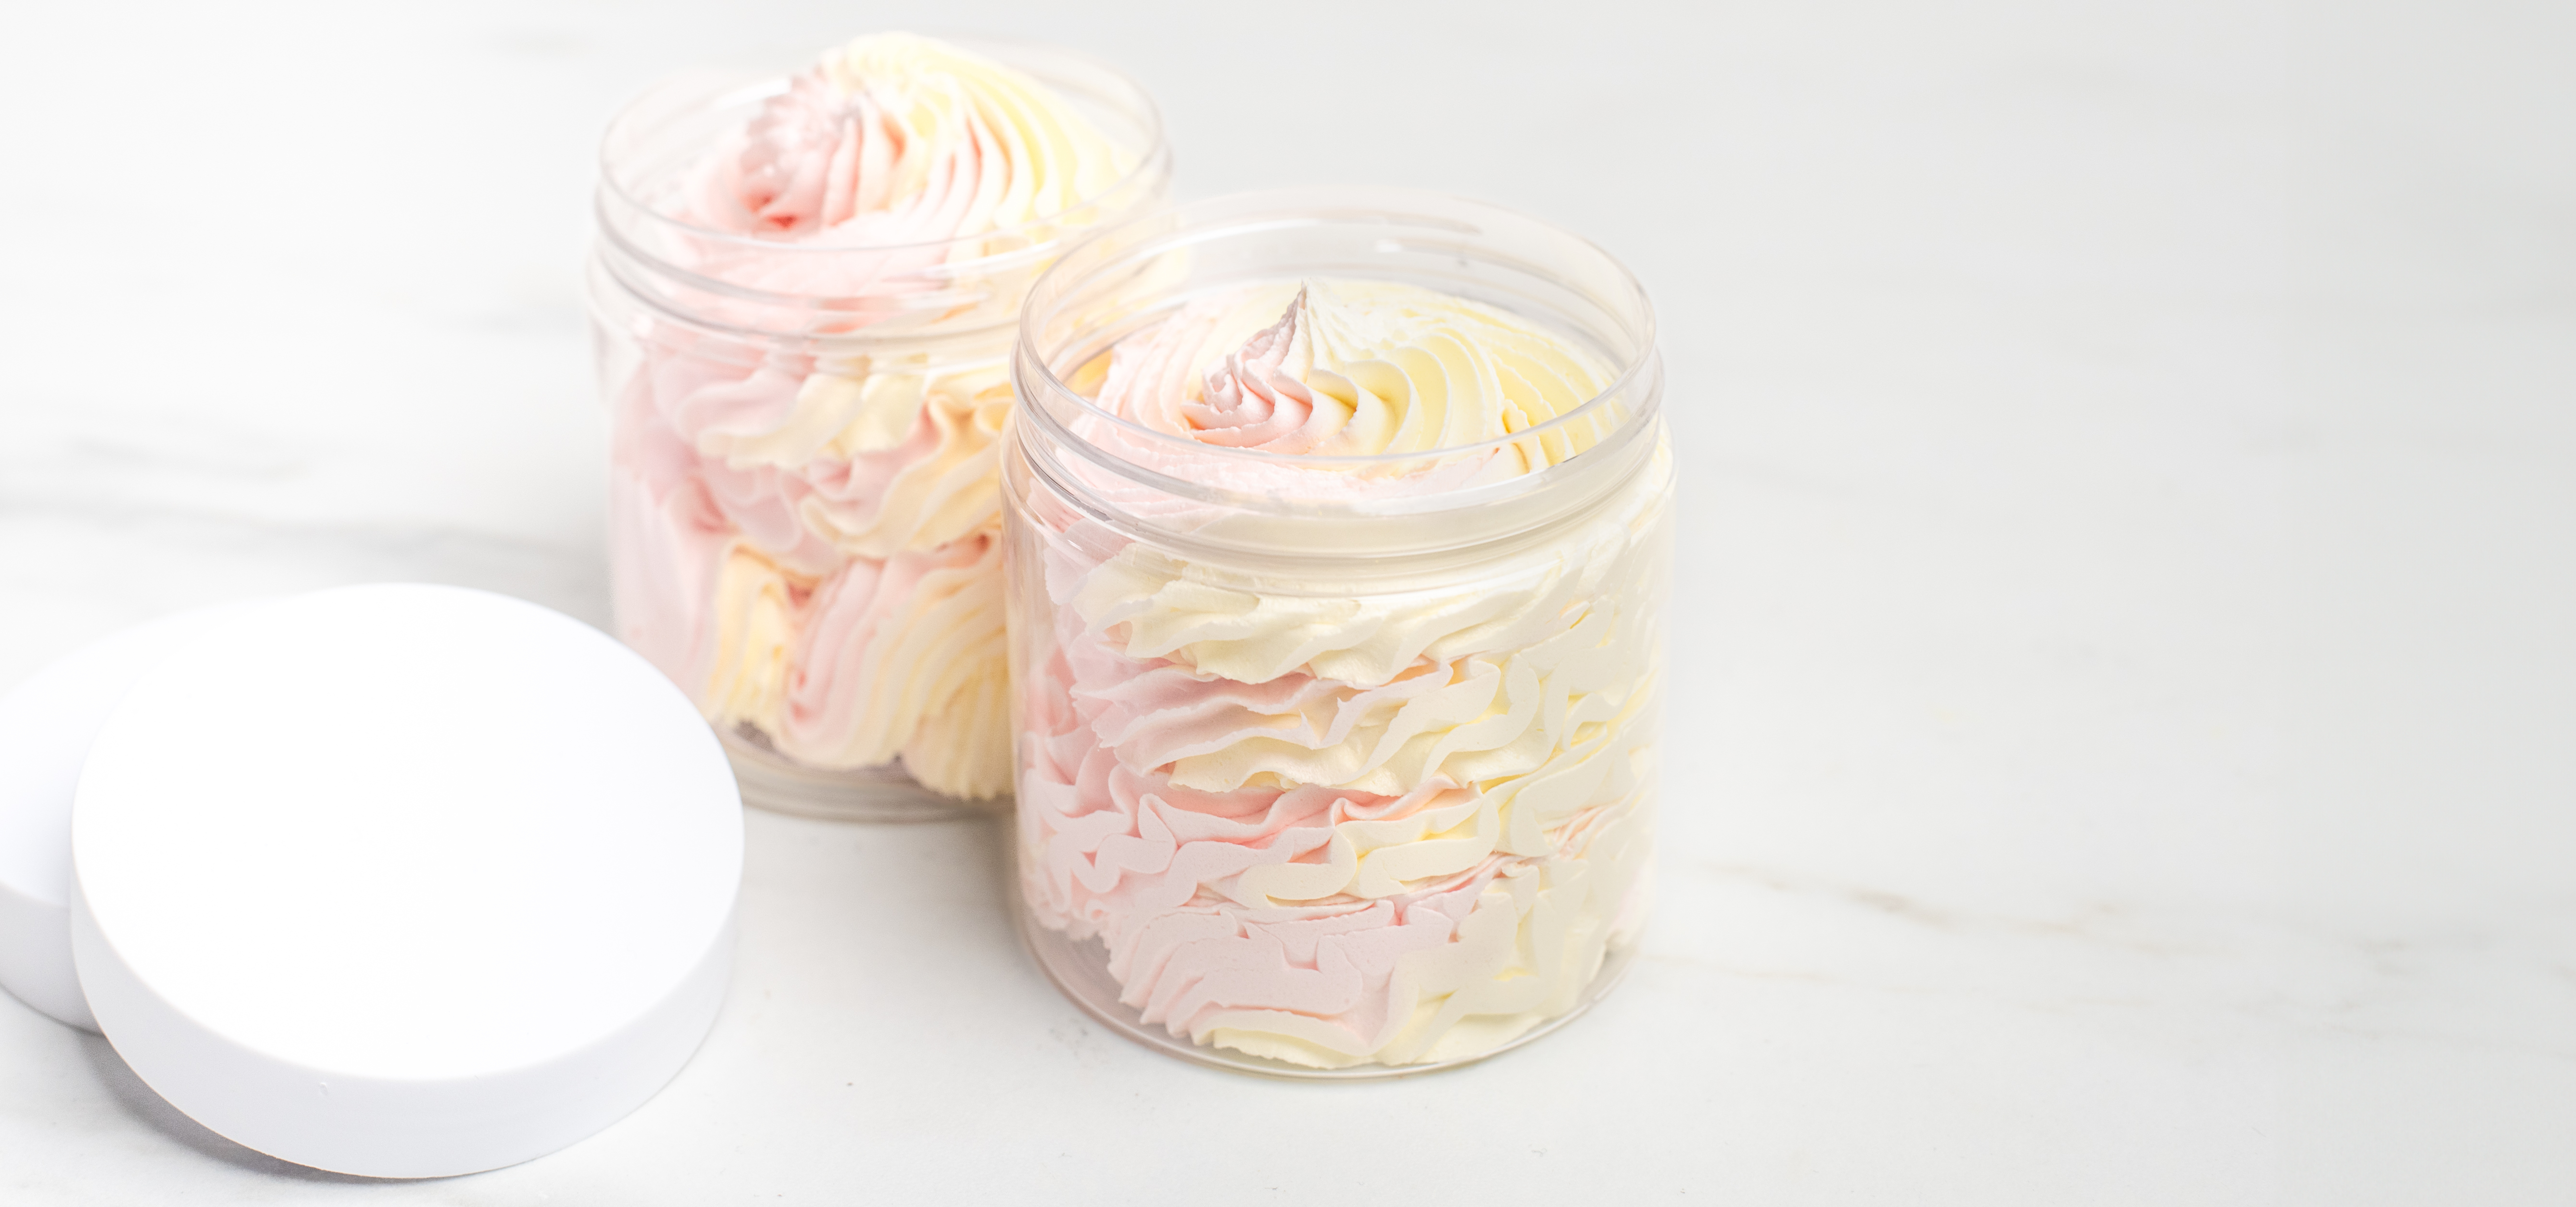
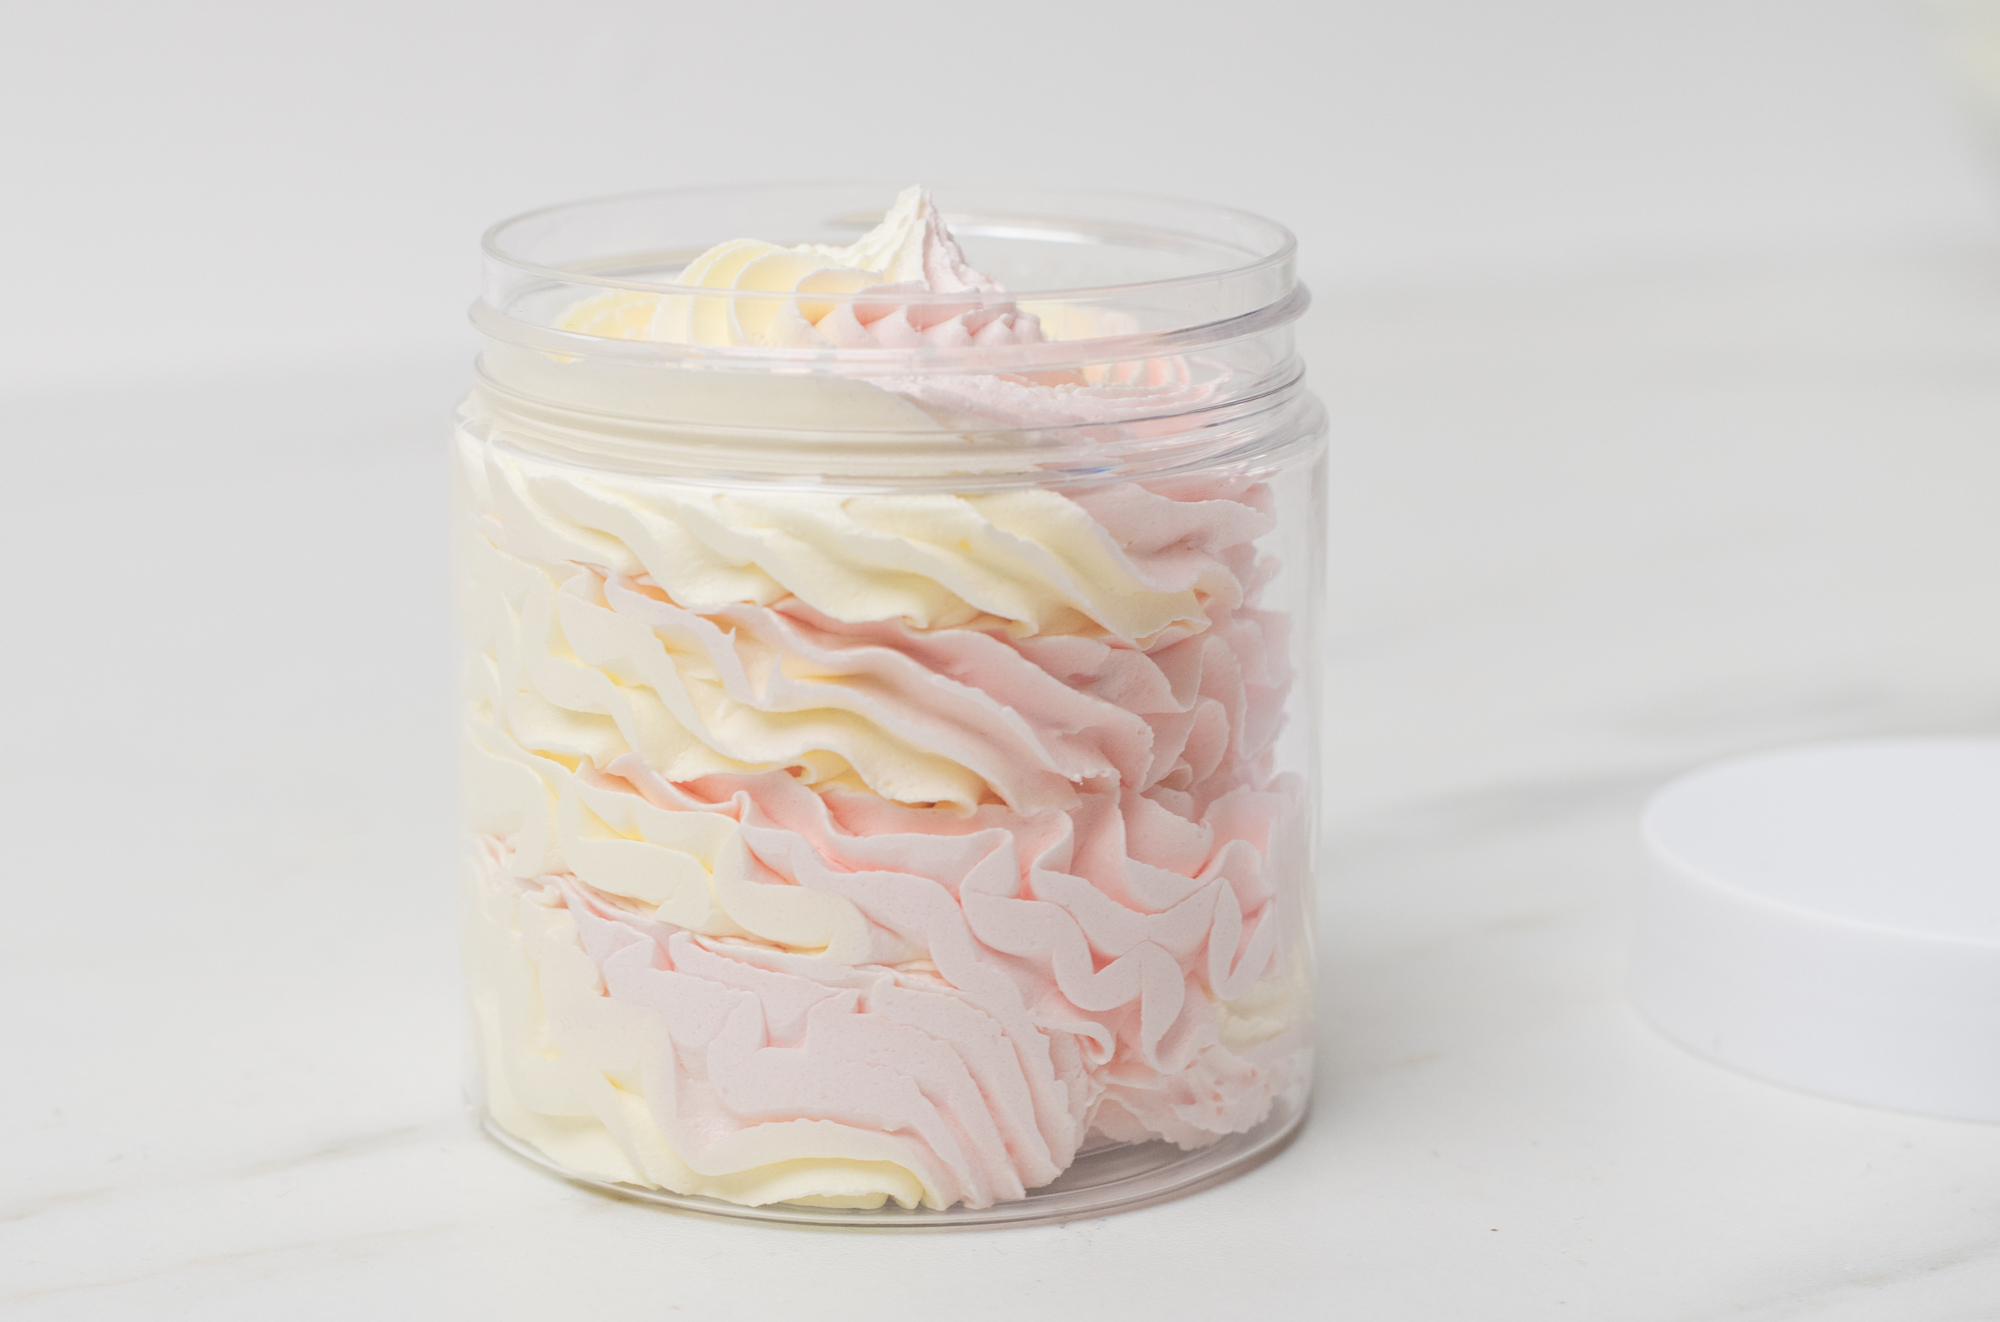
Step 6: Pipe soap into jars
Carefully pipe the ombre whipped soap into your selected jars. We chose clear jars to show off the colorful swirls and patterns the micas create. To maximize the amount of soap you can fit, gently tap the jar a few times.
Note: We do not recommend using glass containers due to safety concerns.
Allow your whipped soap to set and firm up for a few hours to overnight.
.jpg)
We hope you’ll try this recipe if you’ve ever wondered how to make whipped soap. The Stephenson Foaming Bath Butter Base makes it easy and allows you to focus on the fun parts—color, scent, and customization!
No matter the colors you select, you’ll make not only soap but mini works of art for your bathroom counter!
Show off your take on ombre whipped soap and all your handmade creations, with the CandleScience community by tagging us @CandleScience and using the #CandleScientist hashtag on Facebook, Twitter, and Instagram. We may feature you in our Stories or on our website!