How to make soy wax melts
Learn how to make soy wax melts to sell alongside your candle line, give as gifts, or simply enjoy, with this customizable tutorial. Experiment with different molds to add your own personal touch or twist to a basic melt.
Why wax melts?
DIY wax melts and tarts are quick, simple, and fun to make at home.
When the open flame or soot of a candle isn't desired, wax melts are a great alternative to enjoy your favorite scents.
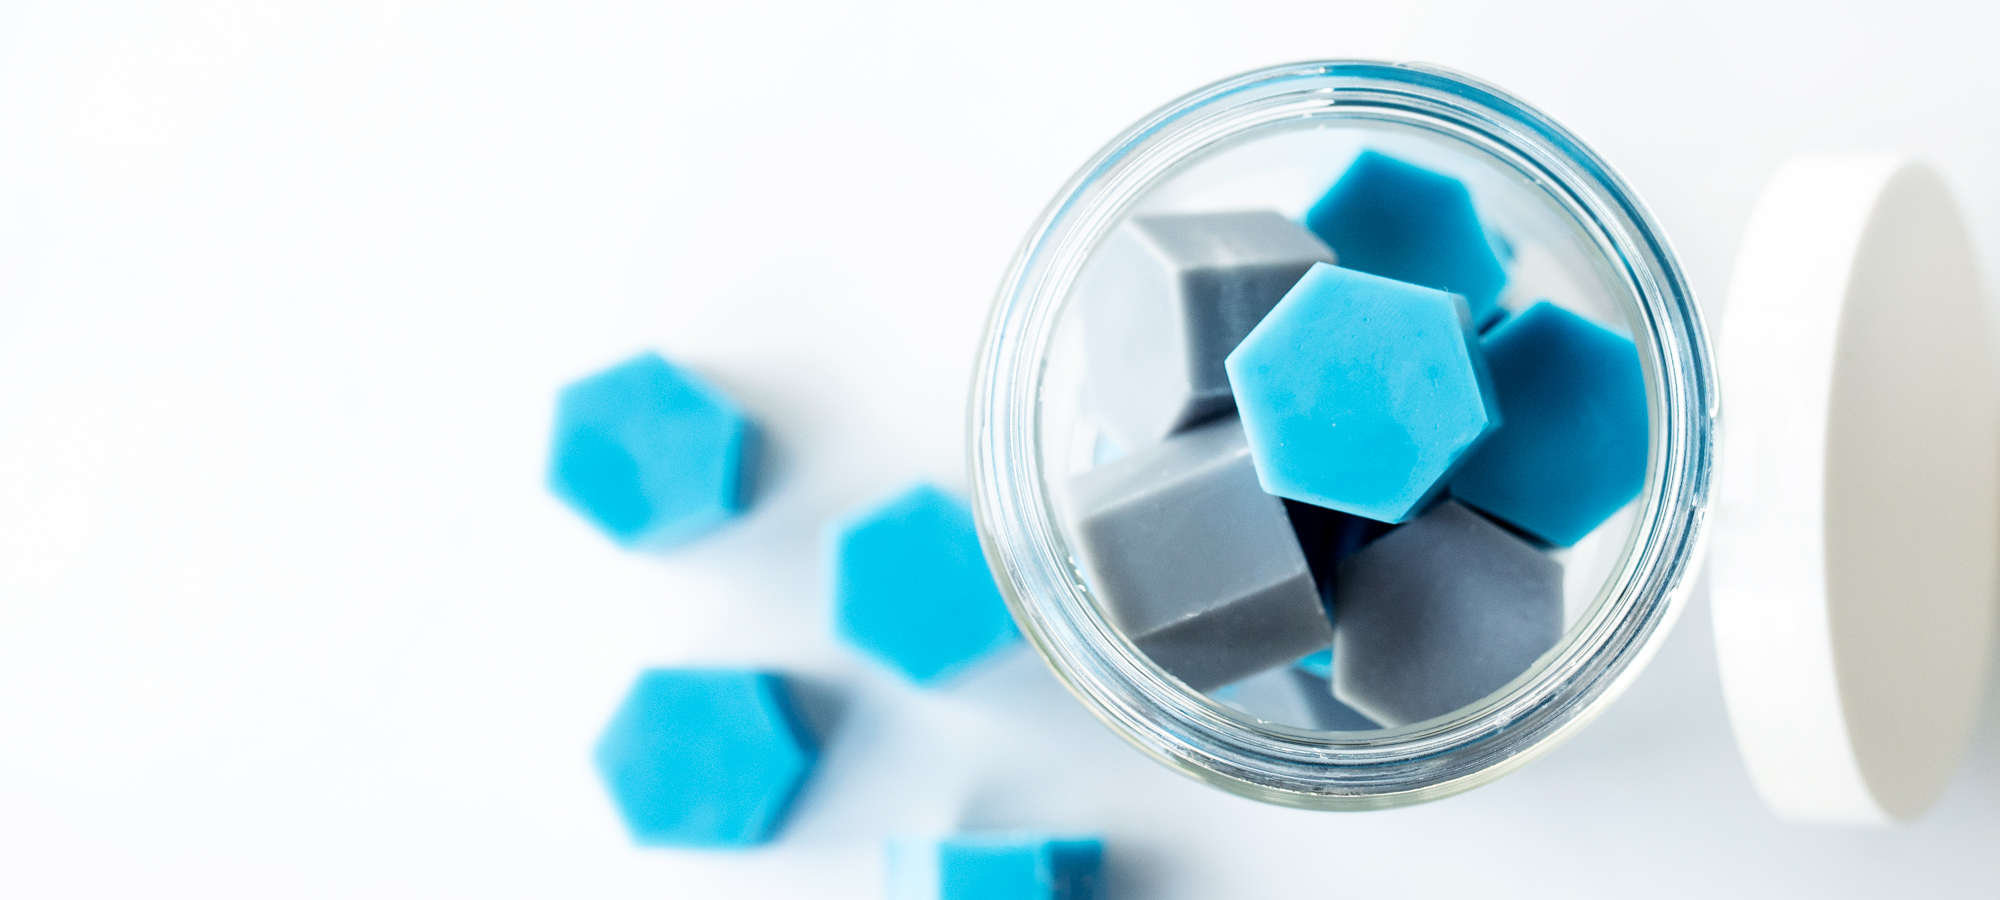
The creative possibilities with wax melts are also endless! Not only are there many options for different shapes, colors, and aromas, but you can add botanicals, micas, and glitter to wax melts and tarts.
How to make strong wax melts and tarts
If strong fragrance throw is what you want, melts and wax tarts are the way to go because they can hold more fragrance than most candles.
These are our top tips to achieve maximum scent throw in your wax melts:
- add fragrance at the recommended wax temperature of 185ºF/85ºC
- use a wax warmer with a high-heat bulb
- select waxes that accept high fragrance loads
Depending on the type of wax you prefer, we recommend:
- CandleScience CocoSol, a pillar soy wax with up to a 25% load for melts.
- EcoSoya PB, a pillar soy wax with a 12% load for melts
- IGI 4625, a pillar and votive paraffin wax with a 6% load for melts
- IGI 6028, a paraffin/soy pillar wax blend with a 9% load for melts
Before we get into the tutorial, it's worth noting there continues to be a strong market for products made with natural ingredients. And wax melts are no different!
Pair soy wax with candle-approved essential oils to achieve beautiful, natural scents in your own wax melts.
Check the recommended usage percentage on the essential oil product page and start with low percentages.
Additional Items Needed:
Note: Equipment should not be re-used for food prep.
- Paper towel
- Isopropyl Rubbing Alcohol
- Spatula
Soy Wax Melts Directions
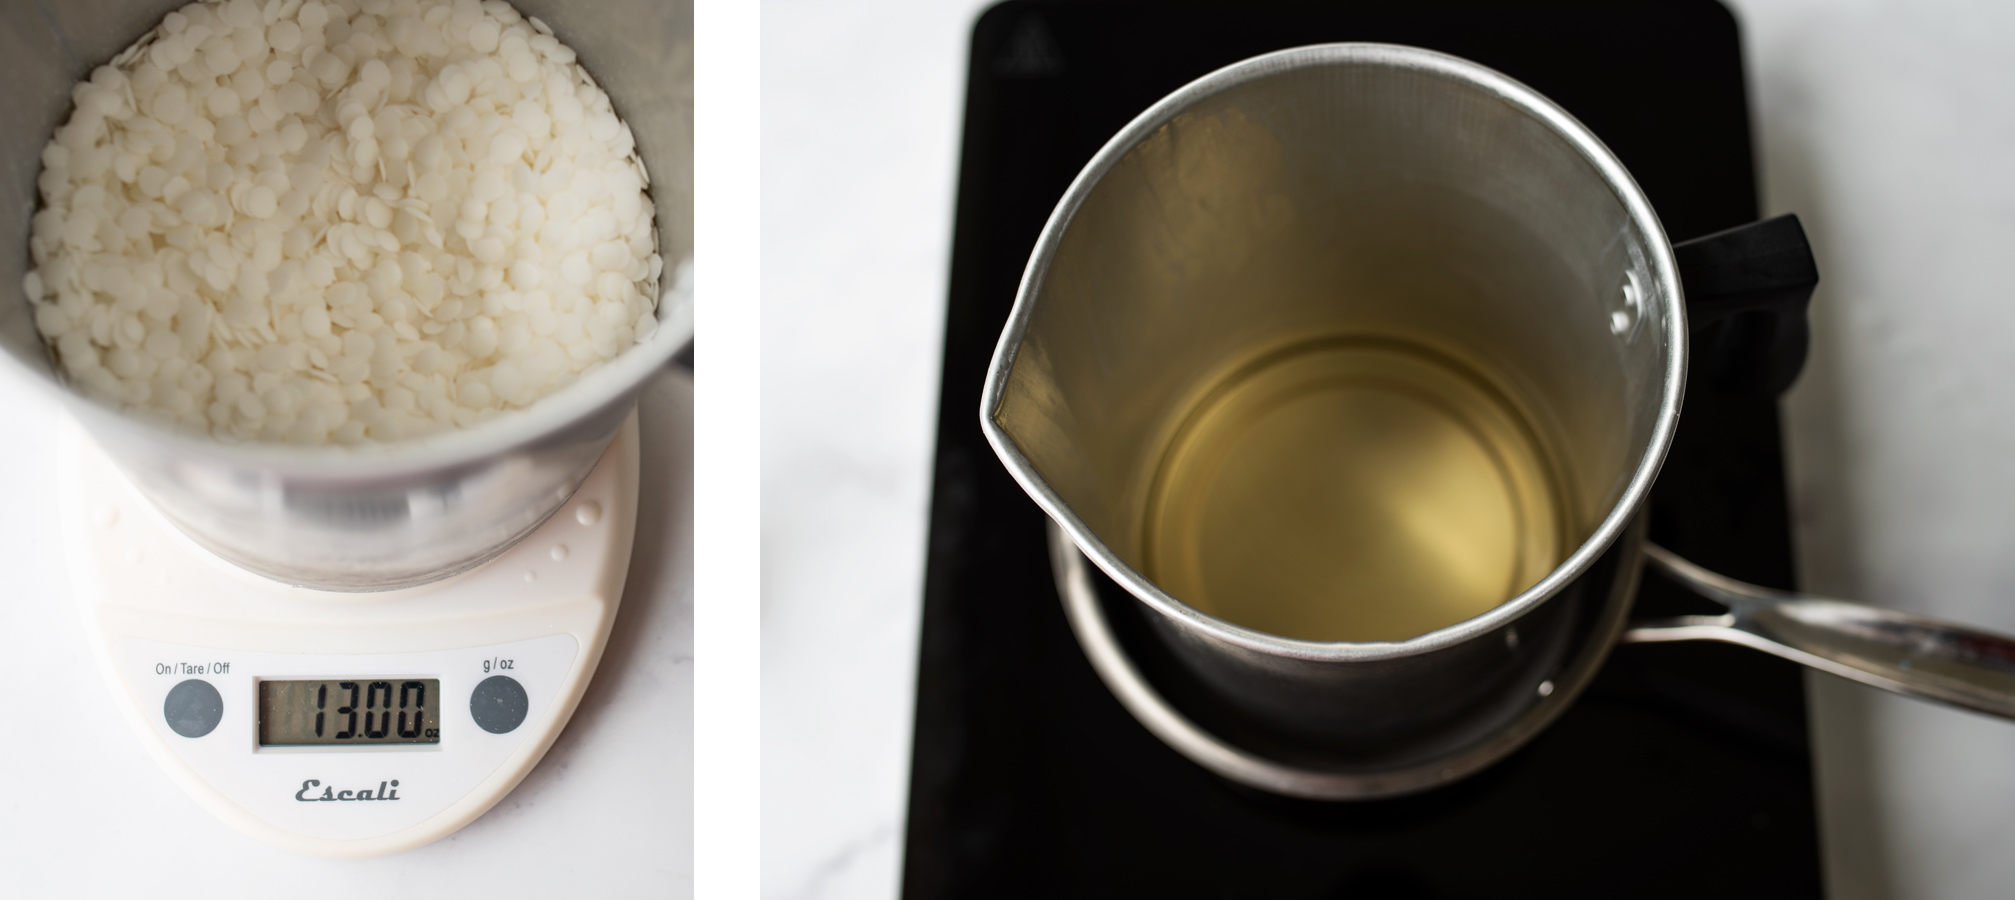
STEP 1: Weigh out and melt the wax
Place the pouring pitcher on your digital scale and tare the weight. Weigh 13 oz. (369 g) of CandleScience CocoSol Soy Pillar Wax in the small pitcher. Begin to melt the wax with a double boiler or on a hot plate.
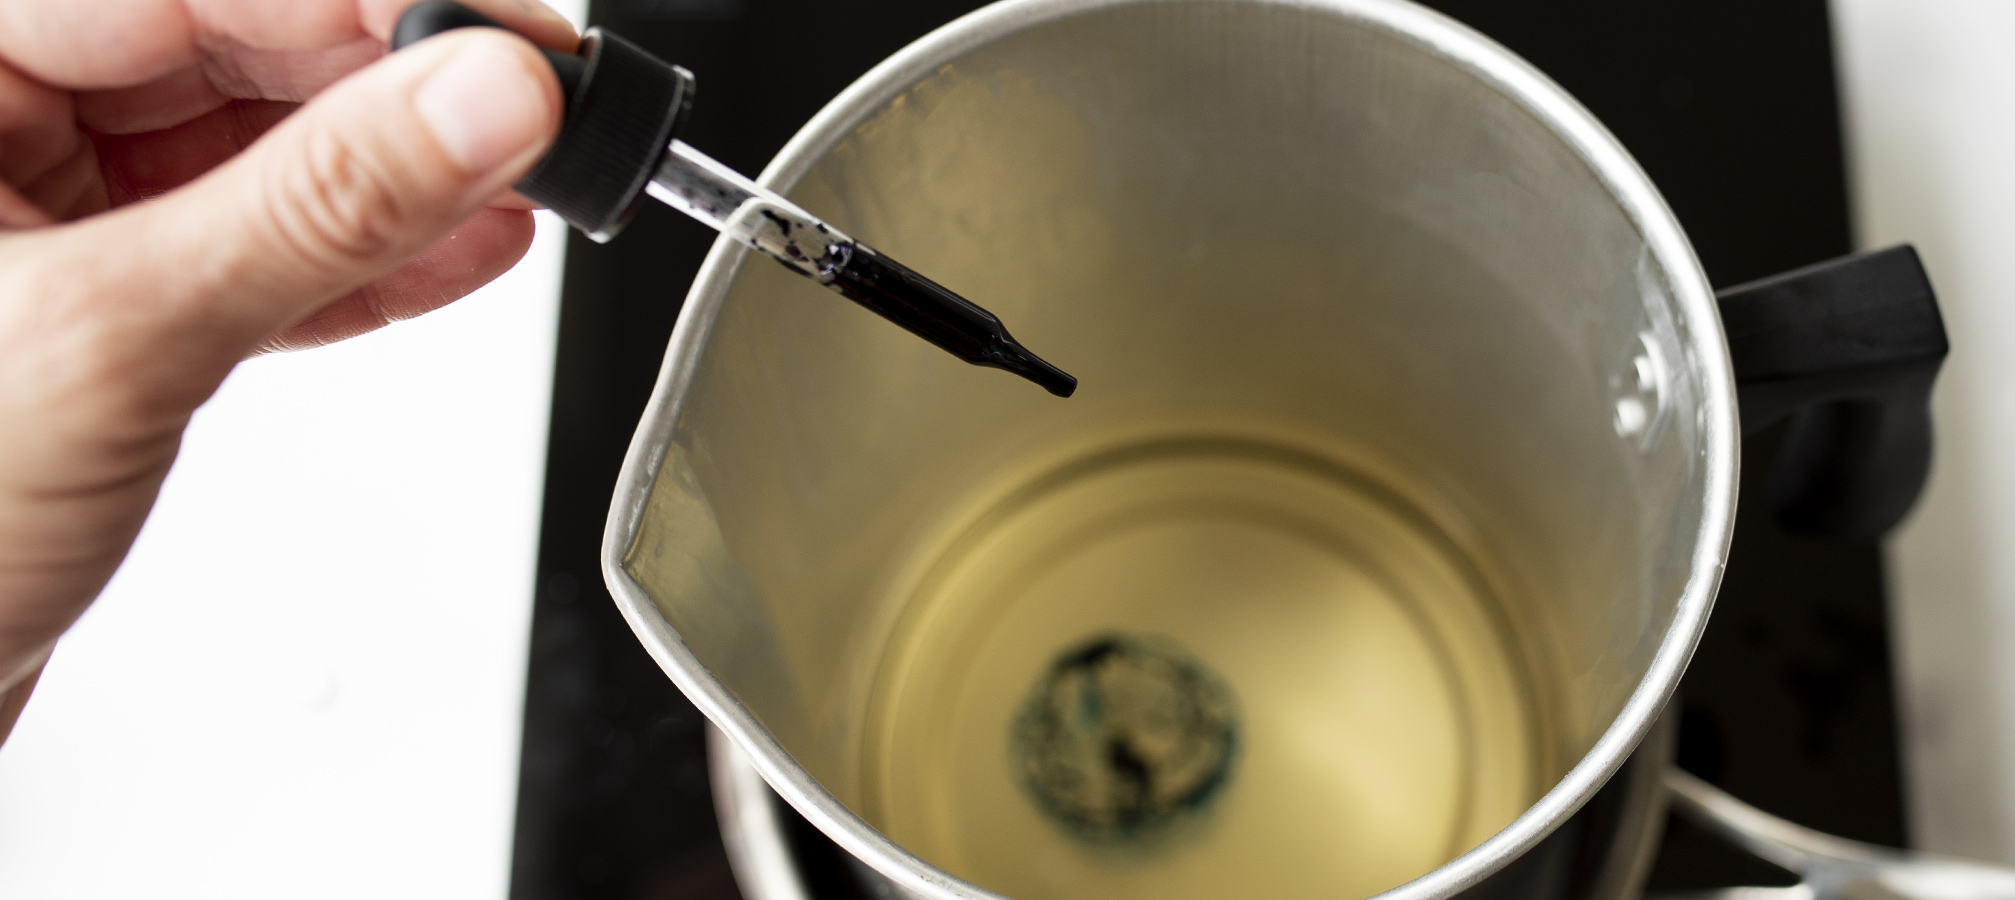
STEP 2: Add candle dye to melted wax
When the wax reaches close to 185ºF (85°C), add 4 drops of Summer Breeze Liquid Candle Dye stir until the dye is completely mixed in. Continue to heat the wax.
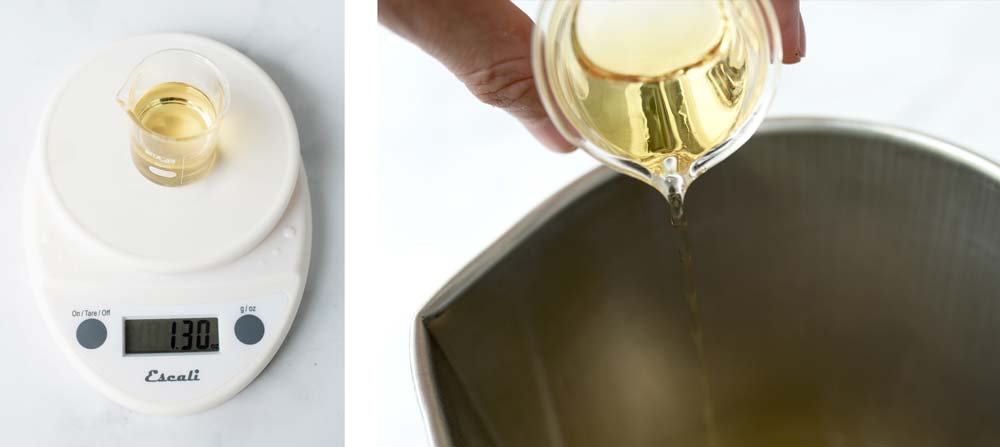
STEP 3: Weigh and add your fragrance oil
While your wax is heating, weigh 1.3 oz. (37 g) of the Sea Minerals fragrance oil. Our fragrance load is 10%, but you can adjust down according to your preference.
When the wax reaches 185ºF (85°C), add the fragrance oil you weighed and remove it from the heat. Stir the wax melt mixture gently but thoroughly for 2 minutes to make sure the fragrance binds fully with the wax.
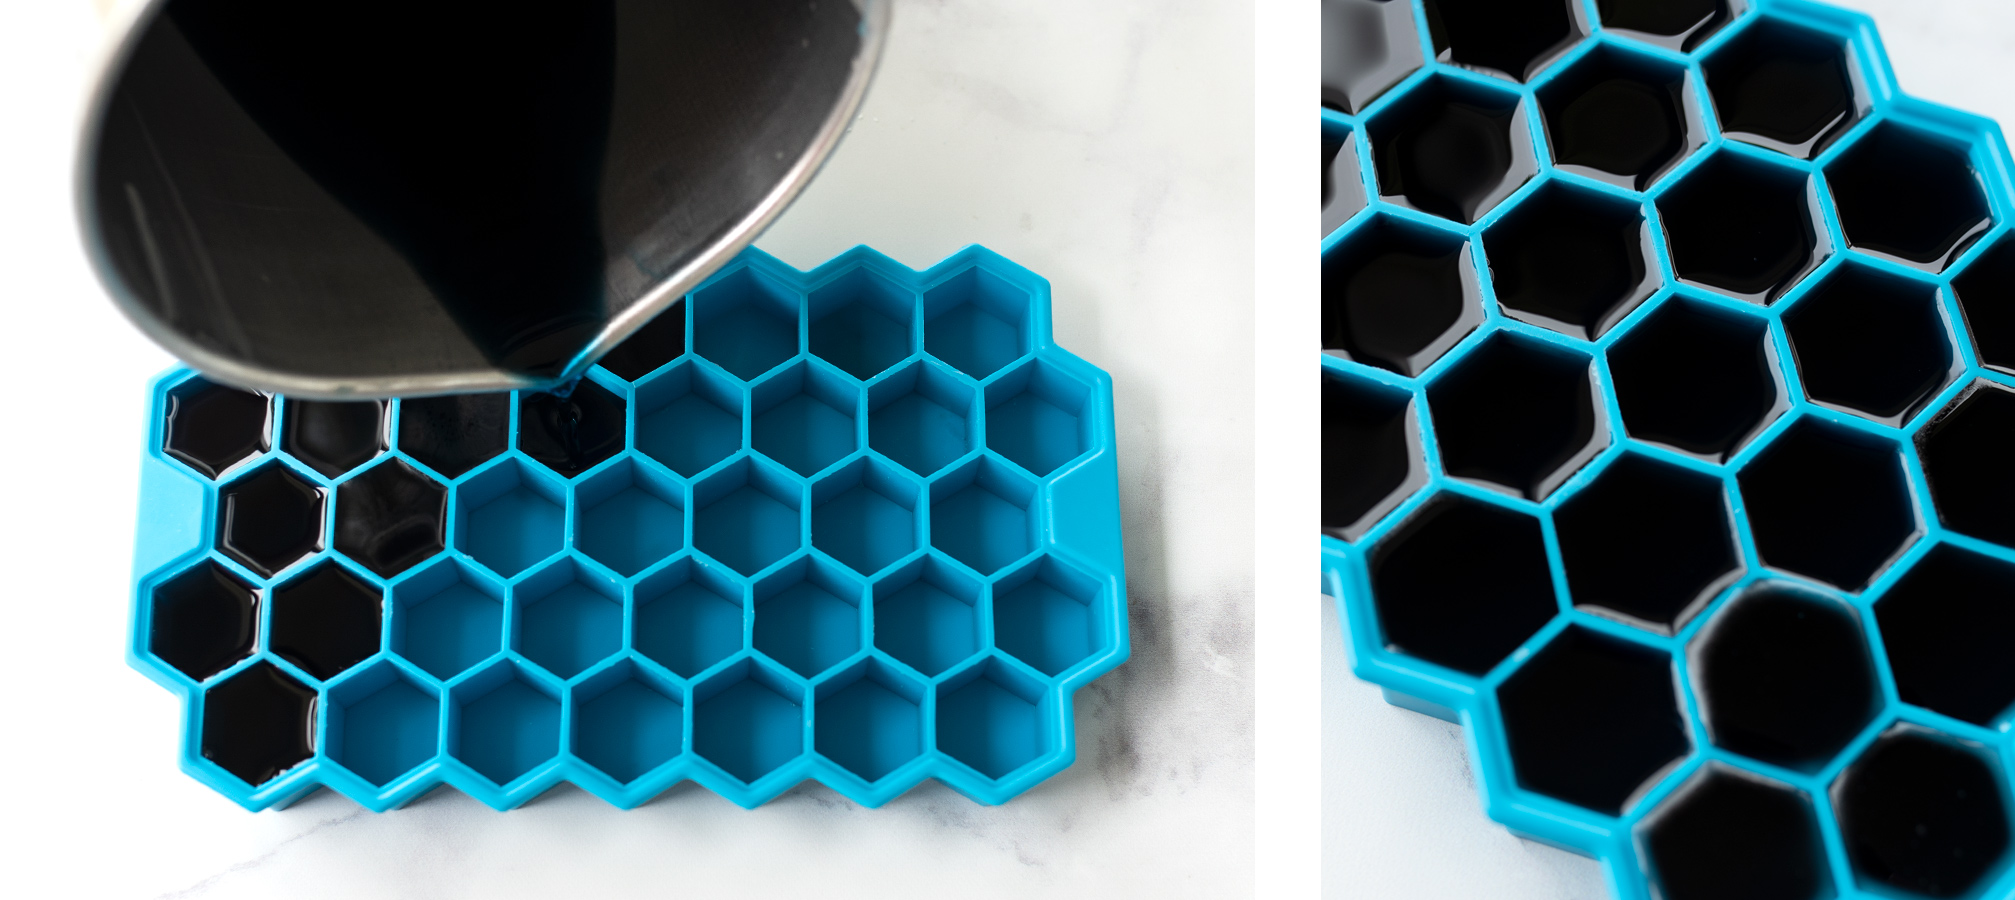
STEP 4: Pour soy wax into the wax melt mold
Allow the wax to cool to 170ºF (76.7°C) and pour into your silicone mold. For best results, pour slowly to ensure that you don't overfill the cavities.
If you have a hard time pouring from the pouring pitcher, try the Funnel Pouring Pitcher.
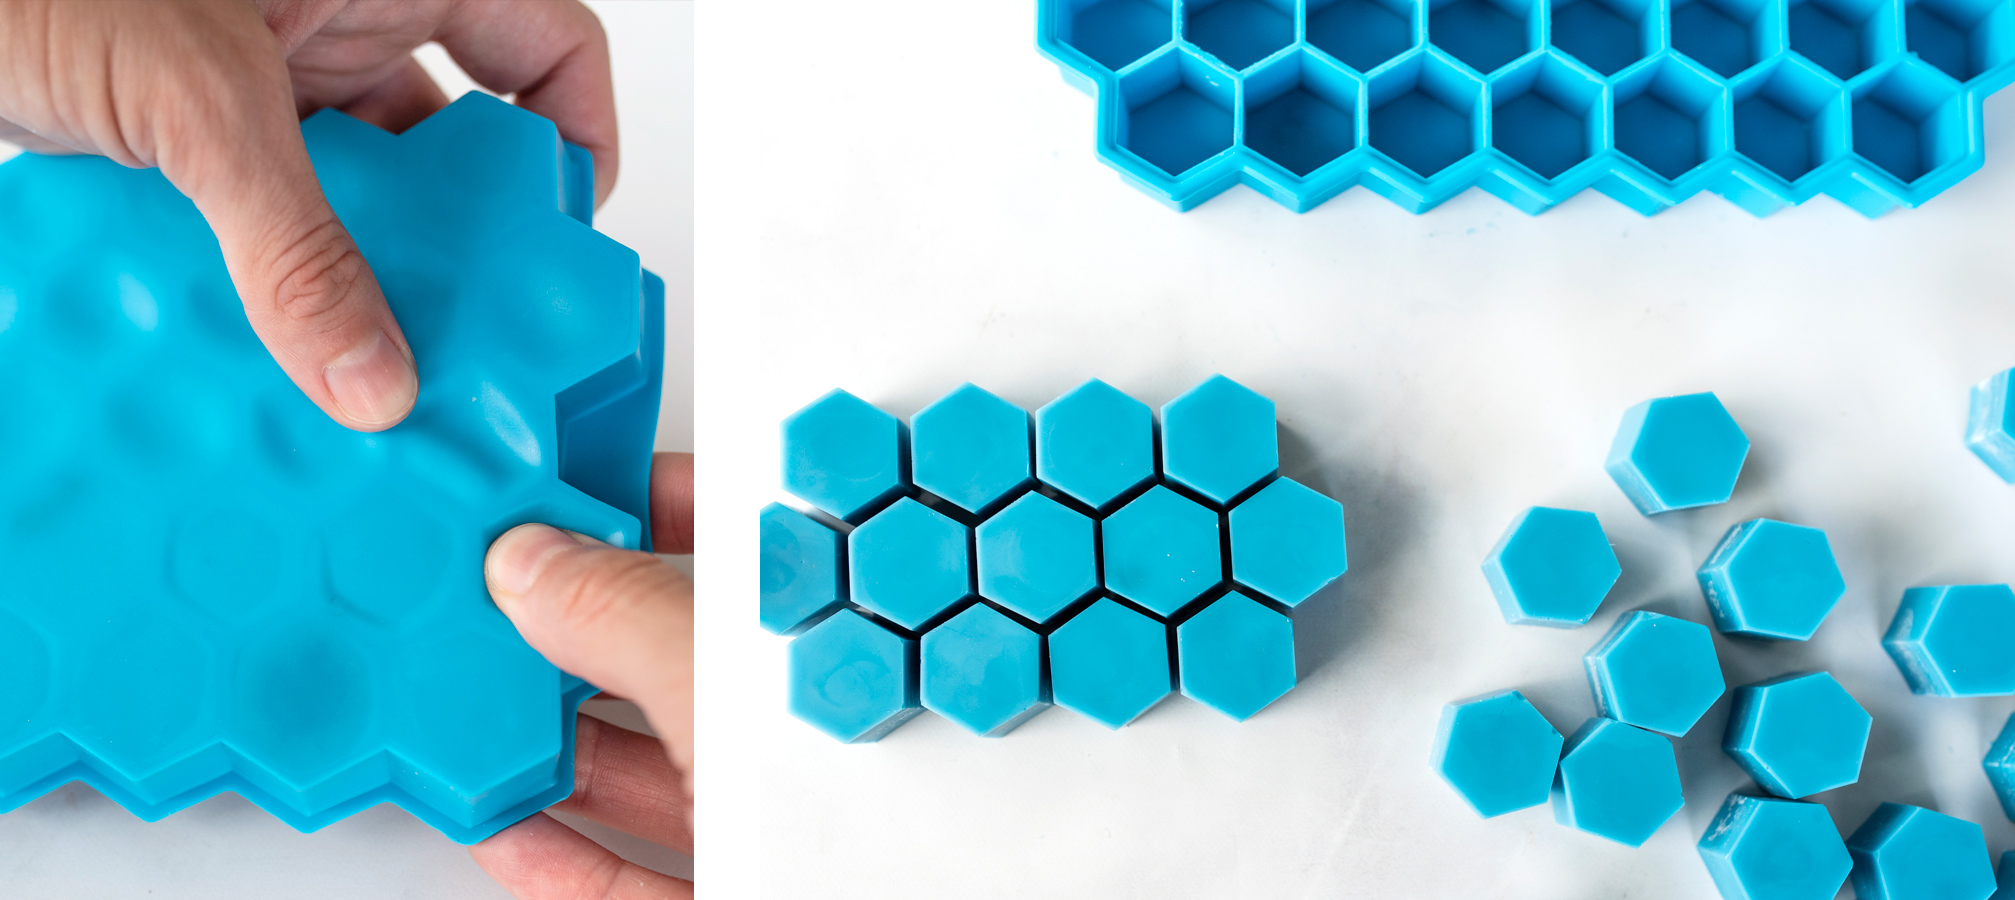
STEP 5: Allow wax to cool, then remove melts from the mold
Allow your wax melts to completely cool for several hours. Gently bend your silicone mold to loosen the melts and flip over to release. For best fragrance throw, let your wax melts to cure for 1-2 weeks before use. Be sure to follow the manufacturer's directions for the wax melt melter that you choose to use.
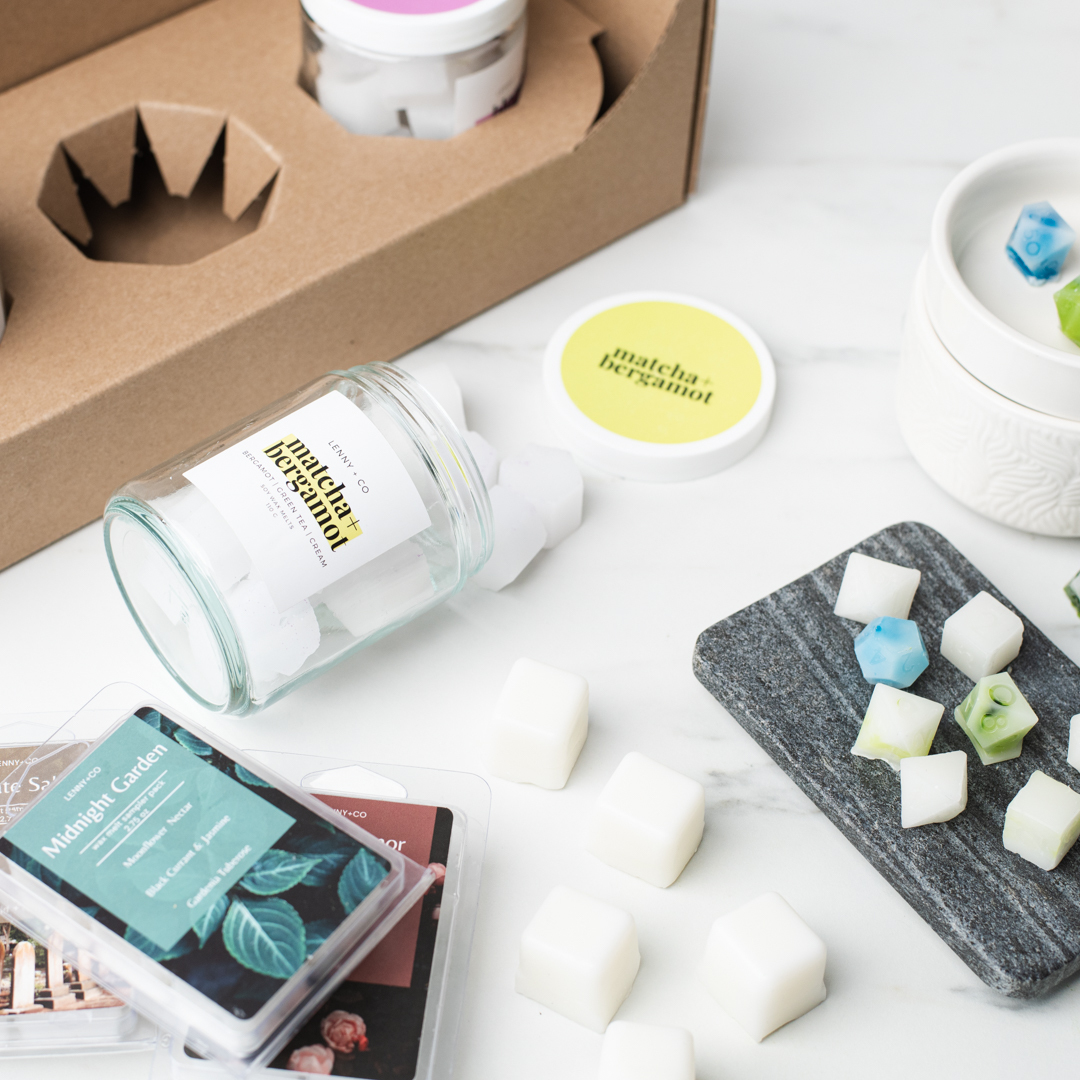
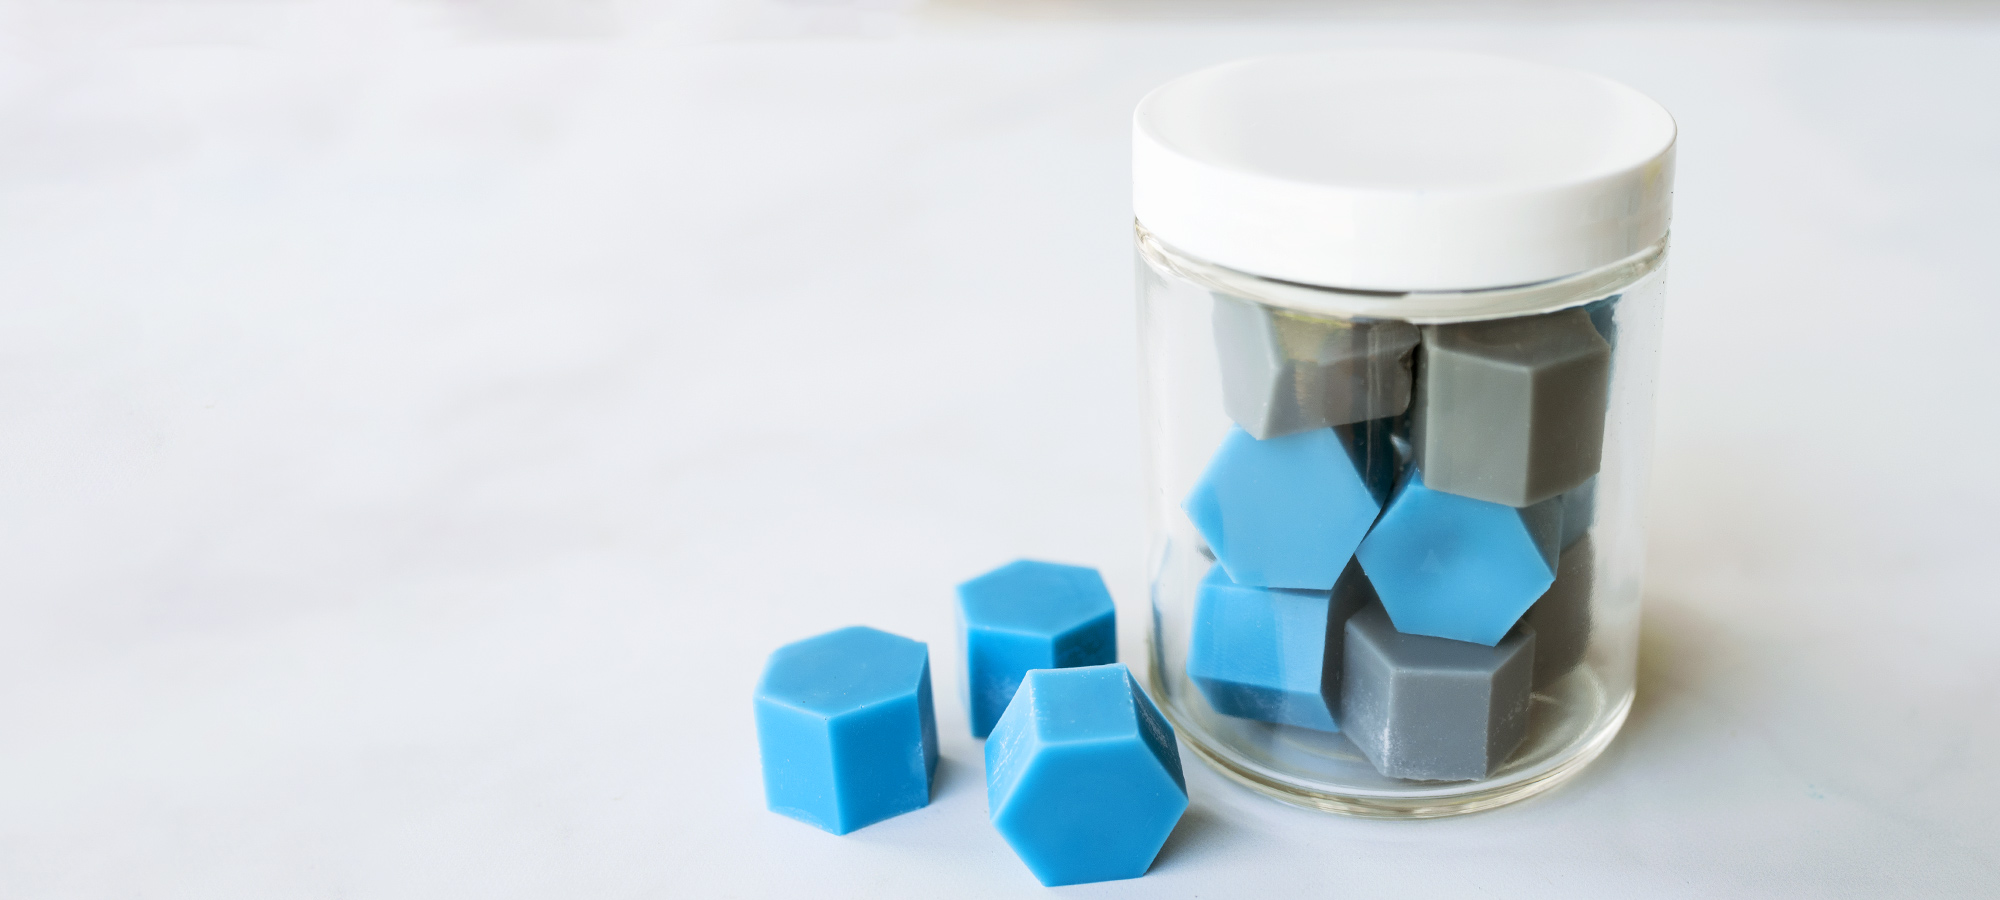
We used a medium straight sided jar to package our wax melts for a clean, modern look. You can also use mason jars, tins, and tumblers to package wax cubes. There is a lot of room to get creative with packaging so have some fun with it!
Create your own custom label or find a template with Avery WePrint—avery.com/candlescience to get started designing your own and take 10% off your label order!
Additional wax melt guides and inspirational projects:
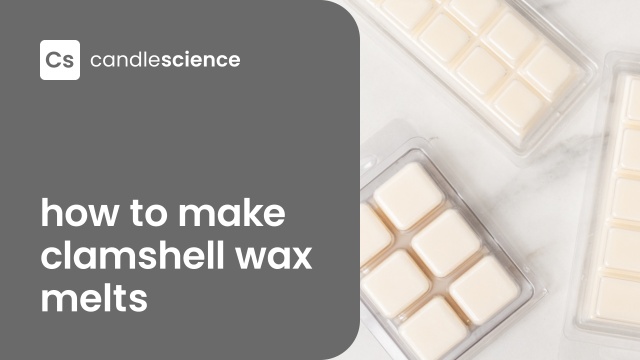
Video Guide: How to make clamshell wax melts Breakaway or clamshell wax melts are popular because they’re inexpensive and convenient.
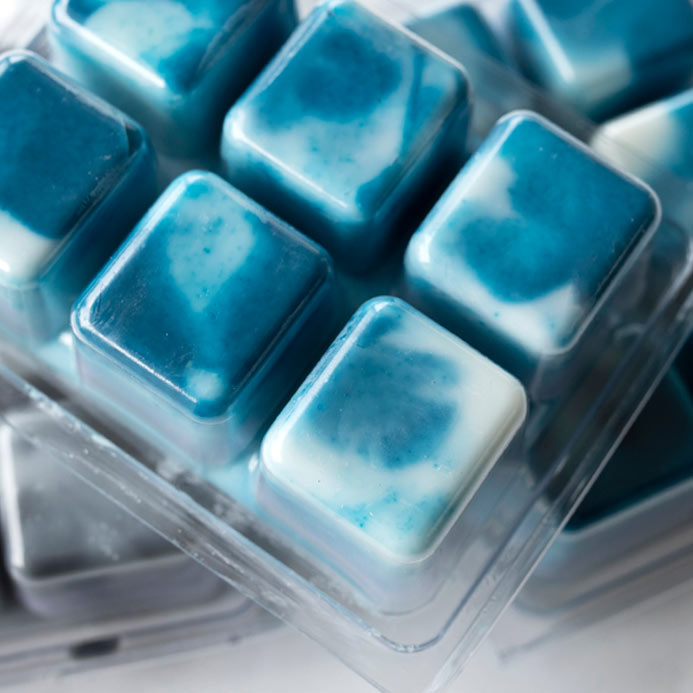
Tie-Dye Wax Melts

Bleeding Heart Wax Melts