
6 tips for demolding wax projects Learn how to remove wax melts, pillar candles, and embeds without breakage.
Wax selection is a huge part of achieving a clean release from molds when making pillar candles, wax melts, and embeds. In addition to choosing a wax that’s best suited for your project, we also recommend these tips and tricks to help avoid breakage during the demolding process.
1. Give it time
Let the wax completely cool before attempting to remove your candles or melts from a mold. While wax typically cools within a few hours, we suggest waiting a full day before demolding to give the wax extra time to fully harden and maintain its shape.
2. Cool it down
Because wax shrinks as it cools, placing your mold in a refrigerator for a few minutes can make it easier to remove. If you have a large number of candles or melts to remove, placing them in a cooler room (or cooling the room they’re in) before de-molding is also an option.
Avoid leaving your molds in a refrigerator for more than ten minutes, though, because extended exposure to cold air can cause the wax to shrink too much and potentially crack. Begin checking after five minutes.
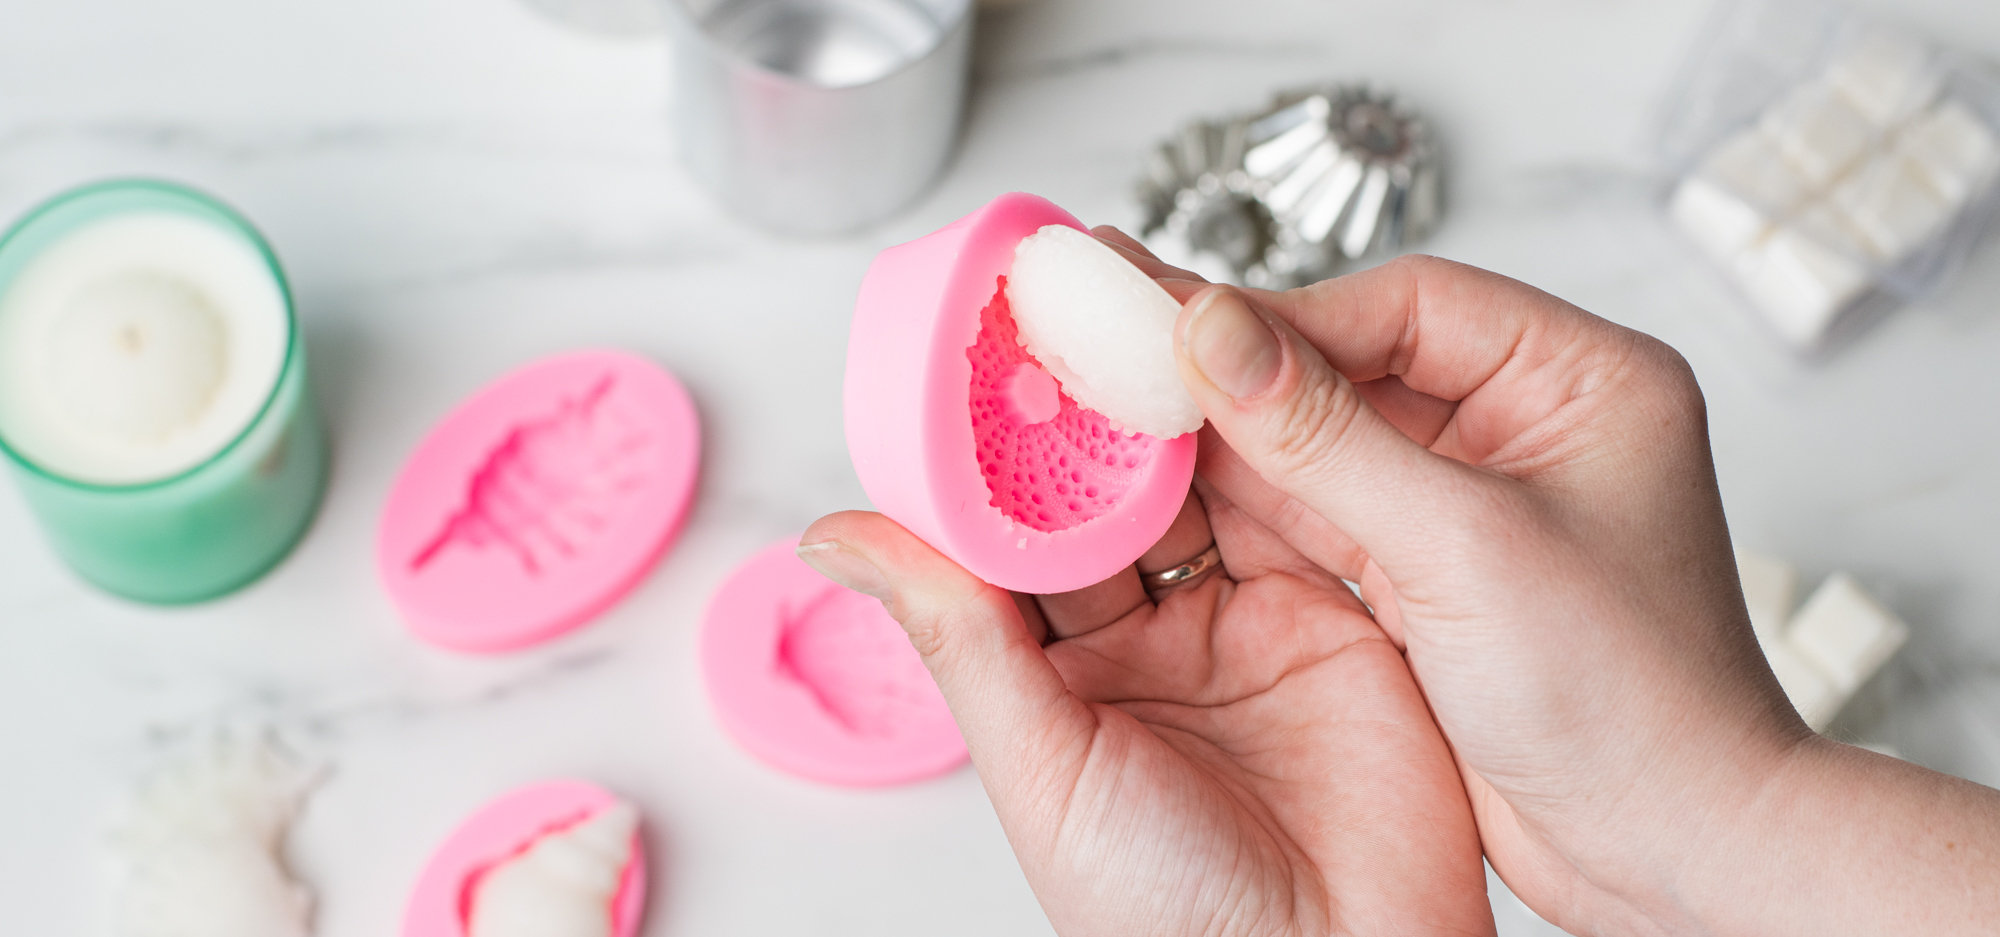
3. Take it slow
Slowly loosen the mold from the wax before attempting to remove it completely by gently pulling the mold apart, just enough to break contact between the mold and the wax. Once you’re confident that the wax has been loosened from the mold, begin peeling the mold away from the wax. Take extra time and caution with any areas that feel particularly resistant.
4. Mold release spray
These sprays function similarly to non-stick cooking sprays. Spraying a thin layer of mold release spray can help prevent pillar candles and wax melts from sticking to molds. Not all mold release sprays are compatible with silicone molds, so double-check your materials before use. To find them, search “mold release spray for candles” online or check with local craft stores.
5. Employ test attempts
Silicone molds with fragile components often take a bit of practice. When removing your wax from intricate molds, use the first few attempts as tests to observe how the wax behaves during the removal process. Take note of any areas that consistently break off or snag on the mold as you remove the candle, melt, or wax embed.
6. Cut a release slit
If you’ve identified problem areas in silicone molds you’re using, it can be helpful to experiment with release slits. Release slits are useful for mold shapes prone to wax breakage or sticking during the removal process, like delicate flowers or body candles.
Cut a release slit around the problem area with a sharp blade or knife. Before pouring wax into the mold, use duct tape to join it back together. Once the wax is completely cool and ready to remove, loosen the mold then gently begin peeling it away, starting with the release slit first.
While a small amount of wax may seep out before it cools, this technique is a great way to conquer ultra-delicate details. Plan on plenty of test attempts and prep your workspace accordingly!
We hope these techniques will help melt your frustrations away! Do you know of other tips or tricks? Let us know by leaving a comment below.
Have more candle making questions? Visit our Learning page for more resources, guides, and tutorials!