How to make melt and pour soap with essential oils
Learn how to make naturally scented soap with essential oils! This beginner-friendly project is a great way to incorporate essential oils into your self-care and hygiene routines. Customize your soap with your favorite melt and pour base, try different skin-safe essential oils, and use a unique soap mold to show off your creativity.
Additional items needed:
- Latex gloves
- Cutting board
- Small glass containers (for measuring oil)
- Plastic wrap
- Microwave
- Isopropyl alcohol
- Paper towel
Notes about working with CS essential oils:
- Less is more when working with essential oils! Before getting started, check your essential oil's recommended usage percentage and IFRA Certificate. We recommend starting conservatively, as soap, lotion, and other body-care products tend to have a higher scent payoff than candles.
- Always measure by weight, never by drops! Essential oils vary in density, so measuring by weight is the best way to ensure accuracy.
Directions:
Step 1: Prepare supplies and work space
Wash your equipment, soap molds, and utensils in warm soapy water and dry thoroughly. Don’t forget your workspace! Avoid any cross-contamination by spraying the area with rubbing alcohol or a 5% bleach solution, then wipe dry with a clean paper towel.
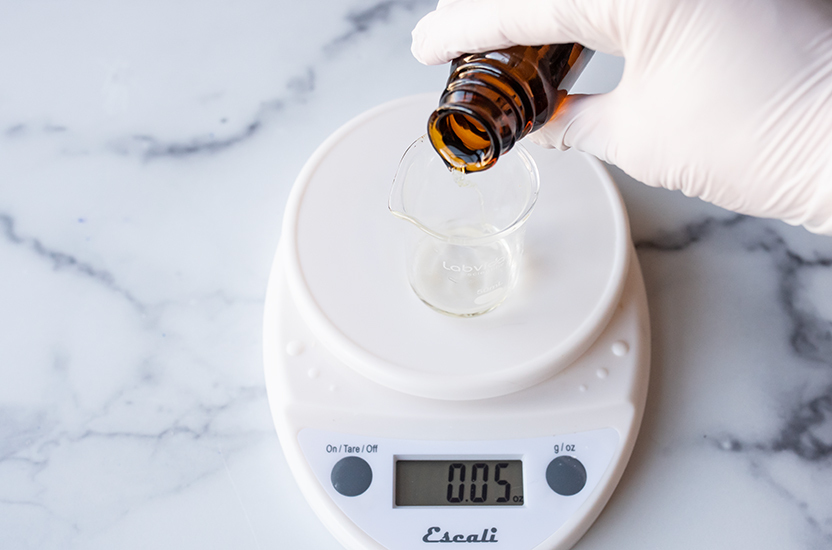
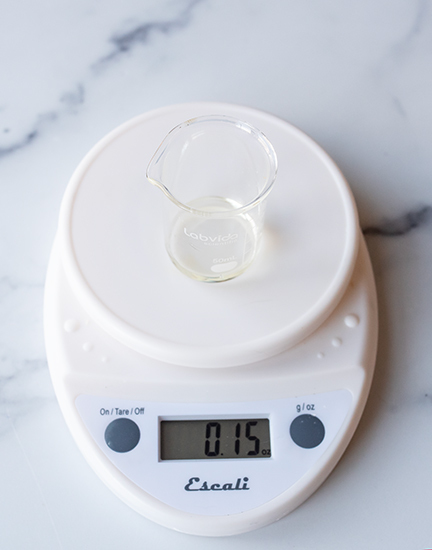
Step 2: Weigh essential oil
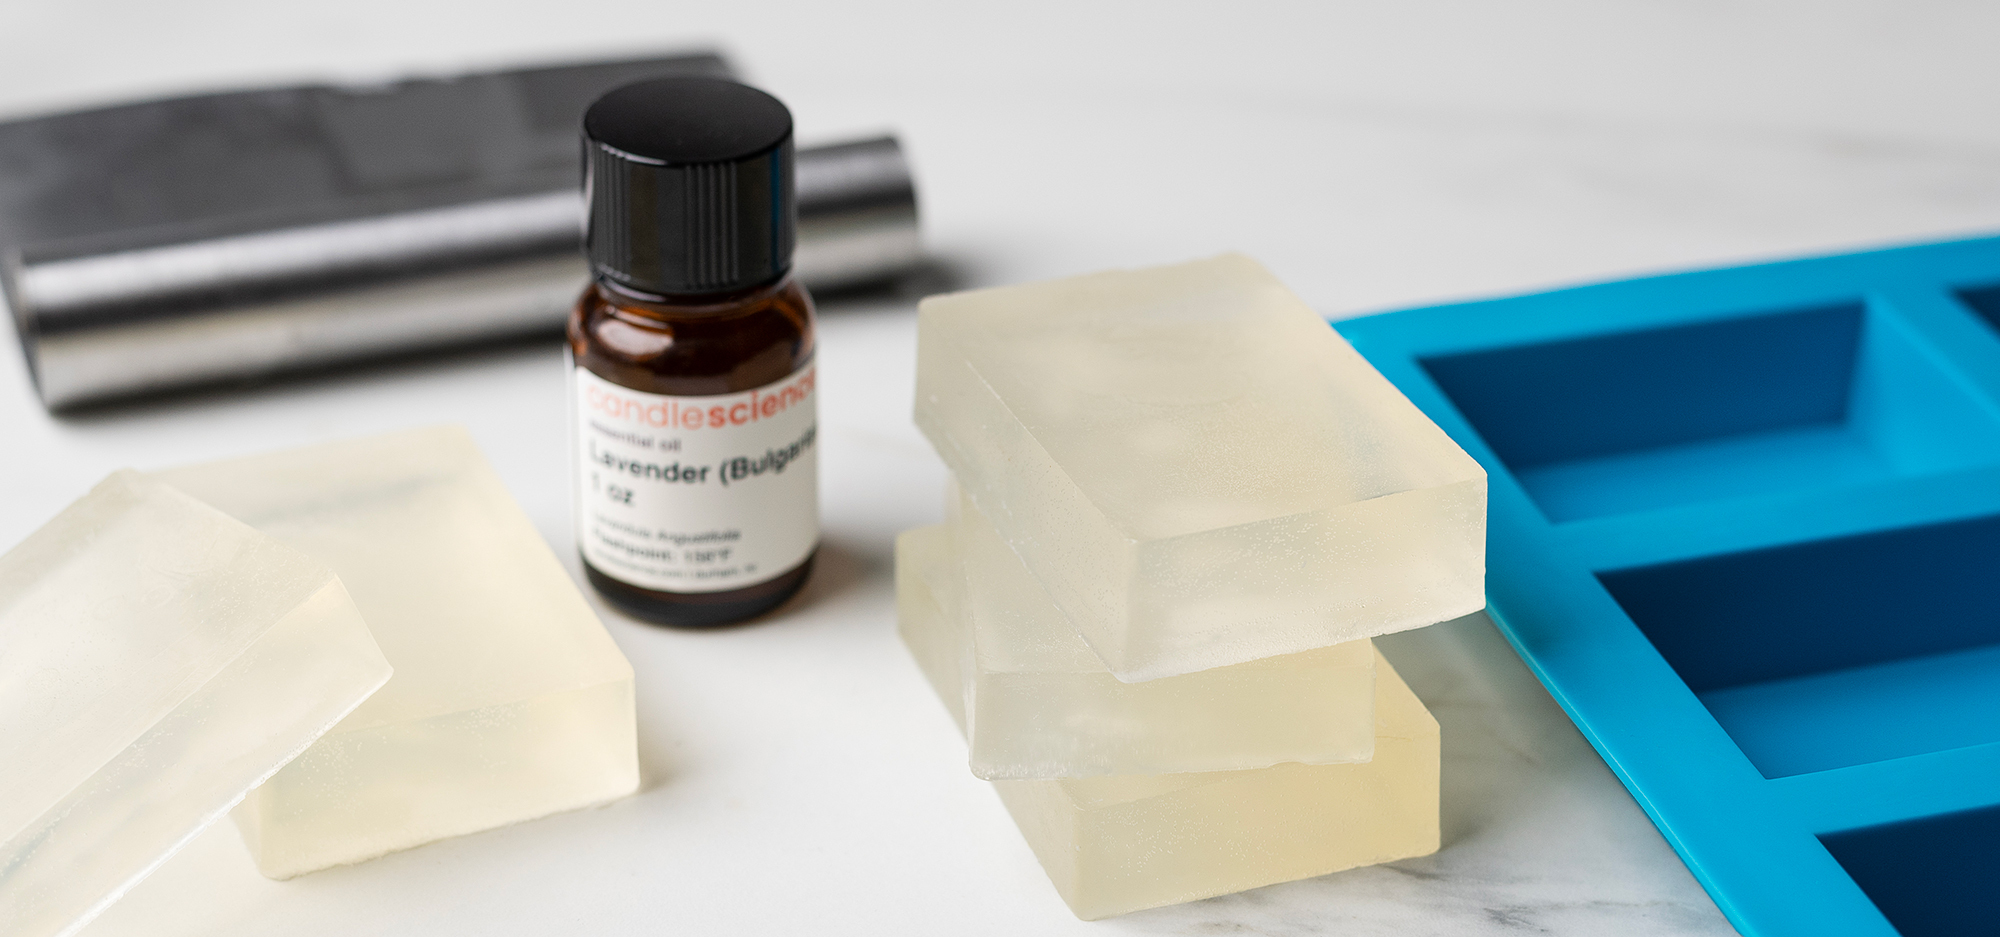
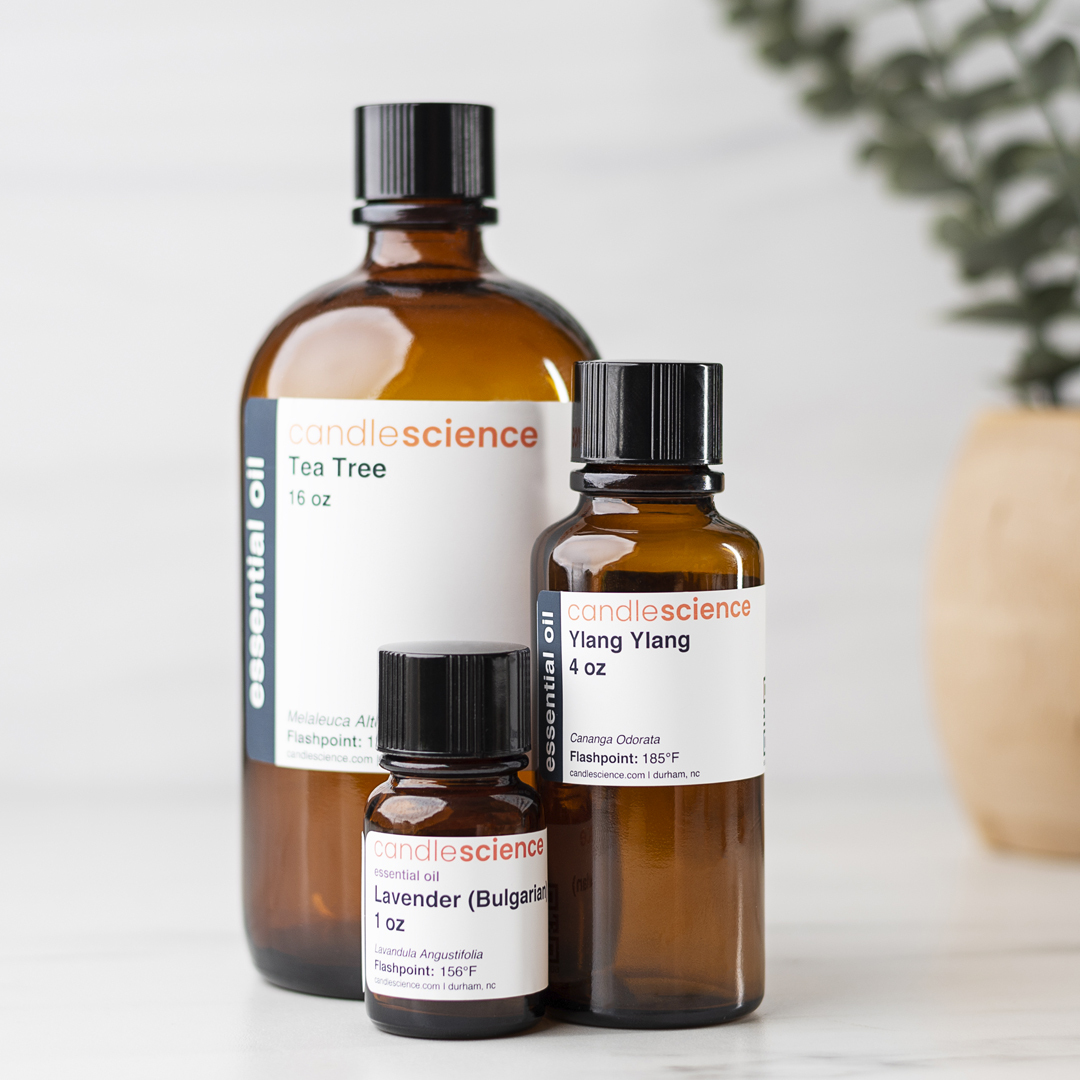
Place small glass container on scale and tare the weight. Weigh .15 oz (4.25 g) of the Lavender essential oil (or the skin-safe EO of your choice), approximately .7%. Set aside. You want to have your oil prepared ahead of time so the base does not start to cool and harden as you work.
Note: It is important to only use glass for this step. The fragrance can damage certain types of plastic and paper if it sits for long periods of time.
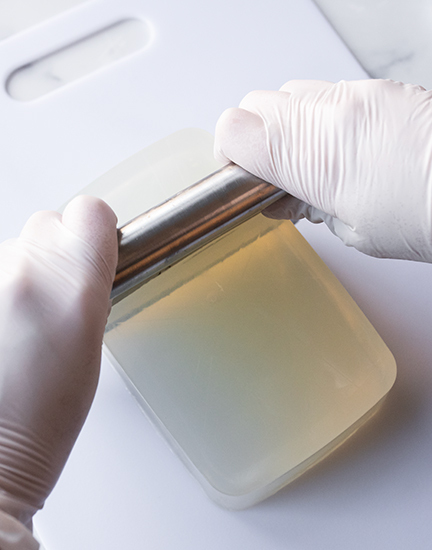
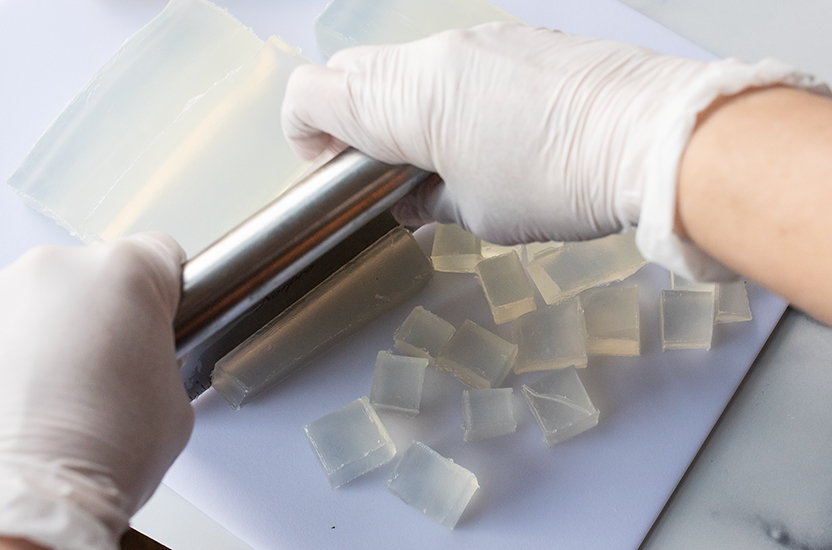
Step 3: Prepare soap base
Remove the Natural HF base from the container and cut off a little over ¾ of the soap block. Cut this piece down into 1” (2.5 cm) cubes.
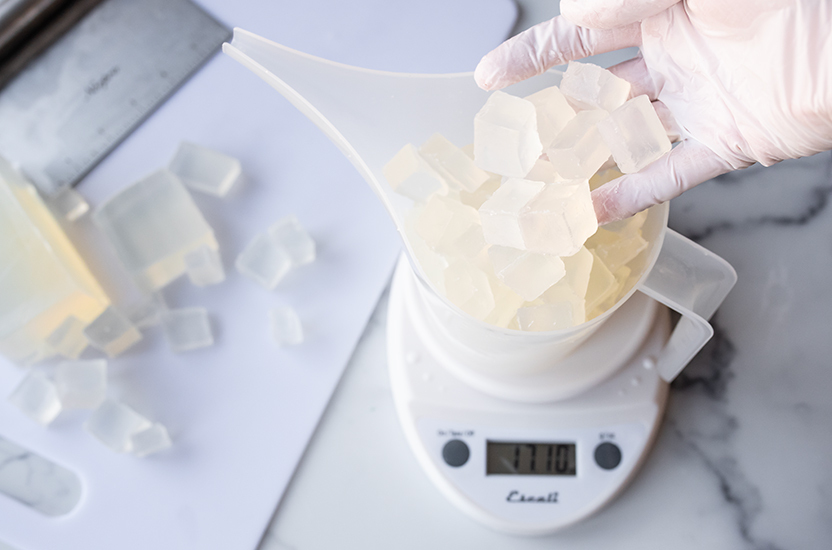
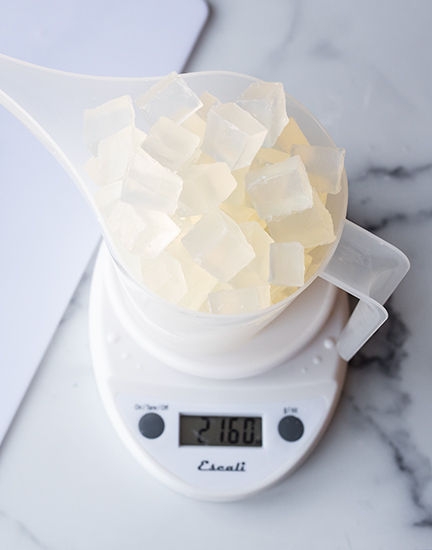
Place your funnel pouring pitcher on the scale and tare the weight. Add the soap cubes and weigh out 21.6 oz (612 g).
Step 4: Melt the soap base
Using the Funnel Pouring Pitcher or another microwave-safe container, melt the soap cubes in the microwave for 30 seconds intervals, stirring in between, until the soap is fully melted. Stir in between, and melt for an additional 10 seconds if necessary.
Melted soap will be extremely hot, so use caution when handling it. The soap should not exceed 160ºF (71.1°C) to avoid a rubber feel to the finished bars.
Note: If the soap base starts to foam while in the microwave, it is too hot. Stop the microwave and do not continue to heat. Stir gently to continue the melting process.

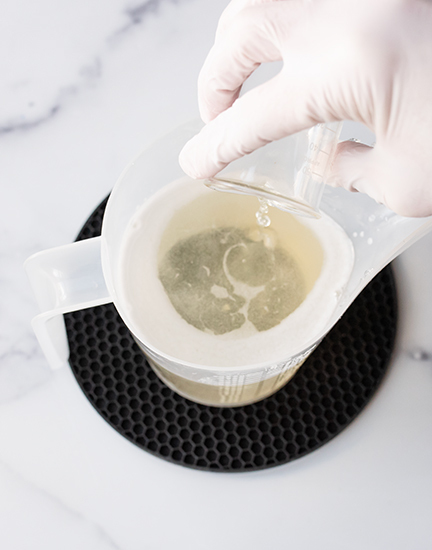
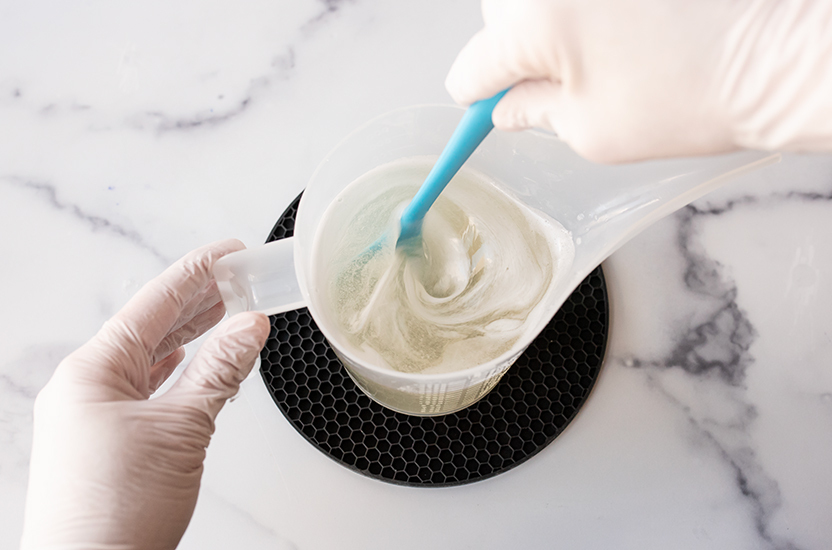
Step 5: Add essential oil
Once the soap is completely liquid and all the pieces have melted, add your premeasured essential oil to the soap base and stir well.
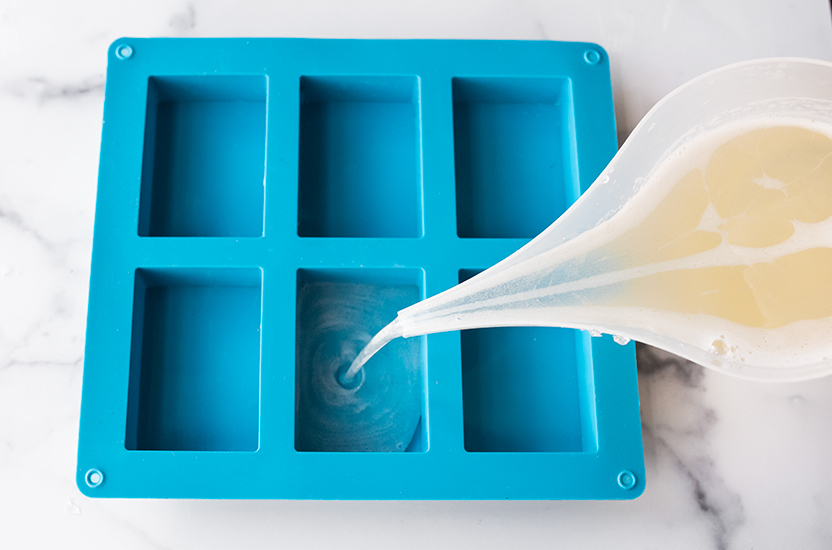
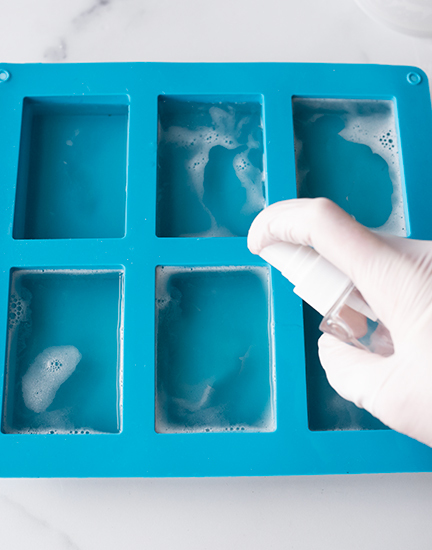
Step 7: Pour soap into the mold
Pour soap into the rectangle mold slowly to reduce the amount of air bubbles. Fill your mold to the top. Spray the surface with alcohol to remove any bubbles.
Note: This can be used liberally, however, overuse can cause the soap to foam.
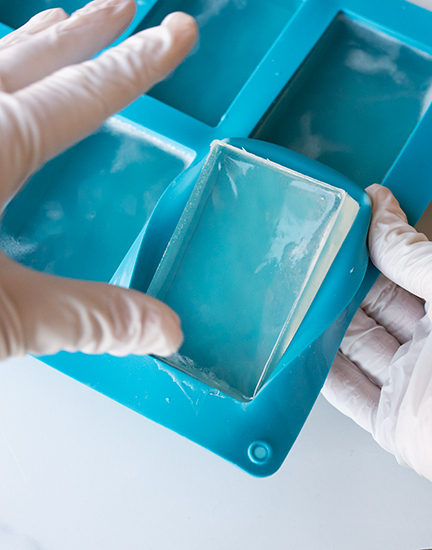
Step 8: Let cool and remove
Allow soap bars to cool completely before unmolding. Invert the mold and apply light pressure to the center of the cavity. If the bars do not come out easily, allow them to cool longer, or stick the mold in the refrigerator for up to 30 minutes and try again.
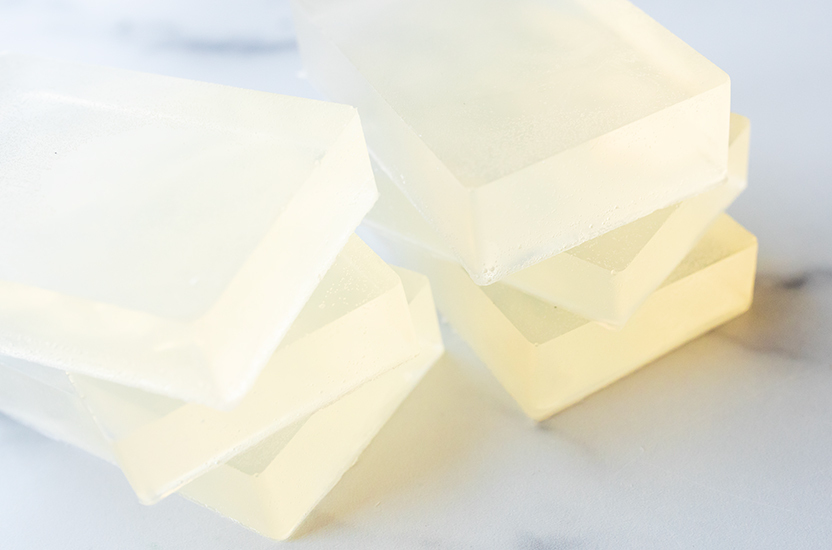
Store your soap bars in an airtight container or in plastic wrap to reduce sweating.
Show off your essential oil melt and pour soap bars and all your handmade creations, with the CandleScience community by tagging us @CandleScience and using the #CandleScientist hashtag on Facebook, Twitter, and Instagram. We may feature you in our Stories or on our website!
More on essential oils

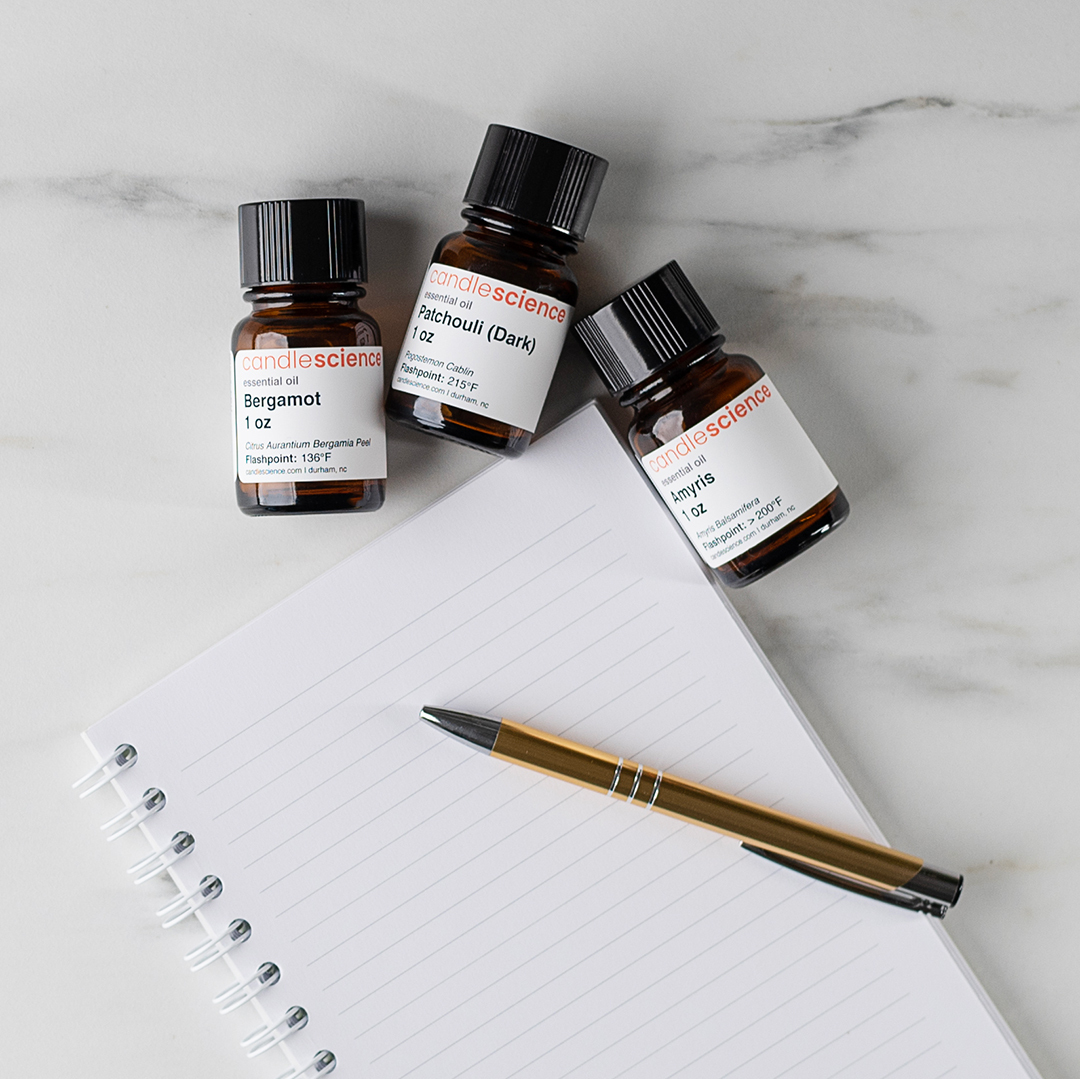
the difference between essential oils and fragrance oils
Introducing CandleScience Essential Oils