How to make shampoo bars
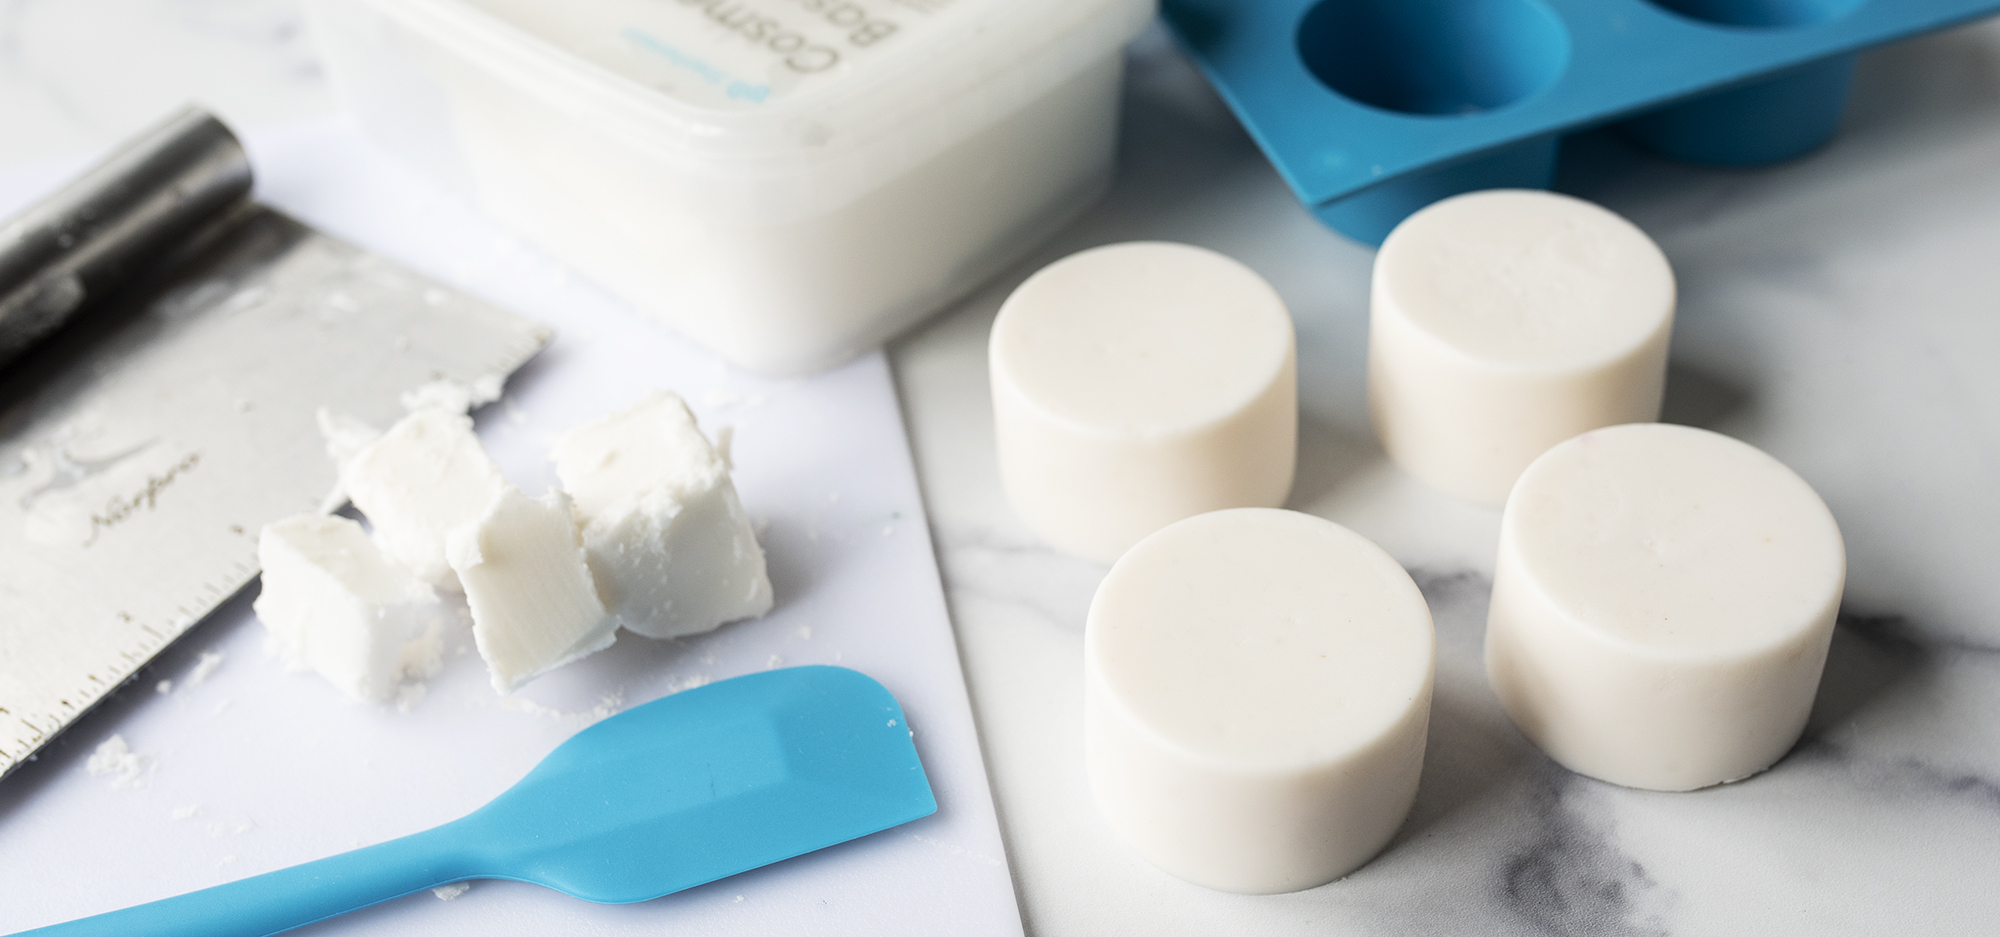
Versatile, gentle, and nourishing, this shampoo bar is a popular eco-friendly option that offers convenience without compromise. A creamy, dense lather makes these bars perfect for shampoo.
The Stephenson Syndopour Shampoo Base is quickly becoming one of our favorite new products, and this tutorial walks you through the process of making your own high-lather bars. Customize this project with your favorite skin-safe fragrance oils, liquid soap dyes, and plastic-free packaging.
EO Notes: You can also use soap-safe essential oils for this project. When using essential oils, be sure to check your essential oil's recommended usage percentage and IFRA Certificate. How to Make Melt and Pour Soap with Essential Oils.
Additional items needed:
- Glass container for measuring oil
- Paper towel
- Latex gloves
- Plastic wrap
- Rubbing alcohol
- Pipette
- Double boiler setup
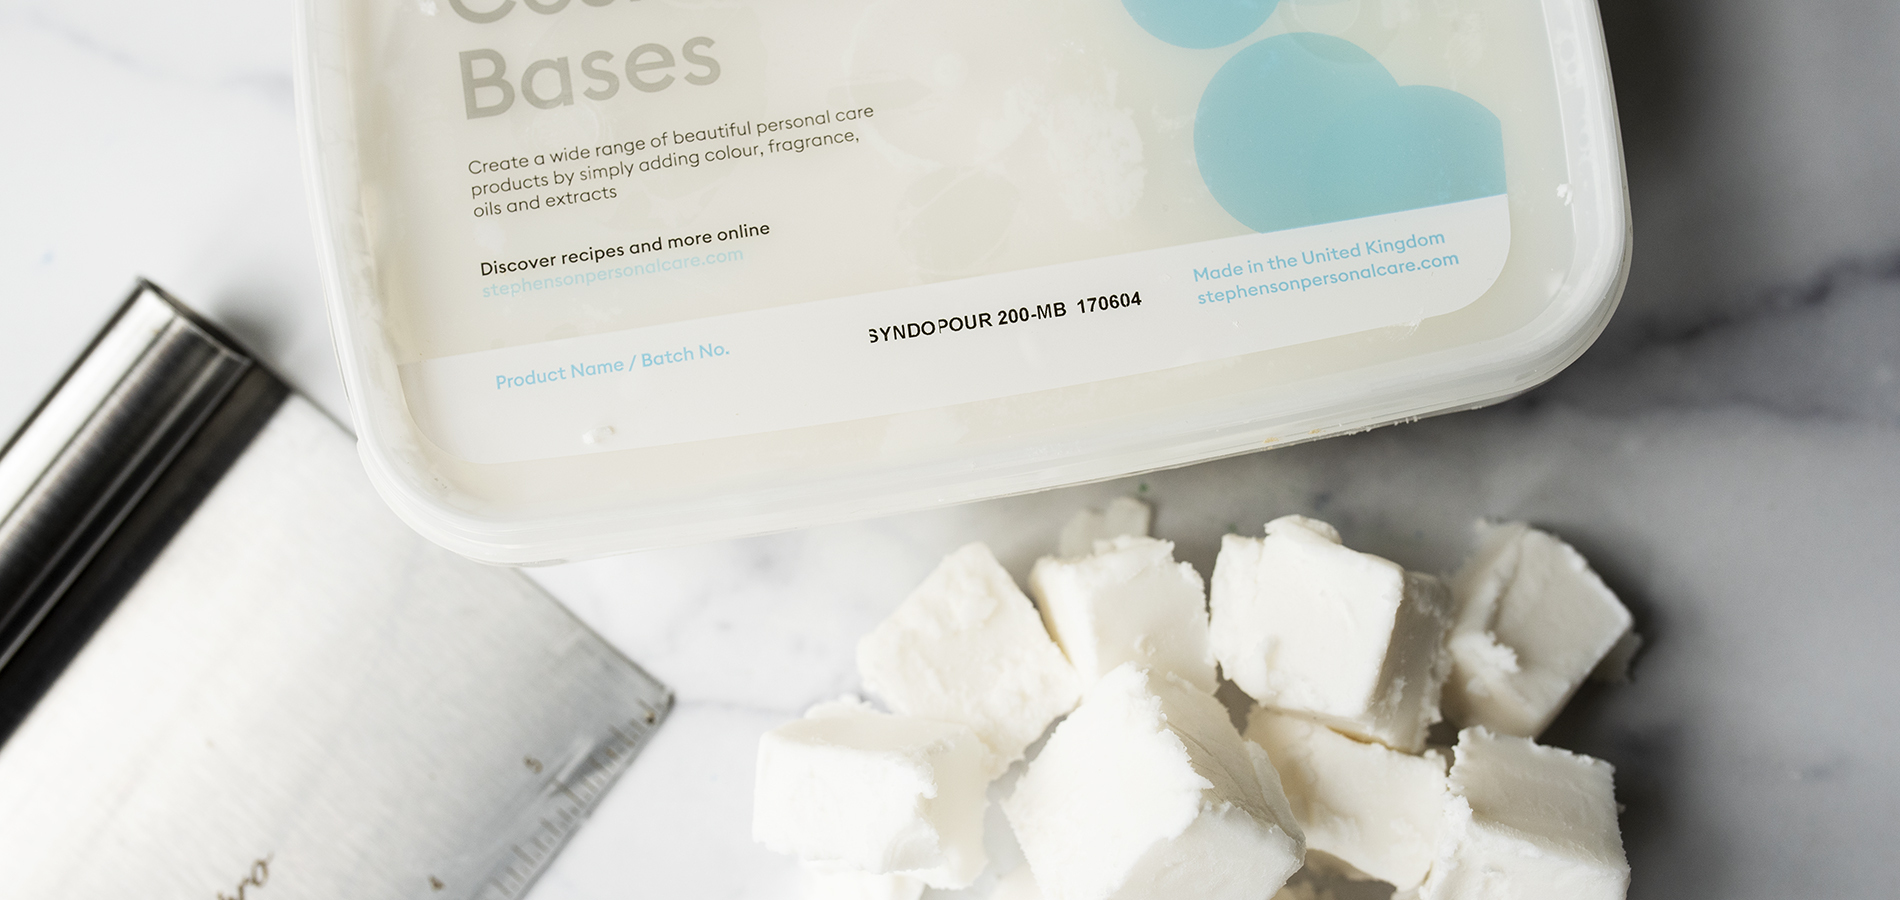
Notes about the base: While this base may look similar to other melt and pour bases, the Stephenson Syndopour Shampoo Base is not a soap. True soaps generally have a higher pH and undergo a saponification process, which involves mixing fats and an alkali (such as lye). In contrast, the all-in-one body and shampoo bar has a lower pH of 5.0 - 6.0 and uses a gentle surfactant to cleanse the skin. Therefore, when labeling the bar, we recommend using terms such as "cleanser or shampoo" instead of soap. This formula is ultra-mild and 100% soap-free.
This base can accommodate a maximum of 3% additive ingredients, including fragrance oil. You may use a maximum of 2% fragrance oil, but we recommend starting with 1% and working your way up if desired. Using heavy oils and butters, such as olive oil or shea butter, will reduce the lather of the final product; we suggest using heavy oils and butters sparingly.
Avoid reheating the base more than once, and cover your pitcher with plastic wrap to minimize moisture loss. Reheating this base can cause excess water loss, which can change the pH of the final product.
Directions:
Step 1: Prepare your supplies and work space
Wash your equipment, soap mold, and utensils in warm soapy water and dry thoroughly. Don’t forget your workspace! Avoid any cross-contamination by spraying the area with rubbing alcohol or a 5% bleach solution, then wipe dry with a clean paper towel.
Step 2: Weigh your fragrance oil
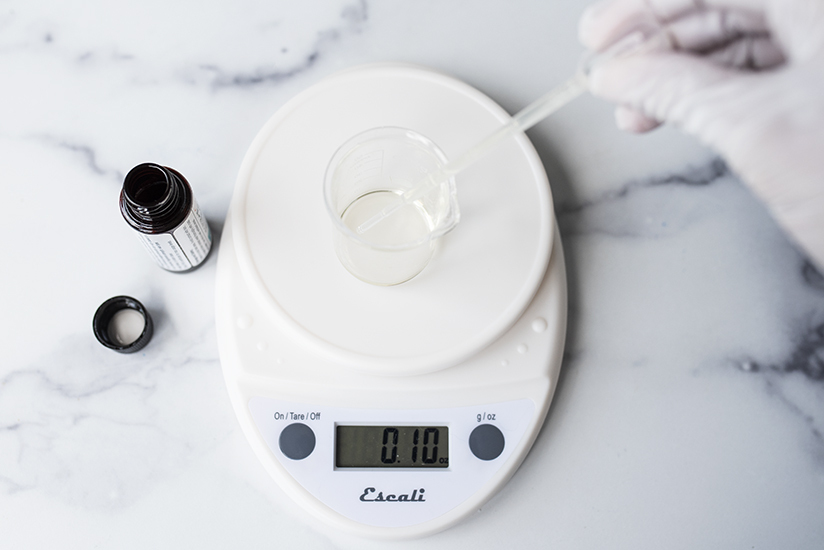
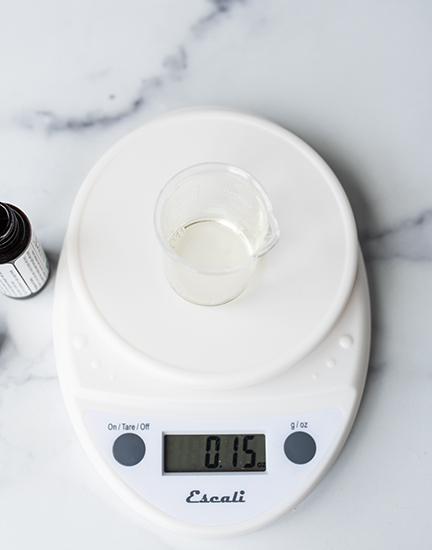
Place small glass container on scale and tare the weight. Weigh .15 oz of the Moroccan Cashmere fragrance oil (or the skin-safe fragrance of your choice), approximately 1%. You want to have your fragrance prepared ahead of time so the base does not start to cool and harden as you work.
Note: It is important to only use glass for this step. The fragrance can damage certain types of plastic and paper if it sits for long periods of time.
If you're using any additives, be sure to measure them during this step too.
When weighing out small quantities of fragrance oil, use pipettes to make it a little easier on yourself.
Step 3: Prepare the base
Remove the Syndopour Shampoo Base from the container and cut off about half of the block. Cut this piece down into 1-2" cubes.
Note: This base is soft and a bit mushy, but once it is melted and processed, it will harden.
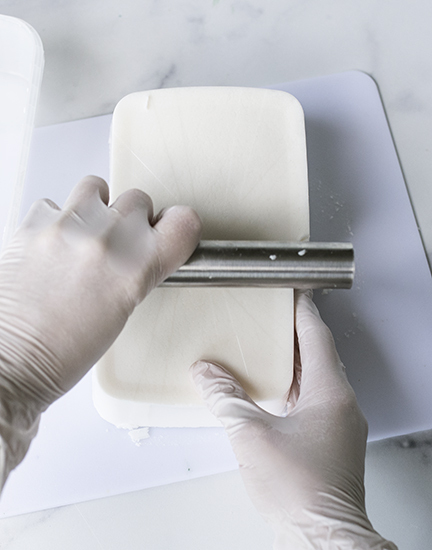
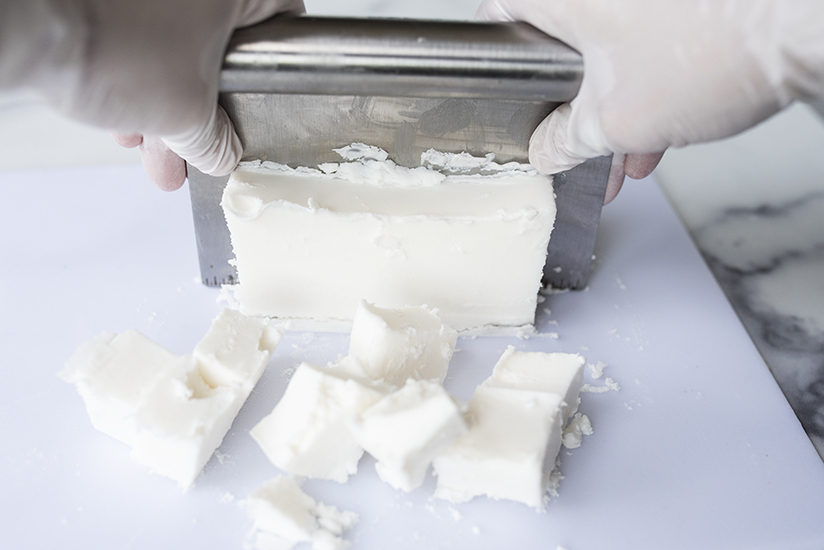
Add the cubed base into the pouring pitcher and weigh out 13.6 oz.
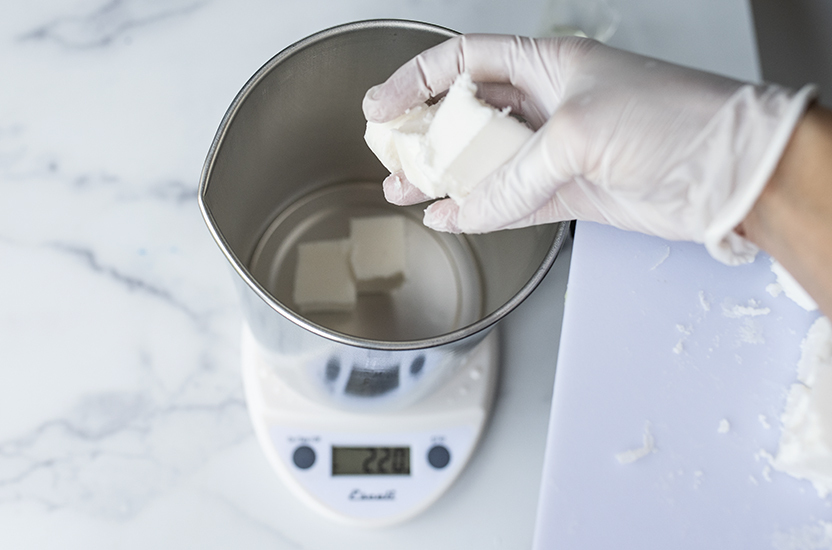
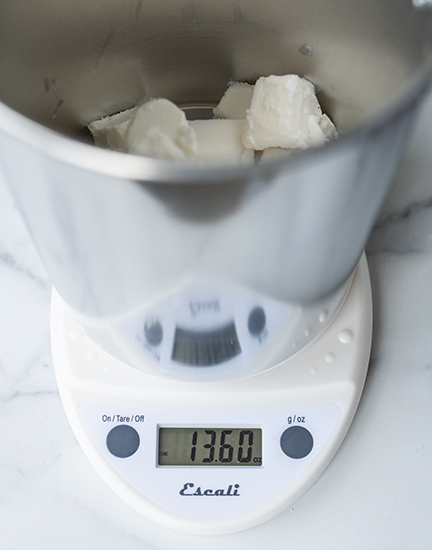
Cover the pitcher with plastic wrap. Begin to melt the base with a double boiler or hot plate until the base is completely melted and reaches 185°F.
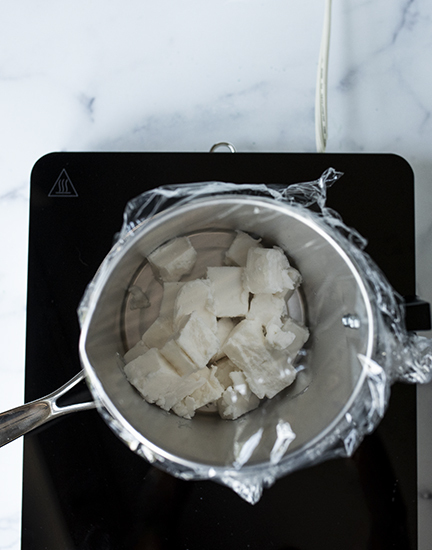
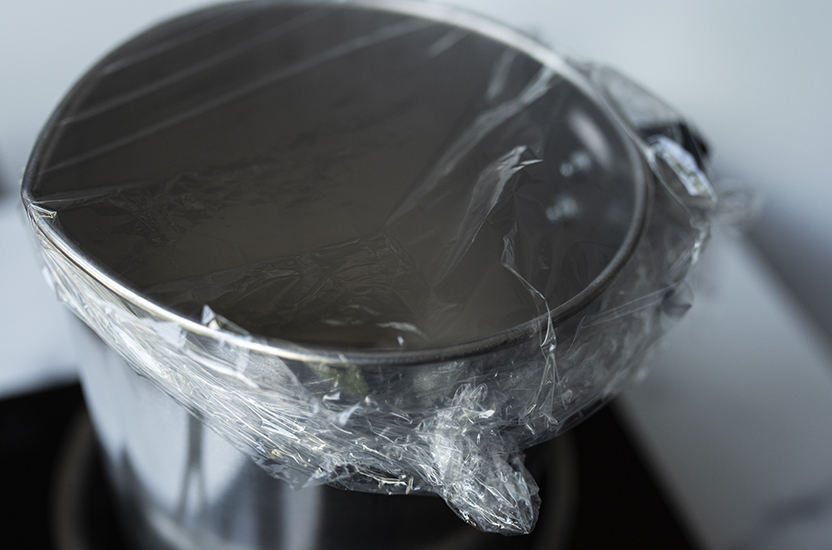
Note: the base will become clear during the melting process. It will return to its opaque state once it cools and hardens.
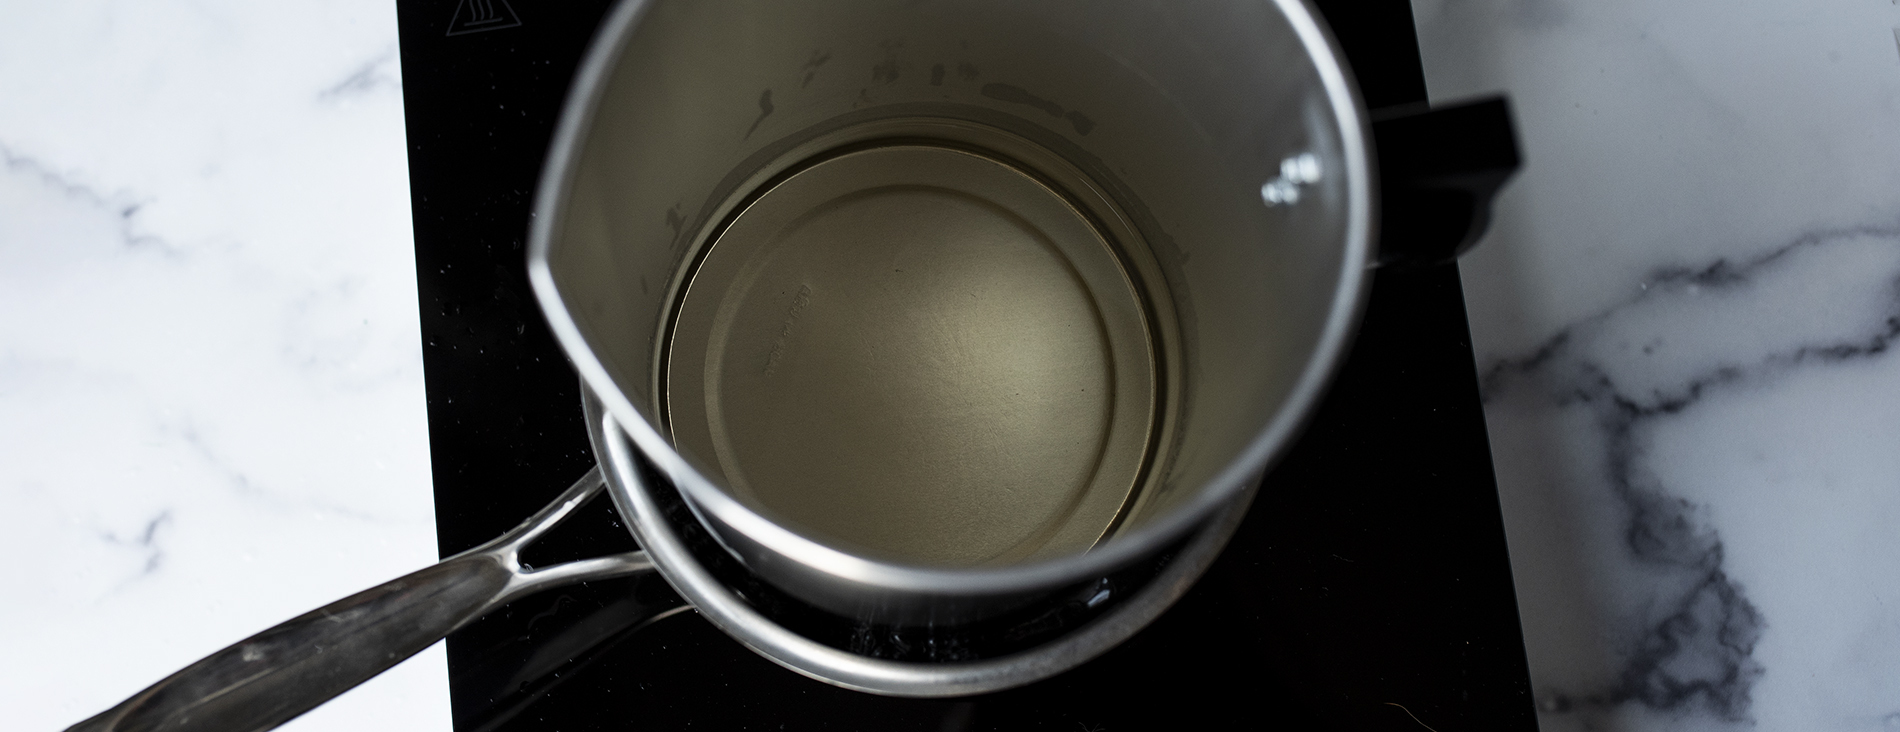
Step 4: Add fragrance oil
Note: If you're using any additives, add them before the fragrance oil.
Add your measured fragrance oil and stir gently until the oil is thoroughly mixed in. This base will cool quickly so be sure to work at a fast pace.
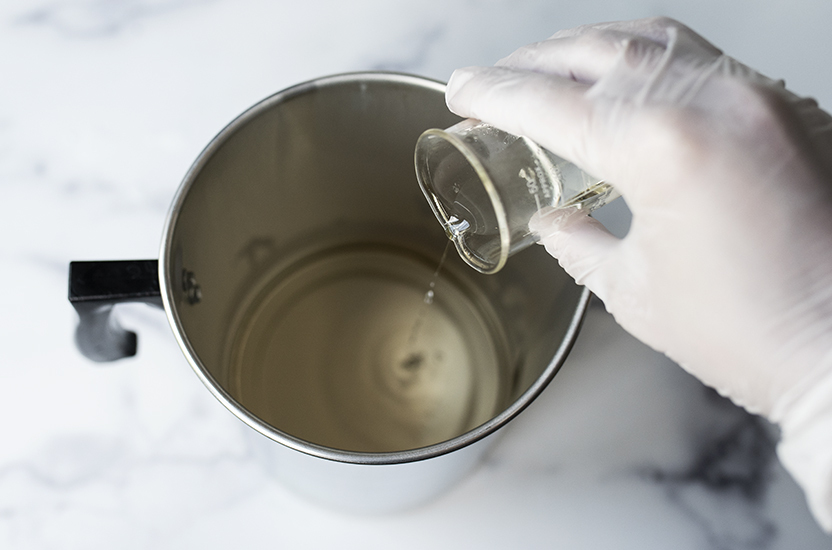
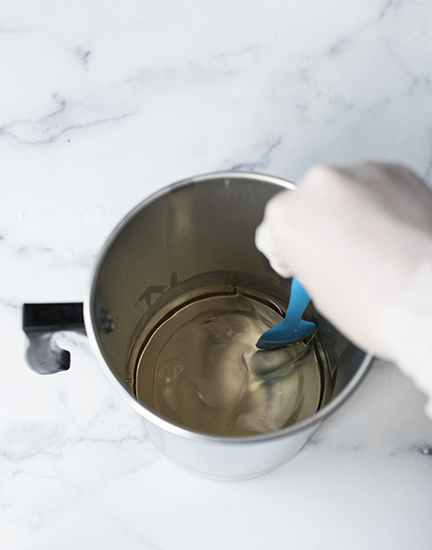
Step 5: Pour into mold
Pour the base into the Circle Silicone Soap Mold.
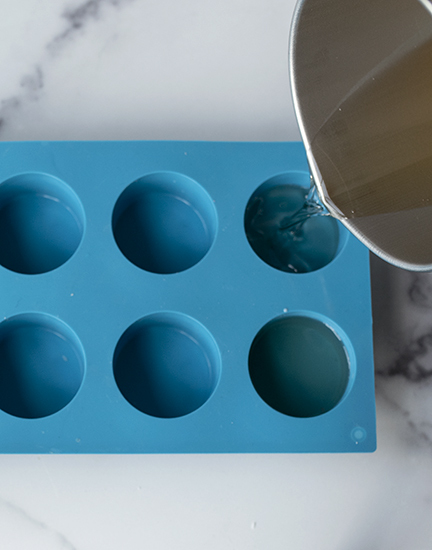
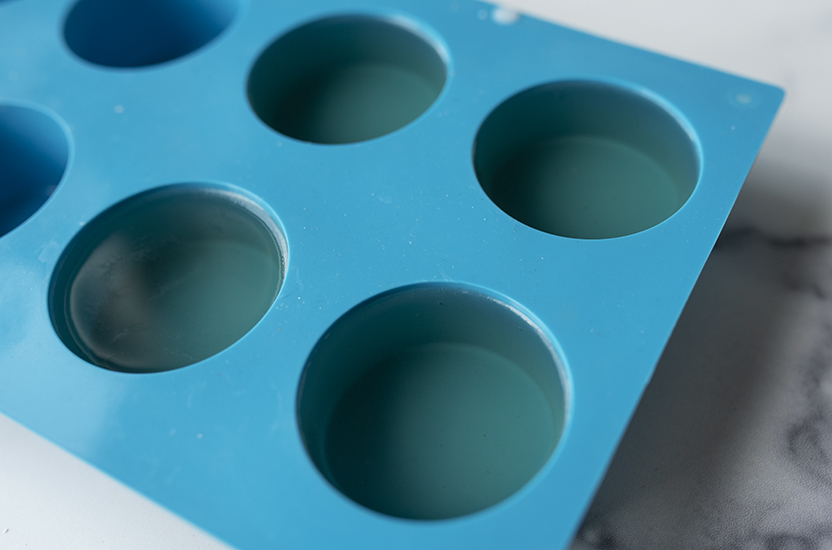
The all-in-one body and shampoo bars should be cooled completely after about three hours. Remove bars from the mold and place on a flat surface.
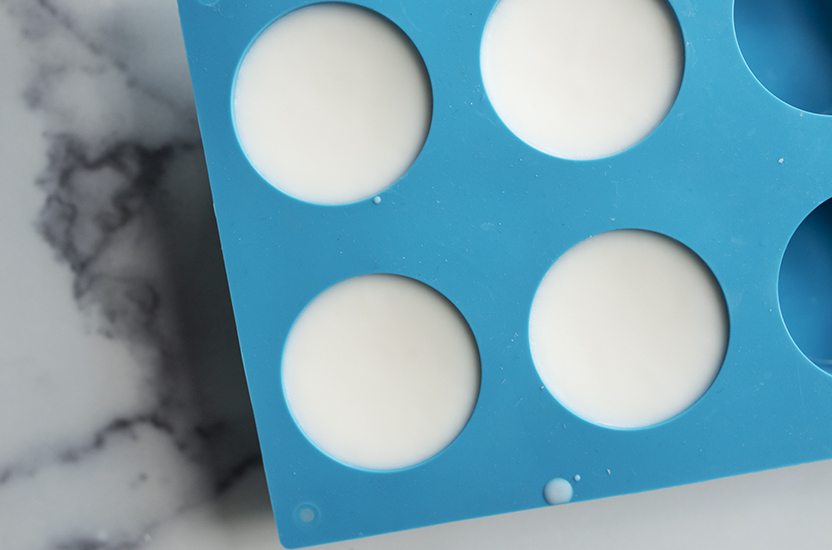
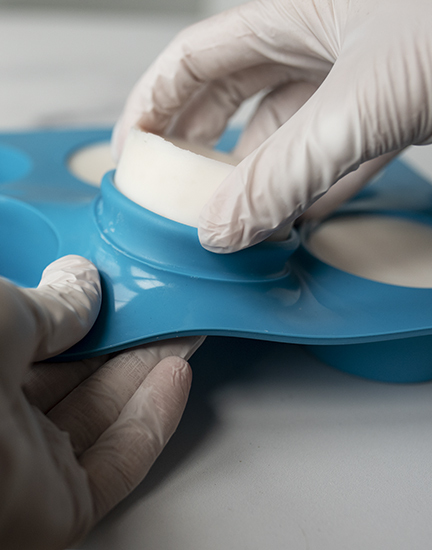
Allow the bars to cure for 24 hours before using and packaging.
Note: The bars will continue to firm up in the 24 hour curing process.
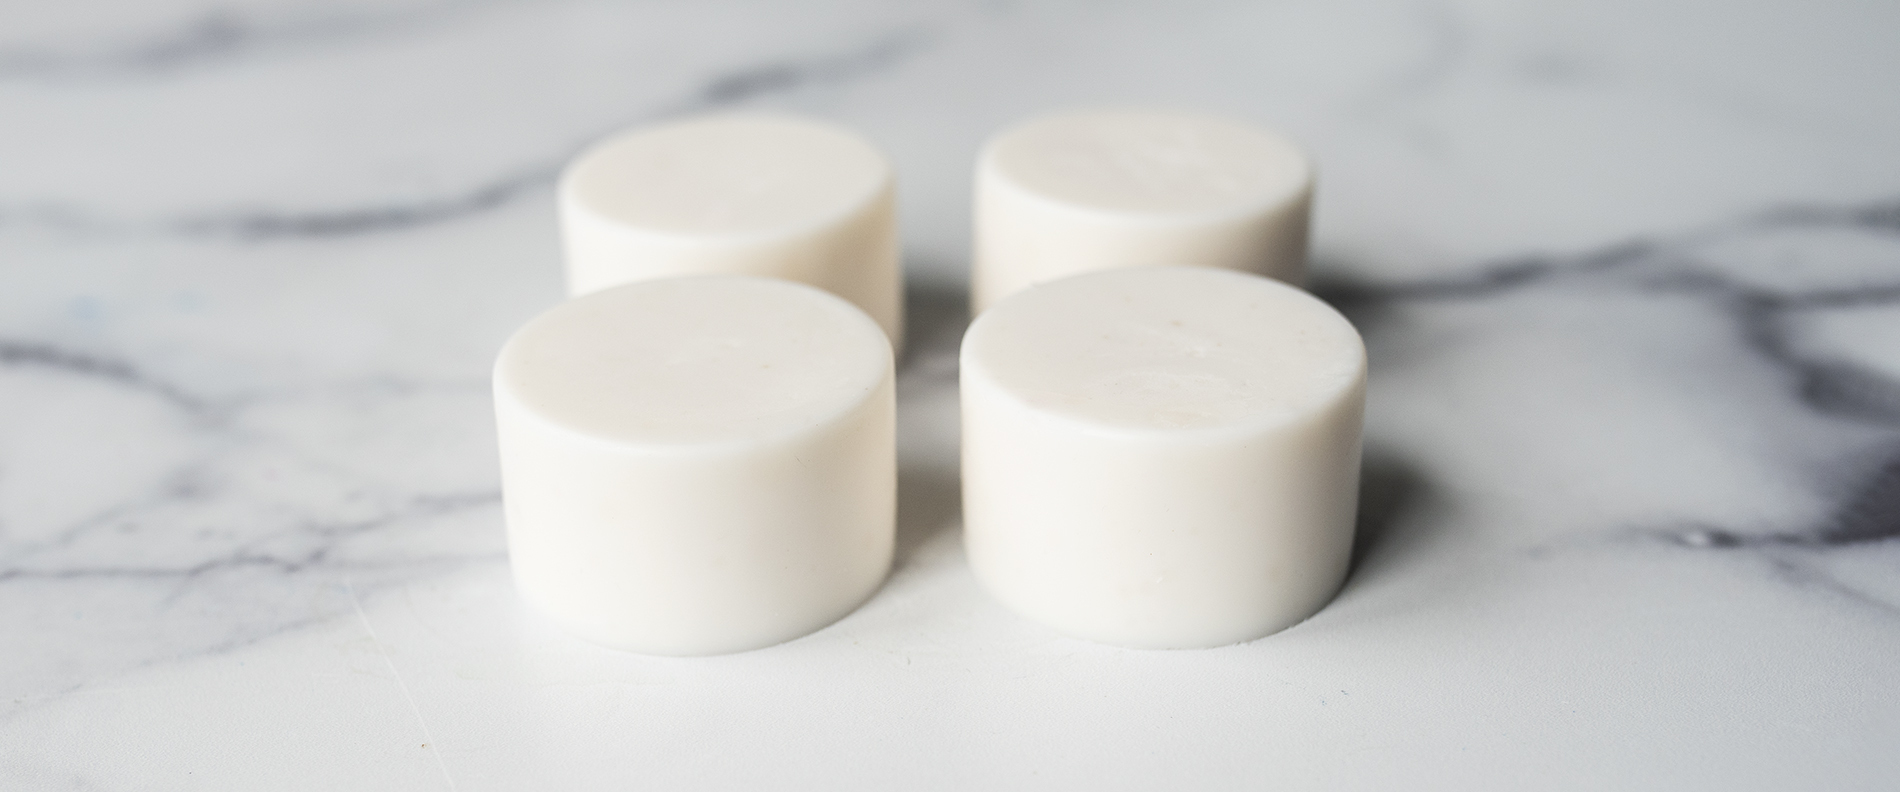
Get creative with your packaging! Try paper wrapping, a bag, a box—there are endless possibilites. If you live in an area with high humidity, we do suggest packaging your shampoo bars in plastic to help reduce sweating, but it does not need to be airtight.
Show off your take on the shampoo bars and all your handmade creations, with the CandleScience community by tagging us @CandleScience and using the #CandleScientist hashtag on Facebook, Twitter, and Instagram. We may feature you in our Stories or on our website!