
How to make ice cream scoop candles
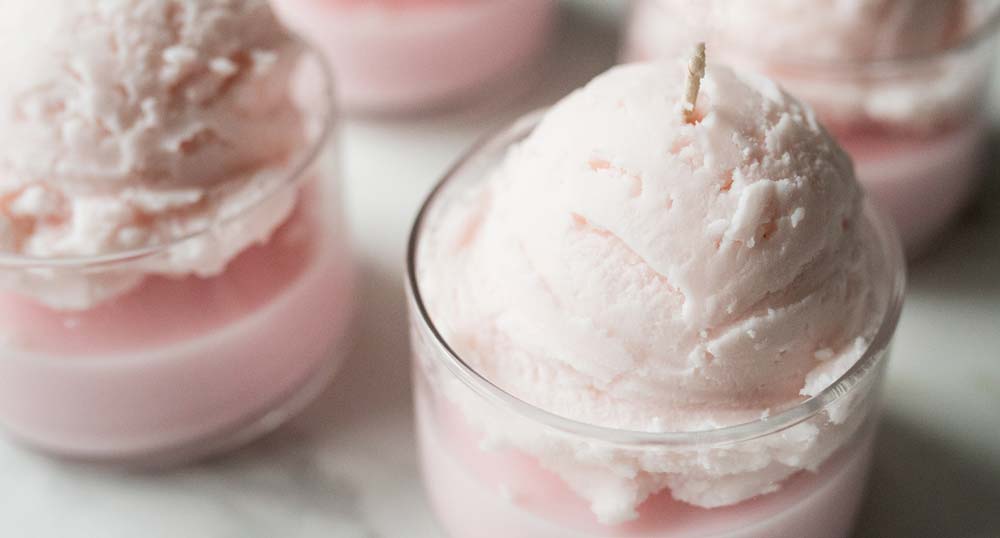
Who said you can’t have dessert every night of the week? Take in the sweet scent of these adorable, easy-to-make ice cream inspired candles. Our Pink Sugar Crystals fragrance is the cherry on top of this fun, looks-so-good-you-could-eat-it candle that makes for a perfect birthday gift or “treat yourself” kind of night.
EO Notes: You can also use candle-approved essential oils for this project. Check the recommended usage percentage on the essential oil product page and start with low percentages. How to Make Soy Candles with Essential Oils
Additional Items Needed:
- Wide and shallow glass or metal bowl
- Ice cream scoop (with a thumb release)
- Metal spatula, silicone spatula, or silicone whisk
- Paper towels
- Votive wick pin or bamboo skewer
- Wax or parchment paper
- Paring knife or cheese grater
- Heat gun or hairdryer
Directions:
Any items used in this tutorial should not be reused for food prep and remember to add a label that states it is not food. If you chose to curl the wick instead of trimming, add a label to trim the wick to a proper height before lighting.
PART 1: Make the ice cream scoops with your wax
The wax used to make the ice cream scoop takes a good amount of time to cool to the right temperature for scooping so we started with this part to cut down prep time.
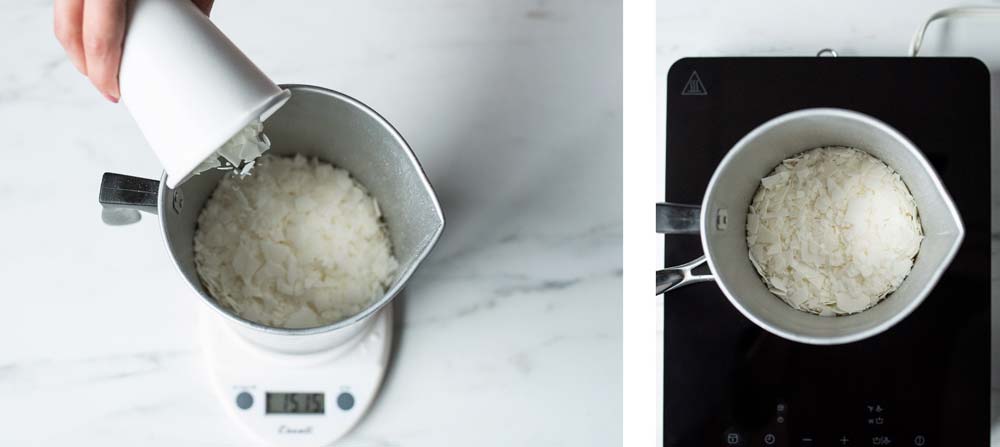
Step 1: Place the large pouring pitcher on your digital scale and tare the weight. Weigh 16 oz. (454 g) of 464 soy wax flakes in the large pitcher. Begin to melt the 16 oz. (454 g) of wax with a double boiler or on a hot plate.
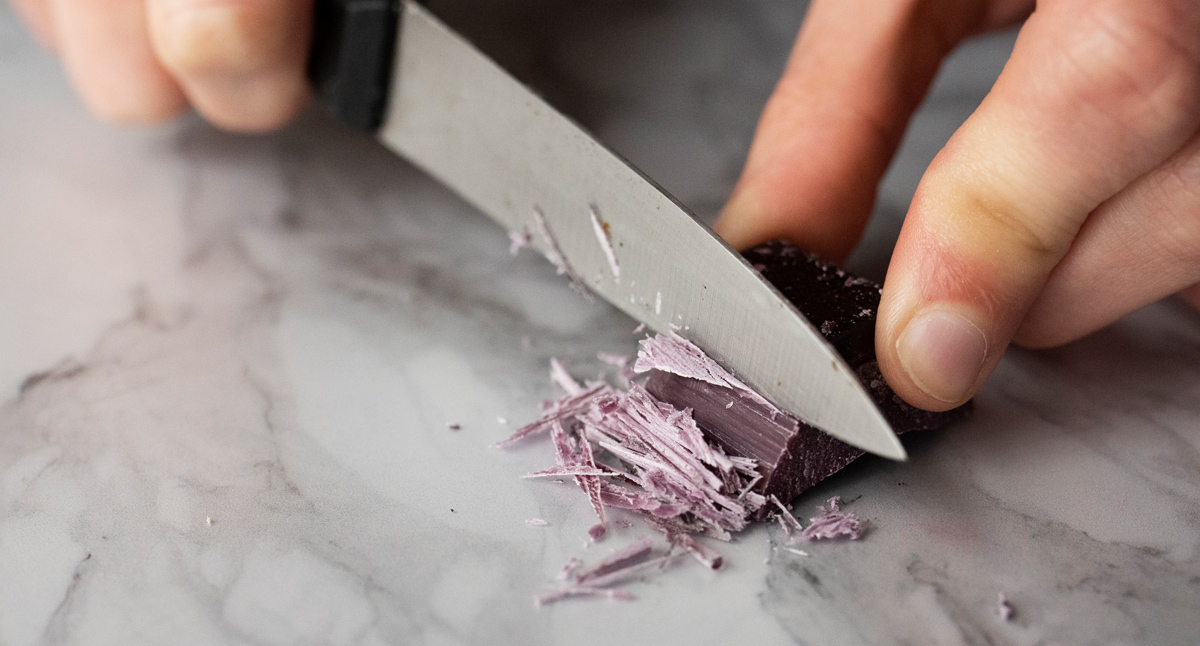
While the wax flakes are melting, prepare your dye block. We made our ice cream a very light shade of pink so we didn’t need much of the dye block. Use a paring knife or a cheese grater to scrape off some of the color from the dye block. You will only need a small, flat pile of dye block shavings that is about the size of a dime.
Note: Dye blocks can stain your work surface so be sure to protect it with wax paper, use an old cutting board, or work your shavings directly into a bowl.
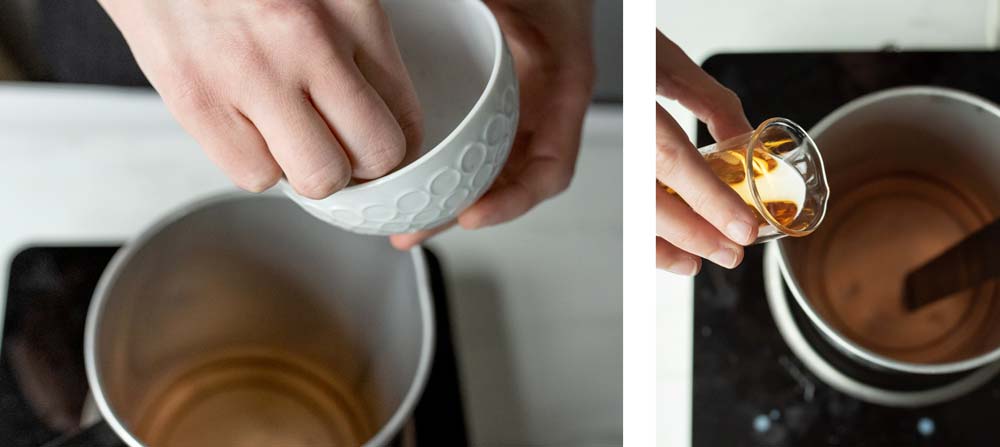
When the wax reaches 185ºF (85°C) add about ¼ of the dye shavings to the wax and stir well.
Once the dye block shavings are thoroughly mixed in, and you’re happy with the color, add 1 oz. (28 g) of the Pink Sugar Crystals fragrance oil. Remove from heat and stir for 2 minutes.
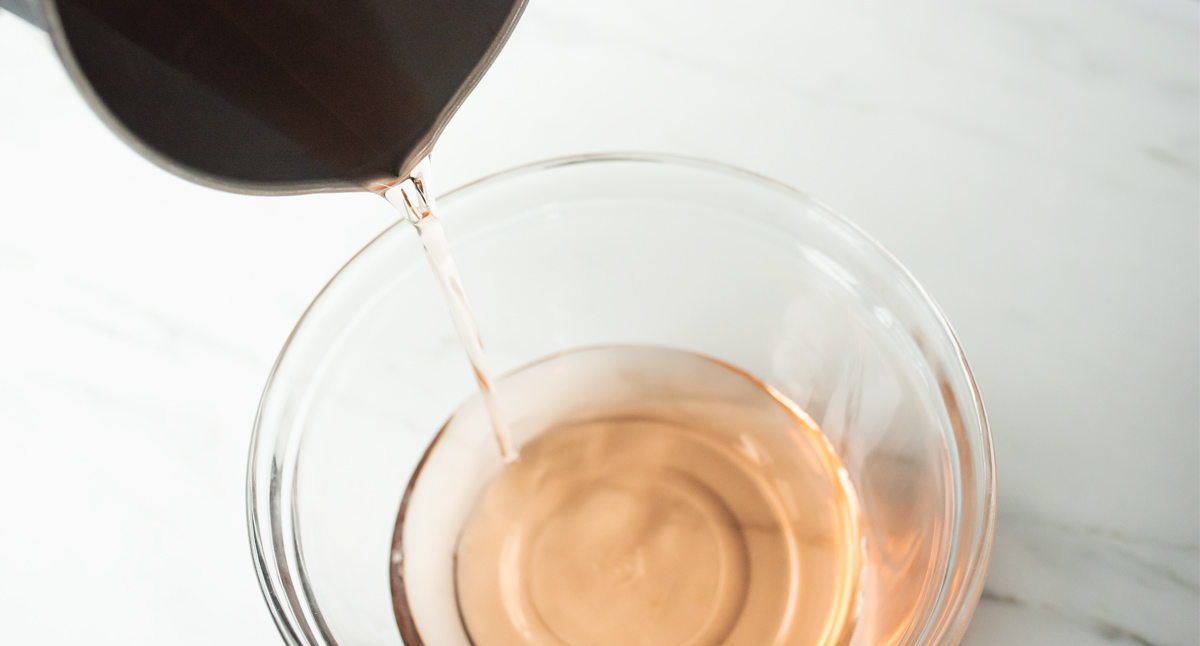
Pour the wax into the glass or metal bowl and allow it to cool.
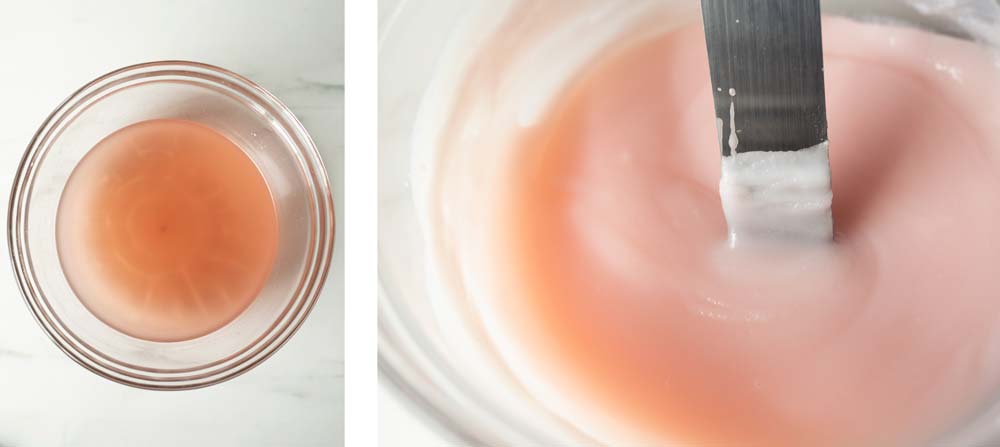
Step 2: Whip the wax
You can start PART 2 and come back to this step or wait until you finish making the ice cream scoops.
When you see the wax beginning to solidify around the edges of the bowl, start stirring the wax with a silicone whisk or metal spatula. The goal is to keep the wax smooth and creamy, avoiding wax clumps to form. This is similar to whipping wax for the “whipped cream” like we did in our How to Whip Wax tutorial, but the wax needs to cool and harden more for this project.
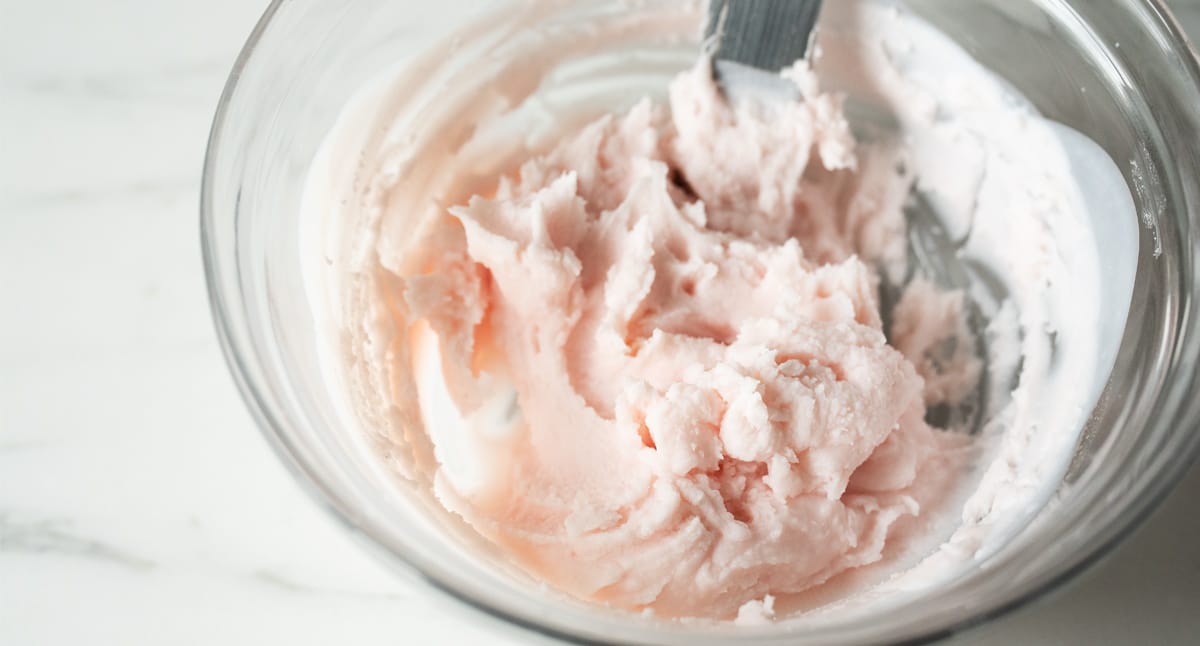
When the wax has cooled and is creamy without clumps, you can stir less often.
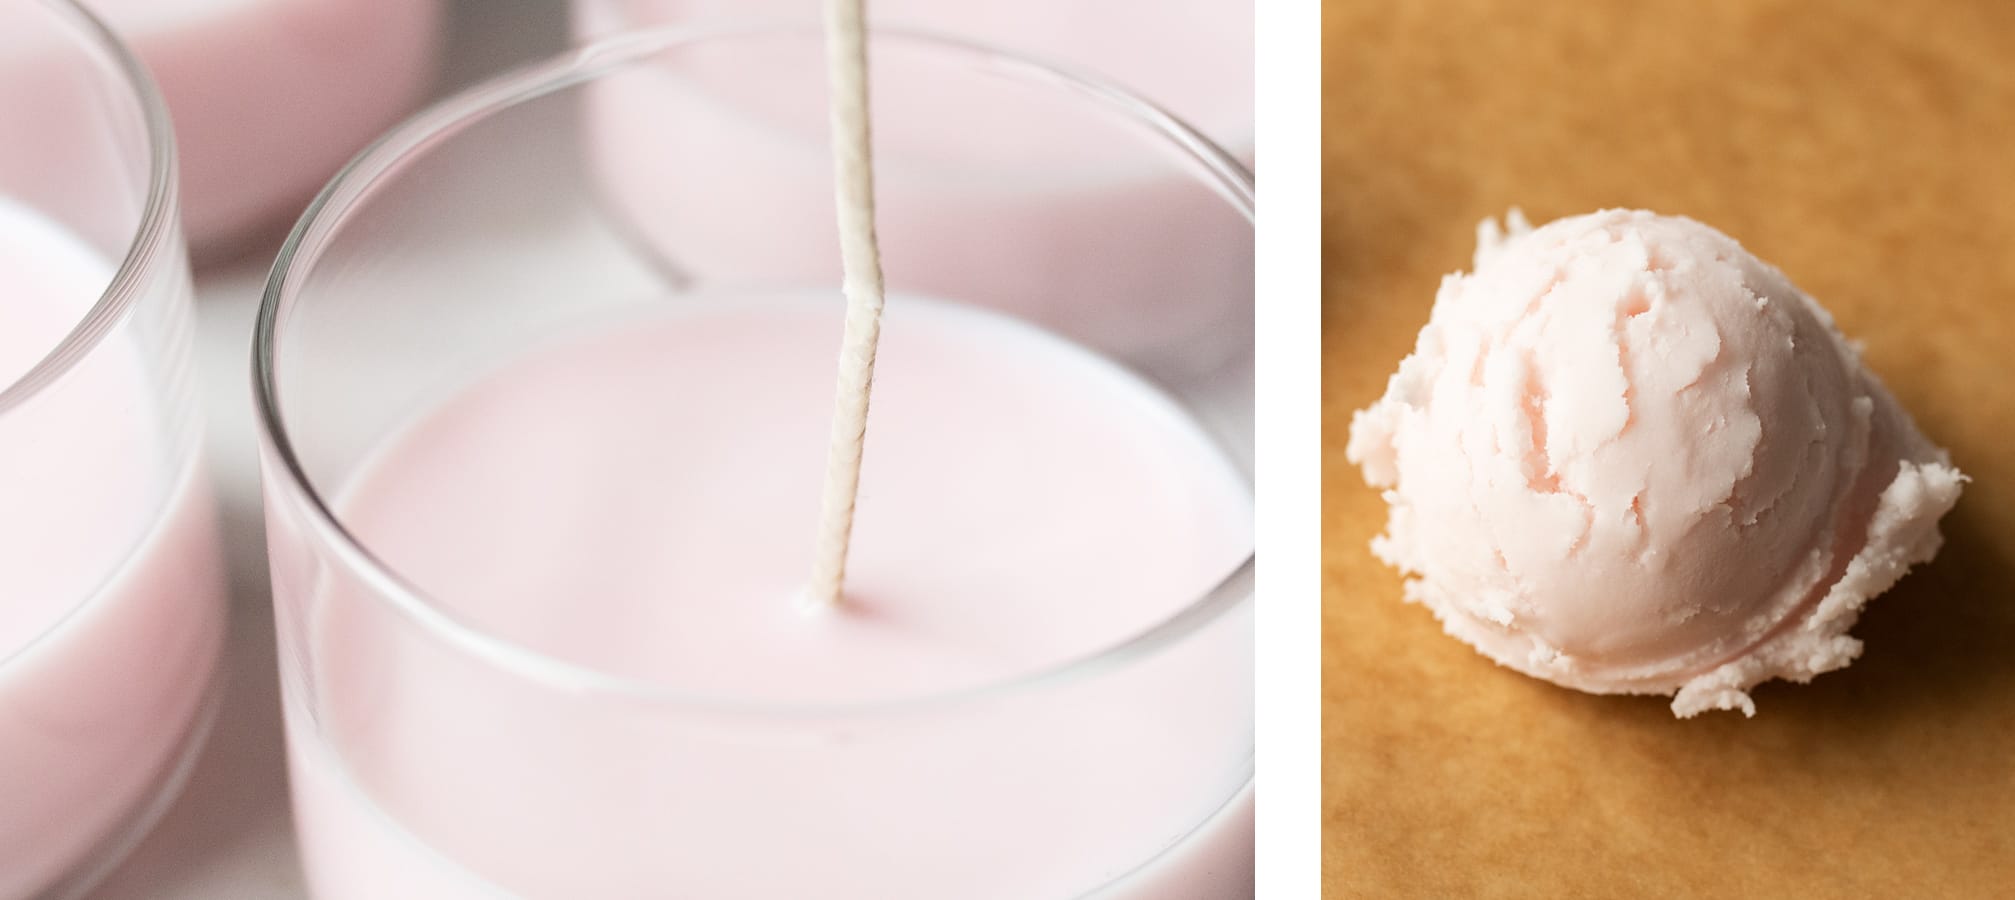
When the wax cools to around 80°F (26.7°C), and is stiff and difficult to stir, it's ready to scoop. Lay out a piece of wax parchment paper as a place for your wax ice cream scoops to fully cool.
Scoop your wax the same way you would with a tub of soft ice cream. Make sure you have a nice full scoop to give that authentic ice cream scoop look. Place your scoop onto your parchment paper.
Note: We tried a few different ice cream scoops and found that ice cream scoops with a thumb press worked significantly better than those without.
If you’re finding that your scoop isn’t holding together very well, the wax needs a few more minutes to cool and harden before scooping.
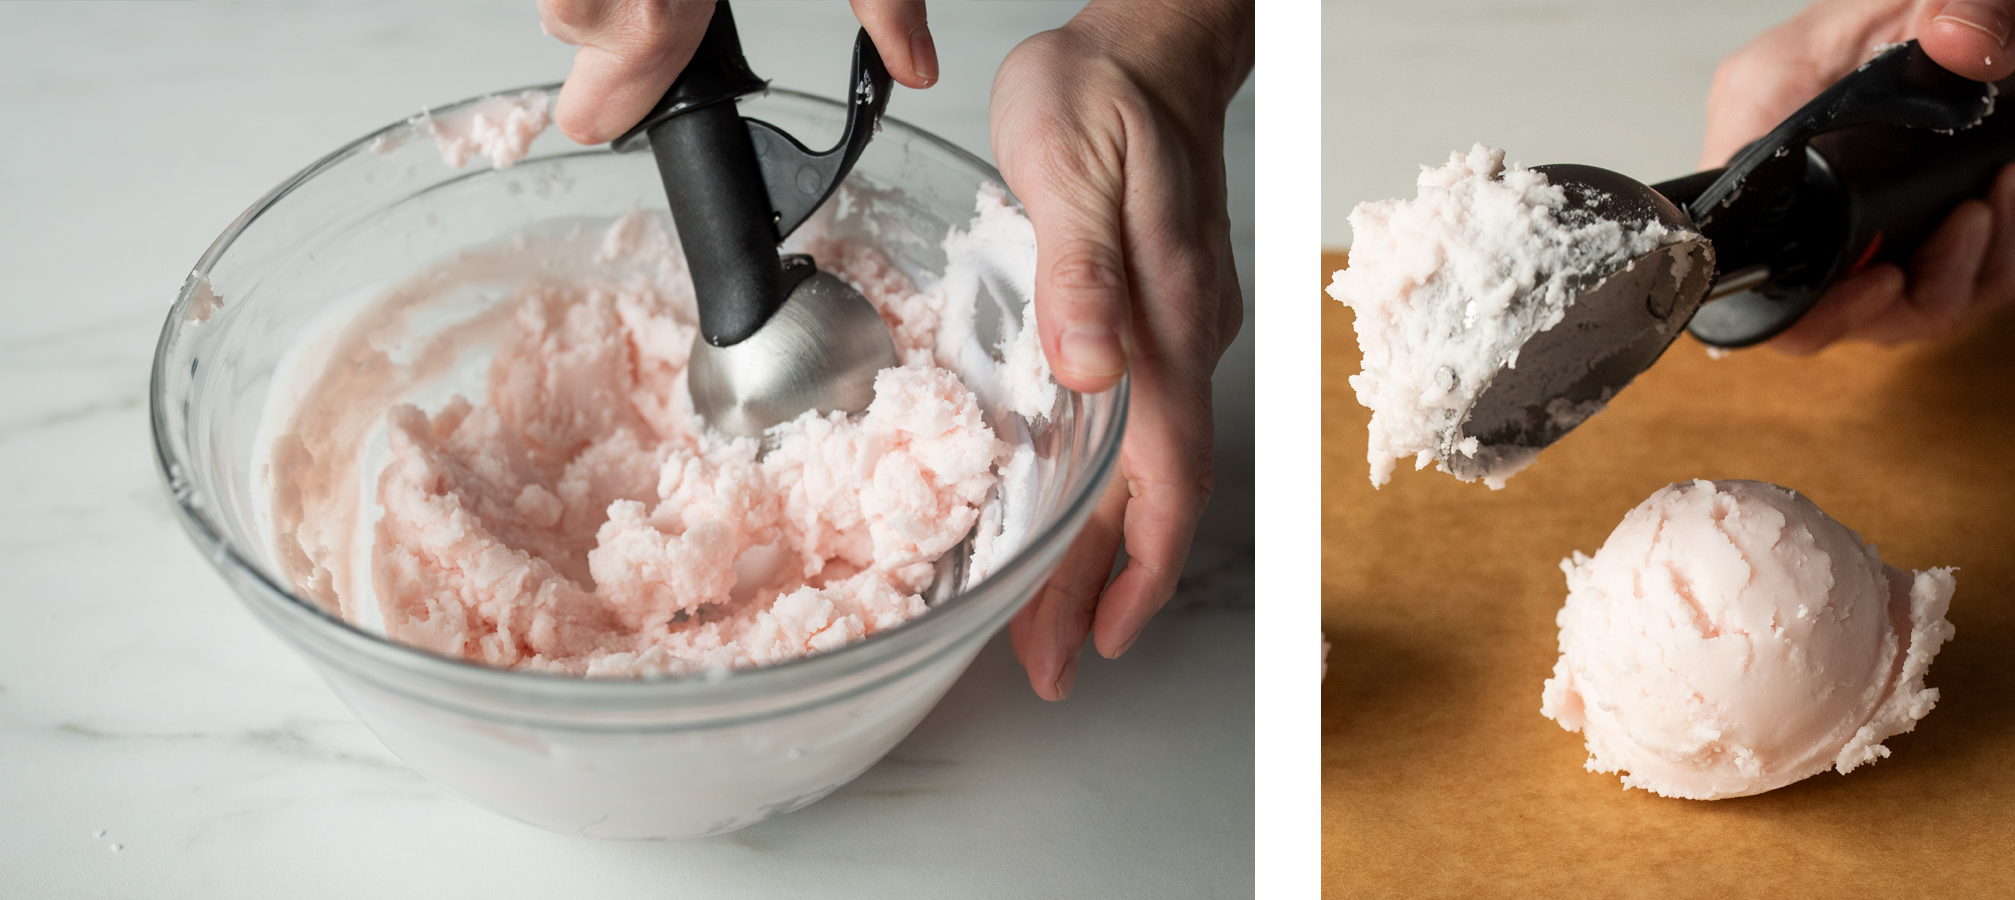
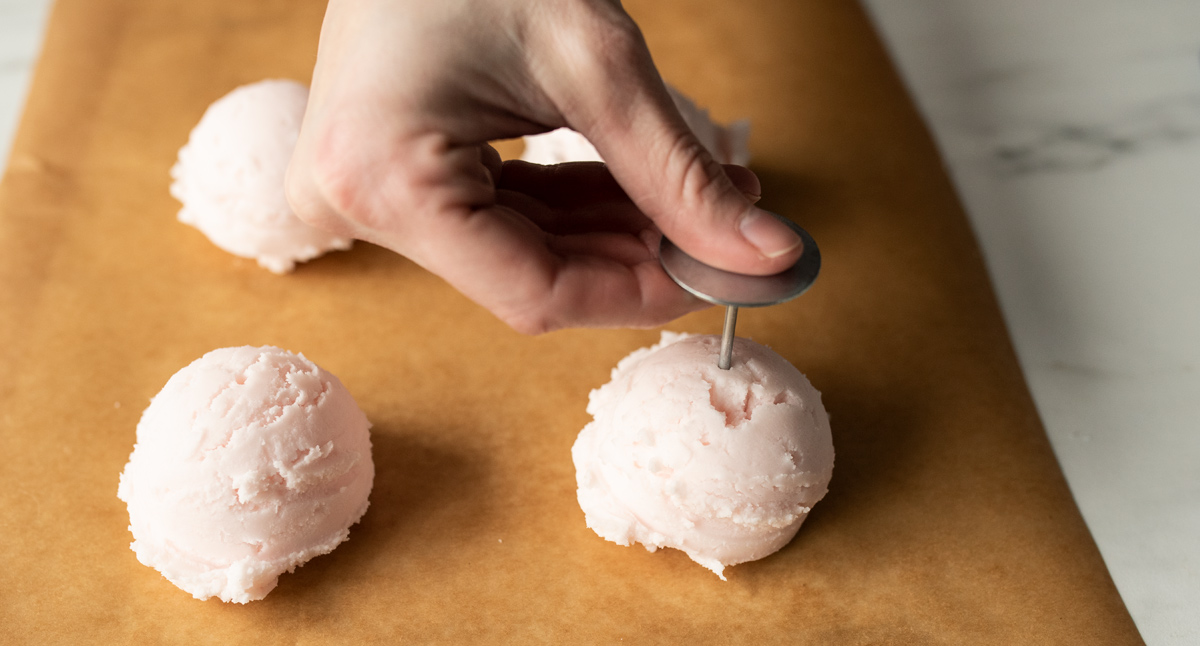
Use a wick pin or bamboo skewer to poke a hole straight down the center of your scoop. This is for your wick placement later on. Give your scoops at least 30 minutes to fully cool before handling.
PART 2: Make the candle base
Take your pitcher used to make the ice cream (no need to clean it out beforehand if you’re using the same fragrance oil and color as your ice cream scoop) and place it on your digital scale. Tare the weight and weigh out 10 oz. (283 g) of 464 soy wax flakes.
Begin to melt the 10 oz. (283 g) of wax flakes with a double boiler or on a hot plate.
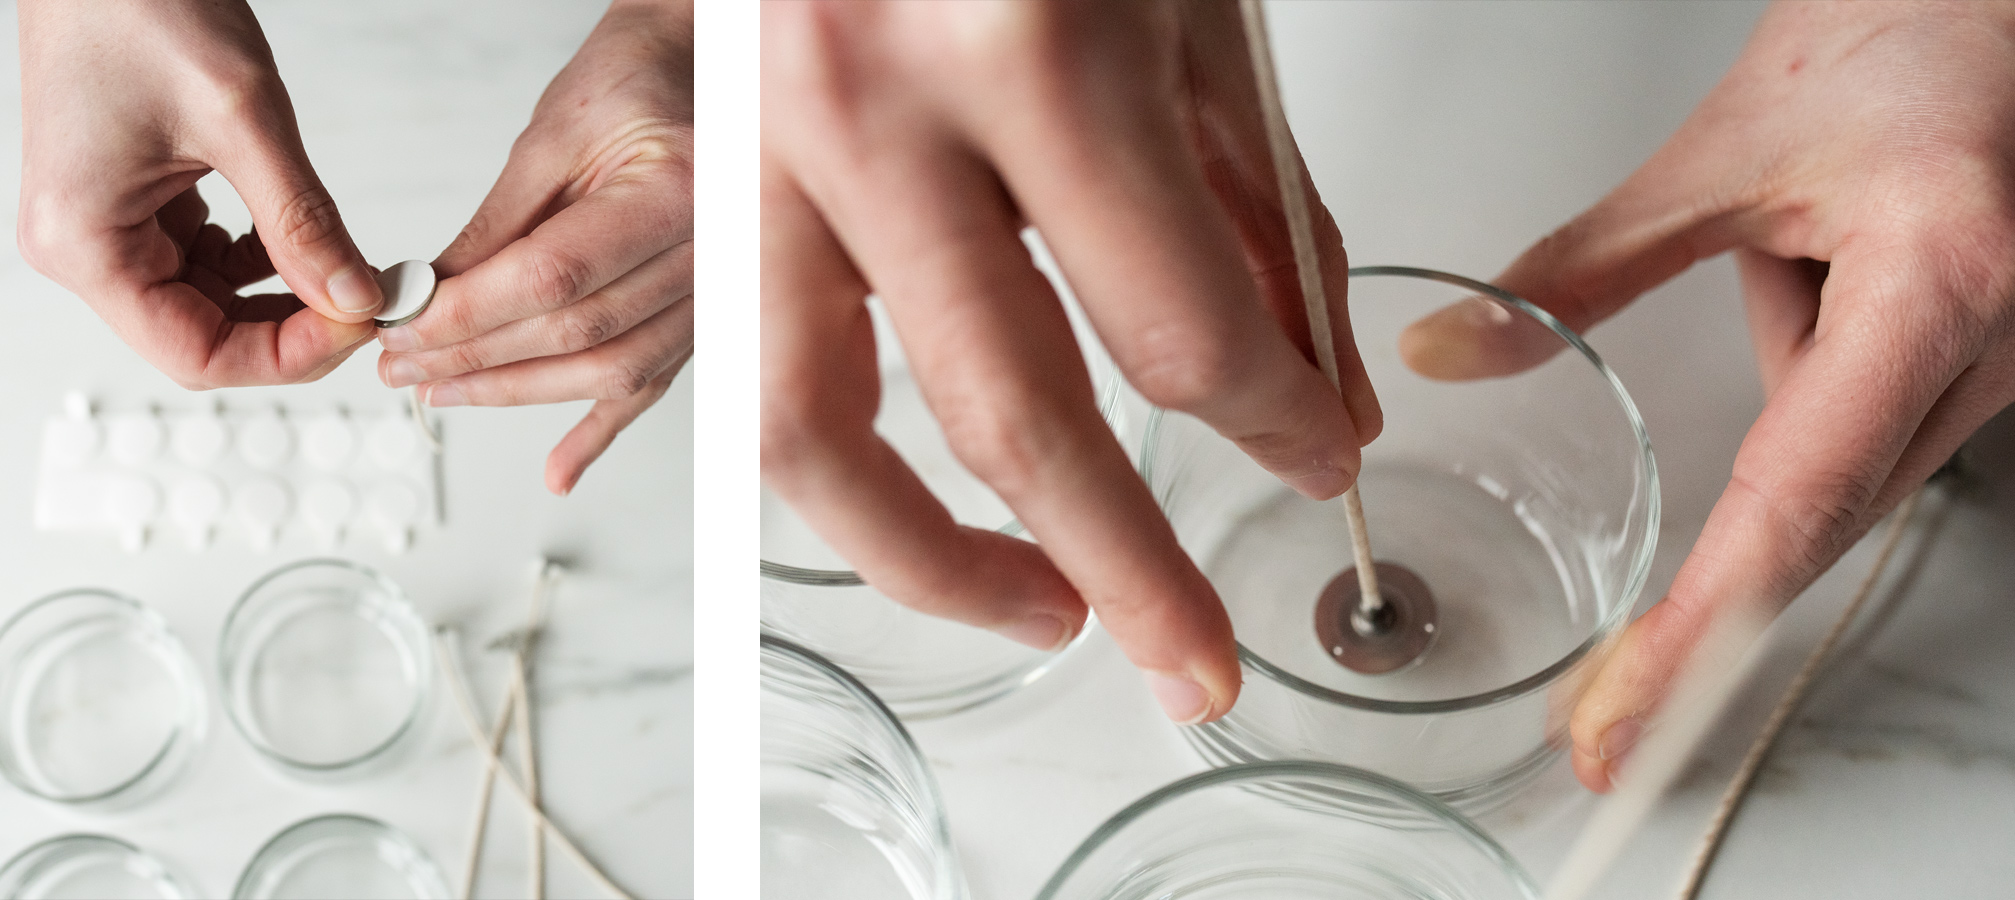
While you’re waiting for your wax to melt, prepare your Mini Tumbler jars. Wipe out each jar with a small amount of isopropyl alcohol and a clean paper towel. Using a wick sticker, center one CD 10 wick in each jar.
When the wax reaches 185°F (85°C), add your dye block shavings. We chose a darker pink for our base so we added a little less than twice as much dye to this wax compared to our ice cream scoop wax.
When you’re happy with your wax color, add 0.6 oz. (17 g) of Pink Sugar Crystals fragrance oil, remove your pitcher from heat, and stir gently for 2 minutes.

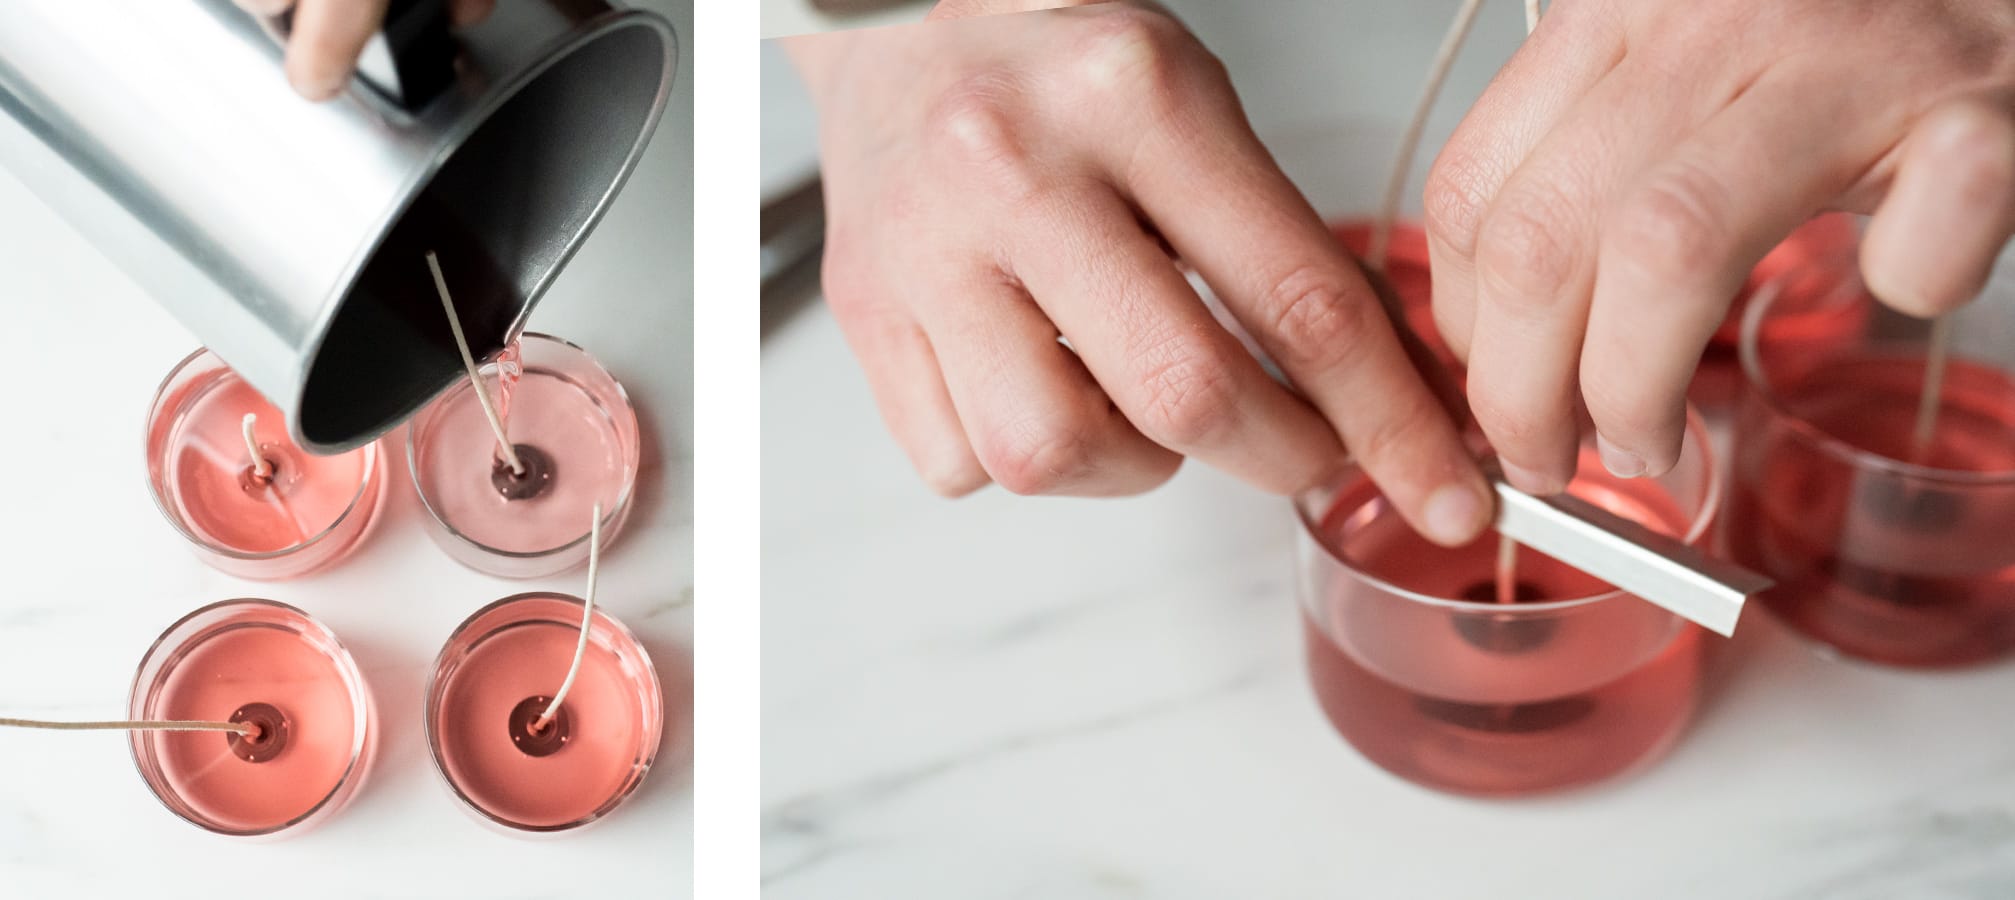
Once your base wax has cooled to 150°F (65.6°C), pour into the Mini Tumblers. Fill each tumbler a little bit more than hall full, but no more than ¾ full; you want to make sure your scoop can fully sit on the wax base and low enough to avoid wax spilling over the sides when it’s burned.
Set your wick with a wick bar, gently pulling your wick tight. Do not trim the wick. Set aside to cool.
PART 3: Assemble the candle
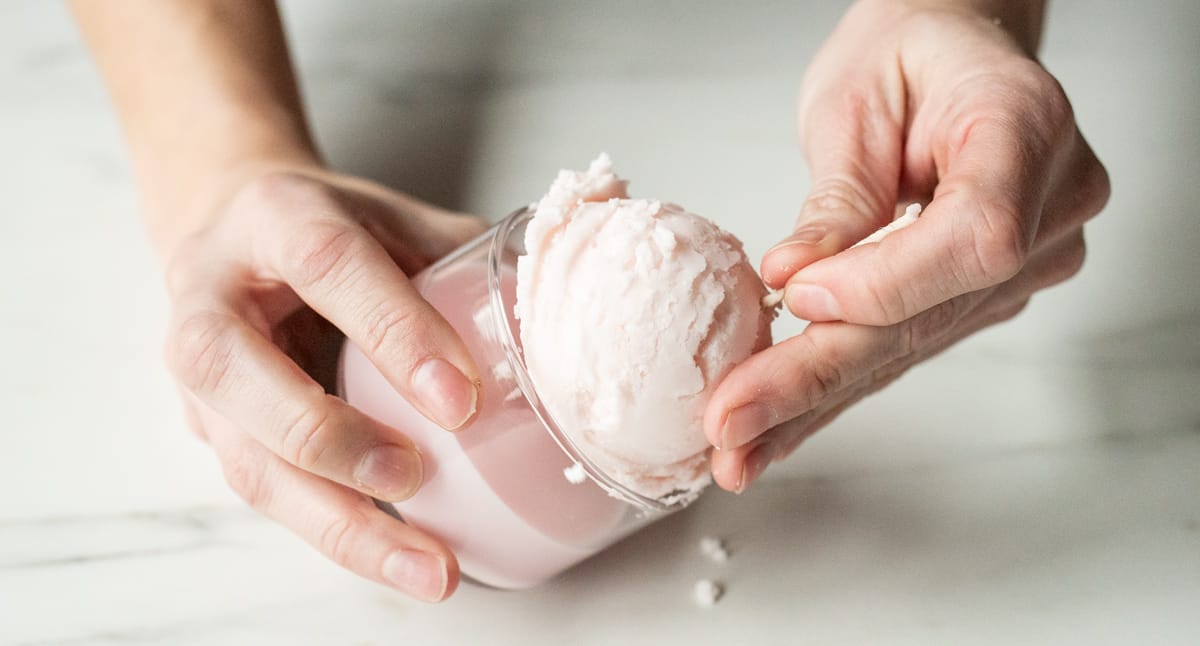
When your ice cream scoops are firm and can keep their shape, they can be placed onto the candle bases. Your base should be mostly cooled, just slightly warm to the touch. If they are not cooled enough, your ice cream scoop will sink into the wax. If it’s too set, simply take a heat gun and warm up the surface to help the scoop stick to the base.
Carefully remove the scoop from the parchment paper, thread the wick through the bottom of the scoop. Press the scoop gently down onto the base.
PART 4: Finish and enjoy!
Allow the candles to cool overnight or for at least 8 hours. You can trim the wick to ¼”-½” (6-13 mm) or, for a fun option, use a pencil or bamboo skewer to wrap the excess wick around to make a curly Q in the end.
As always, have fun and customize your project! You can create a “syrup” drizzle, top it off with a wax cherry, or grate some colored wax overtop for sprinkles. Try some other fragrances such as Creme Brulee, Mango and Coconut Milk, or a blend of Lavender and Very Vanilla (remember that color combinations will eventually mix when you burn the candle).