How to Make Beeswax Christmas Tree Ornaments

Crafting your own holiday decorations is a meaningful way to celebrate the season, creating both cherished memories and timeless keepsakes. This is a quick, simple project the whole family can get involved in. Try this idea for a modern twist on traditional beeswax Christmas tree ornaments.
In order to keep our projects up to date and on trend, we will sometimes make adjustments or updates. This tutorial was updated on 11/5/25.
EO Notes: You can also use candle-approved essential oils for this project. Check the recommended usage percentage on the essential oil product page and start with low percentages. How to Make Soy Candles with Essential Oils
Additional Items Needed:
- Silicone molds of your choosing
- Ribbon or twine
- Double boiler or hot plate
- Scissors
- Paper towel
Directions:
Yellow beeswax has a sweet and earthy aroma and can be used in this project without mica powder, dyes, or fragrance if you prefer a more natural and traditional beeswax ornament.
Simply follow the wax melting and pouring instructions, Steps 1, 4-7


The amount of ornaments this recipe makes is dependent on the silicone mold you choose. We purchased the snowflake mold from Amazon.
Once the beeswax ornaments are removed from the silicone mold, you can reheat the remaining wax in the pouring pitcher back to pouring temperature, and pour another round. Repeat until you have no more wax.
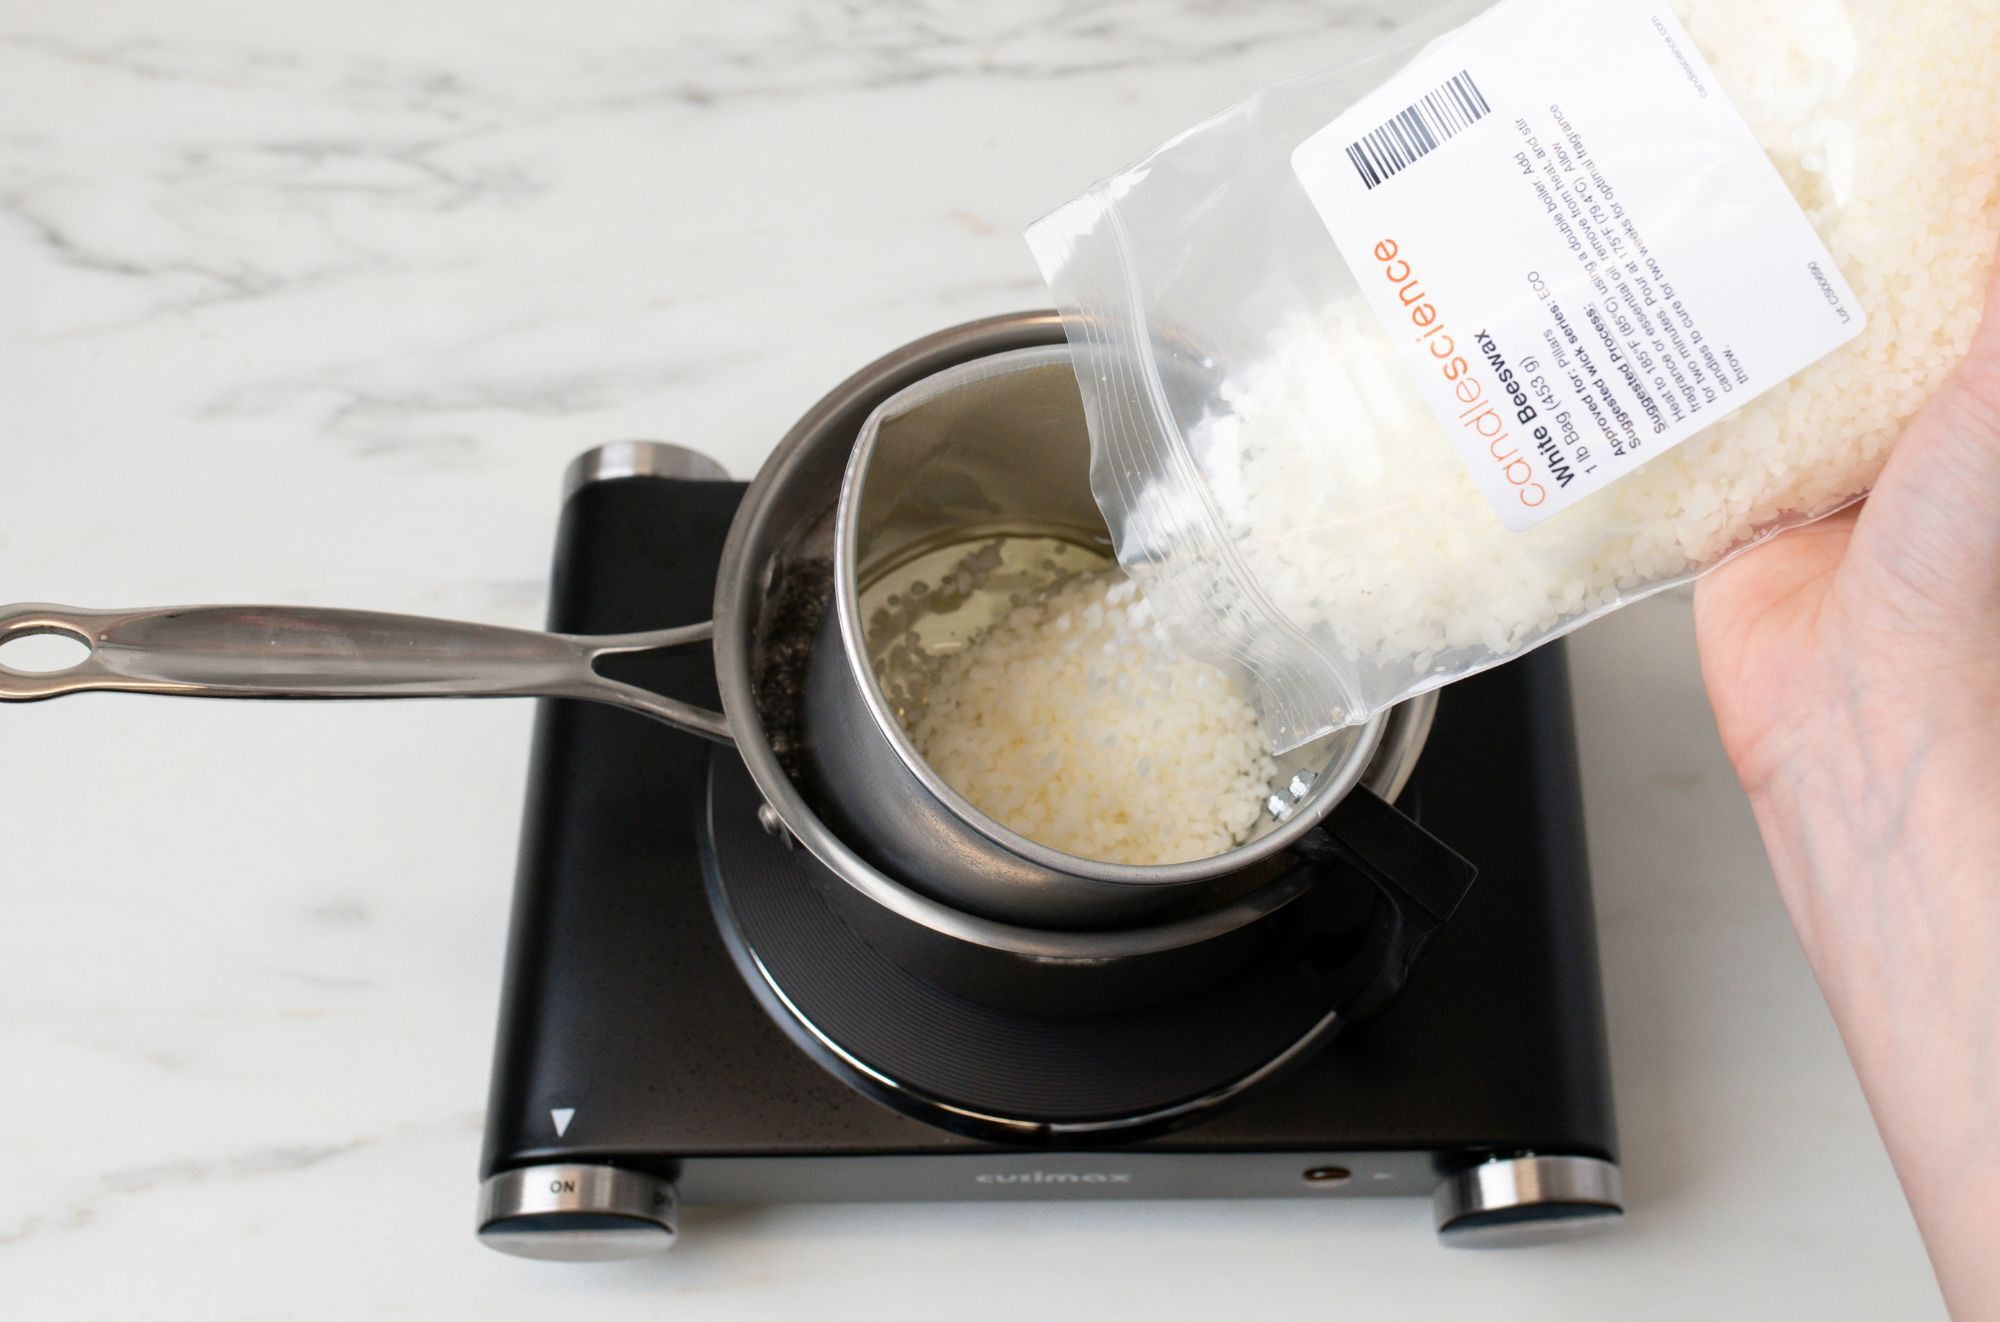
Step 1: Melt the wax
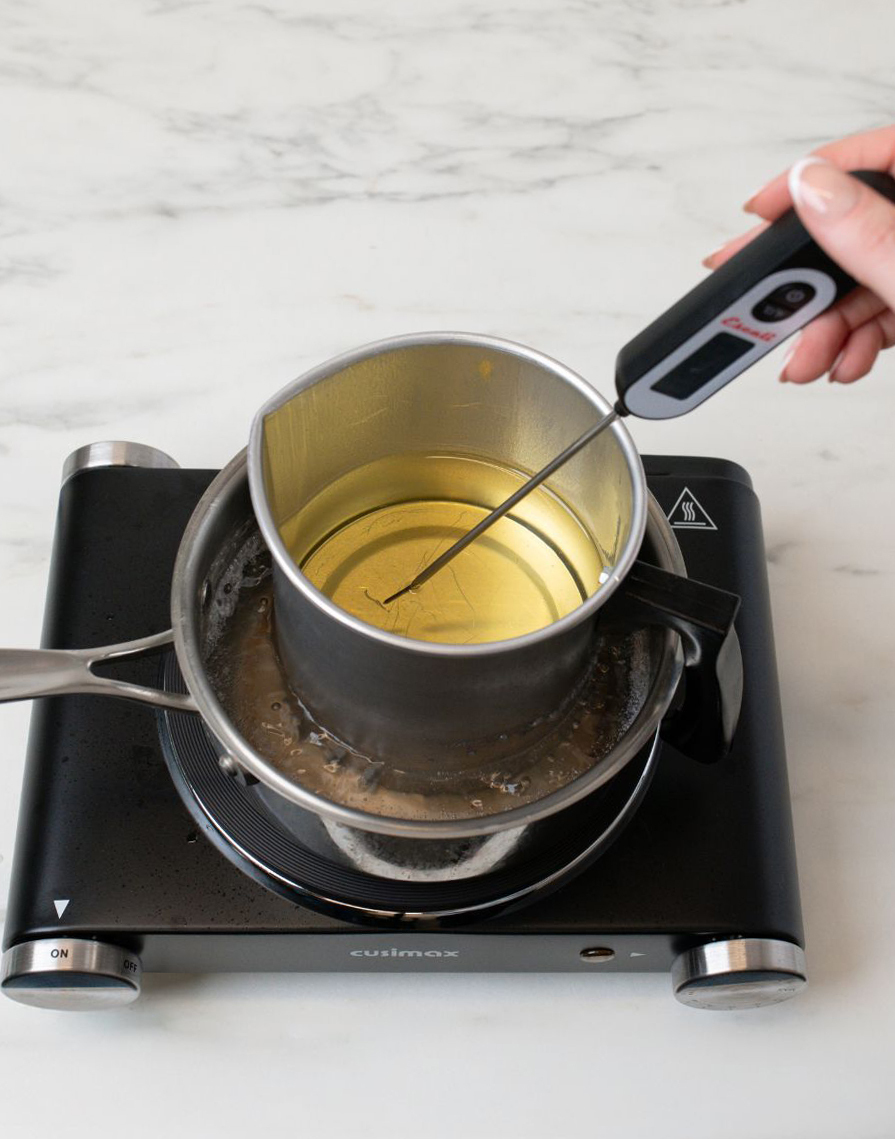
In a clean pouring pitcher, melt 1 lb (454 g) of white beeswax pastilles until the the wax reaches 185ºF (85°C).
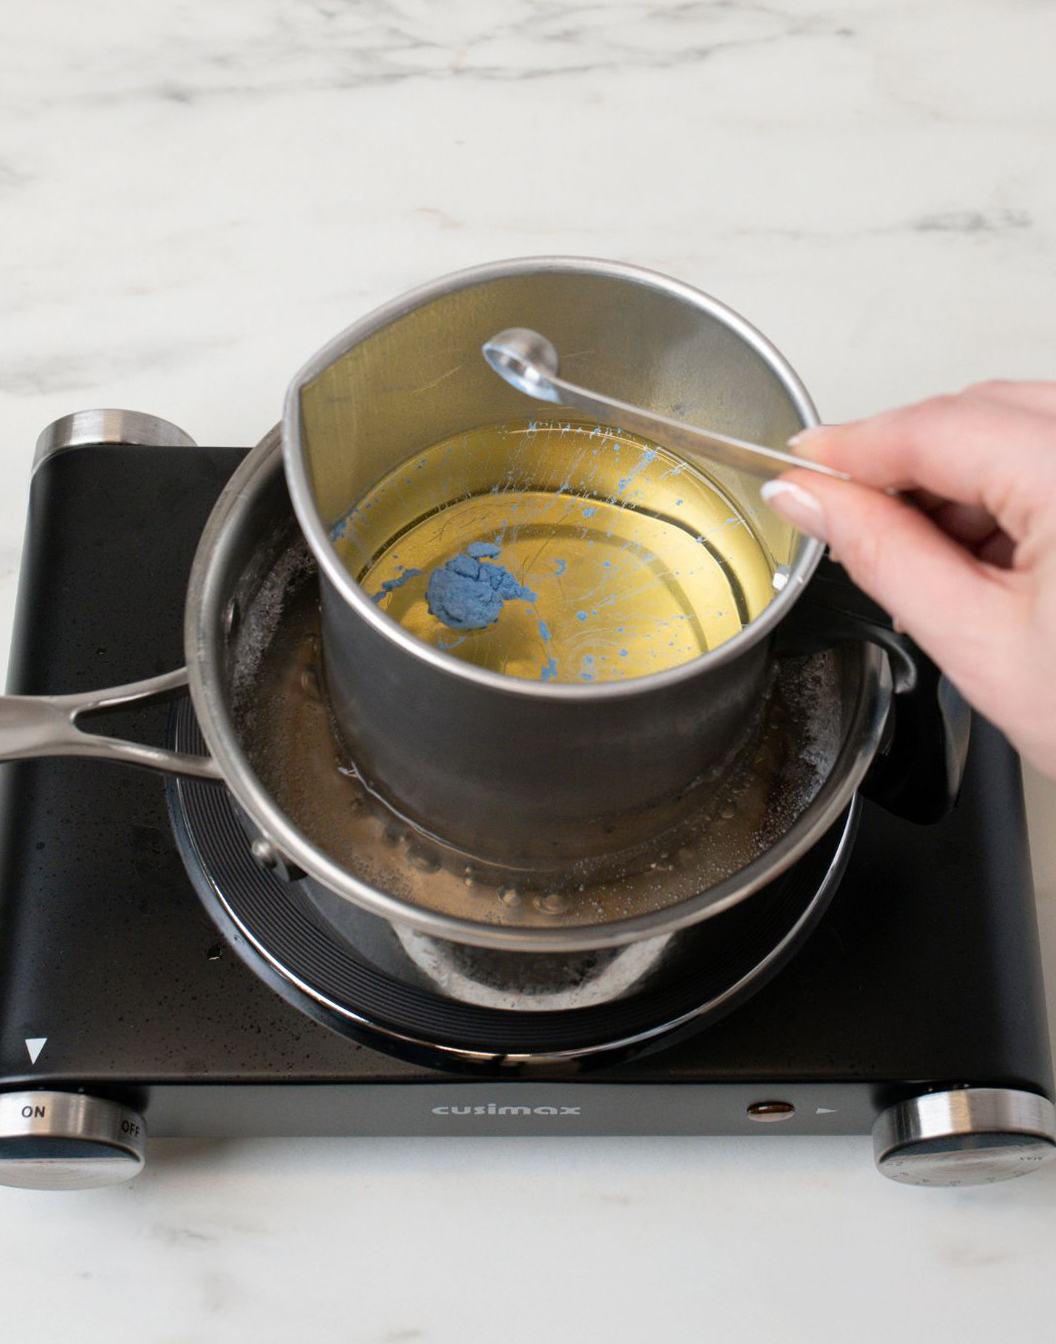
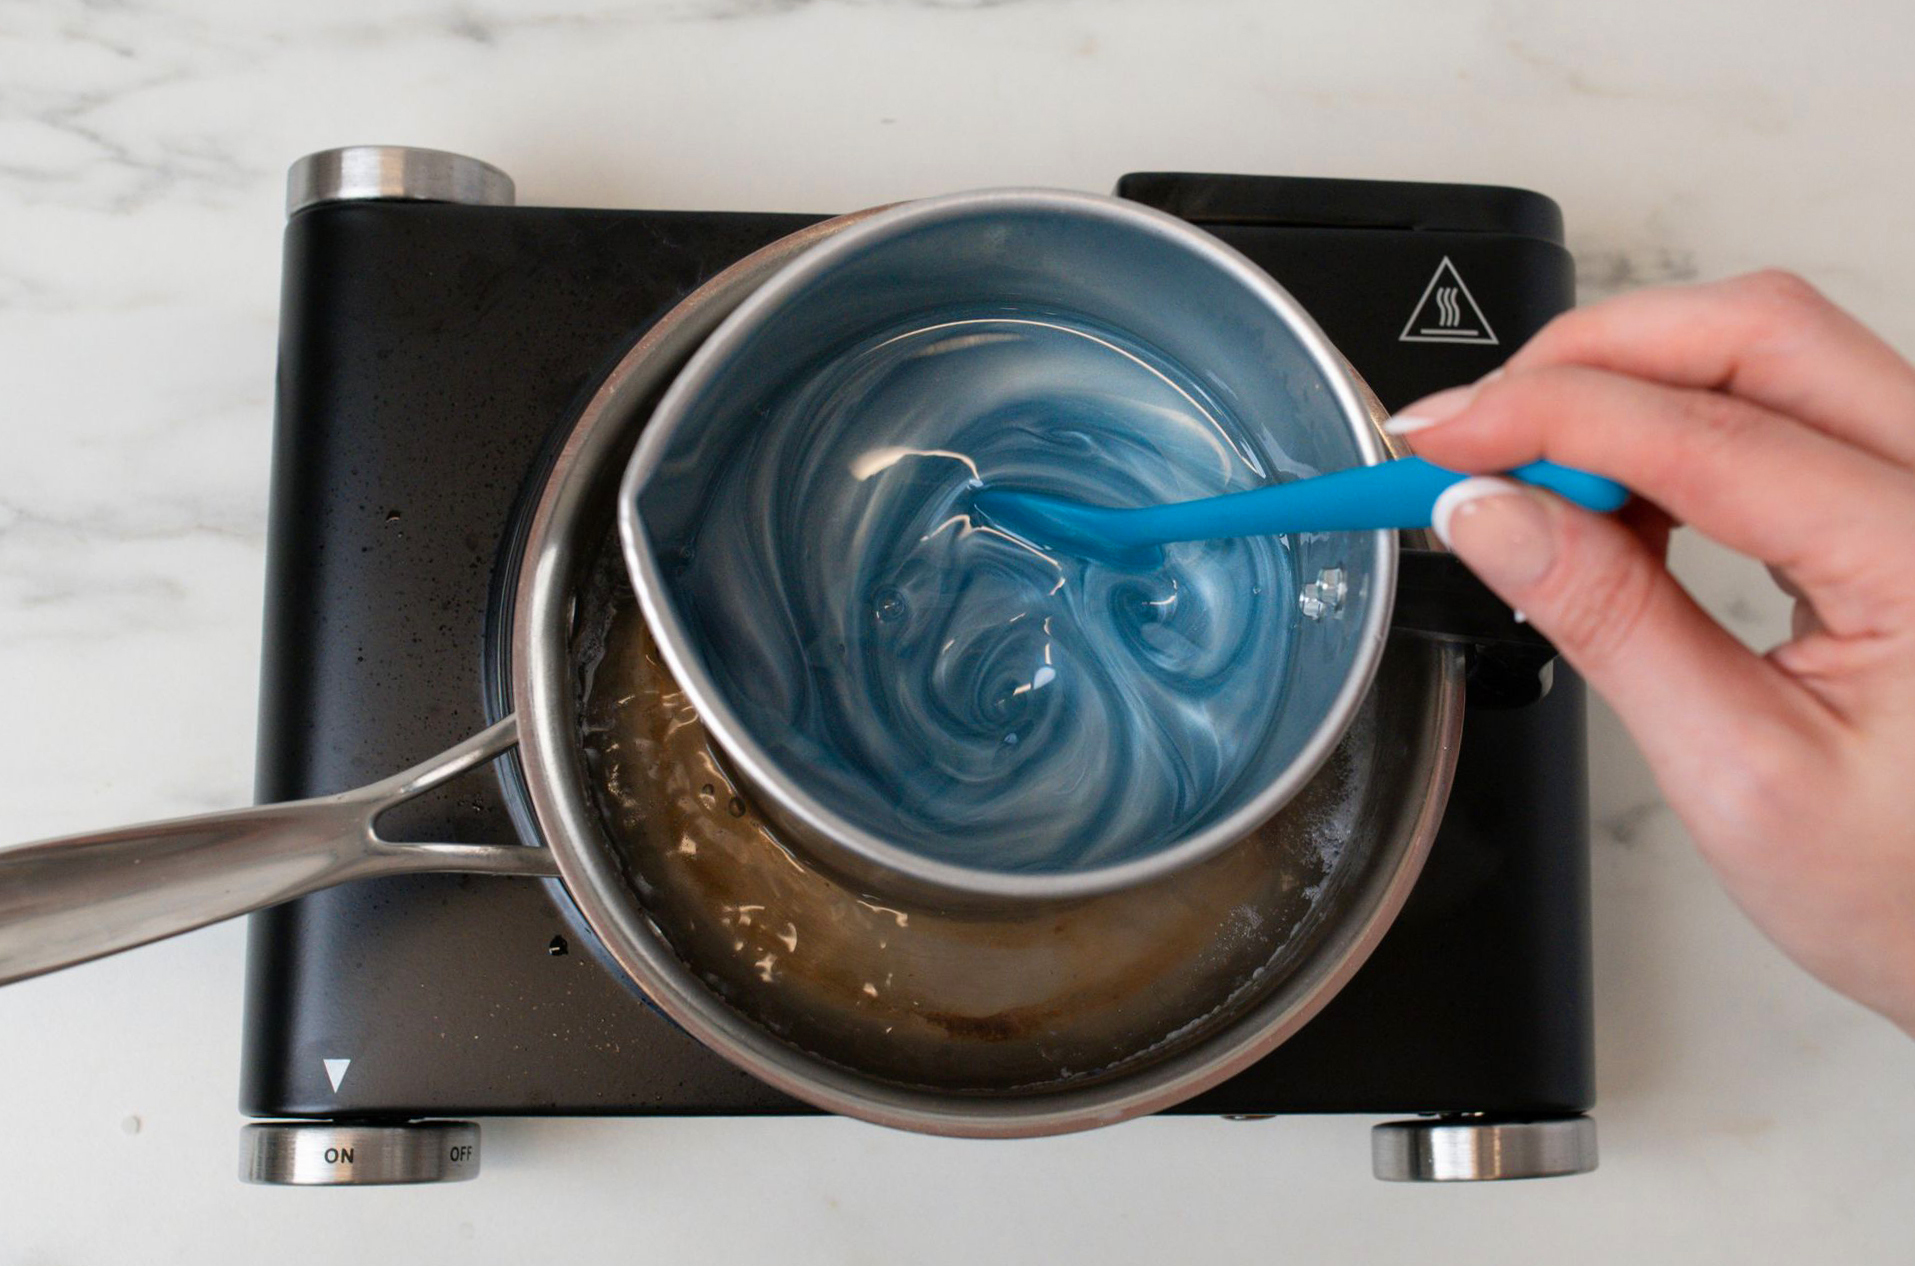
Step 2: Add the mica
Add ¼ tsp of mica and stir well to combine. We used Acid Wash, but you can choose whichever color you like!
Note: You can add more or less mica depending on how much color and sparkle you want in your ornaments.
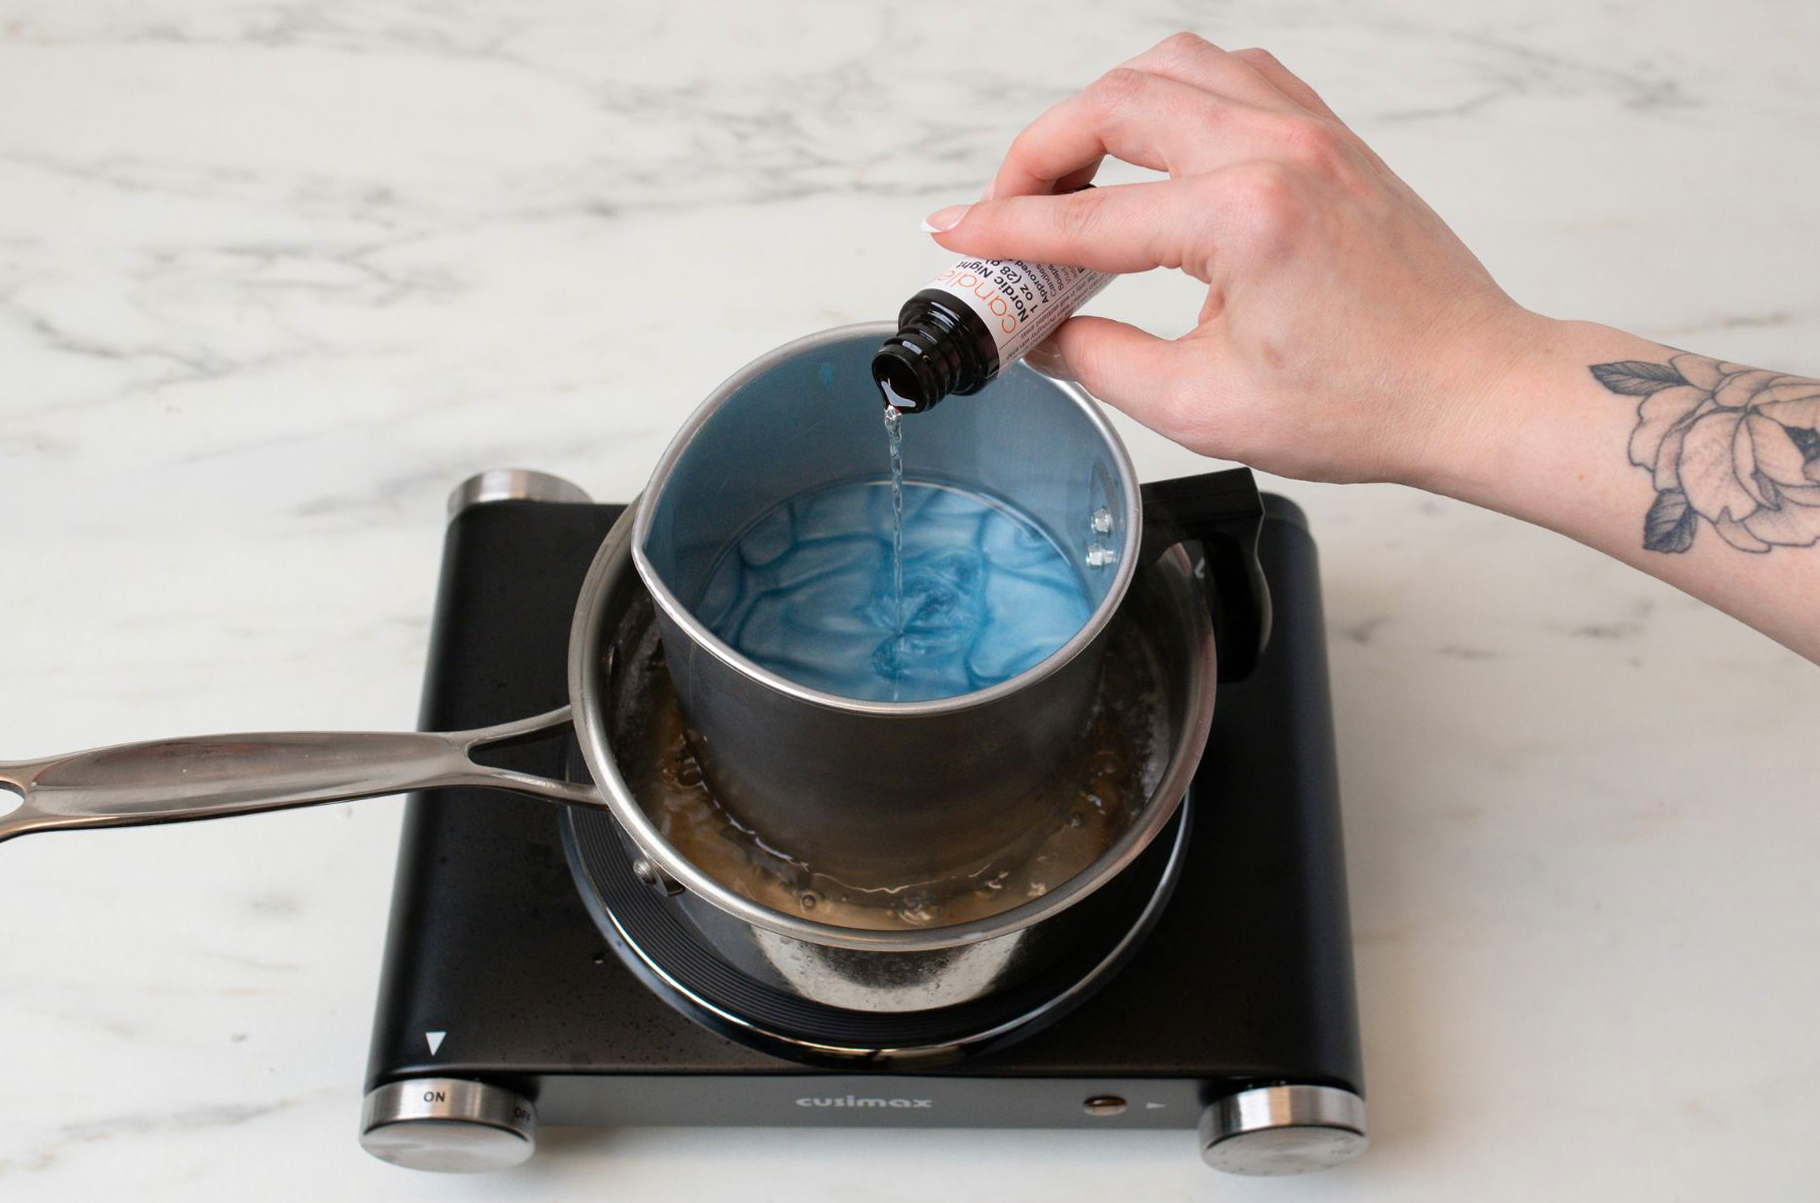
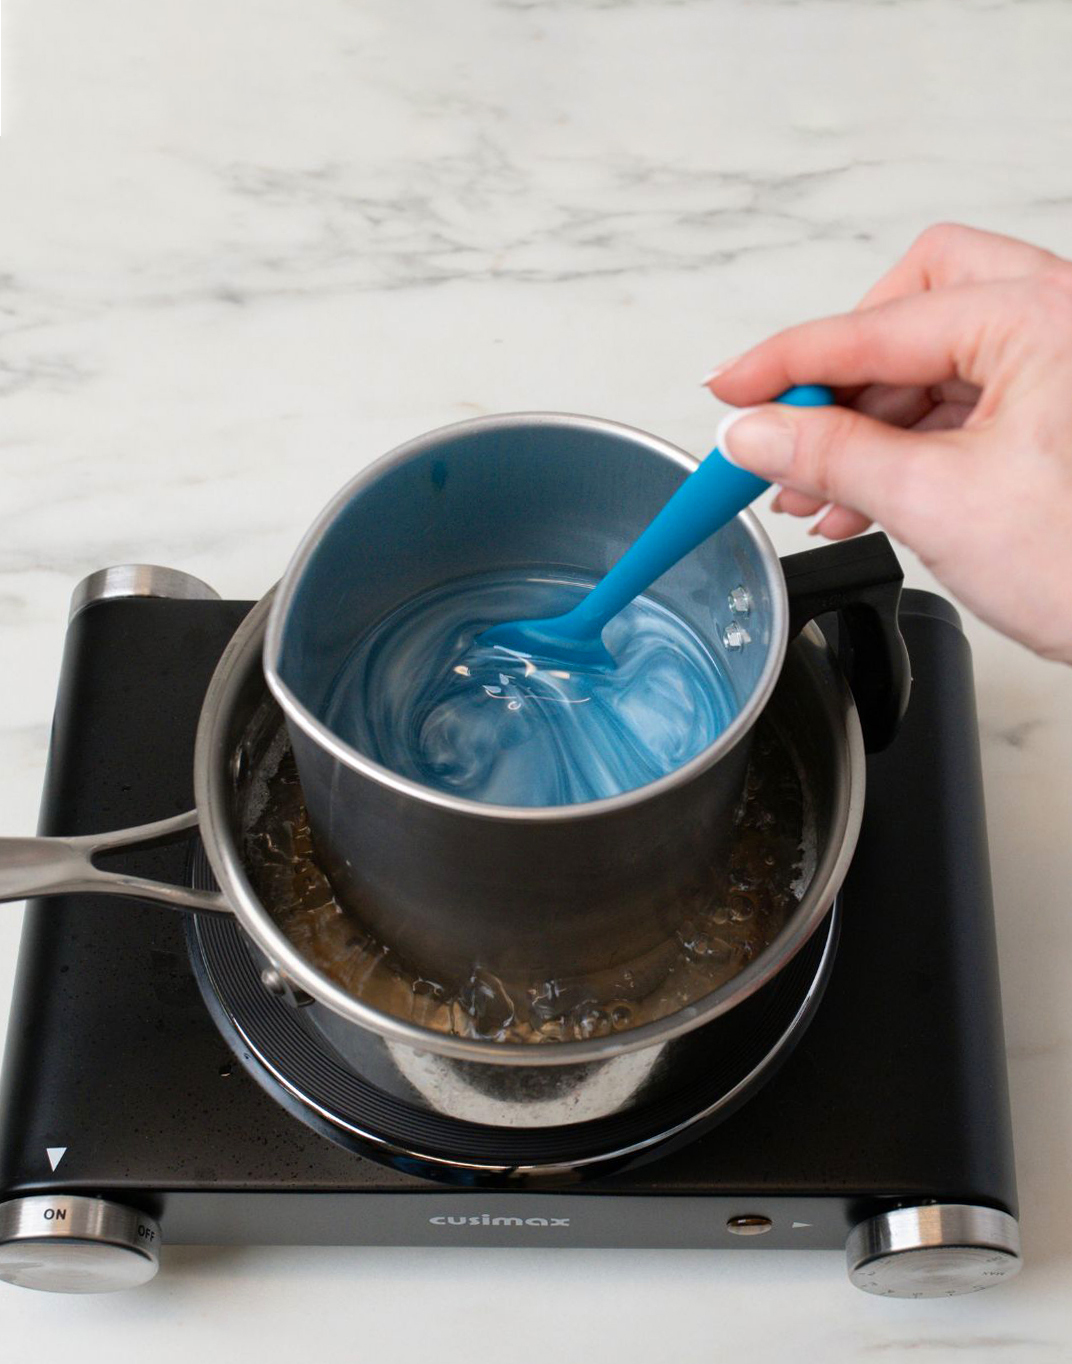
Step 3: Add the fragrance oil
Add 1 oz (28 g) of Nordic Night fragrance oil (or holiday fragrance oil of your choice) and stir well. Remove from heat and allow the wax to cool to 170ºF (76.7°C).
If you have an artificial tree, but want the scent of a fresh cut tree, try a pine forward scent:
Other holiday-inspired scents we love:
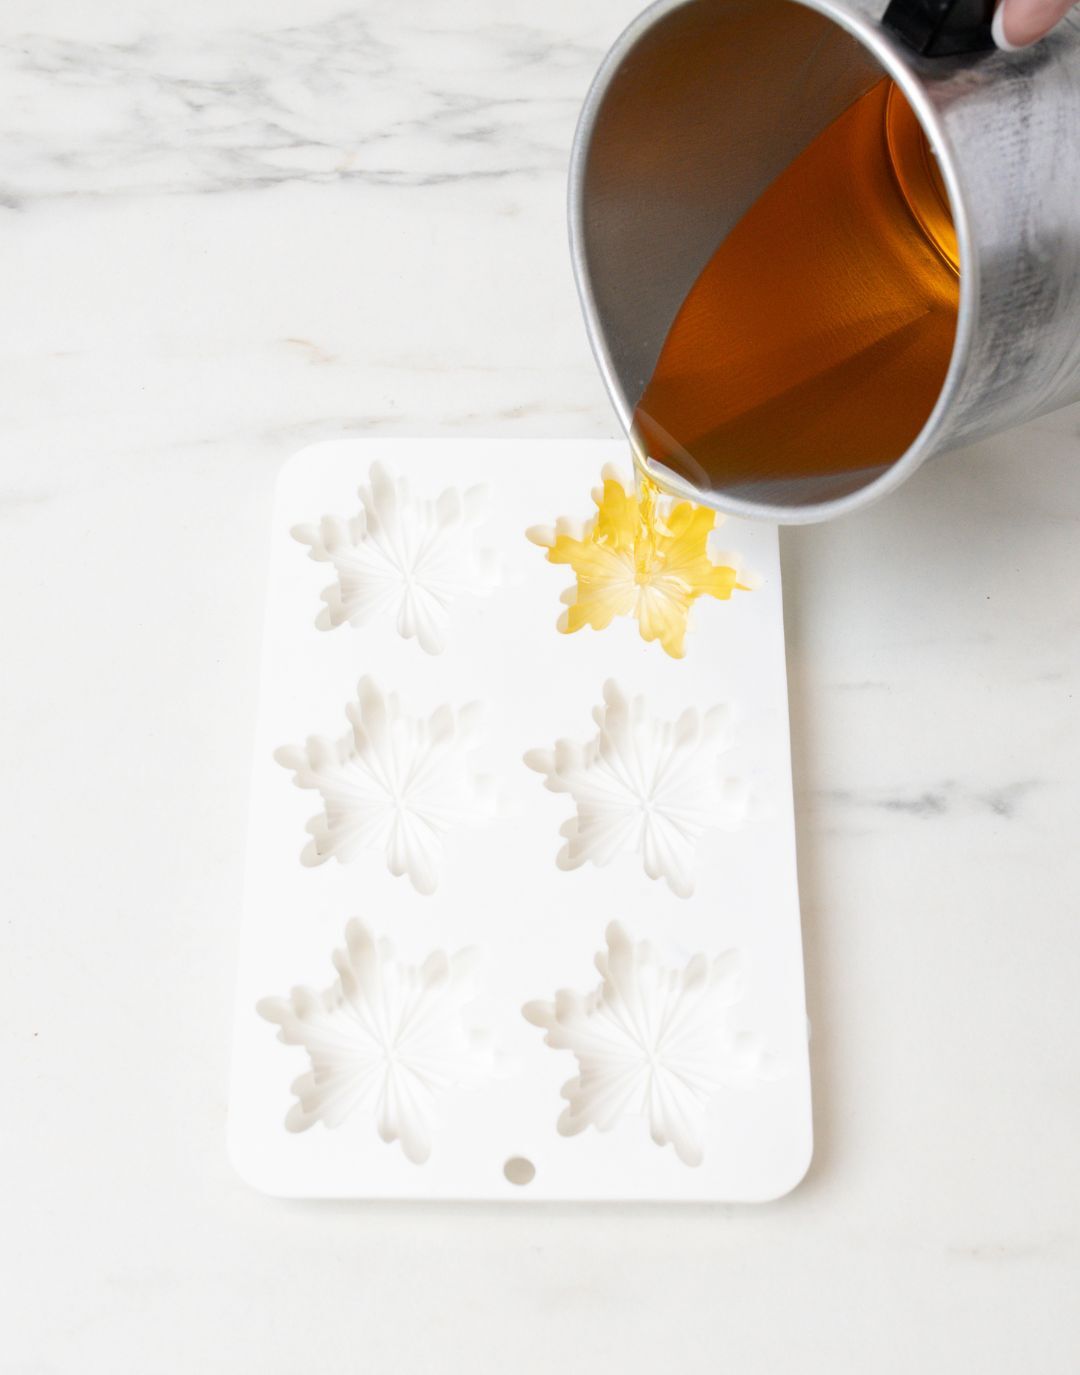
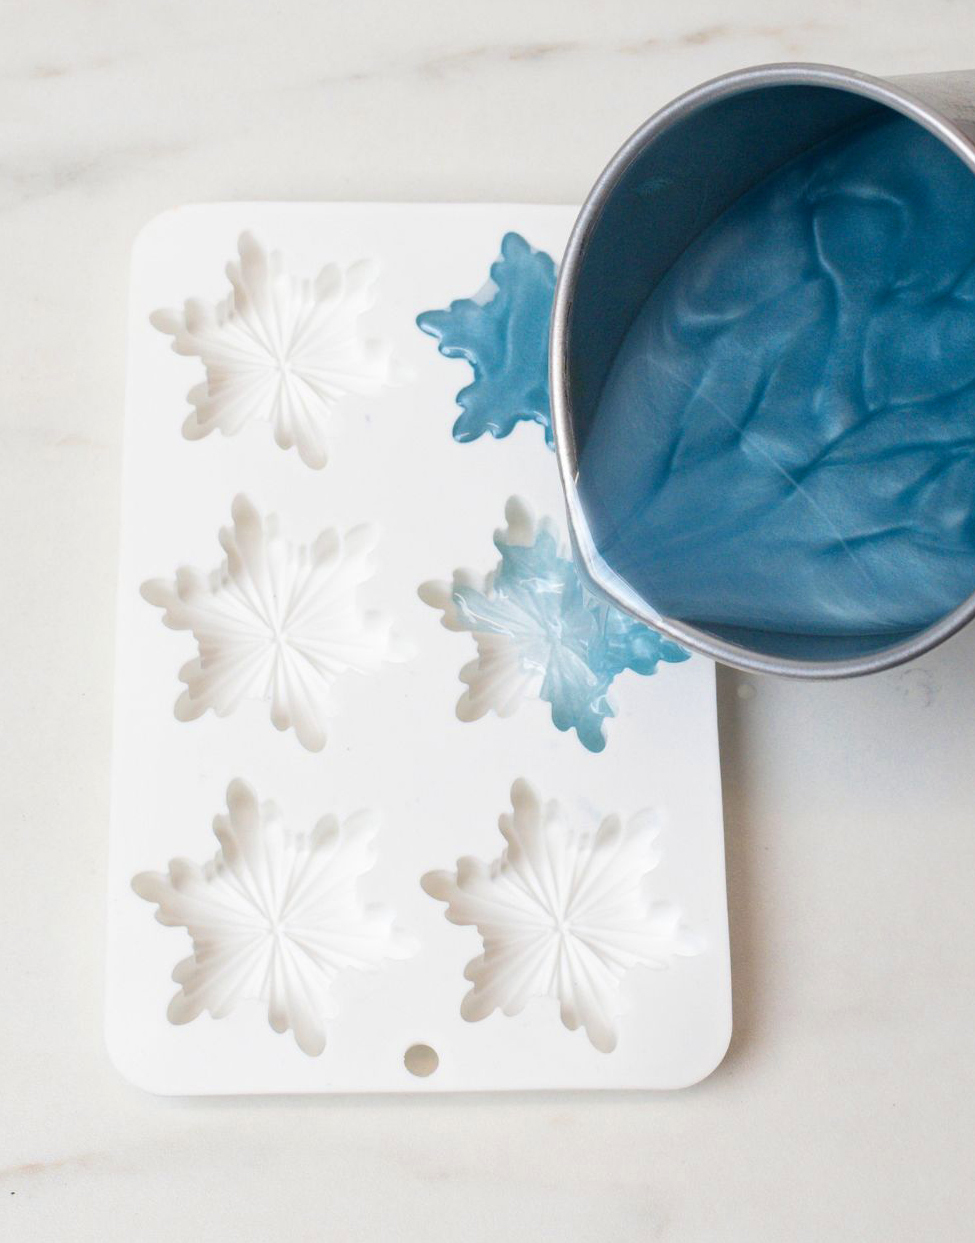
Step 4: Pour wax into molds
Carefully pour the fragranced and dyed beeswax into the silicone mold and allow the wax to begin cooling.
Set a timer for 20 mins. Beeswax will set quickly and you’ll want to remove them from the molds before they have solidified completely. The ornaments need to be soft enough to poke holes through.
Note: If you have deep molds, make sure not to overfill them. If your beeswax ornaments are too thick, you may have difficulty threading the twine through and they may be too heavy to hang on a tree.

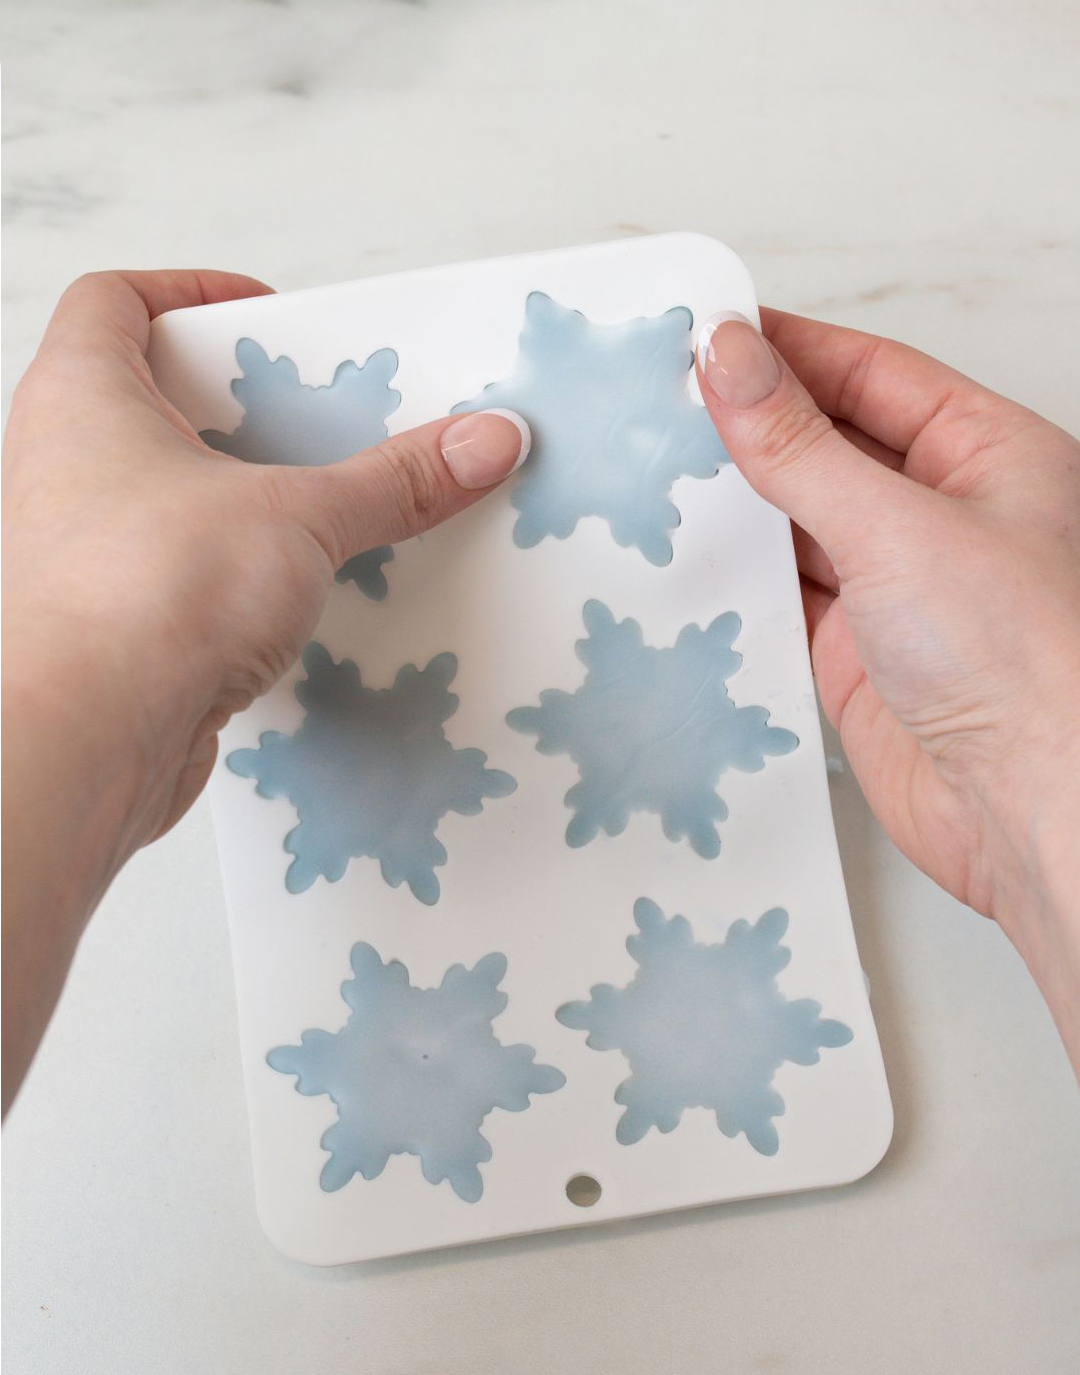
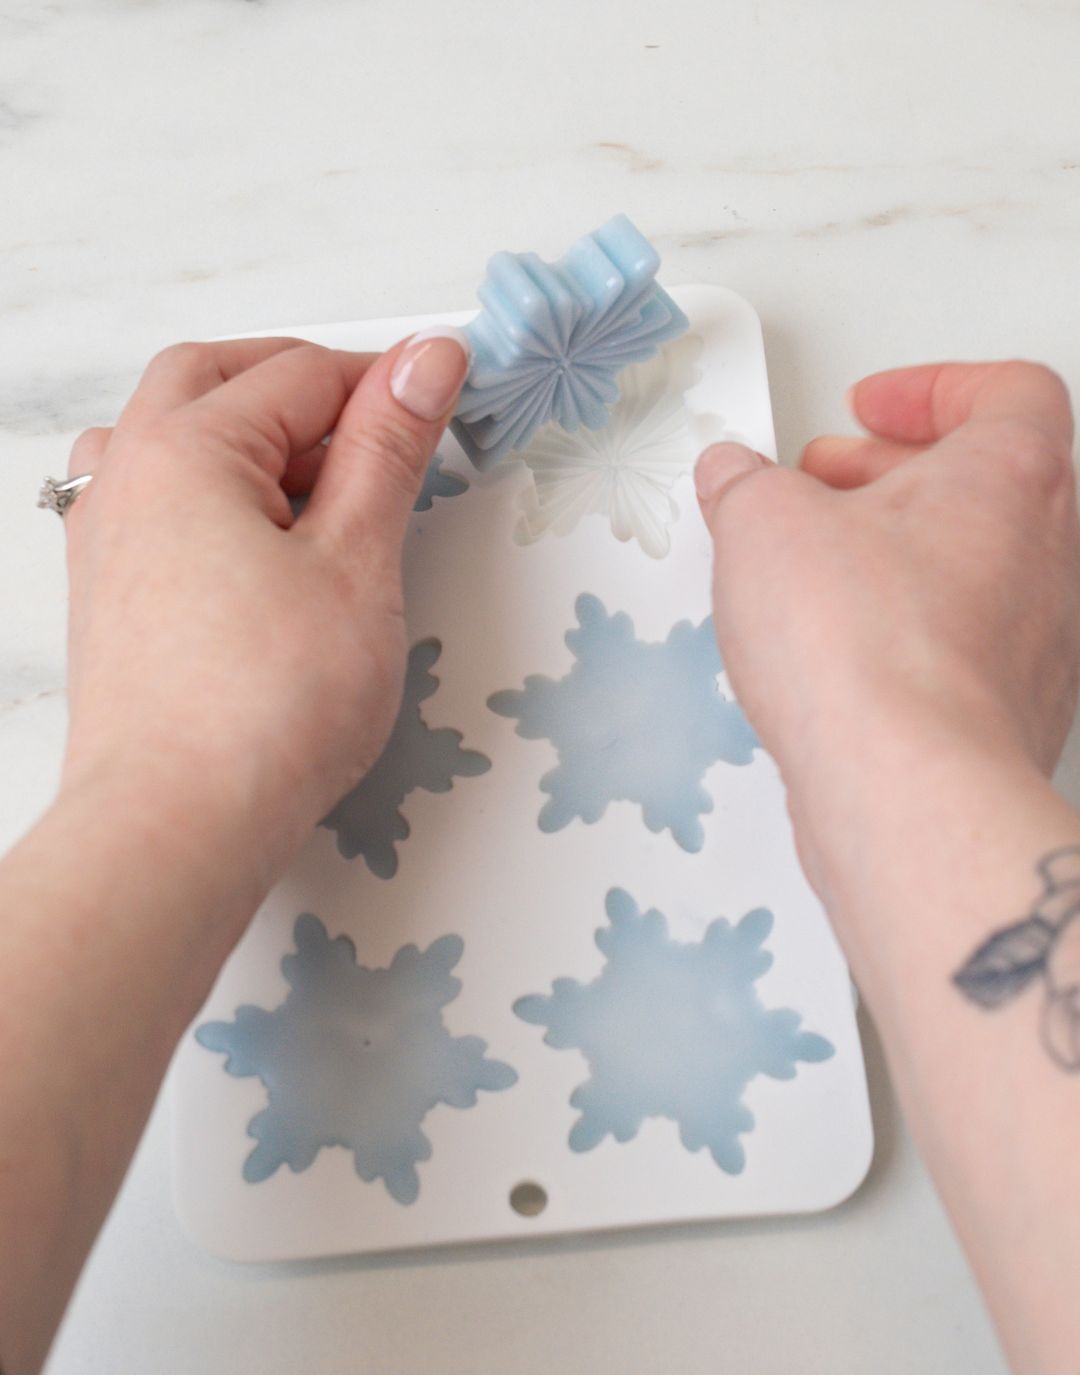
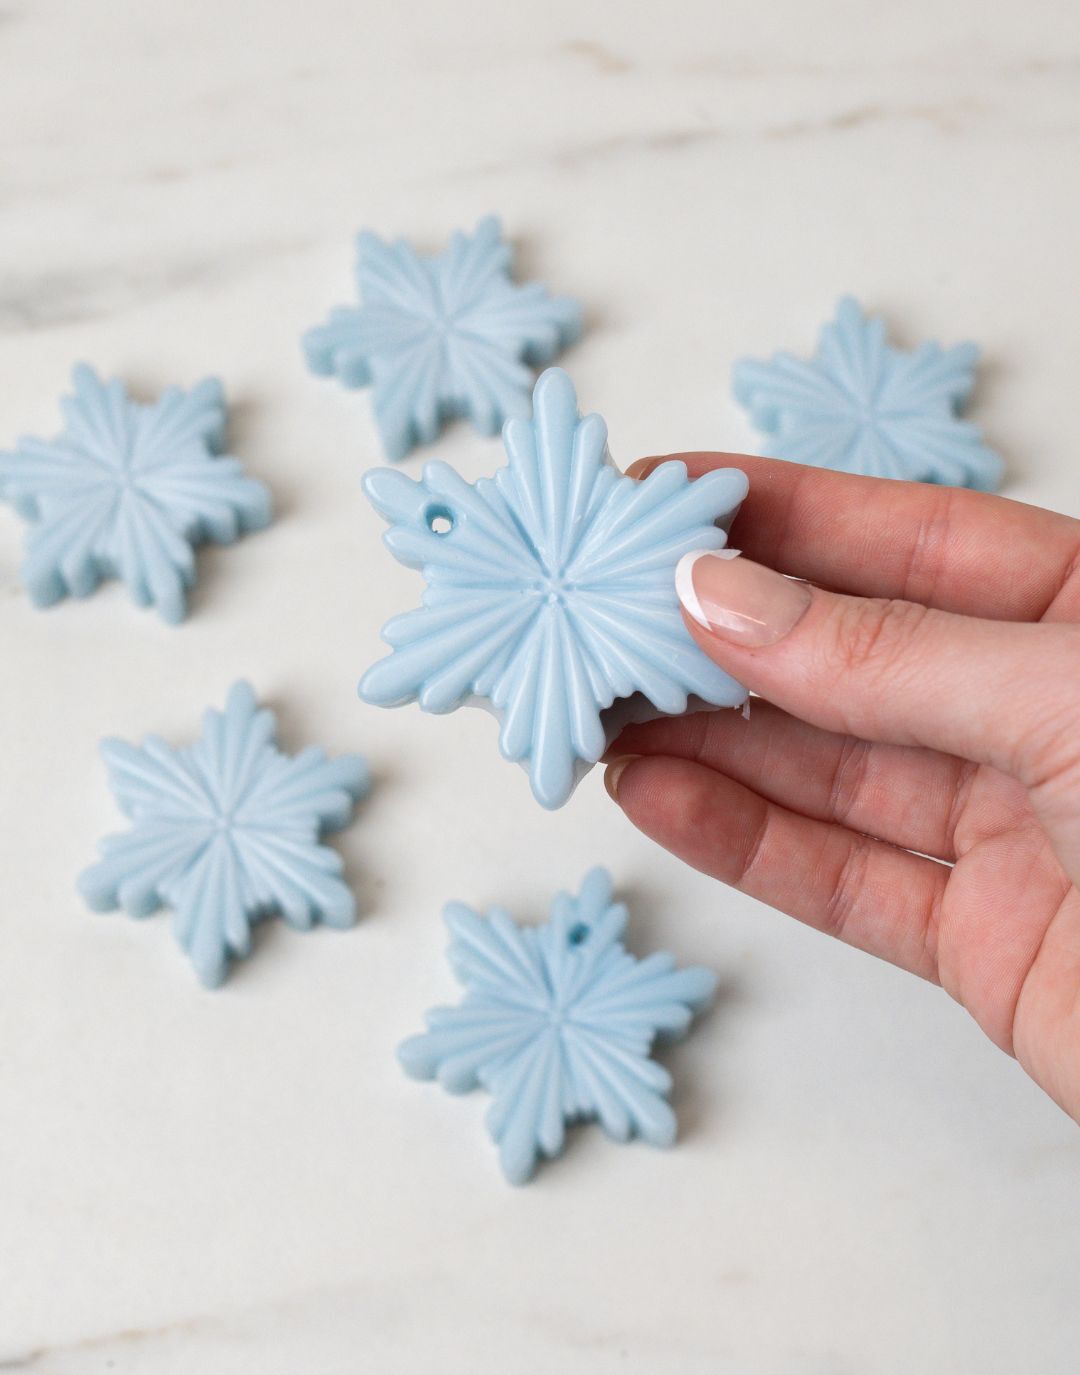
Step 5: Remove ornaments from the molds
Check to make sure the ornaments have cooled enough to keep their shape, but are still warm to the touch so you are able to poke a hole for threading. Then gently pop them out of the mold.
.jpg)
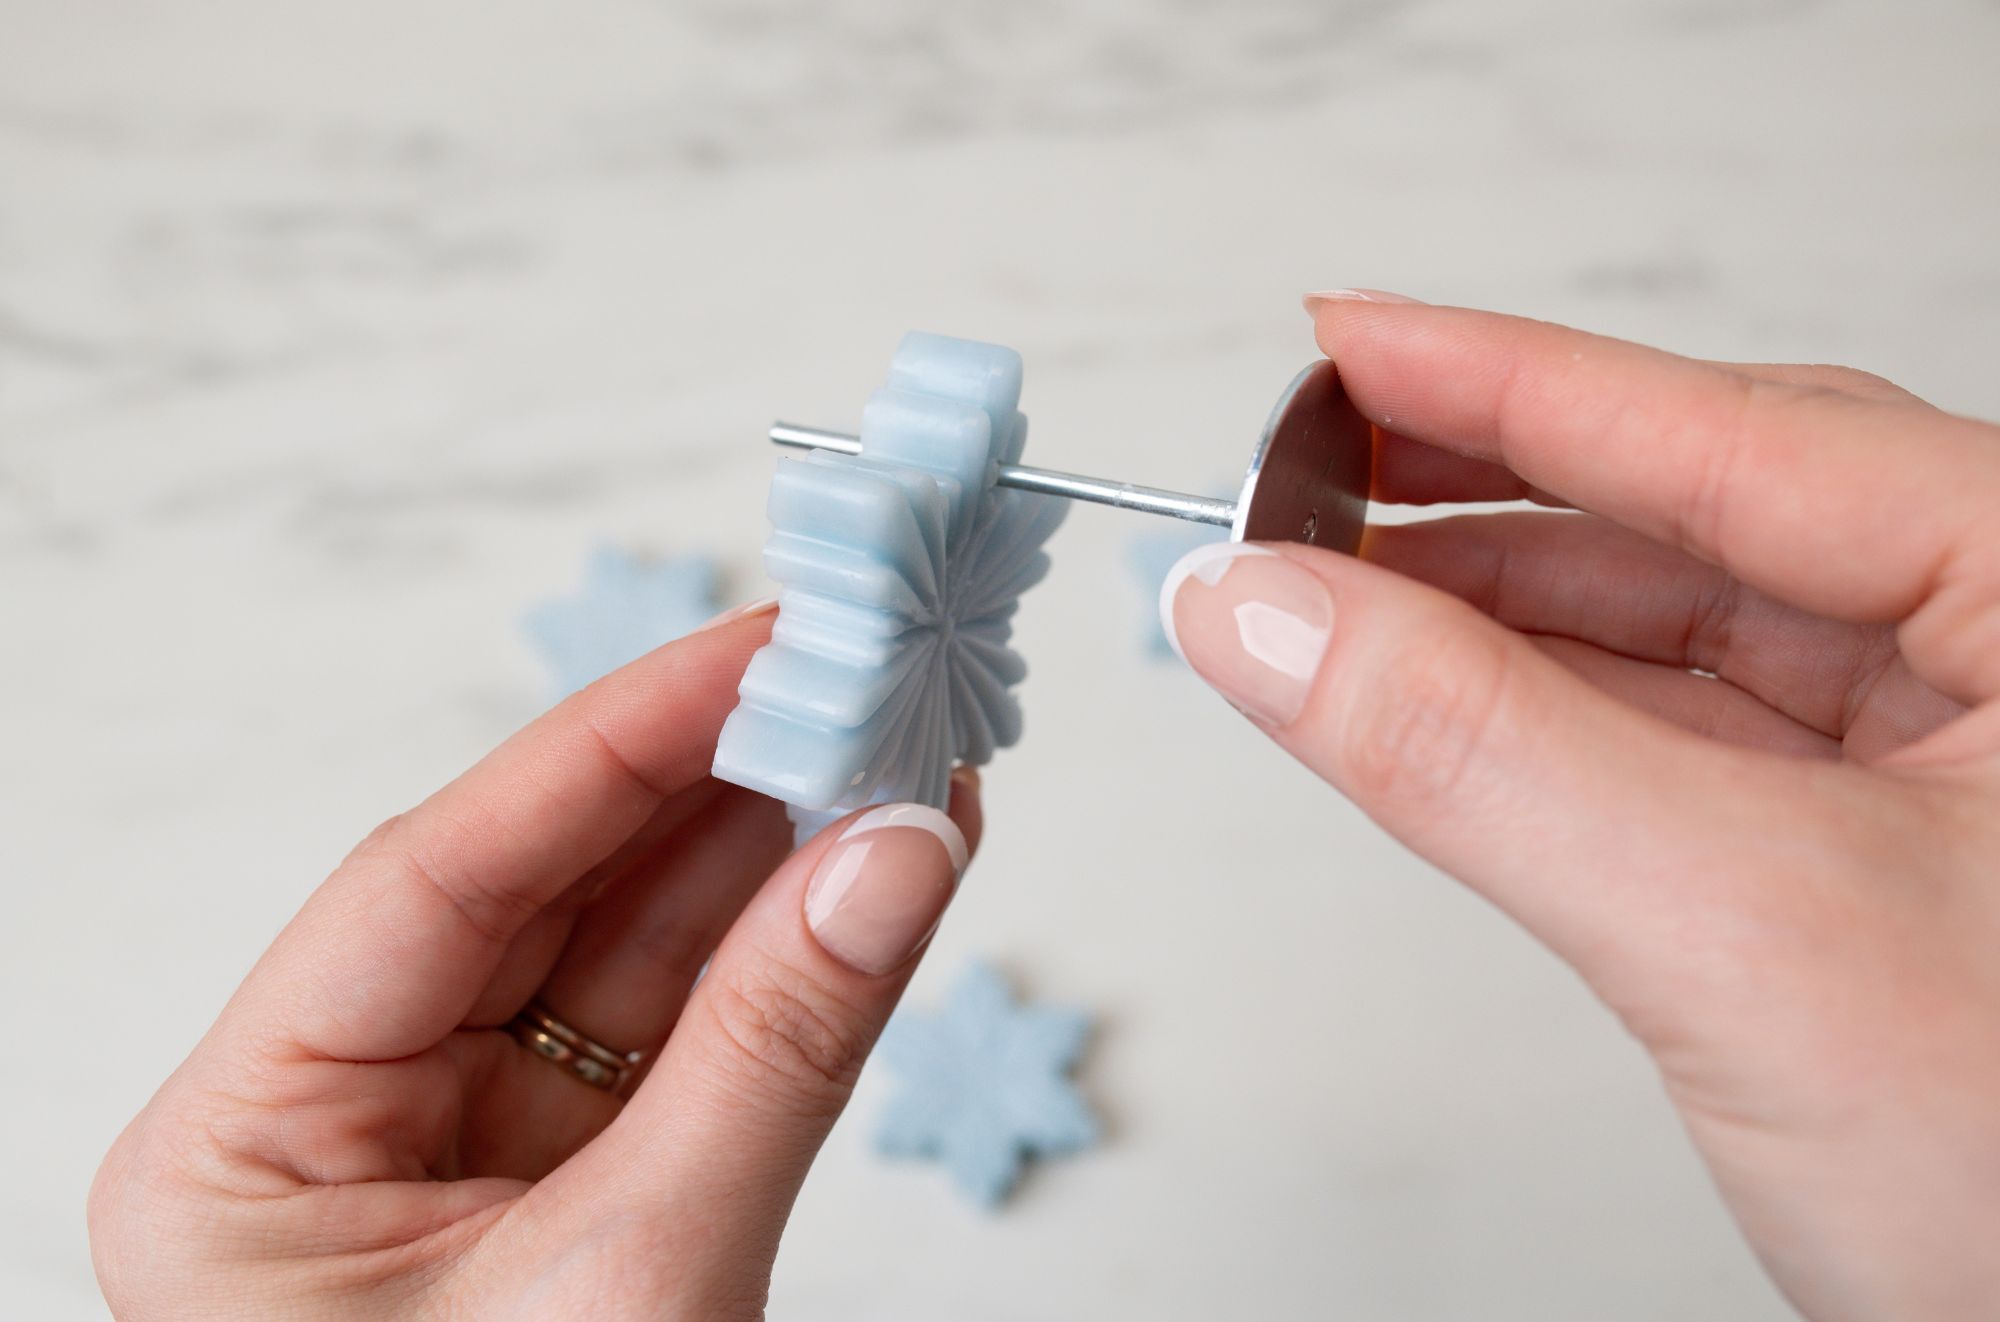
Step 6: Poke holes
Use a Votive Wick Pin or bamboo skewer to poke a hole in the ornament to thread ribbon or twine though.
If you’re having trouble pushing the pin through the wax, run the pin under hot water to heat it up and make it easier to push through.
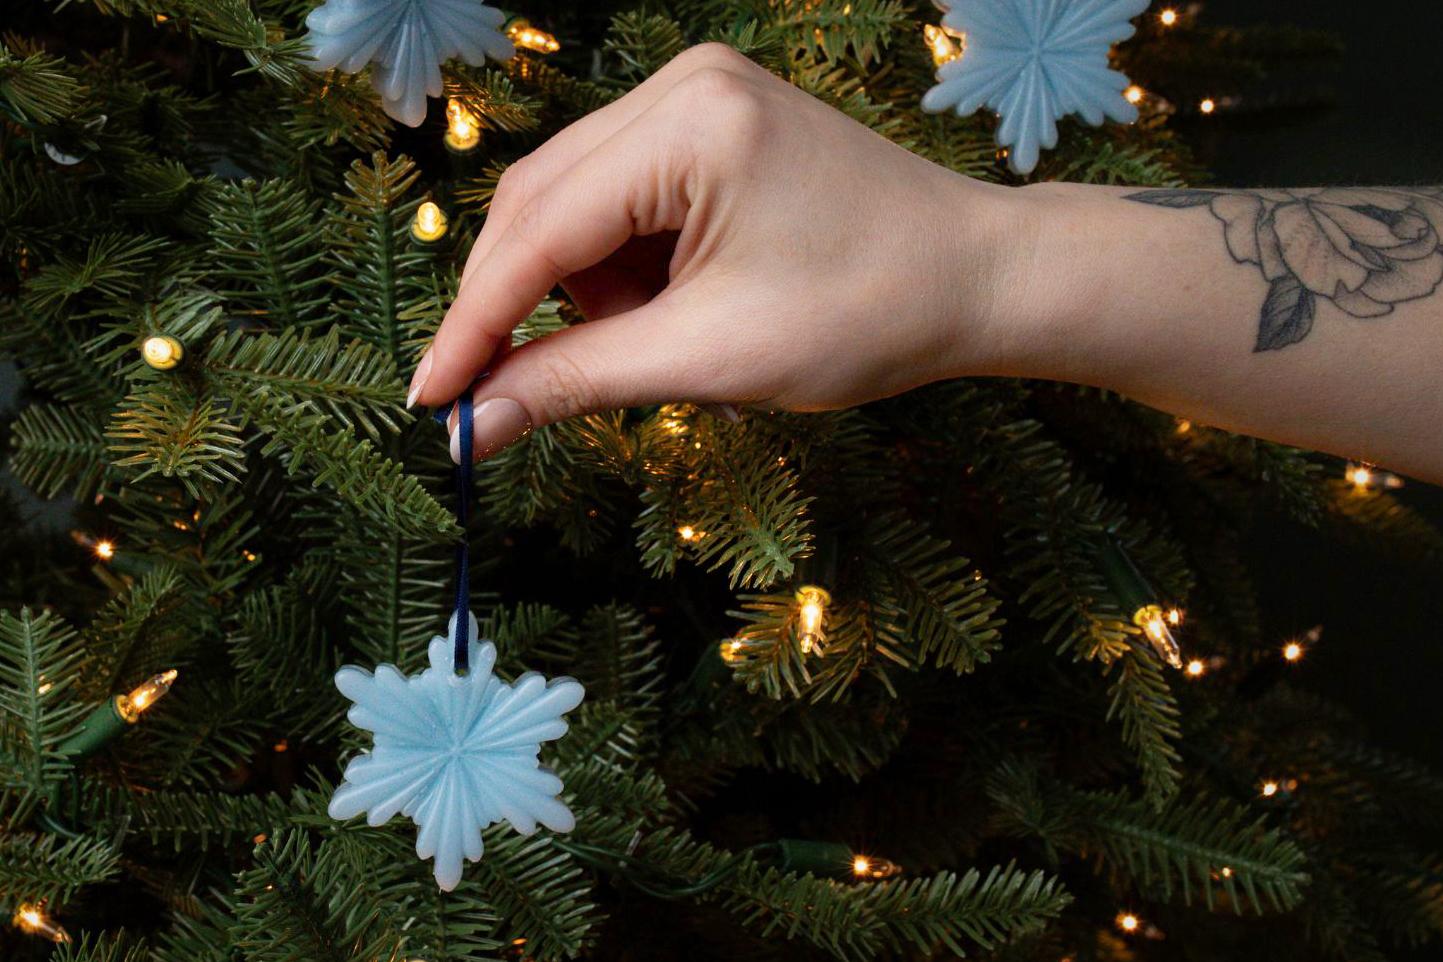
Step 7: Thread the ribbon
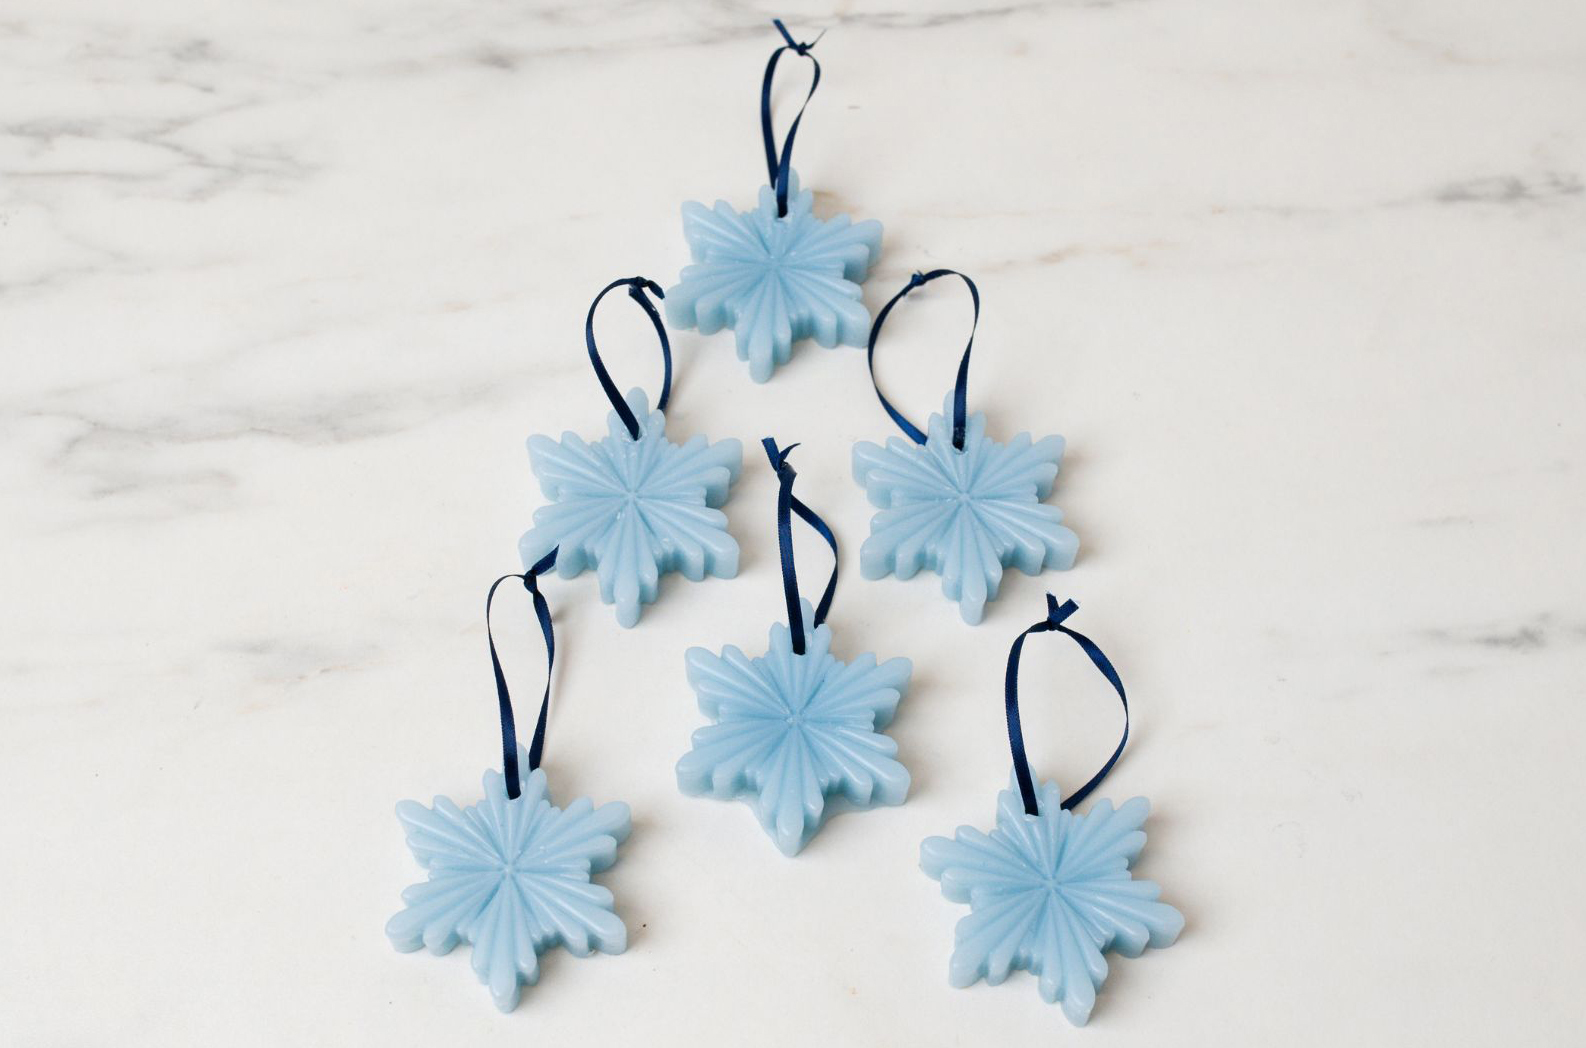
Thread your ribbon or twine through the holes you created in the ornaments. Tie the ends together to make a loop. Trim any extra off the ends.
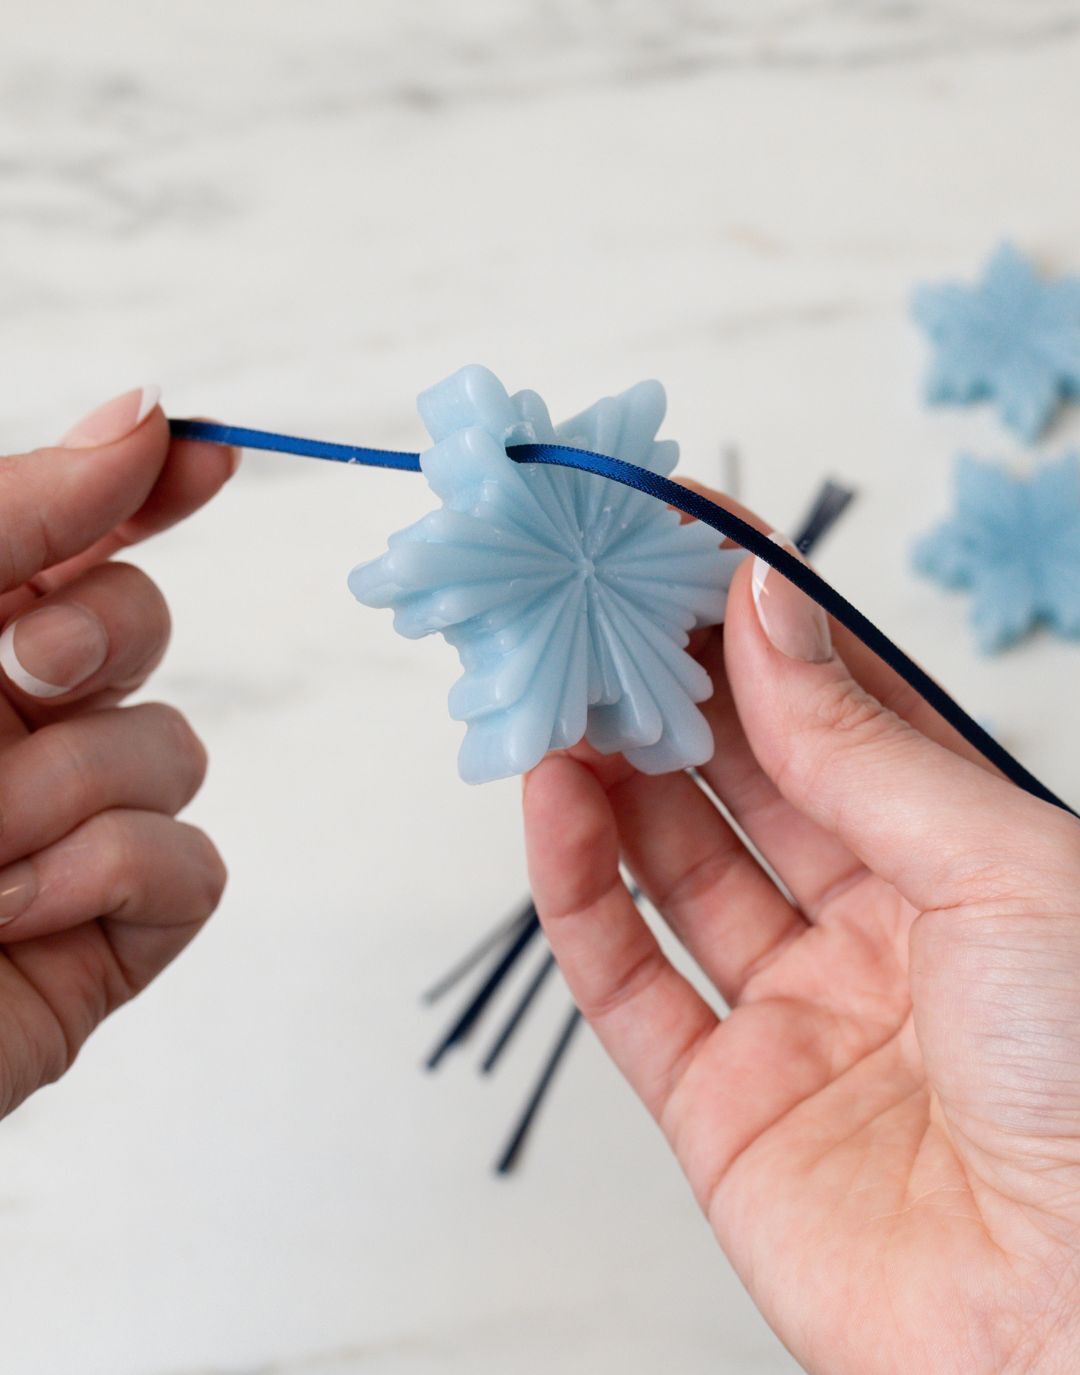
If you’re having trouble threading the ribbon through the hole, use a piece of tape to create a rigid tip on the end of the ribbon.
Now you’re ready to grab a few family members and decorate your tree with your handmade beeswax ornaments!