How to make dinosaur hand soaps
Soap-o-saurus alert! Add a little fun to your family’s hand washing routine with these cute dinosaur soaps. This project is a great opportunity to teach kids about soap making, and encourages them to scrub up so they can get to the prize inside!
We love how kid-friendly this project is, plus it's completely customizable—pick your "prize", and personalize colors, scents, and more!
Additional items needed:
- Latex gloves
- Cutting board
- Small glass containers (for measuring oil)
- Plastic wrap
- Microwave
- Isopropyl alcohol
- Paper towel
- Small toy dinosaurs, or other small toy of your choice
Directions:
Notes: We used toy dinosaurs for our project, but any small plastic toys will work as long as they fit in the mold!
Step 1: Prepare supplies and work space
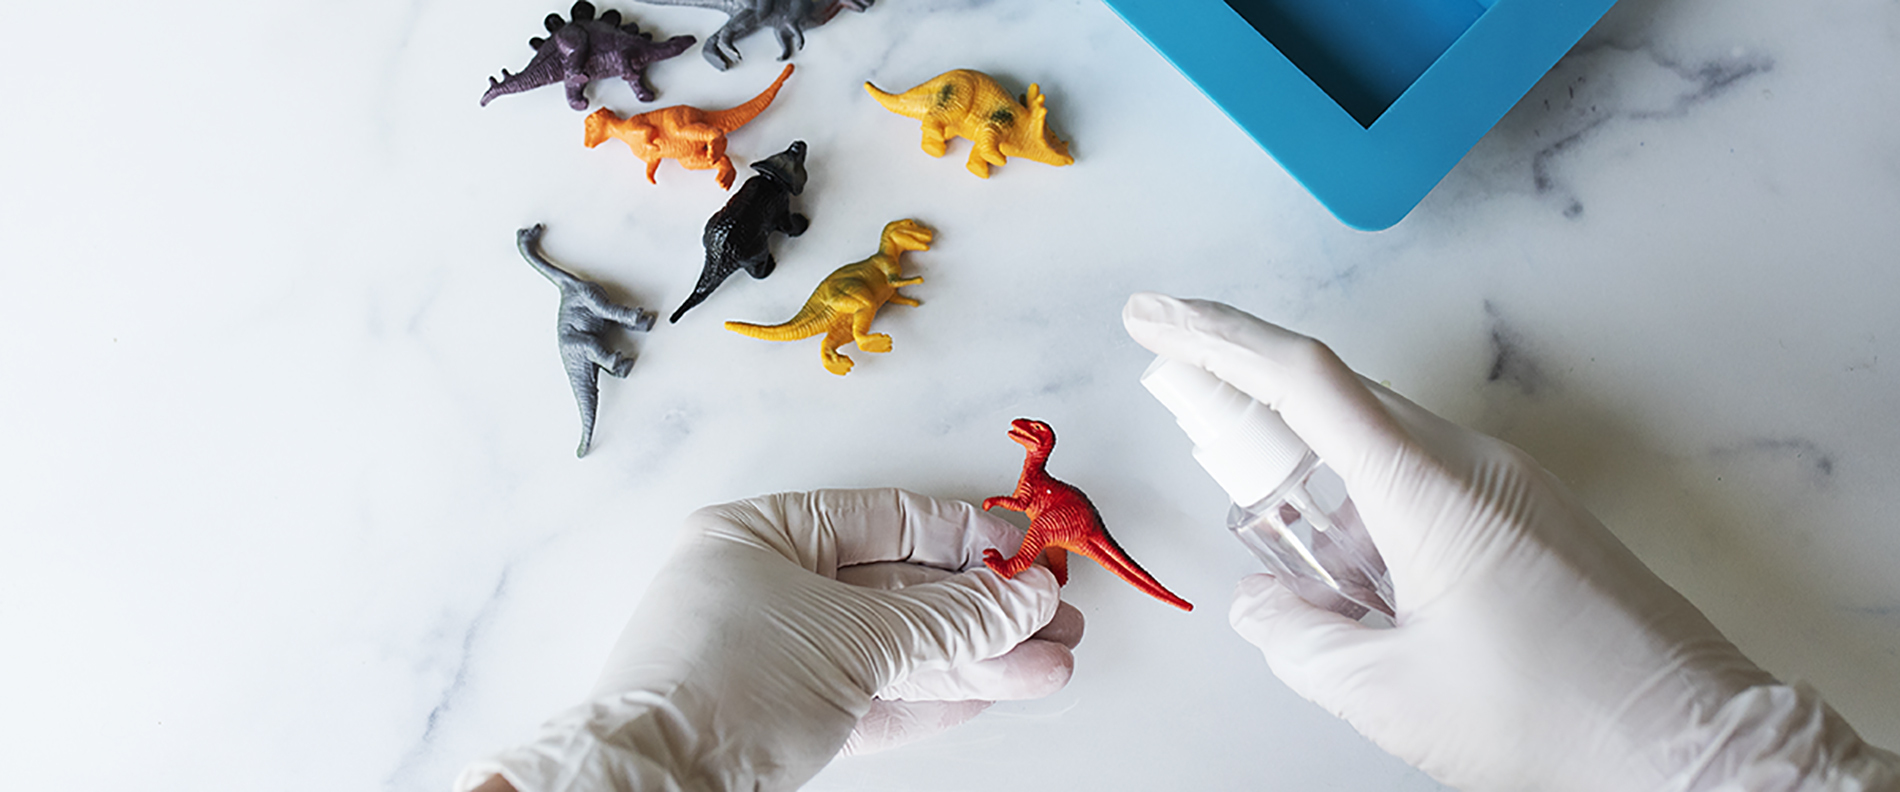
Wash your equipment, soap molds, and utensils in warm soapy water and dry thoroughly. Don’t forget your workspace! Avoid any cross-contamination by spraying the area with rubbing alcohol or a 5% bleach solution, then wipe dry with a clean paper towel.
Be sure to clean the dinosaurs with rubbing alcohol as well!
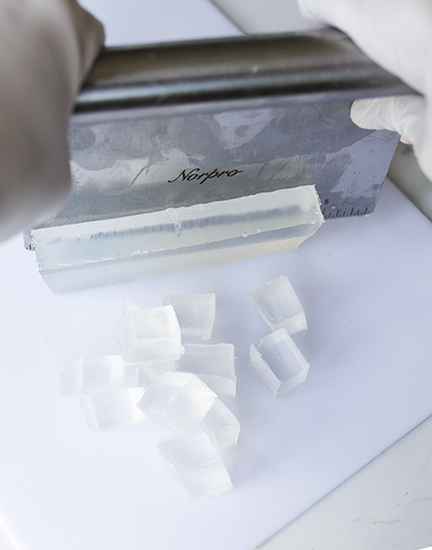
Step 2: Prepare soap base
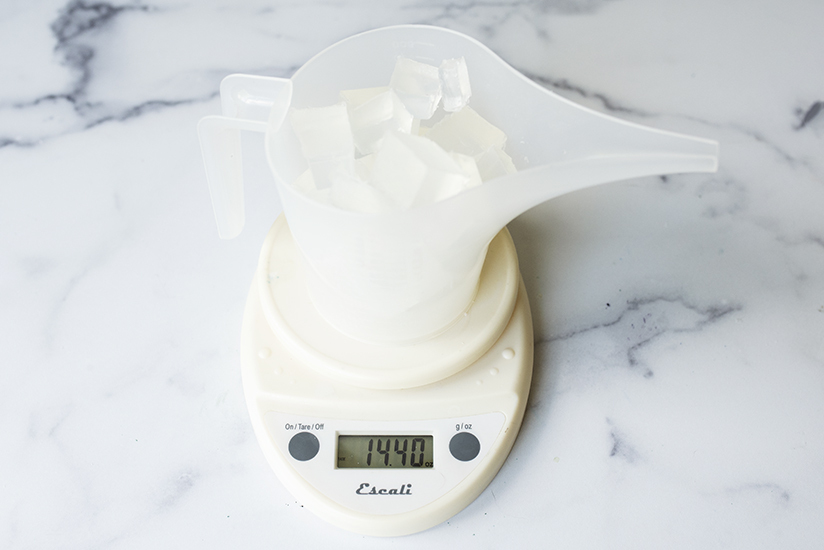
Remove the HCVS Clear Soap Base from the container and cut off a little less than ½ of the soap block. Cut this piece down into 1” (2.5 cm) cubes. Weigh out 14.4 oz (408 g) of the cubed soap base.
If you want to make the toy inside a surprise, try using the Oatmeal Shea Base in place of the clear soap base.
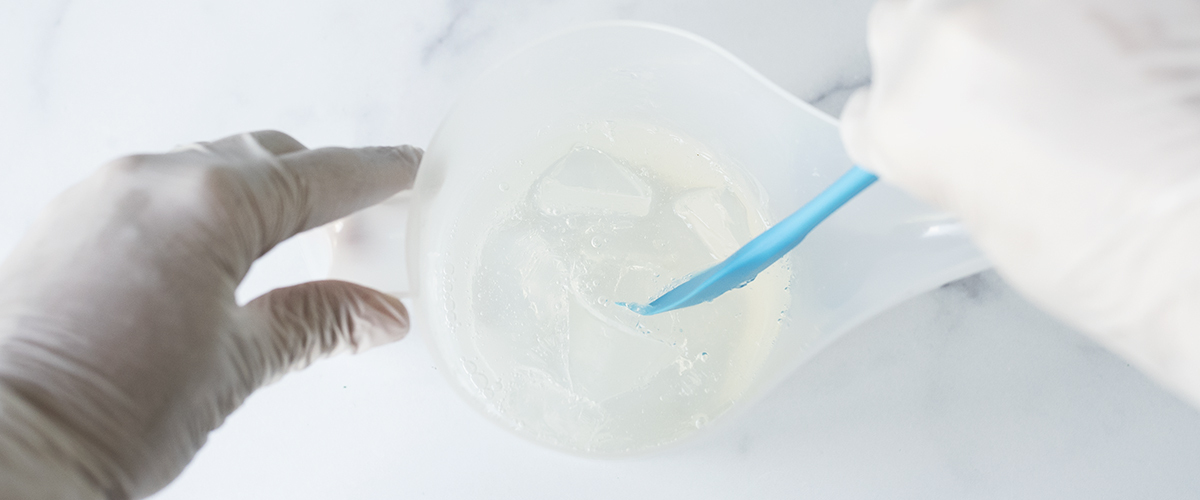
Using the Funnel Pouring Pitcher or another microwave-safe container, melt the soap cubes in the microwave for 30 seconds intervals, stirring in between, until the soap is fully melted. Stir in between, and melt for an additional 10 seconds if necessary.
Note: We kept this soap fragrance free, but you can add whatever soap-safe fragrance you'd like! Weigh .43 oz. (12.19g) for a 3% fragrance load. Pour the fragrance into your fully melted soap and stir thoroughly.
EO Notes: You can also use soap-safe essential oils for this project. When using essential oils, be sure to check your essential oil's recommended usage percentage and IFRA Certificate. How to Make Melt and Pour Soap with Essential Oils.
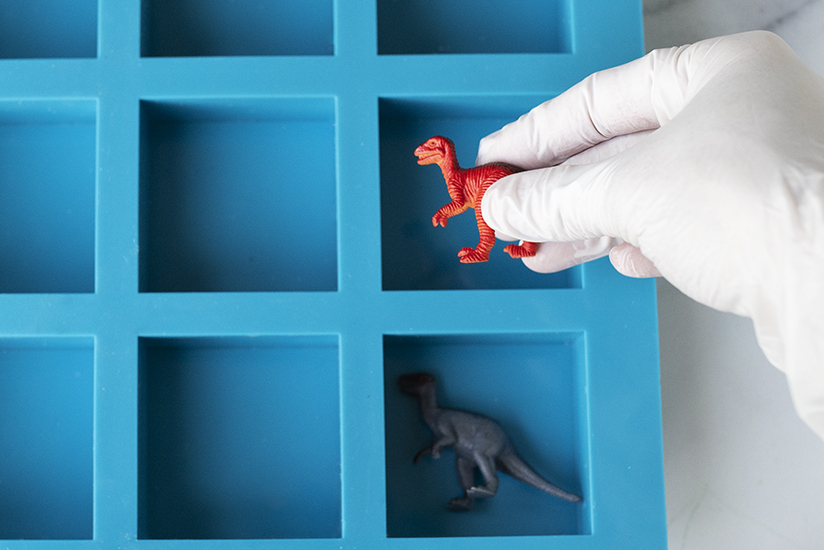
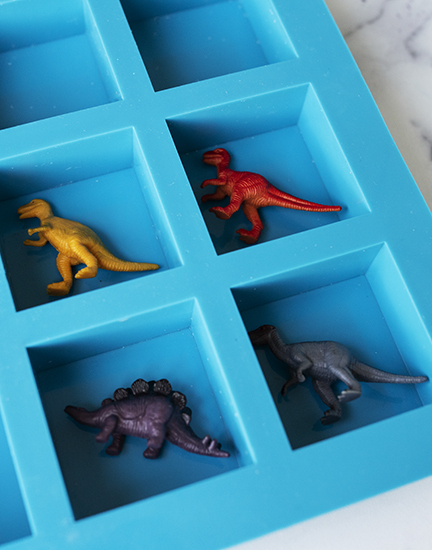
Step 3: Place your dinos and pour your soap
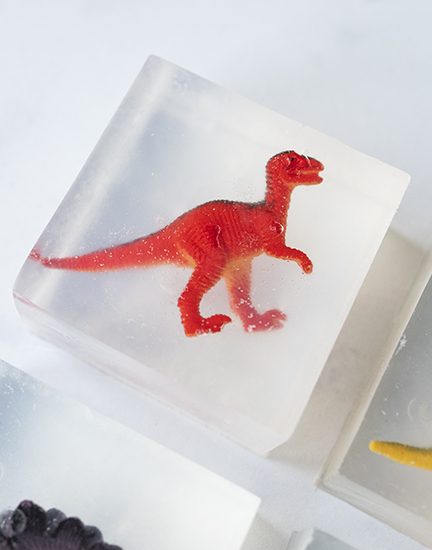
Place your dinosaur or other “treasure” into the silicone mold. Make sure it isn't touching the sides so that it will be completely surrounded by soap.
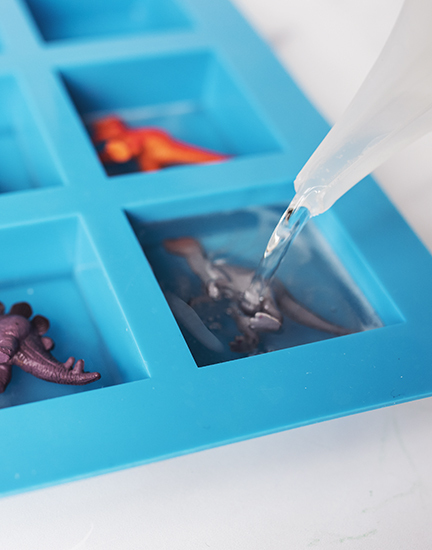
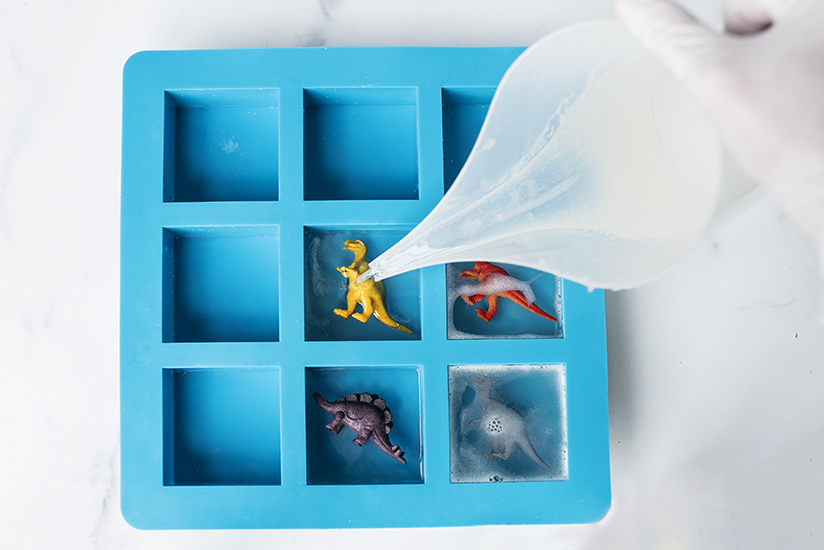
Pour soap into the square mold slowly to reduce the amount of air bubbles that collect around the dinosaurs. Fill your mold to the top.
After you’ve poured just enough soap to cover the bottom of the mold, you can gently lift up the dinosaur to ensure that the soap has covered the mold. Place the dinosaur back down, and continue your pouring until the mold is filled.
If you want the dinos embeded deeper into the soap, you can pour a thin layer and let it cool before you add your dinosaur and the remaining soap.
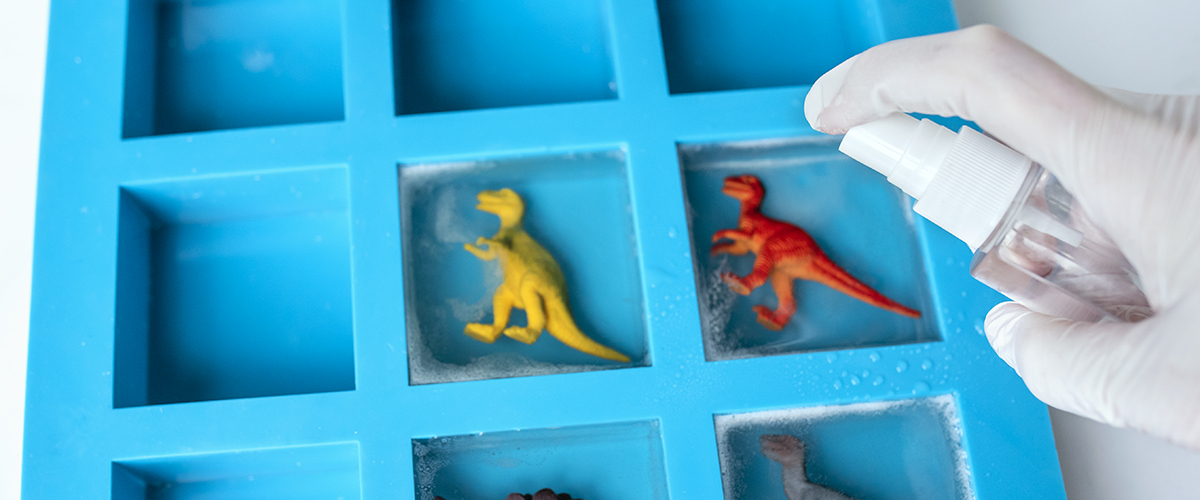
Spray the soap surface with alcohol to remove any bubbles. Allow the soap to settle and it will become fairly clear.
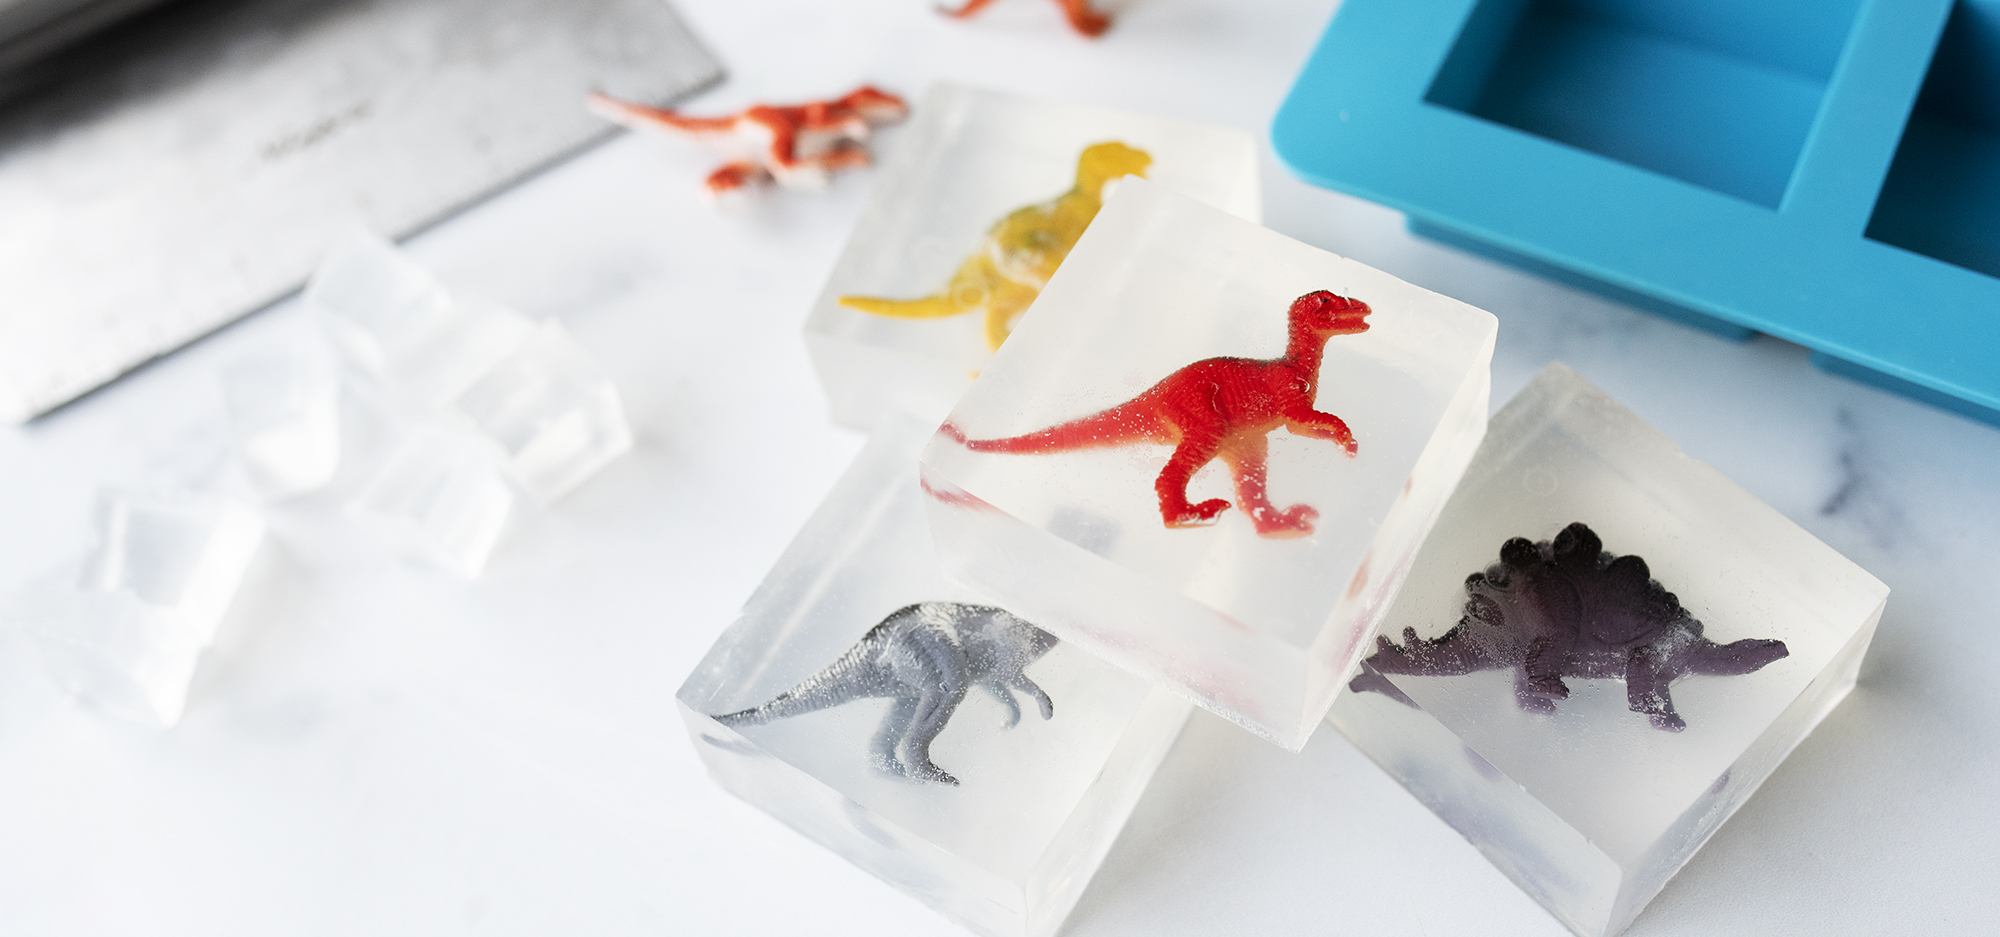
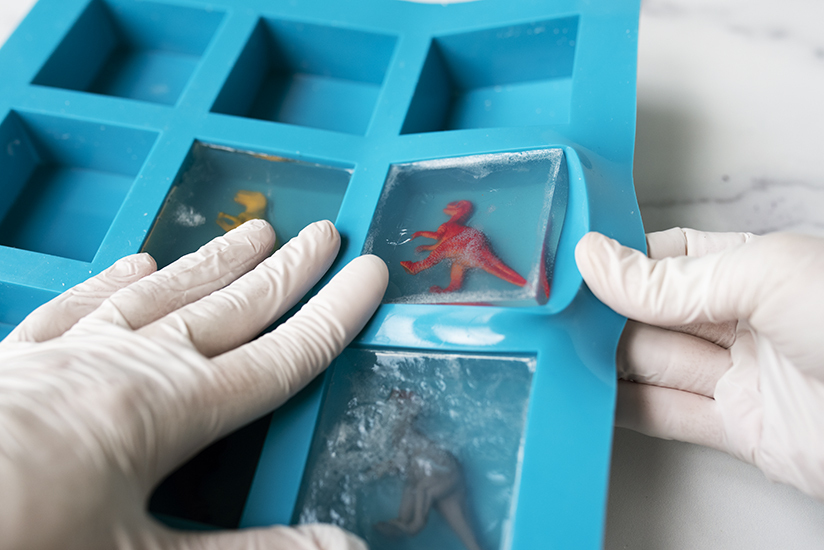
Step 4: Let cool and remove
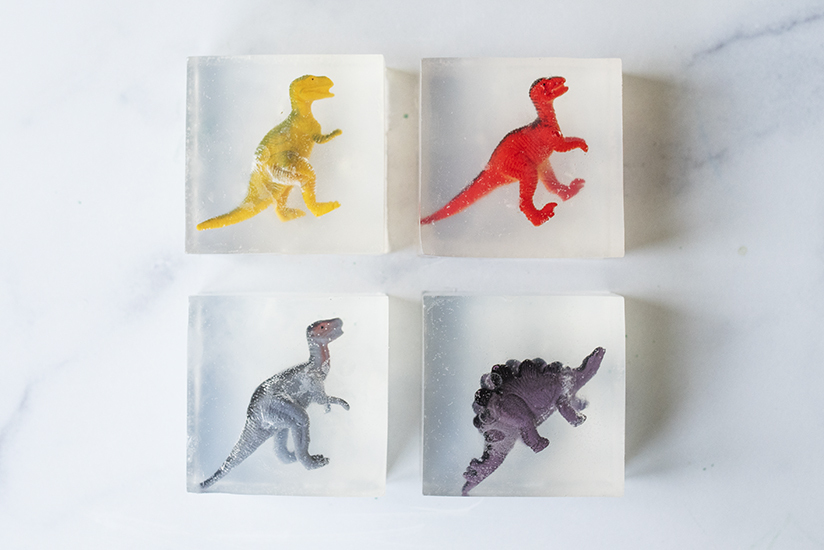
Allow to cool completely for around 3 hours before unmolding your square dinosaur soap bars.
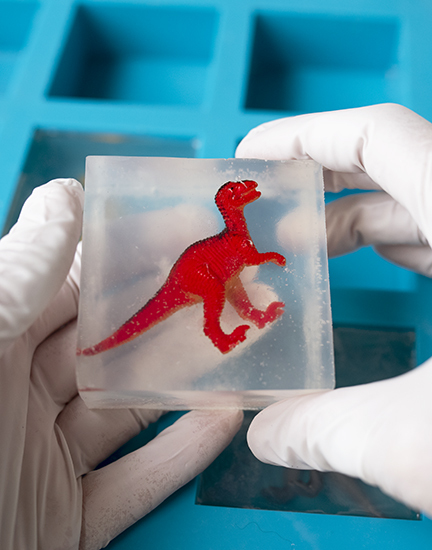
Your dino soaps are ready to use! Store extra soaps in plastic wrap, plastic bag, or a sealed container.