How to make floating candles
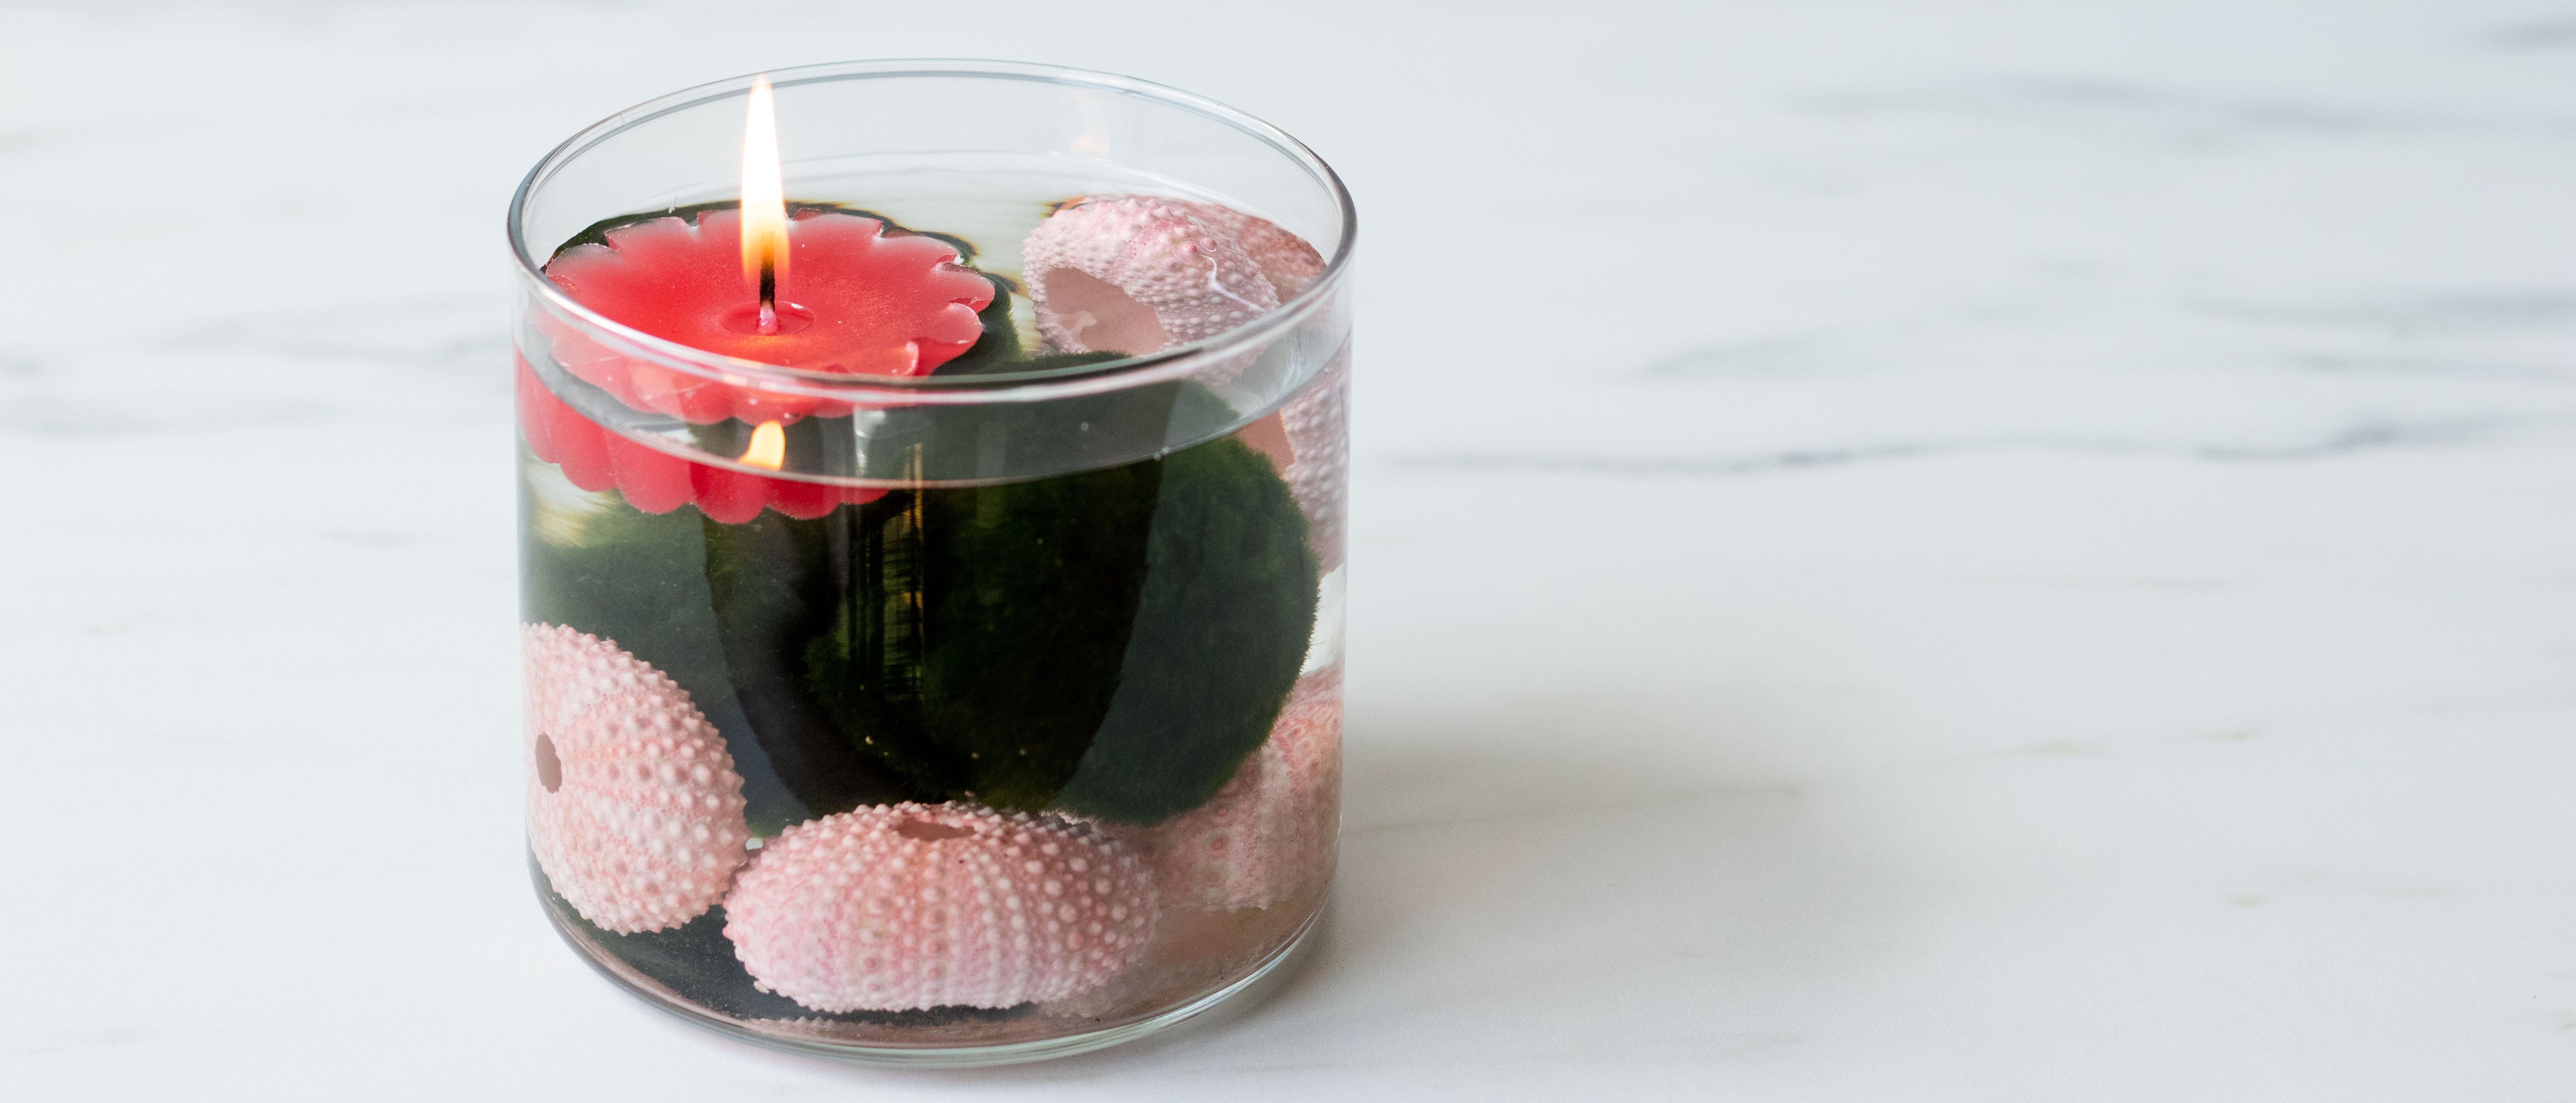
Here's a great idea for an attractive centerpiece for any special occasion or time of year. Floating candles are a great beginner project and easy to customize for a simple but elegant display.
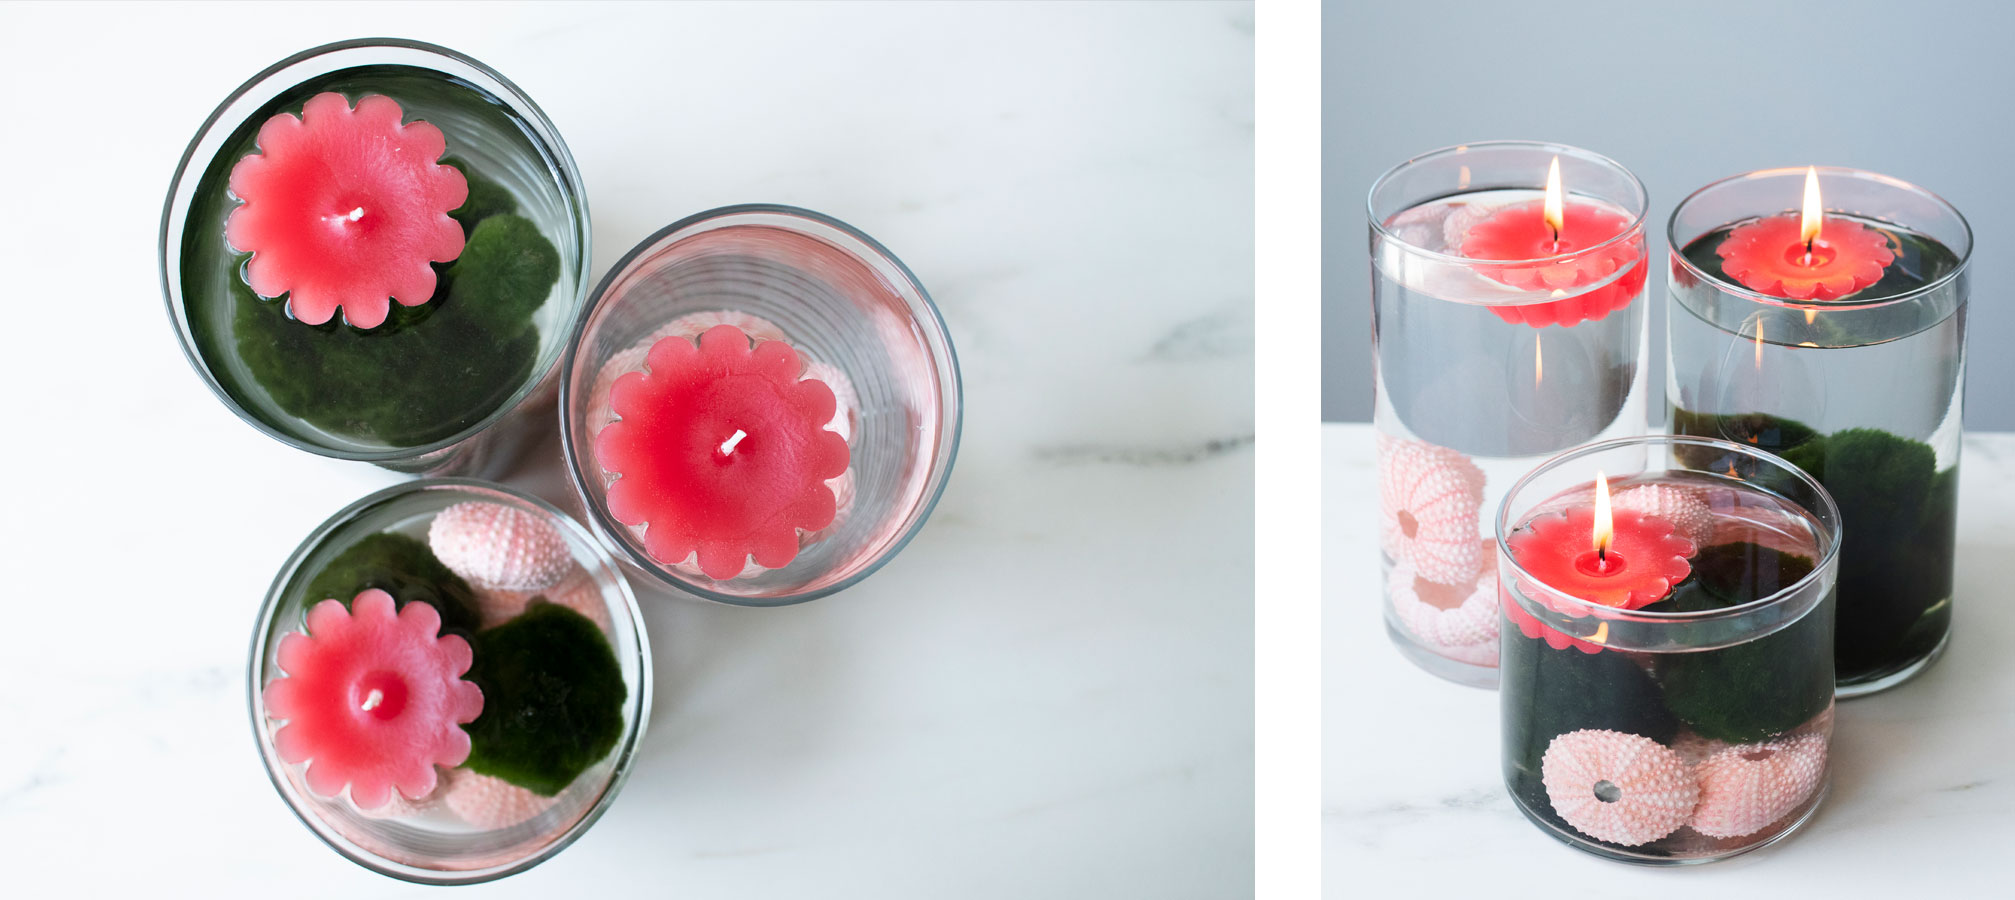
In this tutorial, you’ll learn how to make floating candle centerpieces for your next event or special occasion. These centerpieces are easy to customize to the theme of your event by switching up the color, fragrance, and the decorations you choose for the vessels. For our floating candles, we decided to celebrate the Pantone Color of the Year: Living Coral.
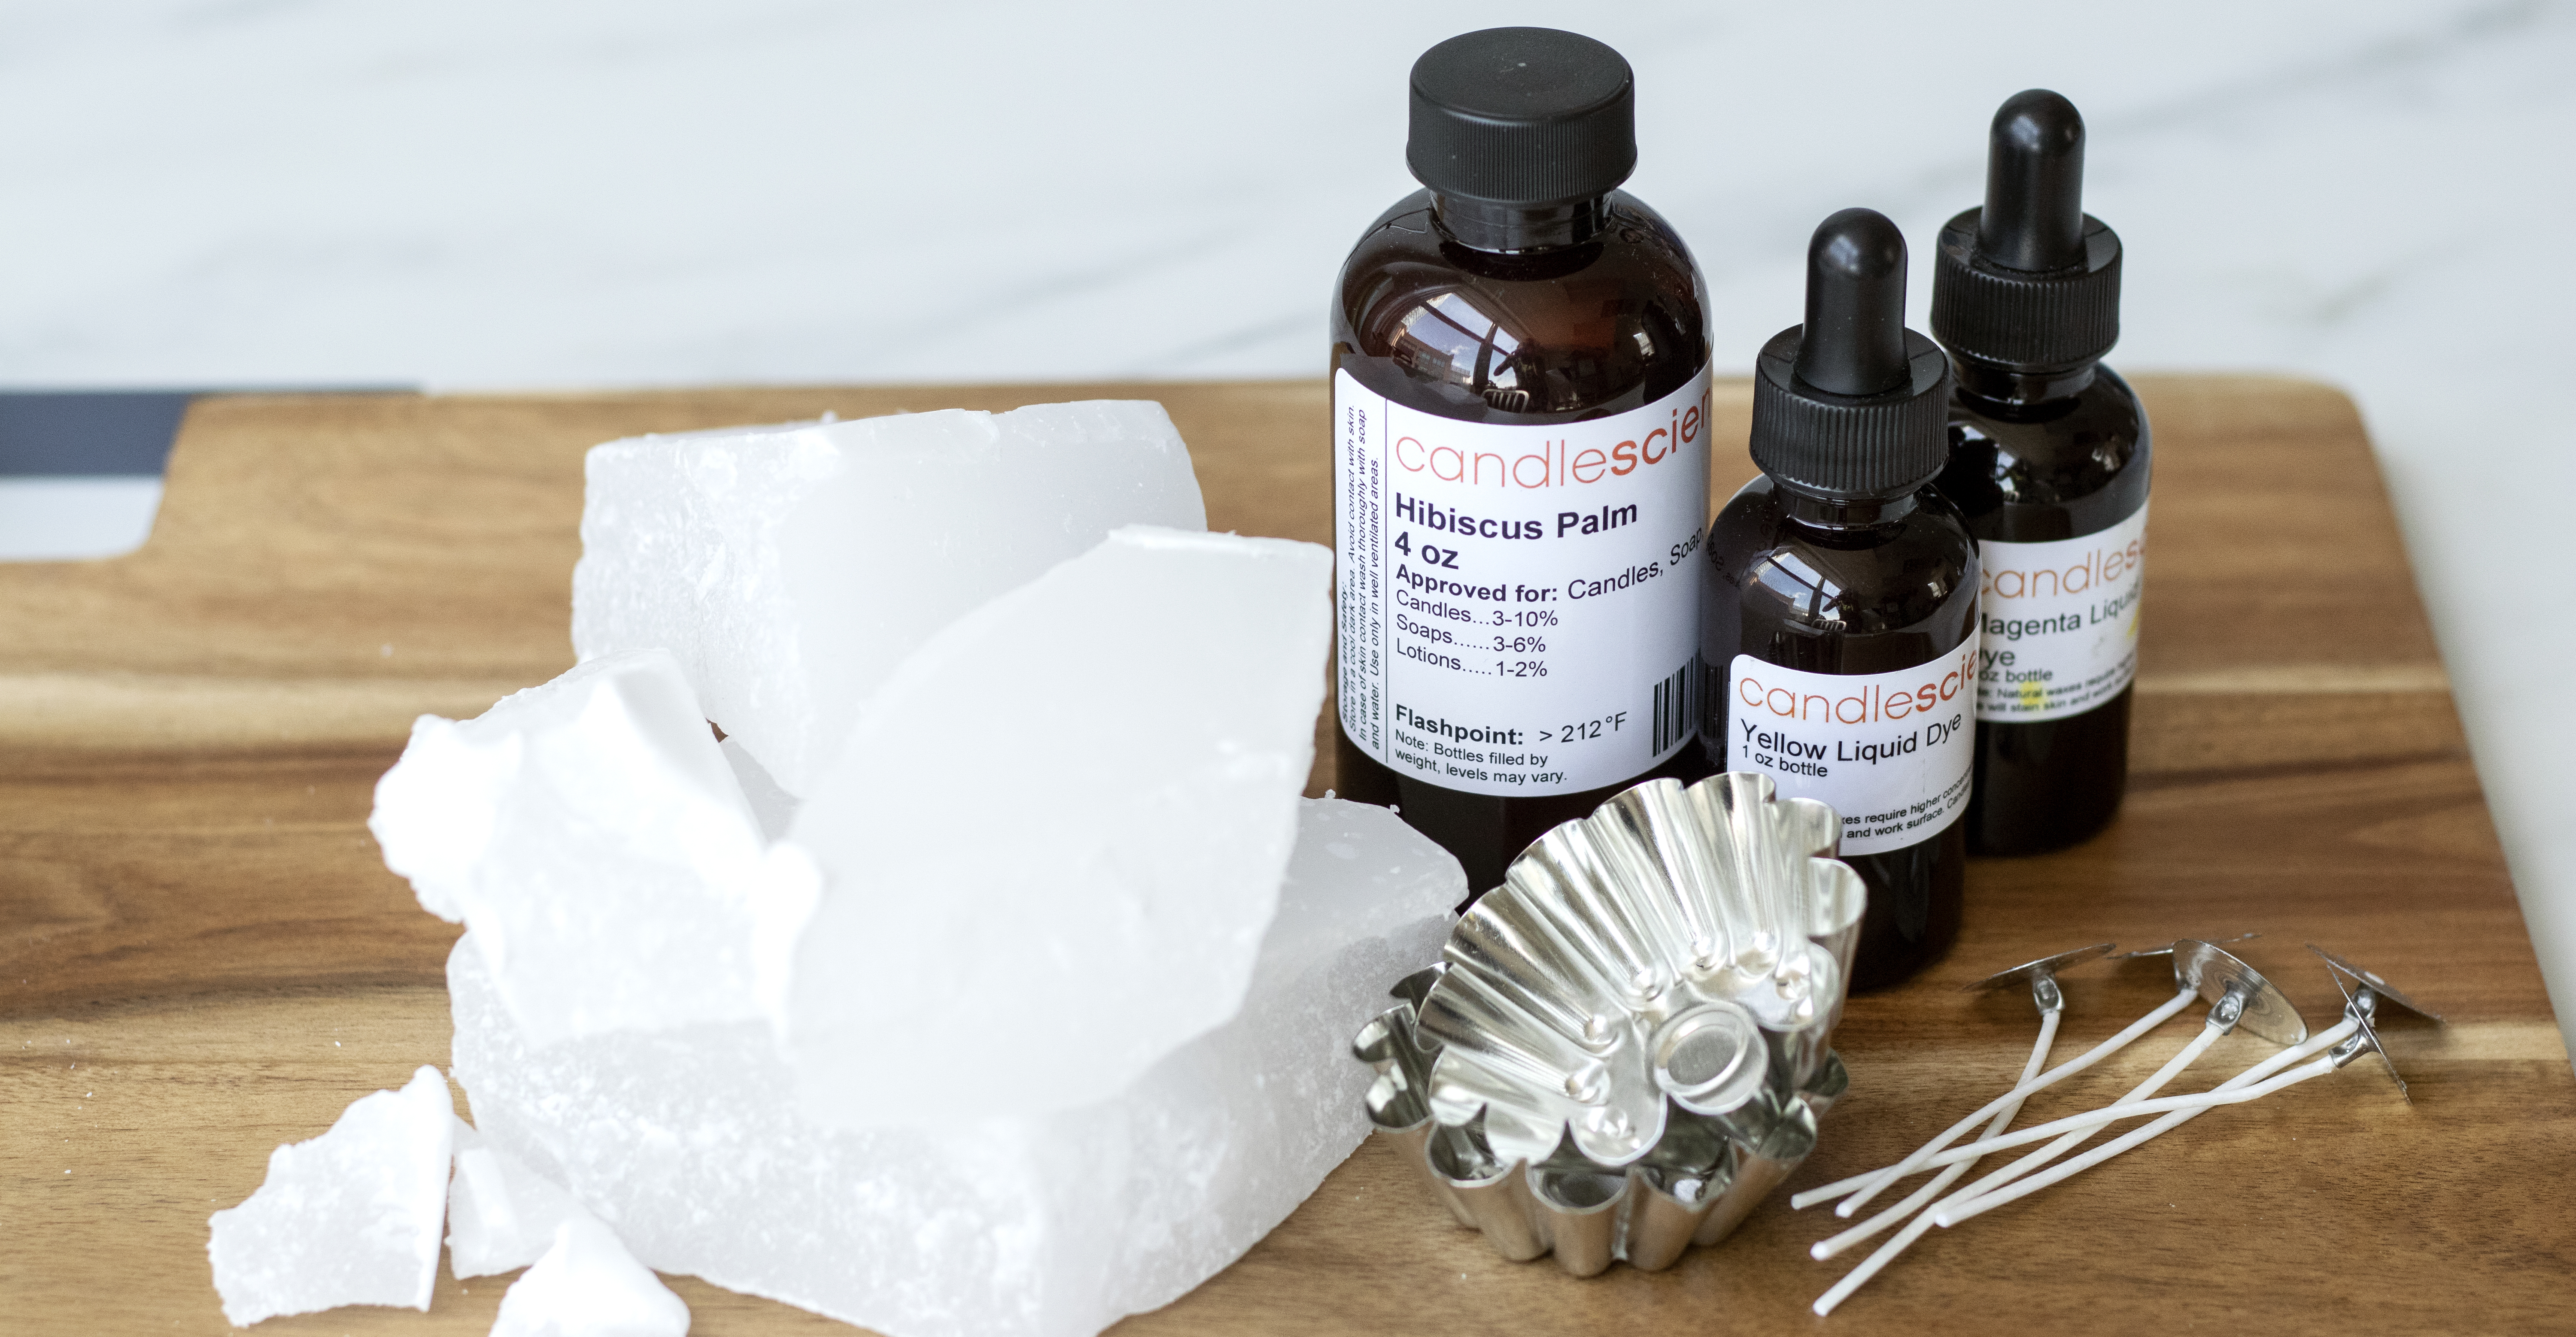
Because we don’t have a standalone coral candle dye, we took the opportunity to play with mixing dyes to create our own custom coral shade. For fragrance, choose a scent that won’t overwhelm your guests or compete with any food that might be served. We thought our Hibiscus Palm would be a great choice—a little floral, a little green, and just an overall pleasant scent for adding a special ambiance.
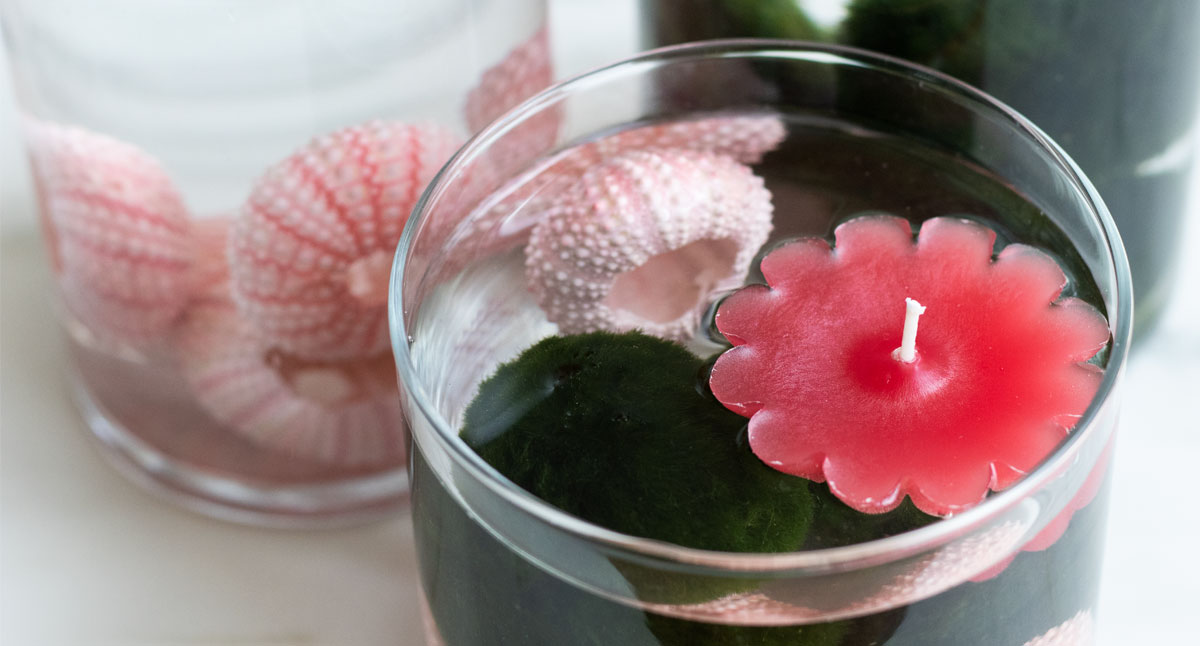
In accordance with the spirit of Living Coral, we chose eco-friendly marimo moss balls and sea urchin shells to fill our vessels. Marimo moss balls are a spherical algae often used in fish tanks and don’t require much maintenance beyond changing out the water every week or so, making them an ideal decor choice for this project.
EO Notes: You can also use candle-approved essential oils for this project. Check the recommended usage percentage on the essential oil product page and start with low percentages. How to Make Soy Candles with Essential Oils
Additional Items Needed:
- Glass vessel of choice
- Decorative seashells
- Marimo moss balls
Directions:
Step 1: Weigh and melt the wax
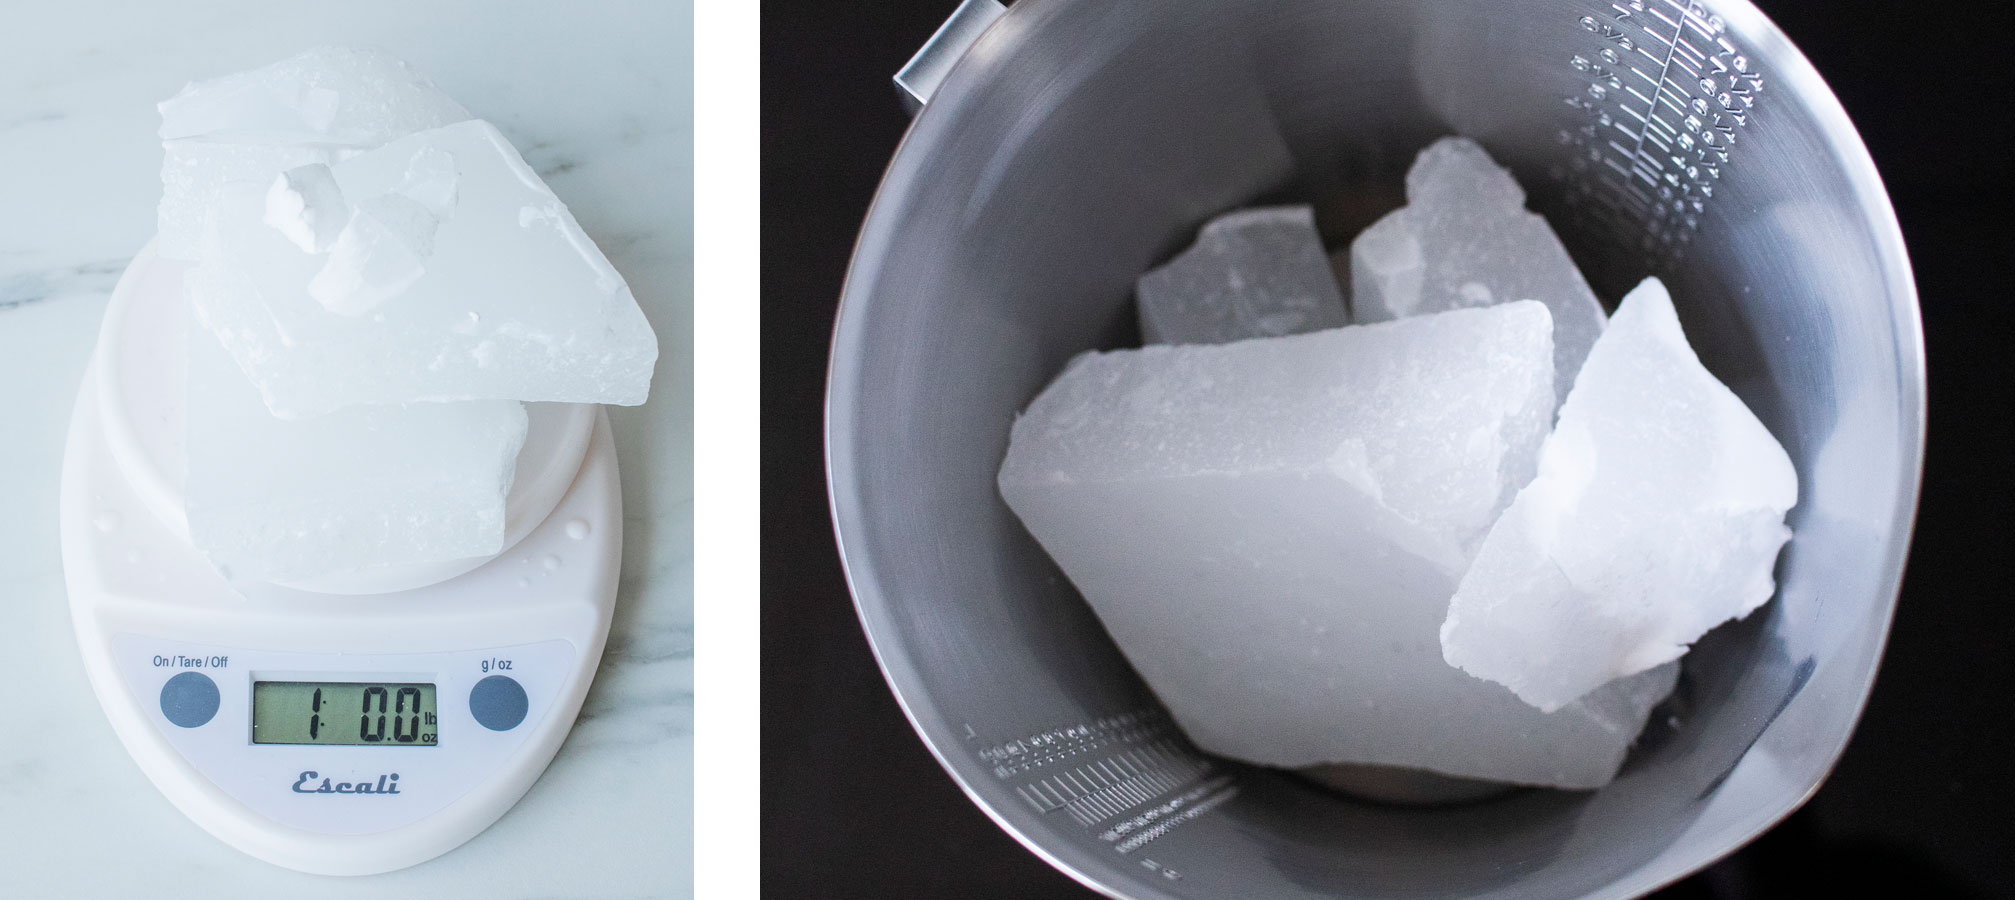
Using a scale, weigh out 1 lb (454 g) of IGI 4625 Paraffin Wax. Put the wax in a pouring pitcher and heat to 185ºF (85°C) in a double boiler or on a hot plate.
Step 2: Add color and fragrance
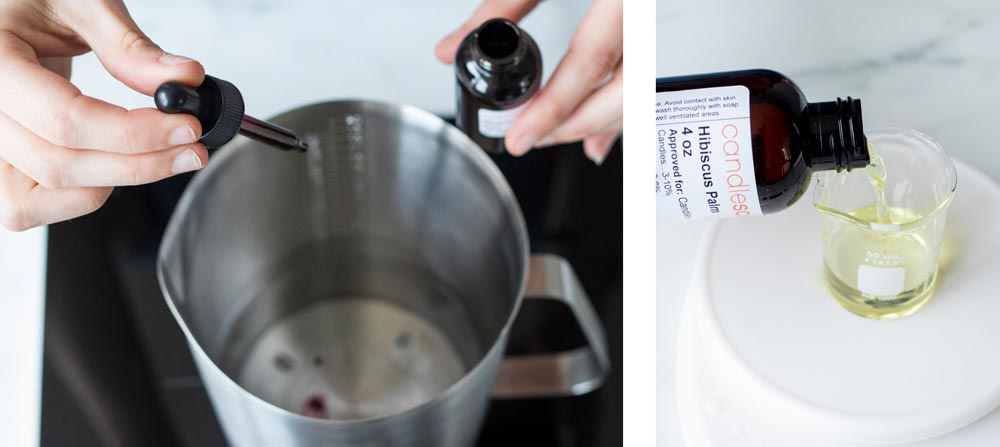
To create the Living Coral color, we’re using 2 drops of Magenta liquid dye and 1 drop of Yellow liquid dye.
When the wax reaches 185ºF (85°C), slowly add 2 drops of Magenta liquid dye and 1 drop of Yellow liquid dye. Stir gently for about a minute to fully incorporate the color.
Remove the pouring pitcher from the heat, then add 1 oz (28 g) of Hibiscus Palm fragrance oil. Stir gently for two minutes to make sure the fragrance binds with the wax.
Step 3: Pour, wick, and release
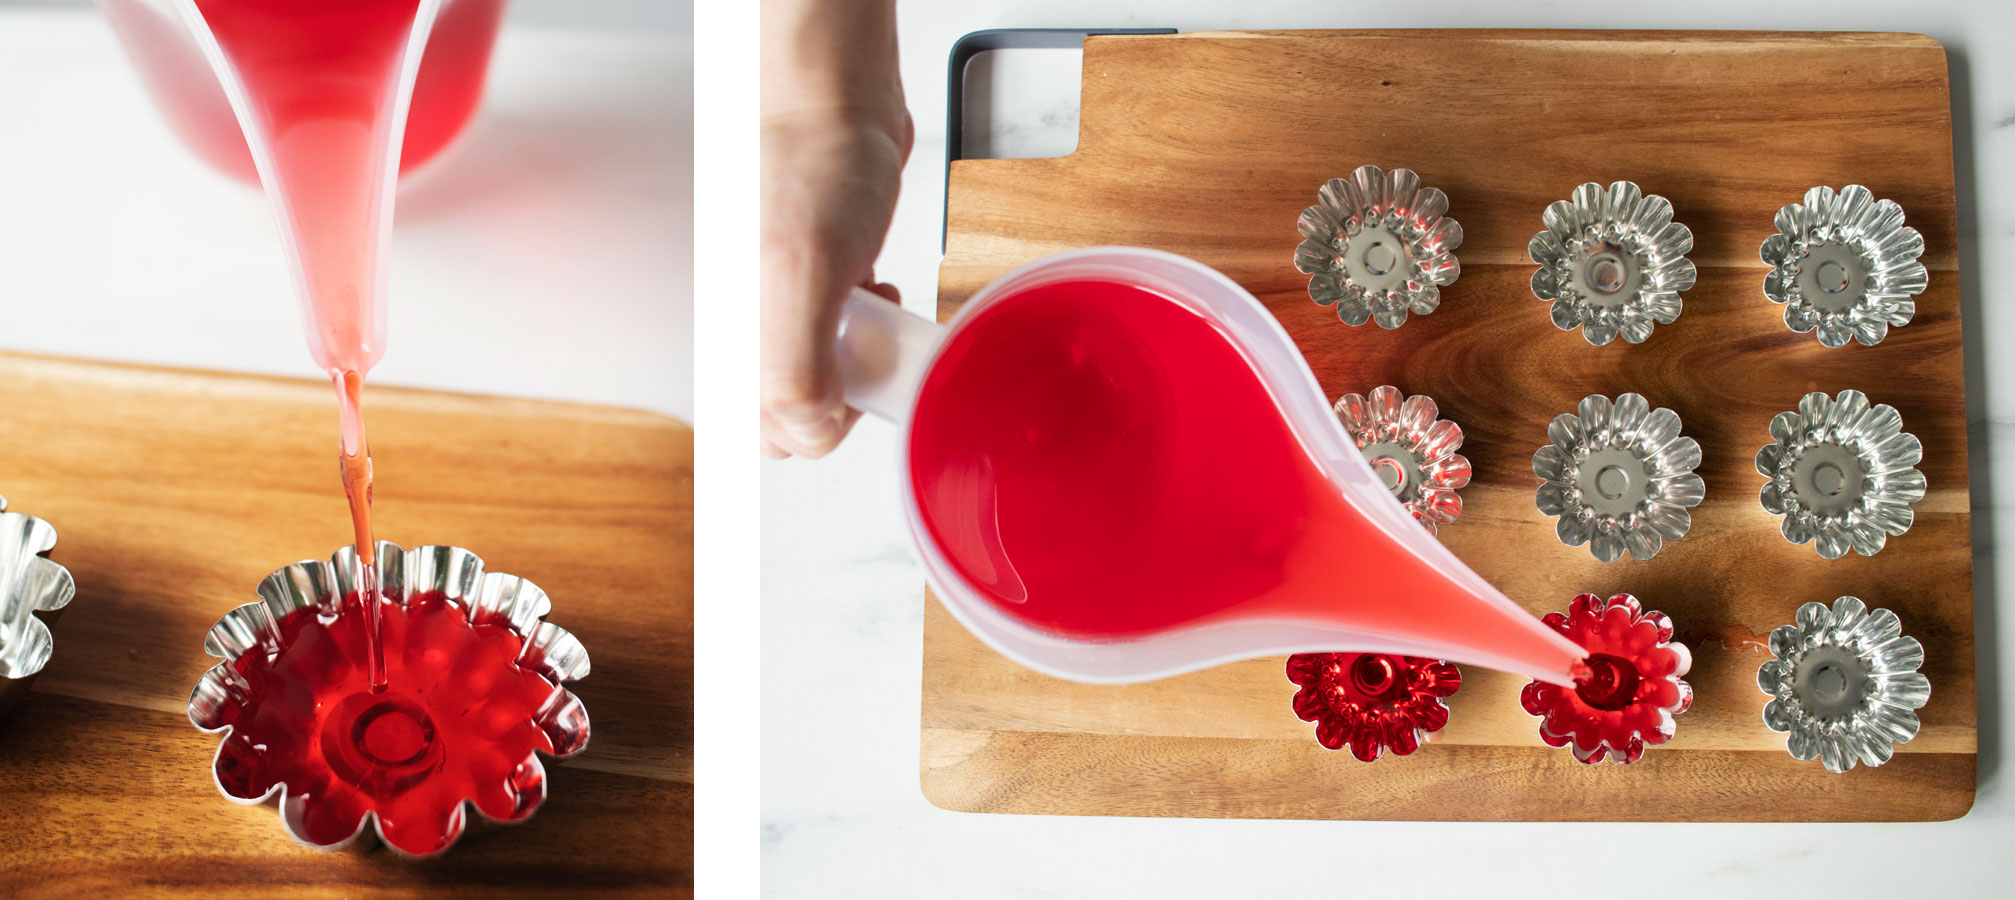
When the wax cools to 180ºF (82.2°C), carefully pour the wax into the tart molds. Try to pour right to the top because there will be a small amount of shrinkage when the wax cools.
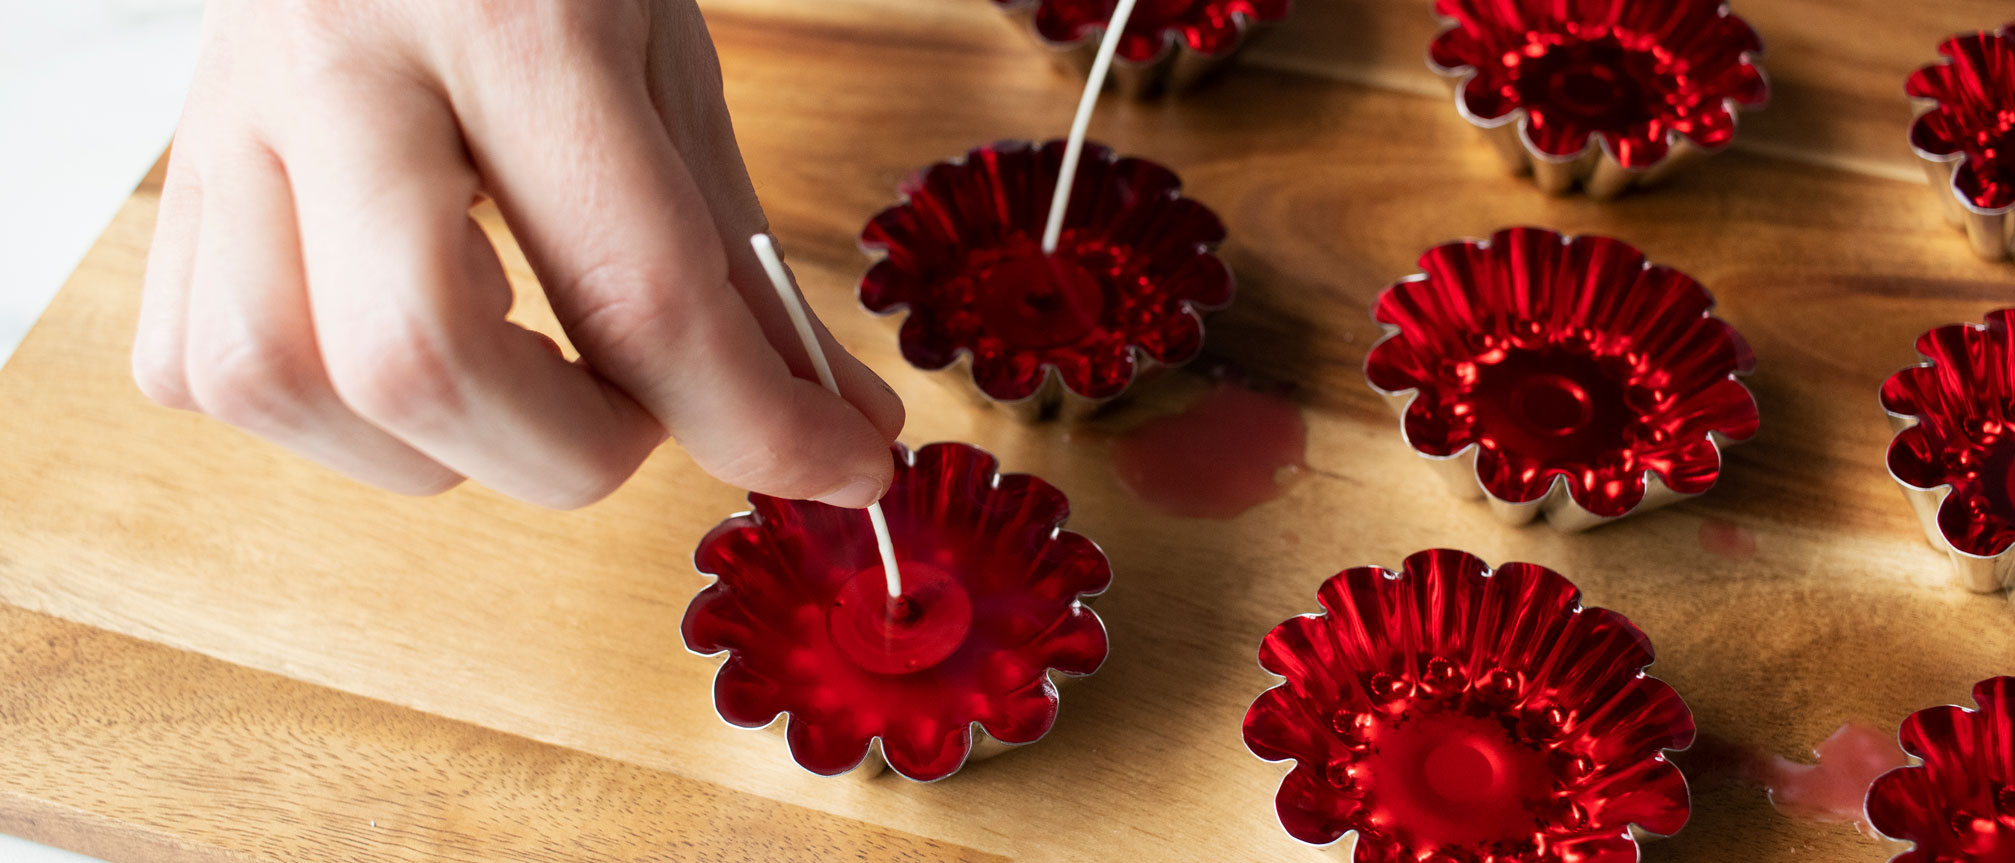
Place an LX 12 wick assembly in the center of each mold.
Note: Do not use a wick sticker because the candle will need to release from the mold when it cools.
You can use a bamboo skewer to re-center the wick if it moves.
Let the candles cool overnight and remove them from molds.
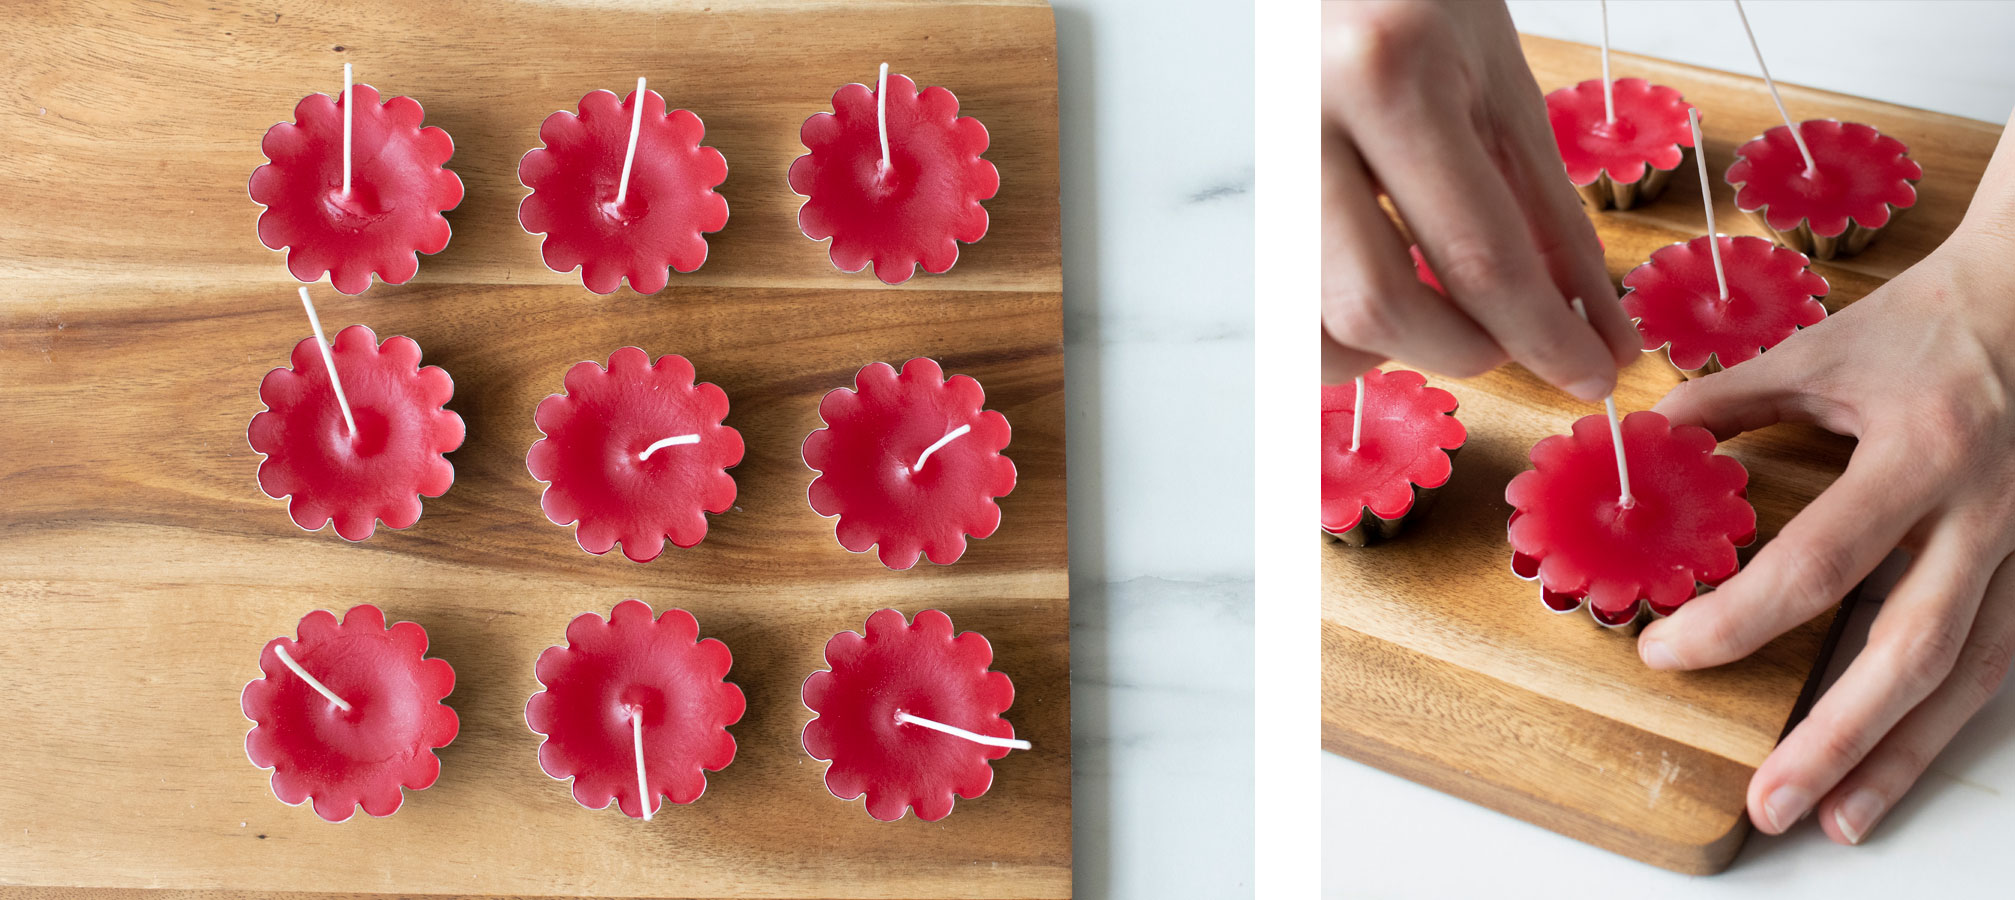
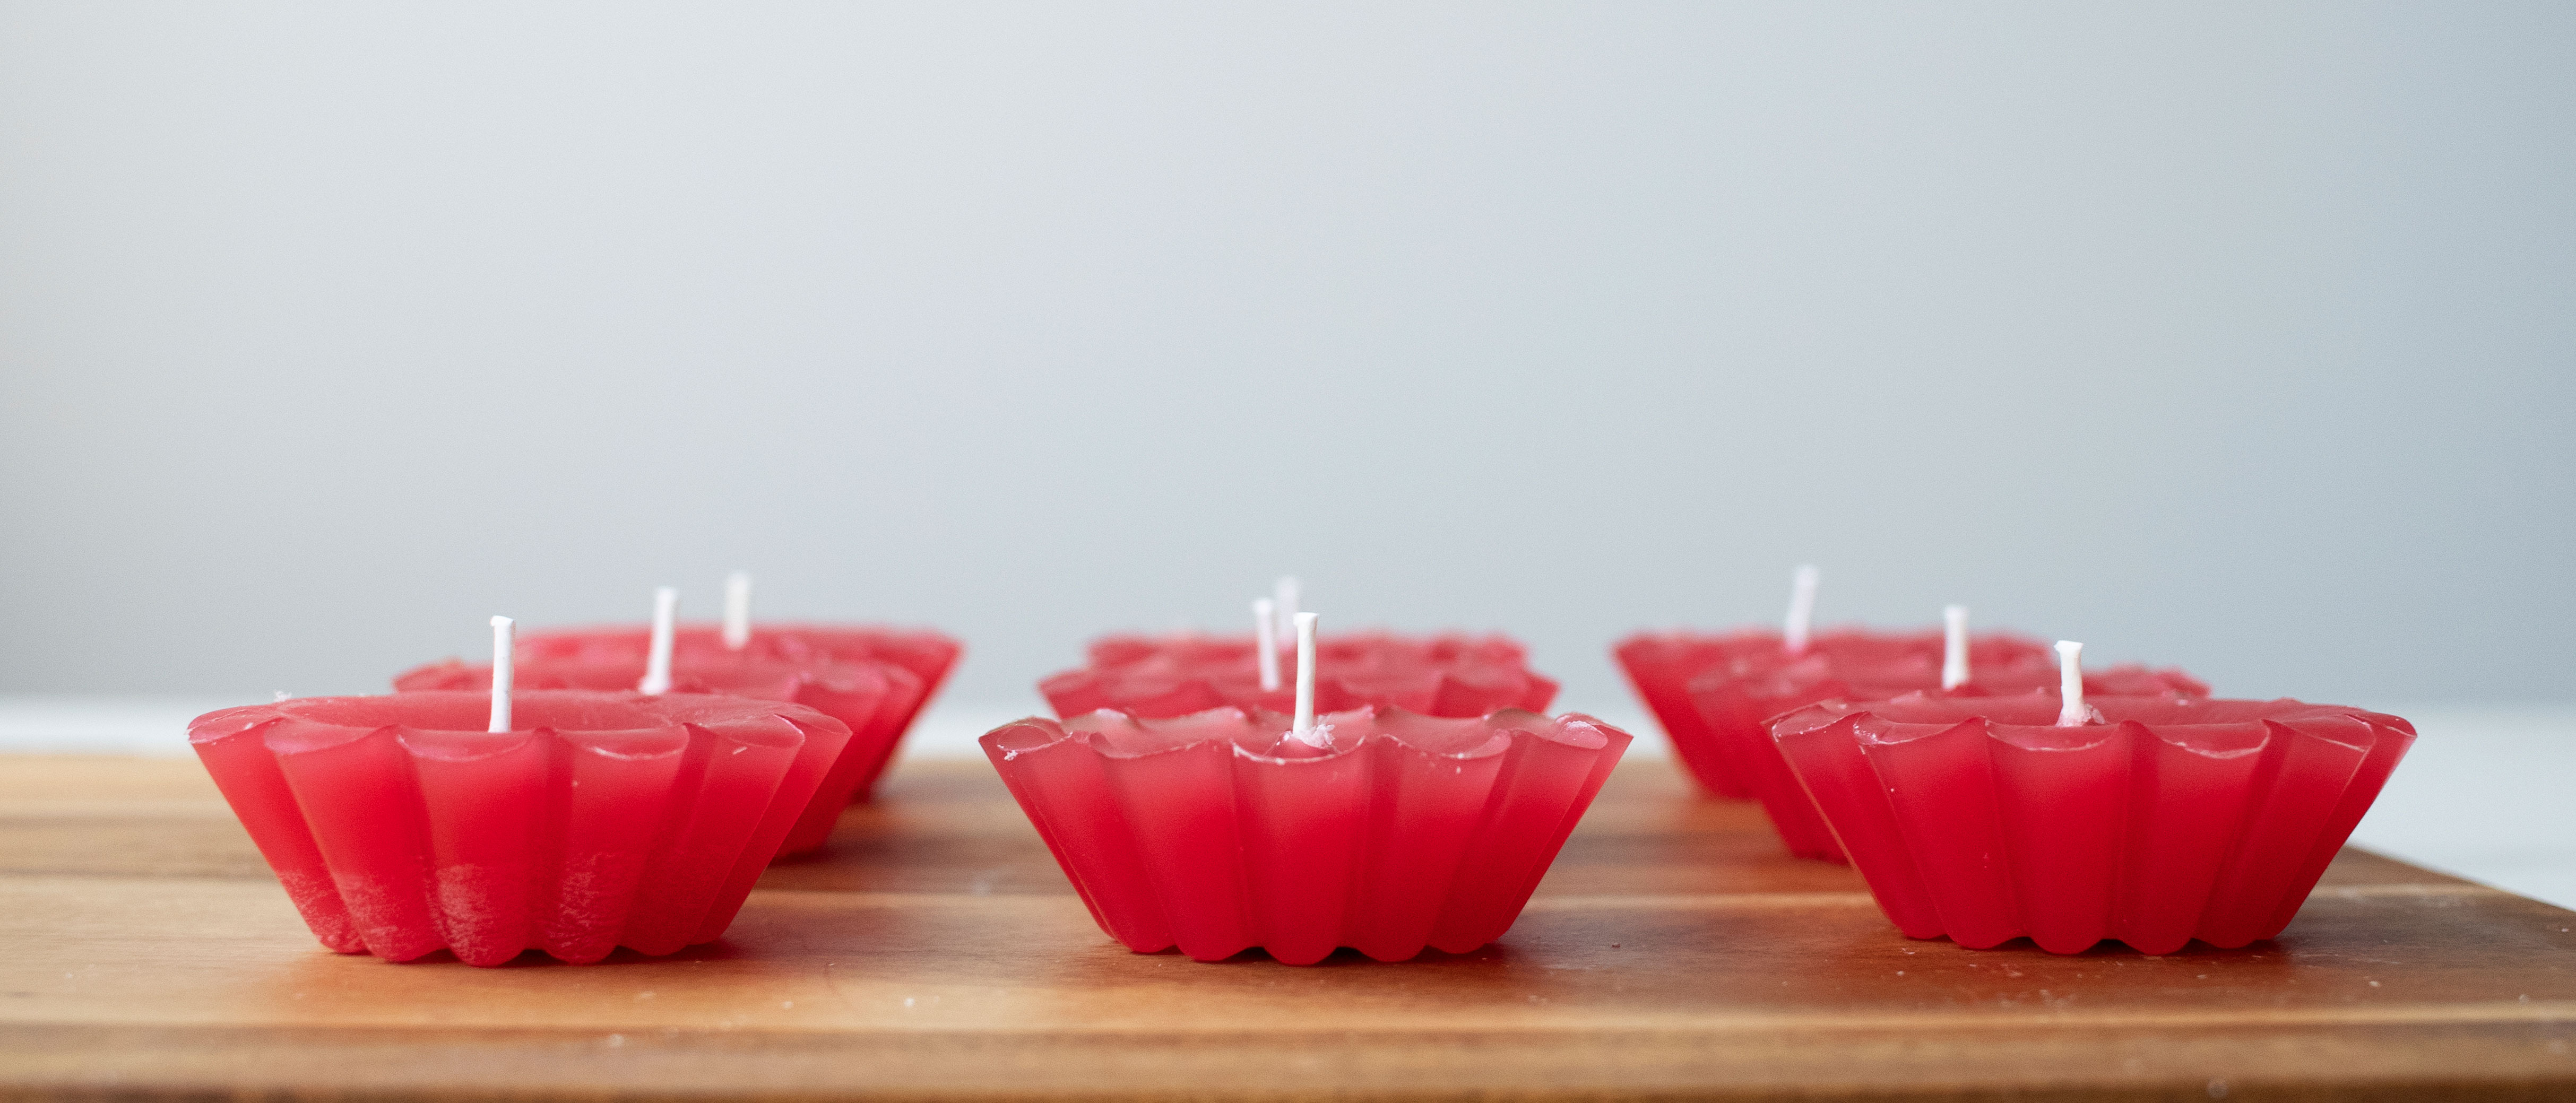
Step 4: Decorate, float, and enjoy!
Now it’s time to set up and decorate the vessels.
Other decoration ideas: small pieces of driftwood, starfish, sea glass, sand dollars.
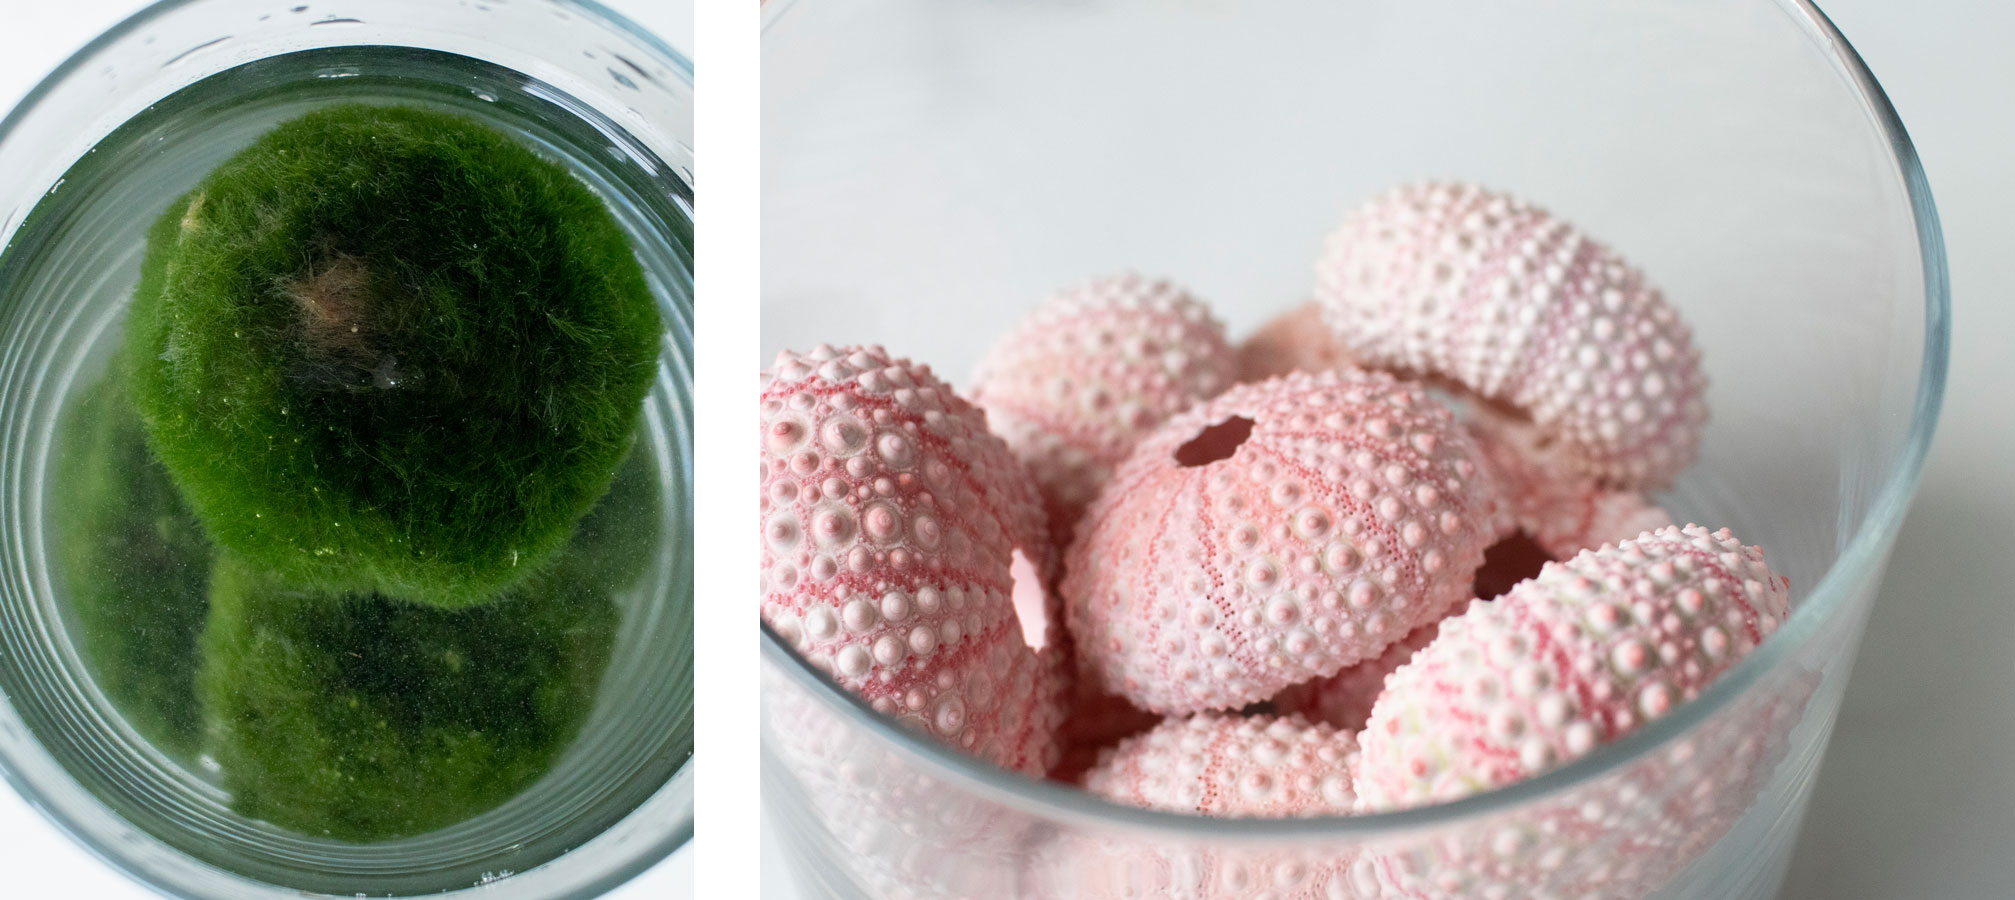
Put your decorative items into your vessels. We’re fans of a simple, minimal look, but customize the vessels to your own tastes and theme of the event. Fill the vessels with water and then float 1-3 candles on top. They look best when they have room to bob around, so don’t add too many to each vessel.
Light your floating candles about 15-20 minutes before guests arrive so they'll experience the full effect.
