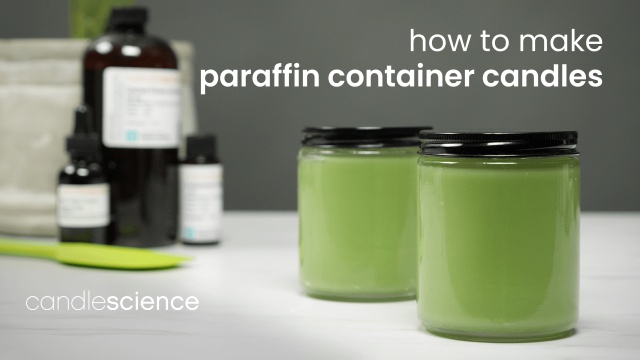
Simple paraffin container candles

Learn how to make paraffin container candles with this easy-to-follow video. You can use the supply lists below to order the items you'll need to follow this tutorial.
EO Notes: You can also use candle-approved essential oils for this project. Check the recommended usage percentage on the essential oil product page and start with low percentages. How to Make Soy Candles with Essential Oils
Additional items you'll need:
- Fragrance Oil - Browse our complete list of fragrance oils and select a 1 oz. sample bottle of your choice to follow this guide.
- Double Boiler
- Metal Spatula
- Scissors
Video Transcript: *Updated January 2021
Hey there, I’m Dana with CandleScience. Today, I’m going to show you how to make simple container candles using IGI’s 4630 paraffin wax. Many crafters use paraffin wax due to its ability to achieve vivid colors and throw fragrance quite well, in beautiful and highly aromatic candles. Let’s get started.
Materials
For this project, we’ll be using the following:
- A scale
- A stirring utensil, such as a metal spatula or wooden spoon
- 1 pound (454 g) of IGI 4630 wax, enough for two 12 oz container candles
- A pouring pitcher
- A thermometer
- A double boiler
- Liquid dye
- 1 oz (28 g) of fragrance oil
- LX 14 pretabbed wicks
- Two 12 oz jars
- Wick stickers, wick bars, and warning labels
- And scissors to trim the wicks when we’re done
First, you’ll need to break down the slab of wax into smaller, easier to work with pieces. A soap cutter or long knife works great for cutting the slab into smaller pieces. Next, weigh one pound of the IGI 4630 paraffin wax on your scale. Add the wax to the pouring pitcher, and melt to 185ºF (85°C) in your double boiler.
185 degrees (Fahrenheit, 85°C) is the ideal temperature to allow the liquid dye and fragrance to bond to the wax and ensure a great fragrance throw.
While you’re waiting for the wax to melt, we can prepare our containers. Center the wicks and secure them to the bottom of your jars with wick stickers.
Pull the wicks tight and fasten with the wick bars to keep the wicks in place as the candles cool.
Once the wax has reached 185 degrees (85°C), add 3-4 drops of the liquid dye, and give it a quick mix.
Our liquid candle dye is super concentrated, which can produce deep, rich colors in paraffin wax, but you will want to be careful when handling it, as it can permanently stain any surface it gets on. Also, you may notice that the dye has a slight odor, but don’t worry. It will not be detectable in your finished candles.
Then, add 1 oz (28 g) of fragrance oil and remove the wax from the heat. Stir gently as the wax cools to a pouring temperature of 170 degrees (76.7°C), which we’ve found to be the best temperature for 4630.
Now you can pour the wax into your jars and allow the candles to cool overnight at room temperature.
Now, for cleanup. The easiest way to clean your tools and pouring pitchers is to wipe them out with a paper towel and a little rubbing alcohol while they are still warm and before the wax has hardened.
Once the candles have completely cooled, trim the wick to a quarter of an inch (6 mm) and place your lids on top.
Now is a great time to add your labels to your jar. Square or round labels look great with these. And remember, it’s important to add a warning label to the bottom of your candles.
To help ensure a strong fragrance throw, we recommend curing your candles for 3-5 days.
Thanks for watching! If you have any questions or need additional support, please feel free to reach out. We’re always happy to help.