
How to make tie-dye wax melts
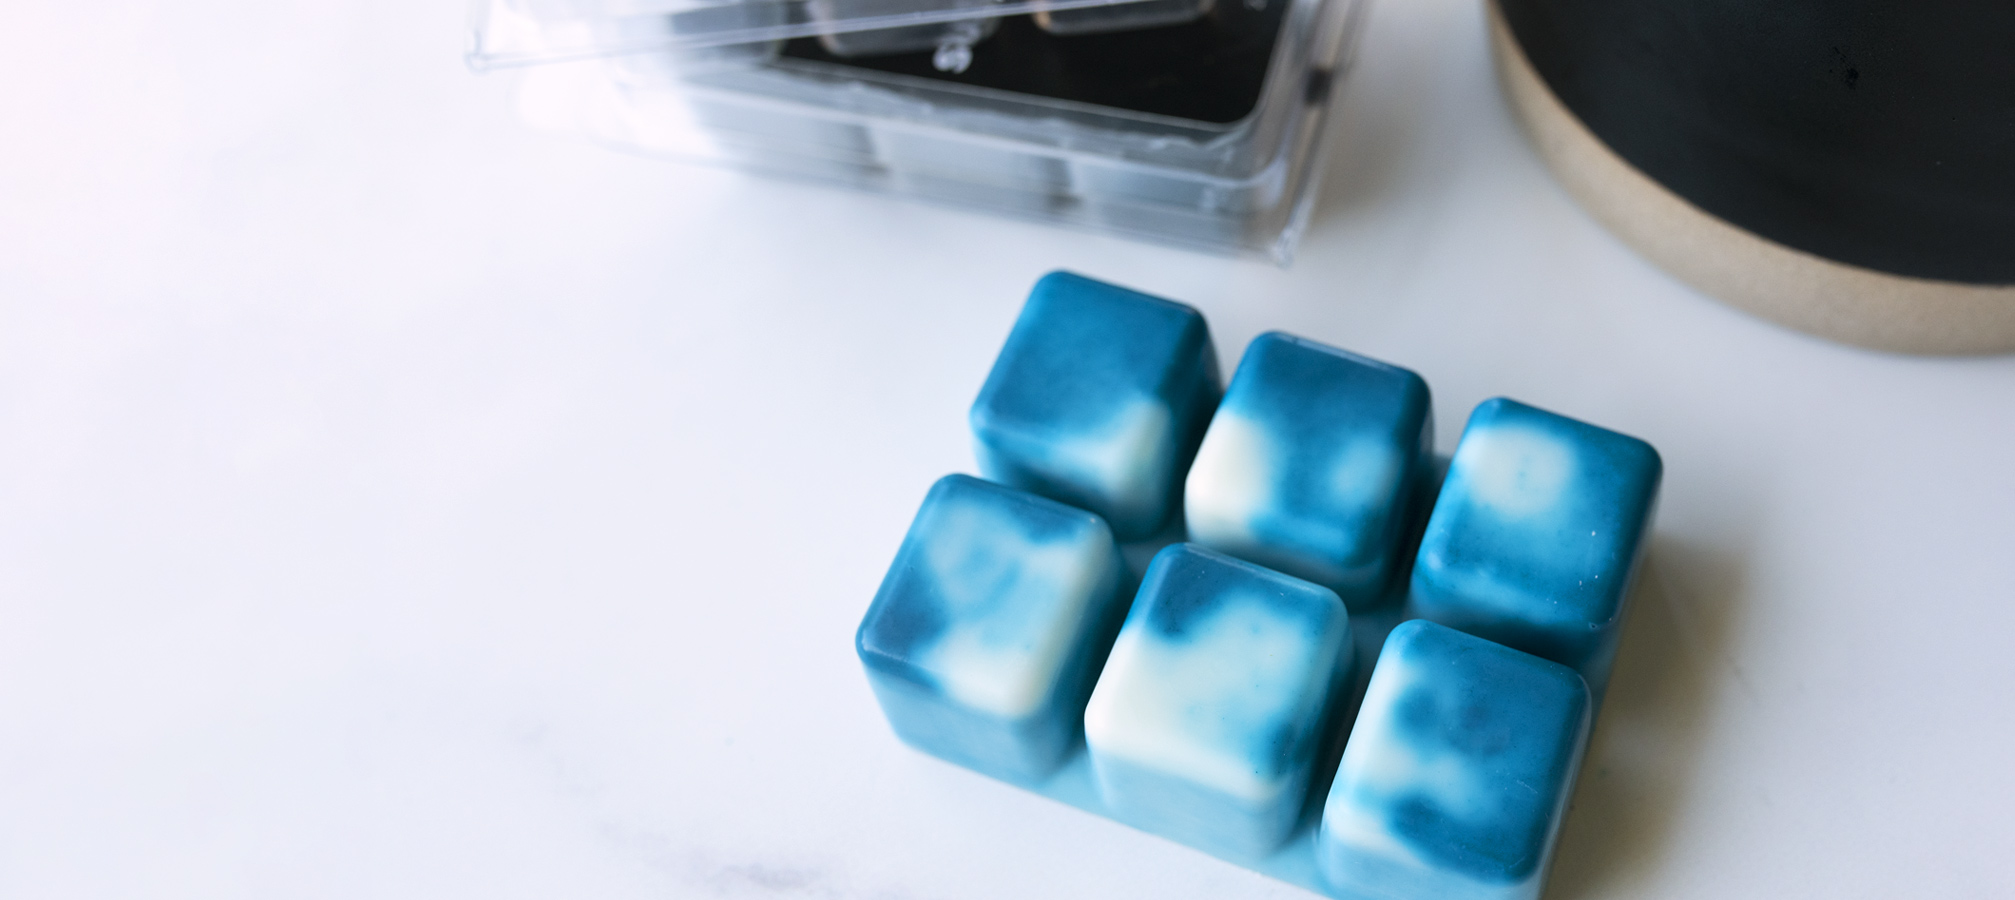
Tie-dye has made a groovy comeback and we couldn't help but jump into the trend with these marbled wax melts. This project adds a colorful twist to the basic clamshell wax melts and leaves room for experimenting with different colors and scents.
This tutorial can also be used with our 5 pc. Snap Bar Clamshells and 10 pc. Mini Square Clamshells.
EO Notes: You can also use candle-approved essential oils for this project. Check the recommended usage percentage on the essential oil product page and start with low percentages. How to Make Soy Candles with Essential Oils
Additional Items Needed:
Note: Equipment should not be re-used for food prep.
- Paper cup
- Paper towel
- Cutting board
- Knife
- Isopropyl Rubbing Alcohol
- Spatulas
Directions:
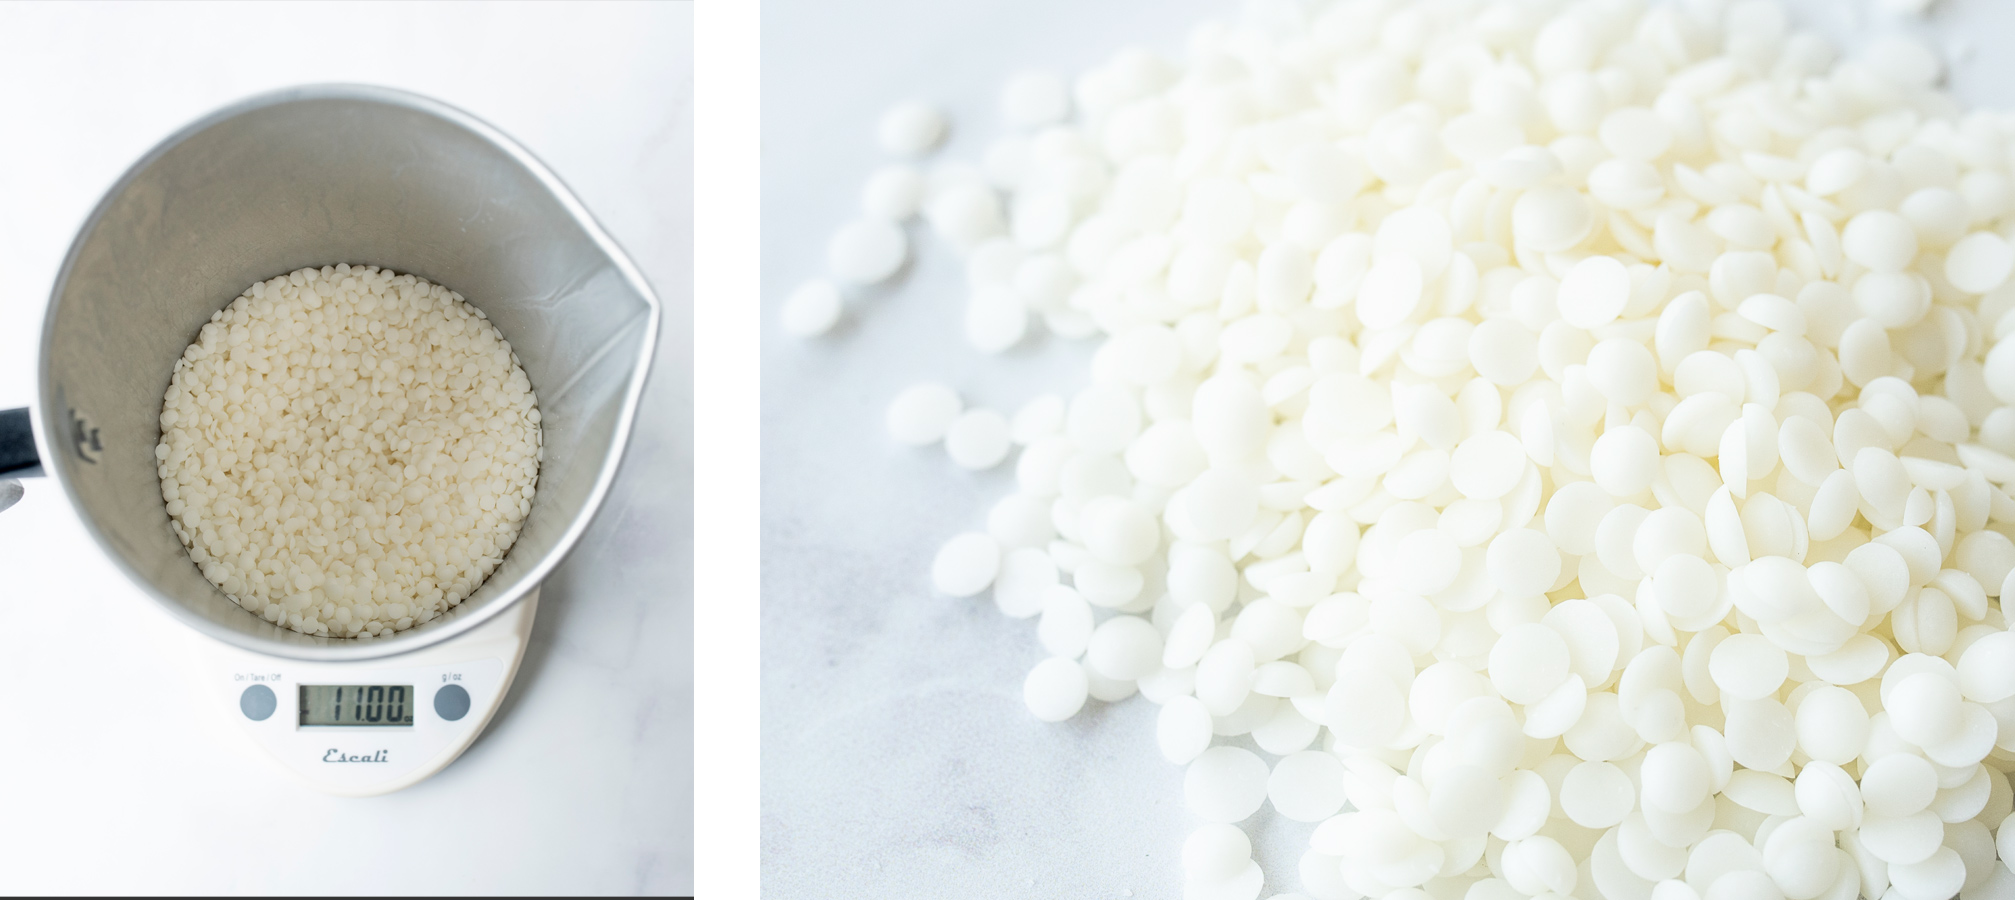
Step 1: Weigh your wax
Place the pouring pitcher on your digital scale and tare the weight. Weigh 11 oz. (312 g) of CandleScience CocoSol Soy Pillar Wax in the small pitcher. Begin to melt the wax with a double boiler or on a hot plate.
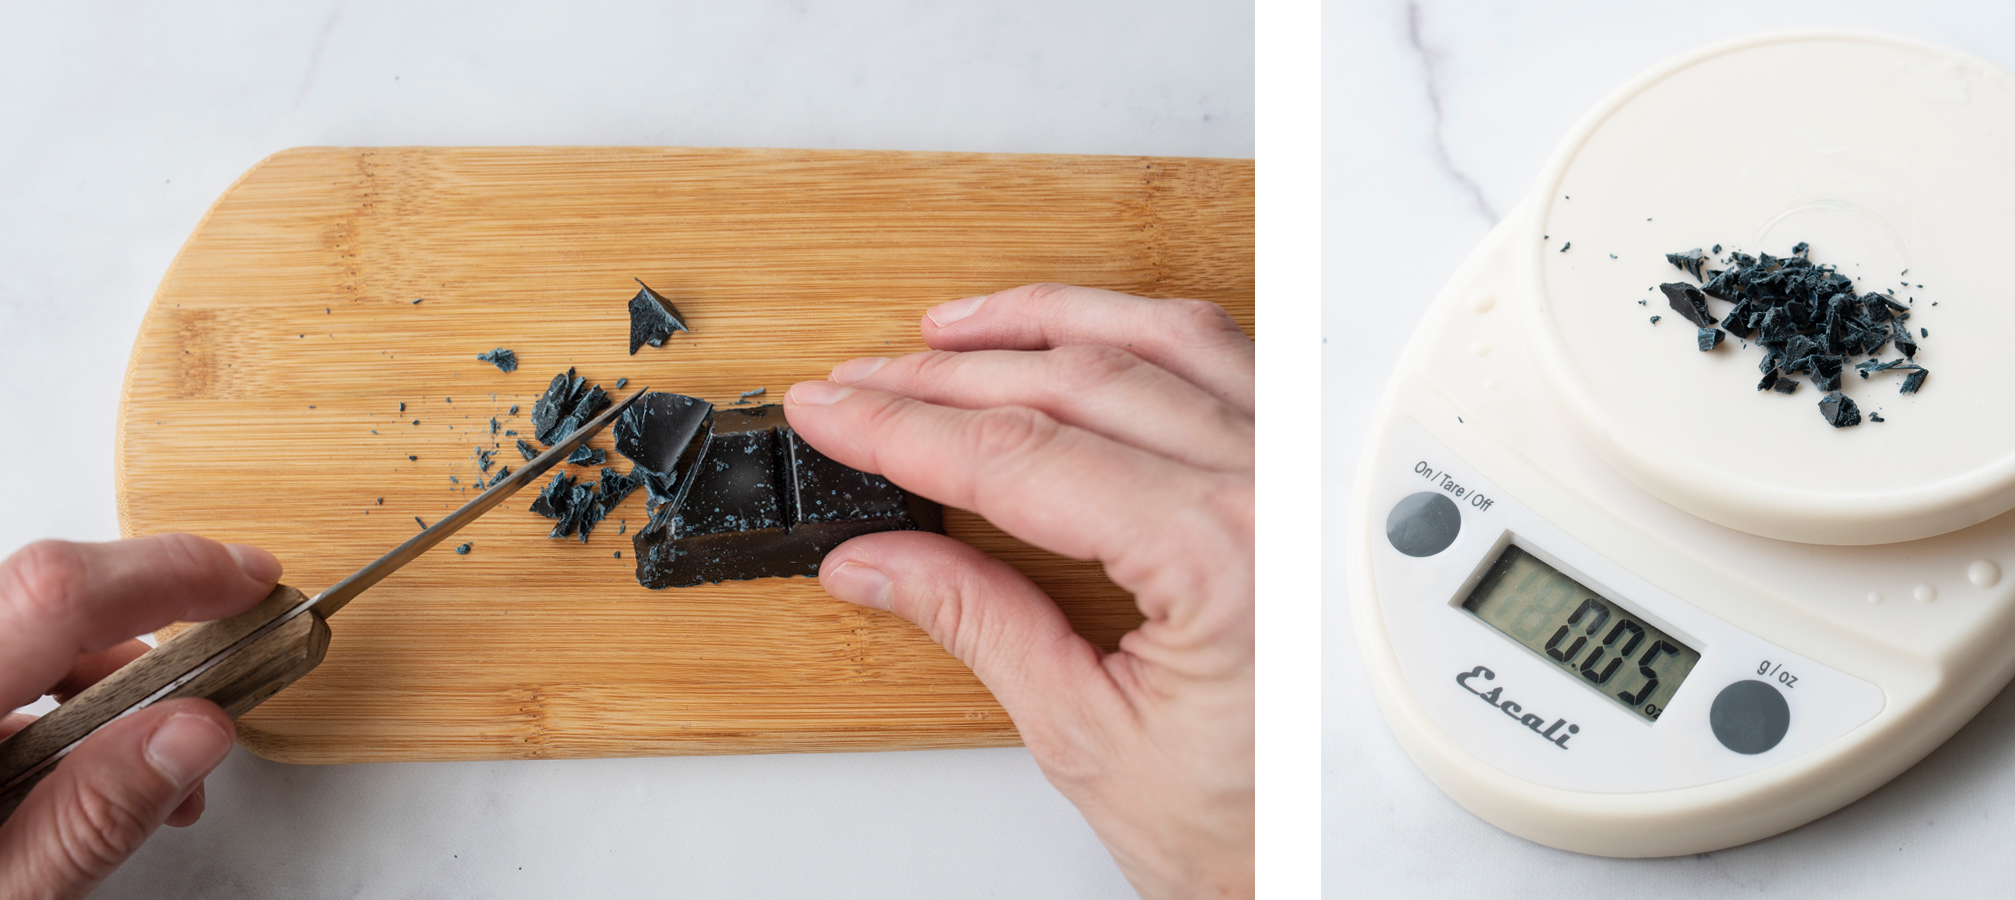
Step 2: Cut the candle dye block
While you’re waiting for the wax to melt, it’s a good time to prep your dye block. For this project, we cut off a corner of the dye block, around a quarter, which weighed about .05 oz (1.4 g). You can add more or less depending on how strong of a color you want. Cut the block into shavings and set this aside to use a little bit later.
Note: If you’re making a larger batch of clamshells and want to be able to reproduce the exact colors, heat up your wax in two pitchers. This will allow you to accurately weigh the wax that you will dye. Weigh out the dye block amount or use liquid candle dye to keep consistency. We recommend a 3:1 ratio, your dyed wax being the smaller amount.
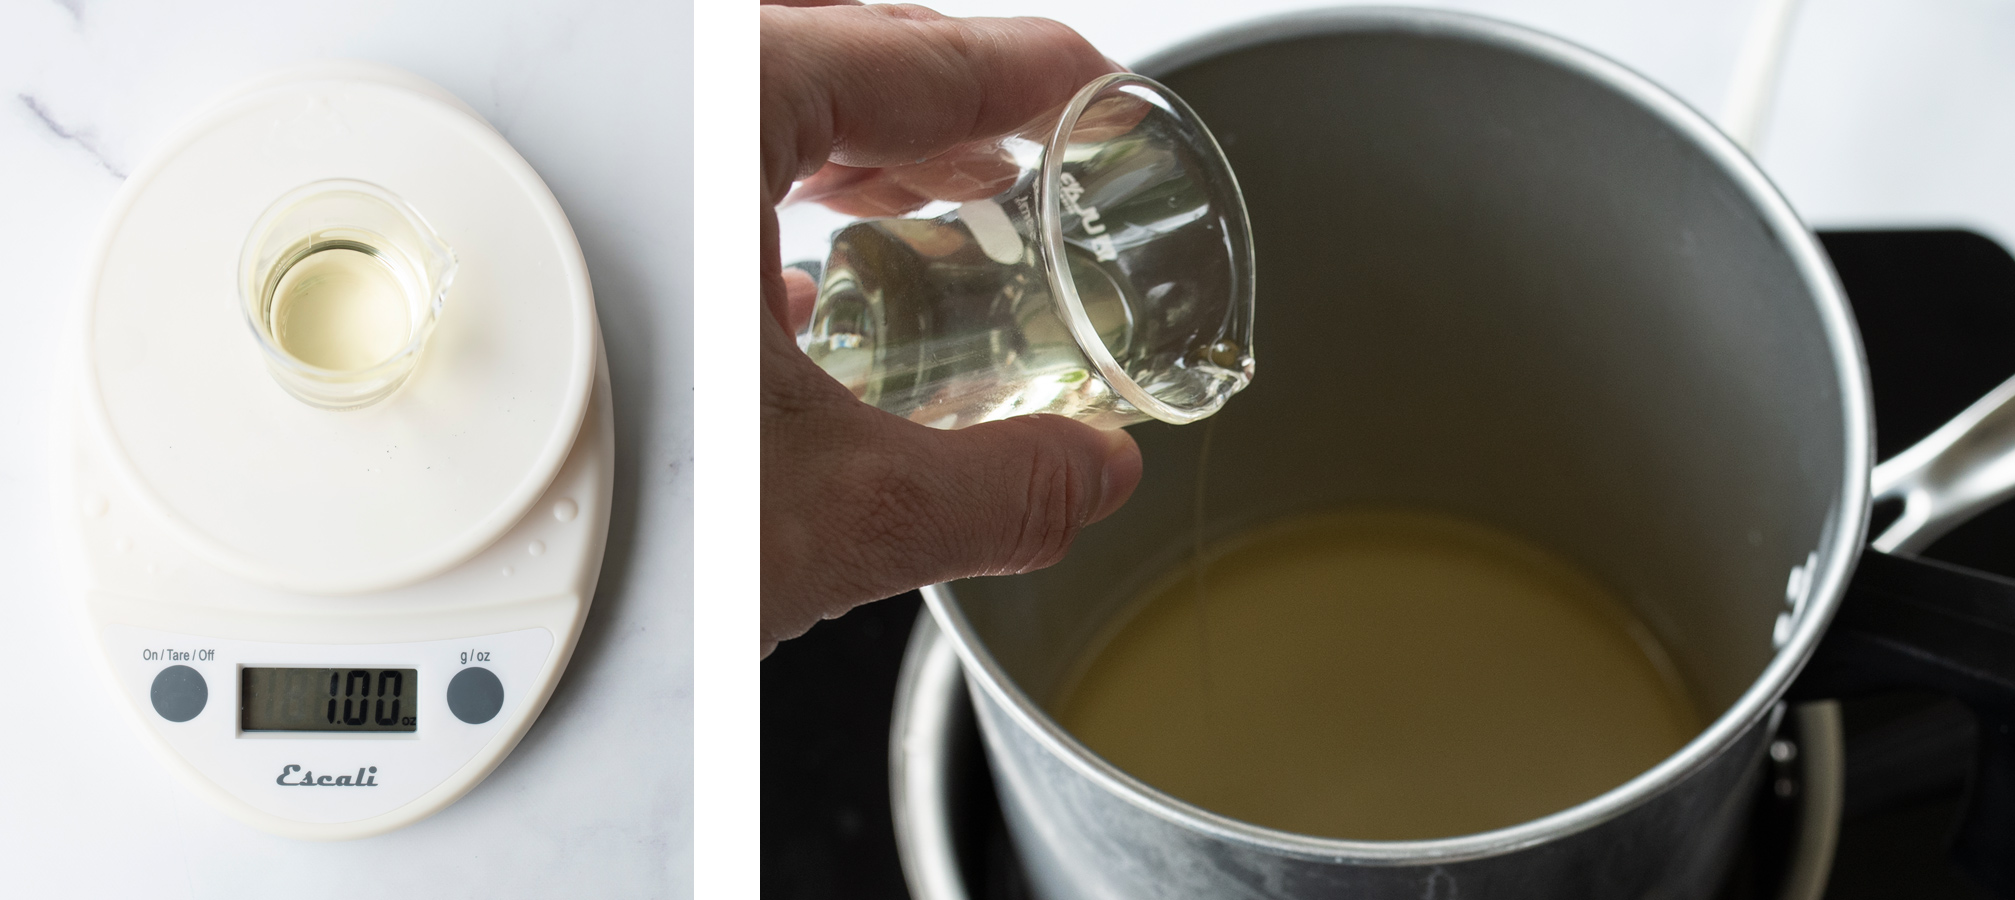
Step 3: Weight our fragrance and add to wax
Weigh 1 oz. (28 g) of the High Tide fragrance oil. Our fragrance load is close to 10%, but you can adjust down according to your preference.
When the wax reaches 185ºF (85°C), add the fragrance oil you weighed and remove from the heat. Stir gently but thoroughly for 2 minutes to make sure the fragrance binds fully with the wax.
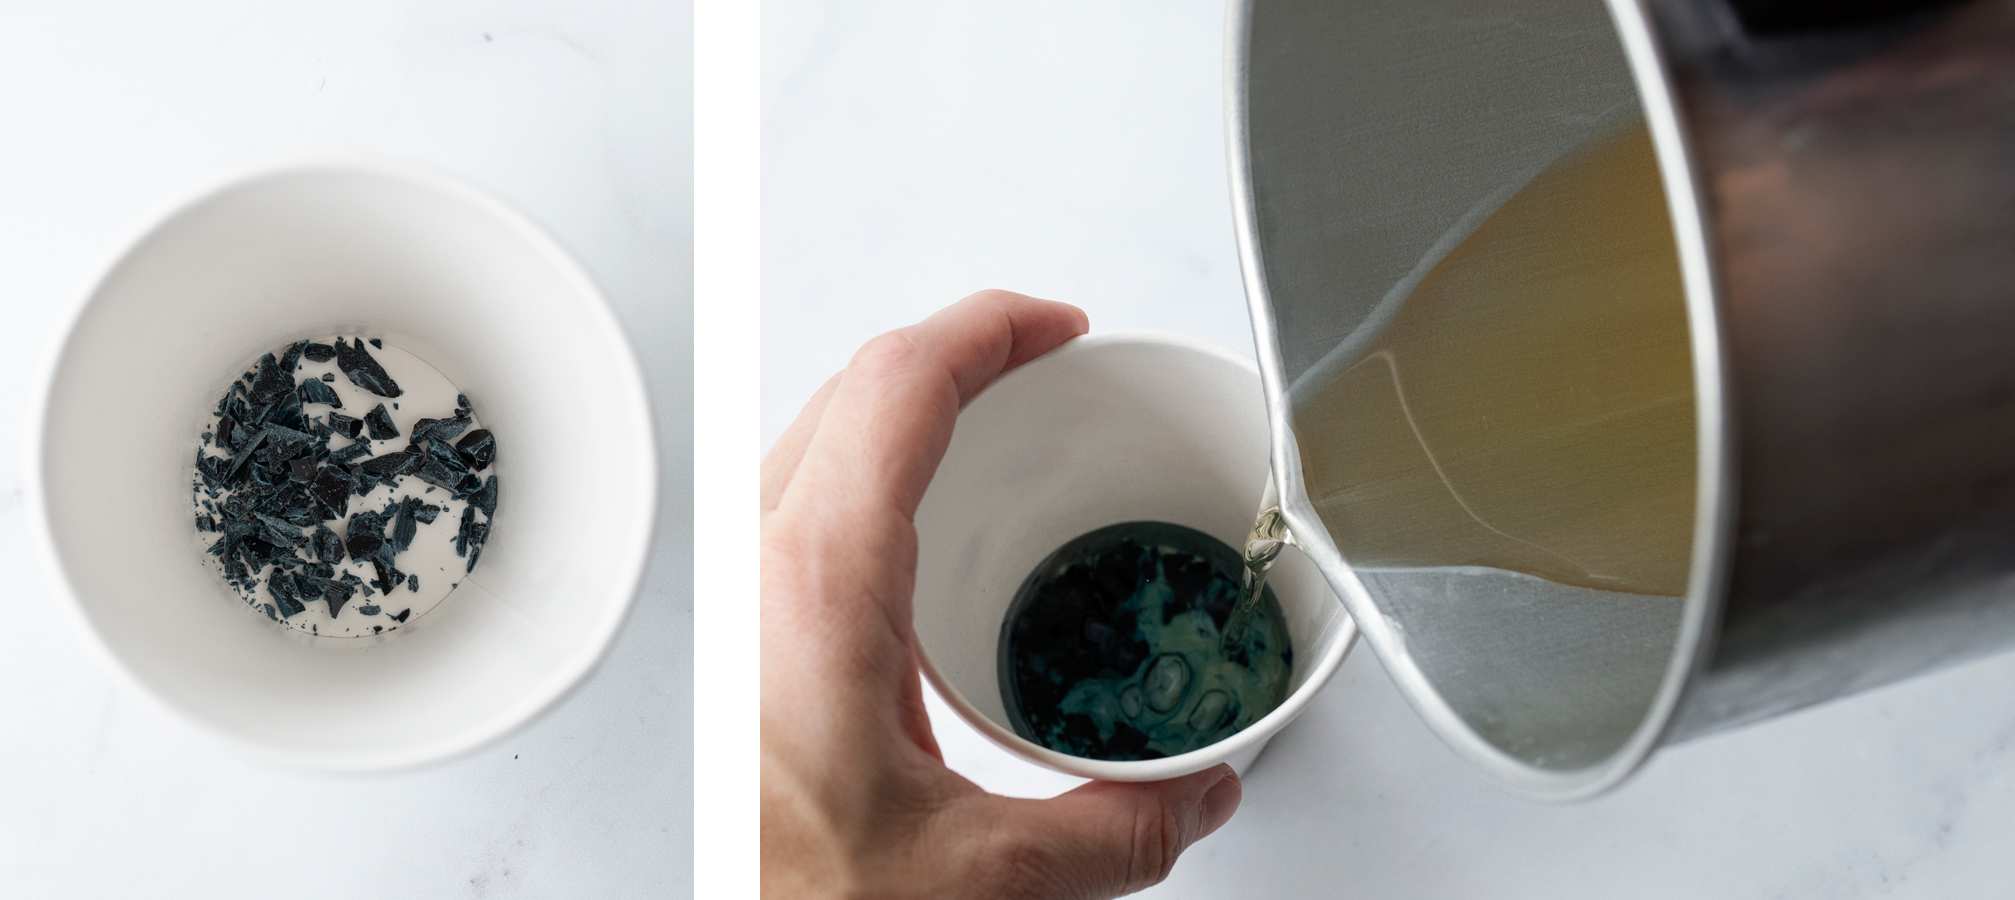
Step 4: Mix in the color
Add the dye chips that you prepared earlier to a paper cup. Pour some of the wax into your paper cup until it is about ⅓ full, or weighs about 2 oz (57 g). Stir gently until it is all mixed together.
Step 5: Pour the wax into clamshell molds
Once the wax cools to 145-150℉ (62.8-65.6°C), it’s time to start pouring.
Note: The recommended pouring for this wax is 170°F (76.7°C), but for this project, we want to pour as cool as possible to help prevent the wax from mixing together too much.
This part does require a steady hand and might take a little practice to get the look you want.
To get the “tie-dye” effect, start by slowly pouring some of the teal wax from your paper cup into the clamshell cavity. Make sure it doesn’t fill the whole cavity. Immediately after, very slowly pour in some of the non-dyed wax into the empty area of the cavity.
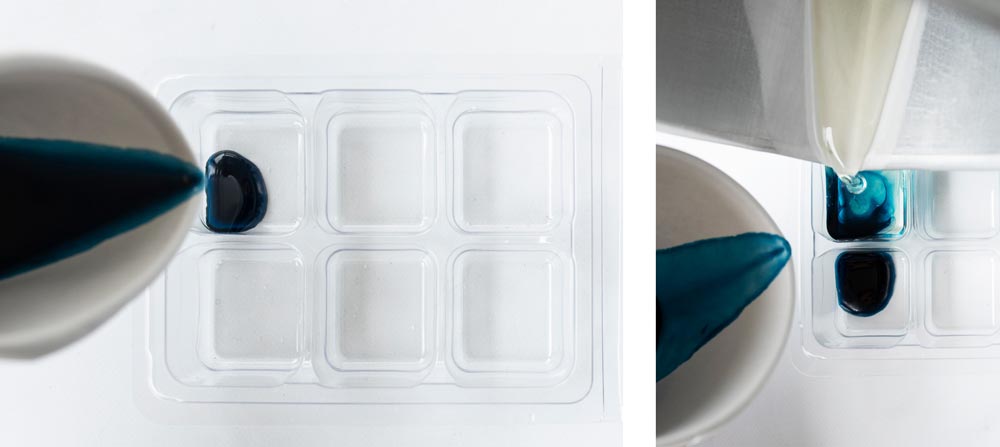
You’ll see the colors start swirling together. The key is to make sure you pour very slowly. Once you’ve filled every cavity, top off the clamshell grid with the non-dyed wax.
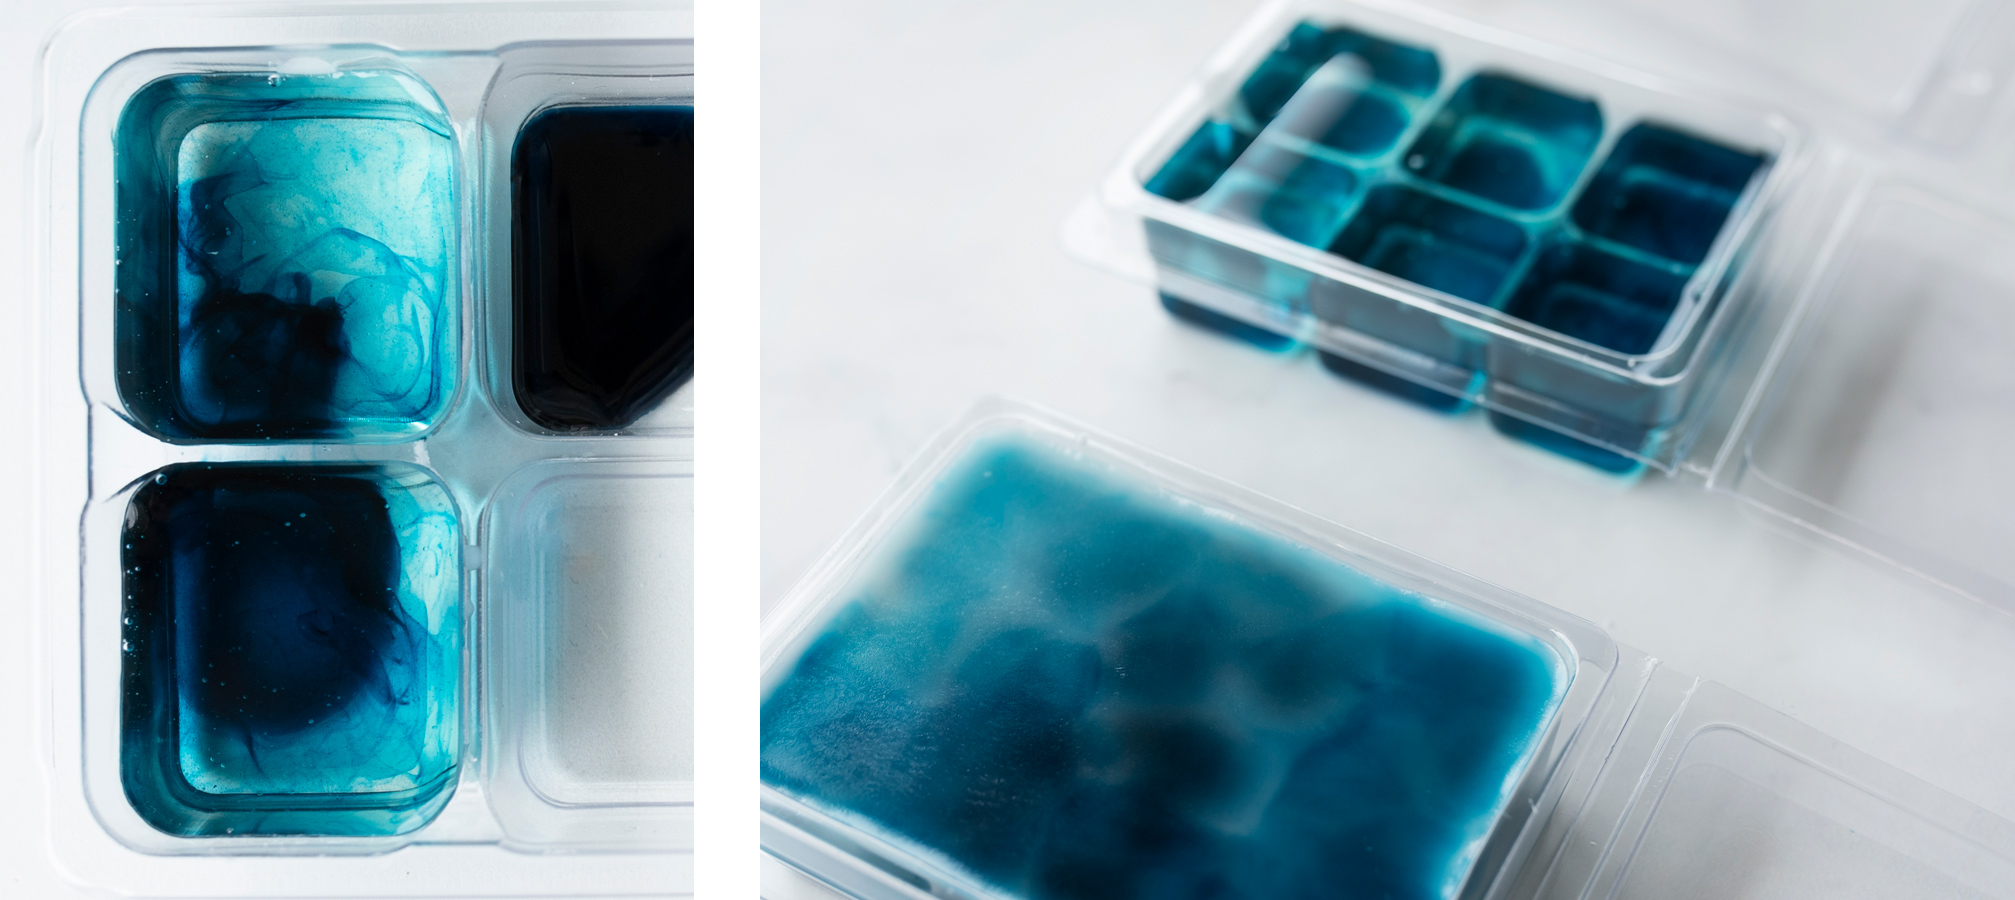
Note: While it’s fun to see how the bottom of the clamshell turned out, be sure to let it cool completely before you move it to prevent the wax over mixing or spilling.
Allow your clamshells to cool for about 5 hours. When they have completely cooled, seal up your clamshells and add your labels. Be sure to follow the manufacturer's directions for the melter that you choose to use.
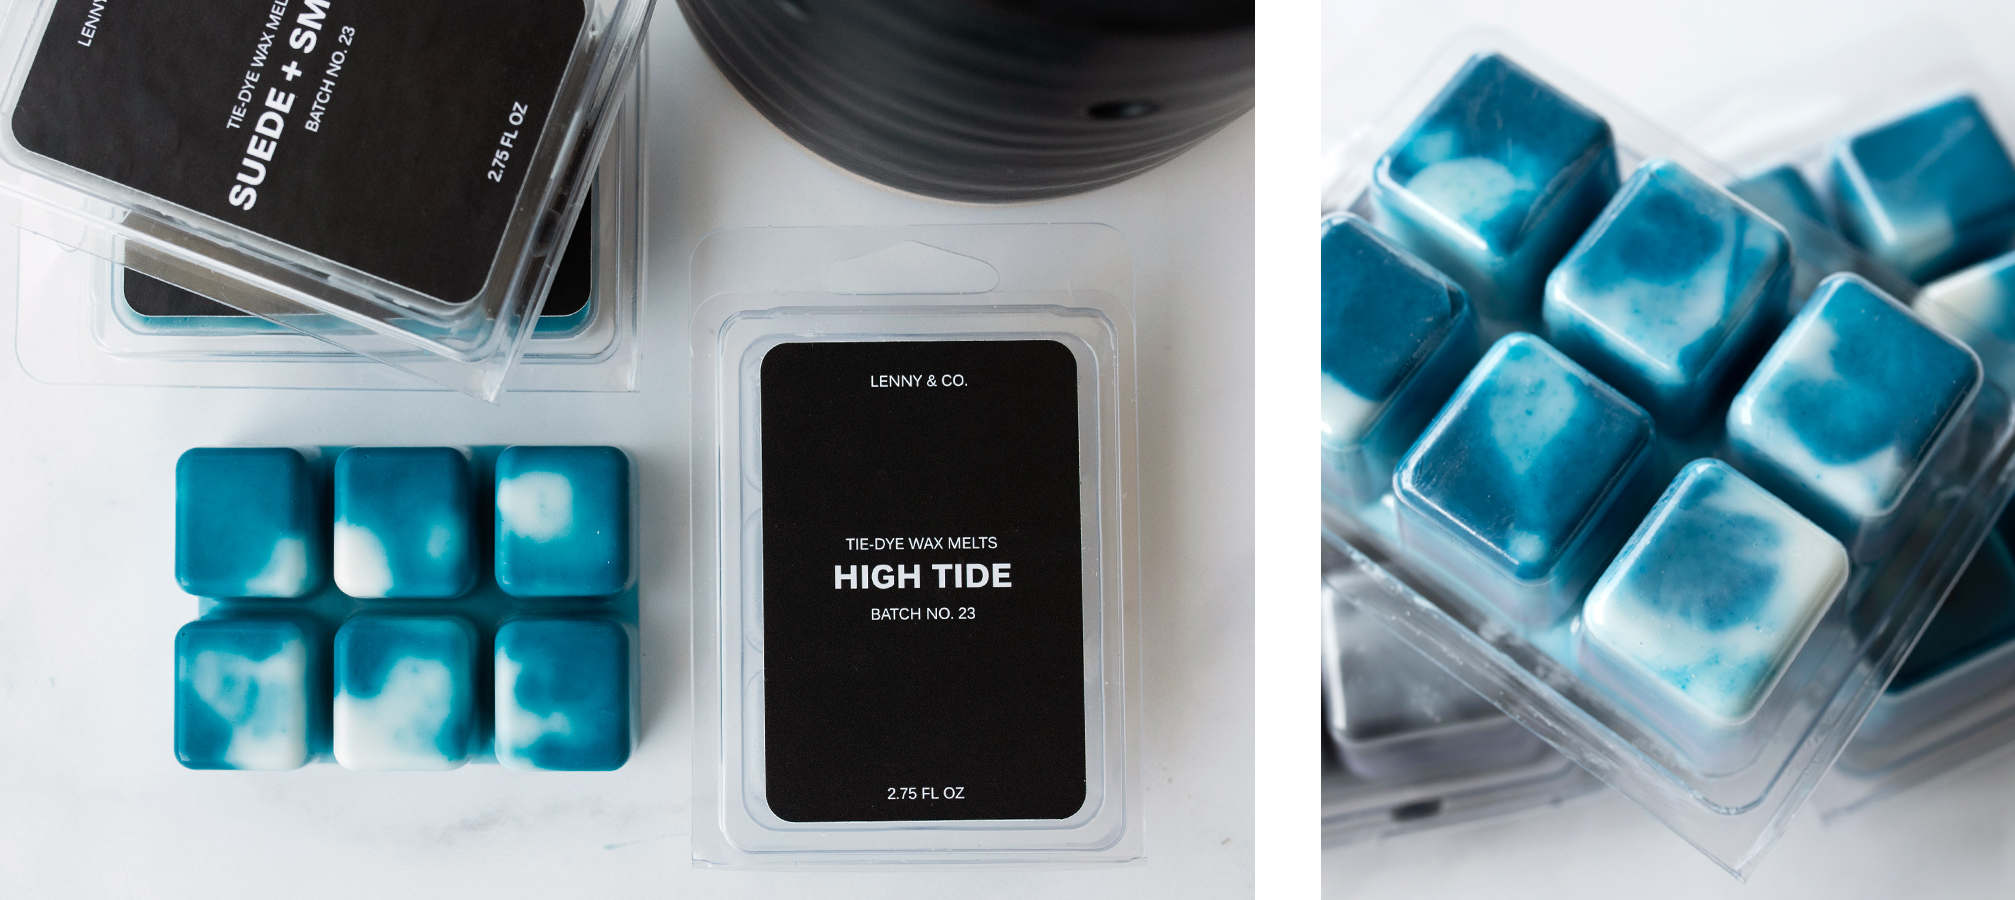
Congratulations! You just made your own tie-dye wax melts. We designed this modern label in Avery WePrint—head over to avery.com/candlescience to get started designing your own and take 10% off your label order!
Show off your tie-dye wax melts, and all your handmade creations, with the CandleScience community by tagging us @CandleScience and using the #CandleScientist hashtag on Facebook and Instagram. We may feature you in our Stories or on our website!