
How to wick a pillar mold
Wicking a pillar mold is often the most difficult, and sometimes frustrating, step when making a pillar candle. Learn how to properly wick a pillar mold in this step by step tutorial.
When you're ready to make your pillar candle, check out: How to make a pillar candle.
Additional items needed:
- Duct tape
- Scissors
- Isopropyl alcohol
Directions:
Notes: We used an LX 26 for this tutorial, but be sure to select the proper wick size for your particular mold. See our Wick Guide for the recommended wick size.
Have a taller mold and need longer wicks? We have several sizes of 10" long LX wicks available.
Remember the concaved bottom of the mold will form the top of the pillar candle.
Step 1: Prepare your mold
Wipe the mold with a clean paper towel or lint-free cloth and isopropyl alcohol.
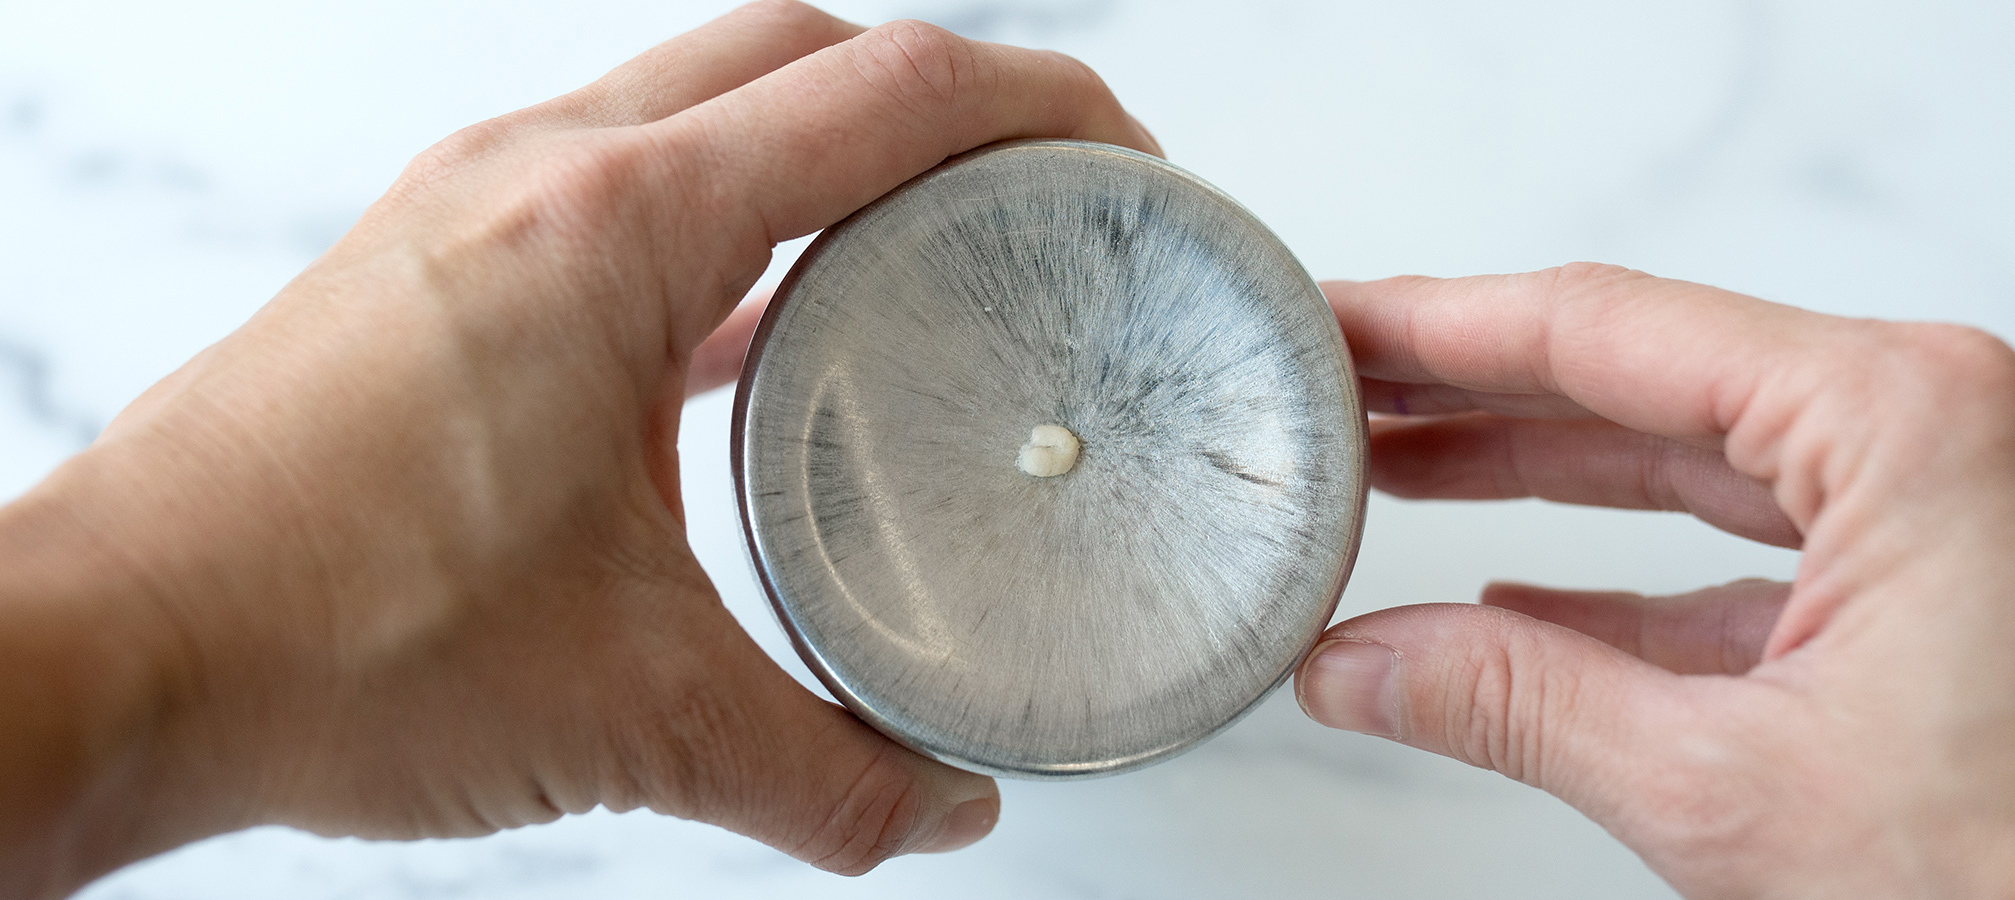
Step 2: Thread the wick
Place the LX 26 wick through the pillar mold hole. Make sure the tabbed end is sticking outside of the mold on the other side, beyond where your candle will end.
Note: If you're using spooled wick, measure and cut wick to length to allow excess wick at each end of the mold.
Ball the end of the wick by twisting the end and rolling it between your fingers. Push the wick down onto the mold to create a good seal over the hole. This helps prevent the wax from leaking.
Note: This step is very important. The wick sealing the hole is the main thing that will keep the wax from leaking out.
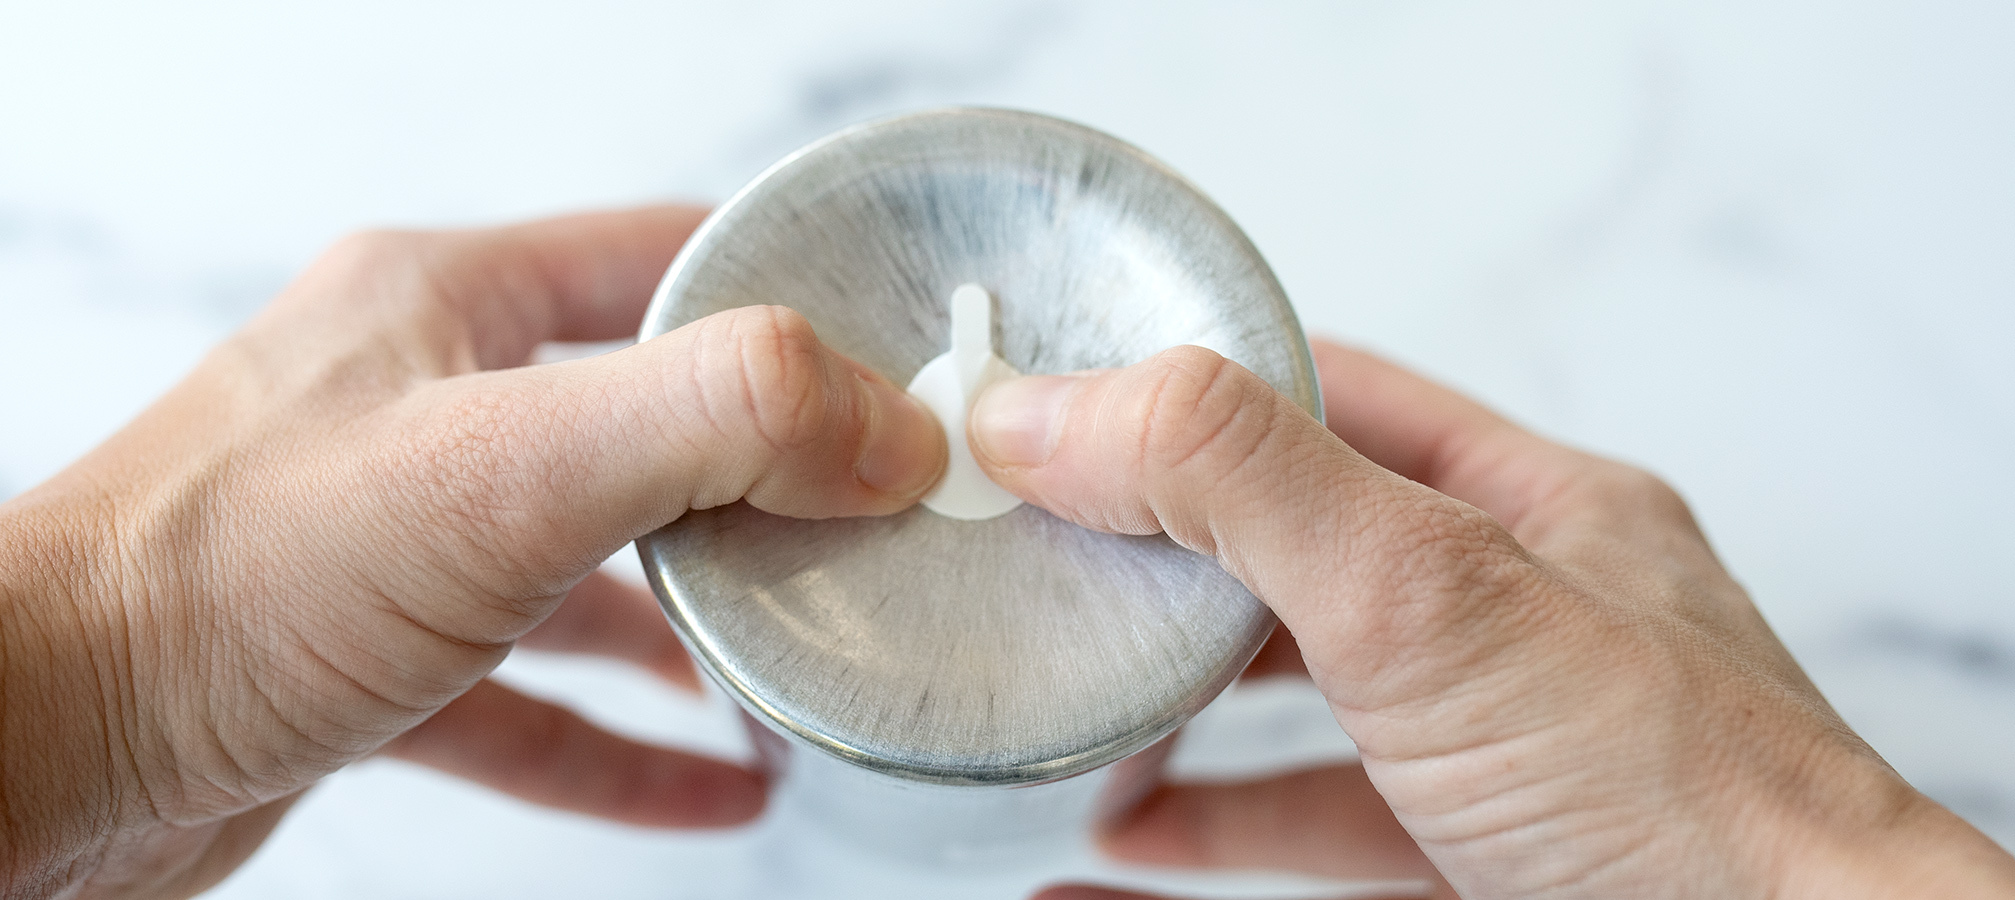
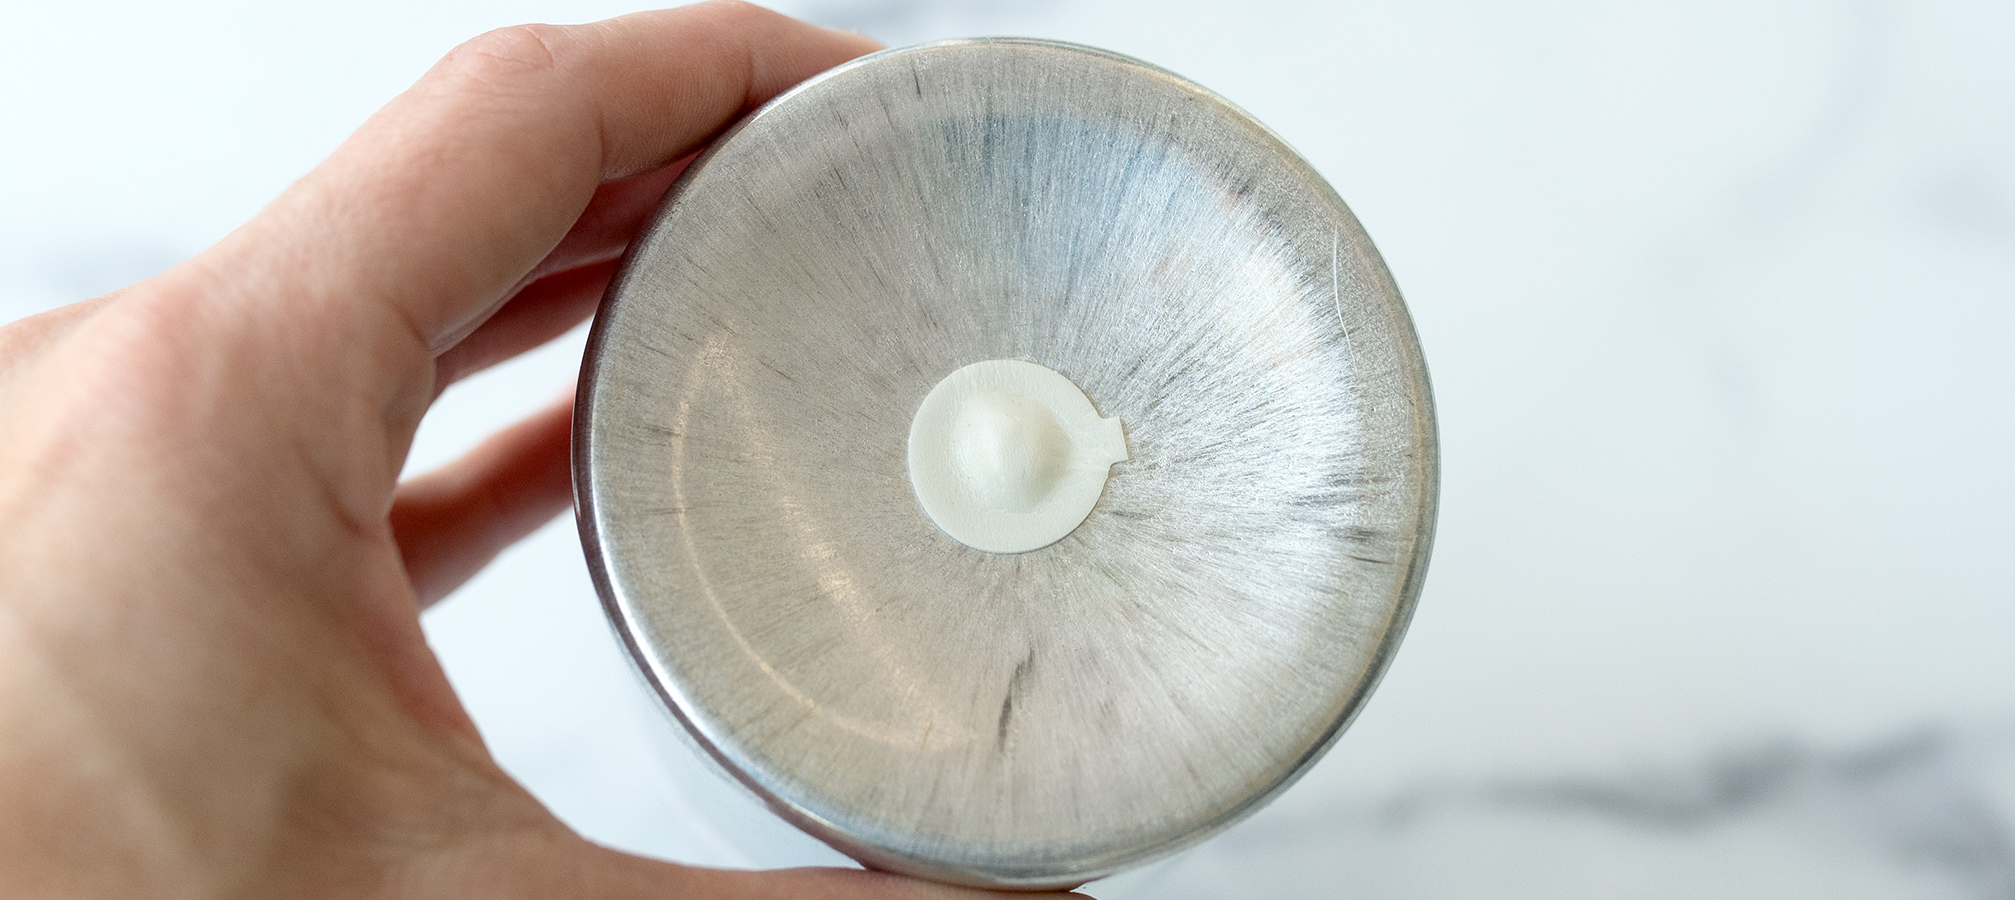
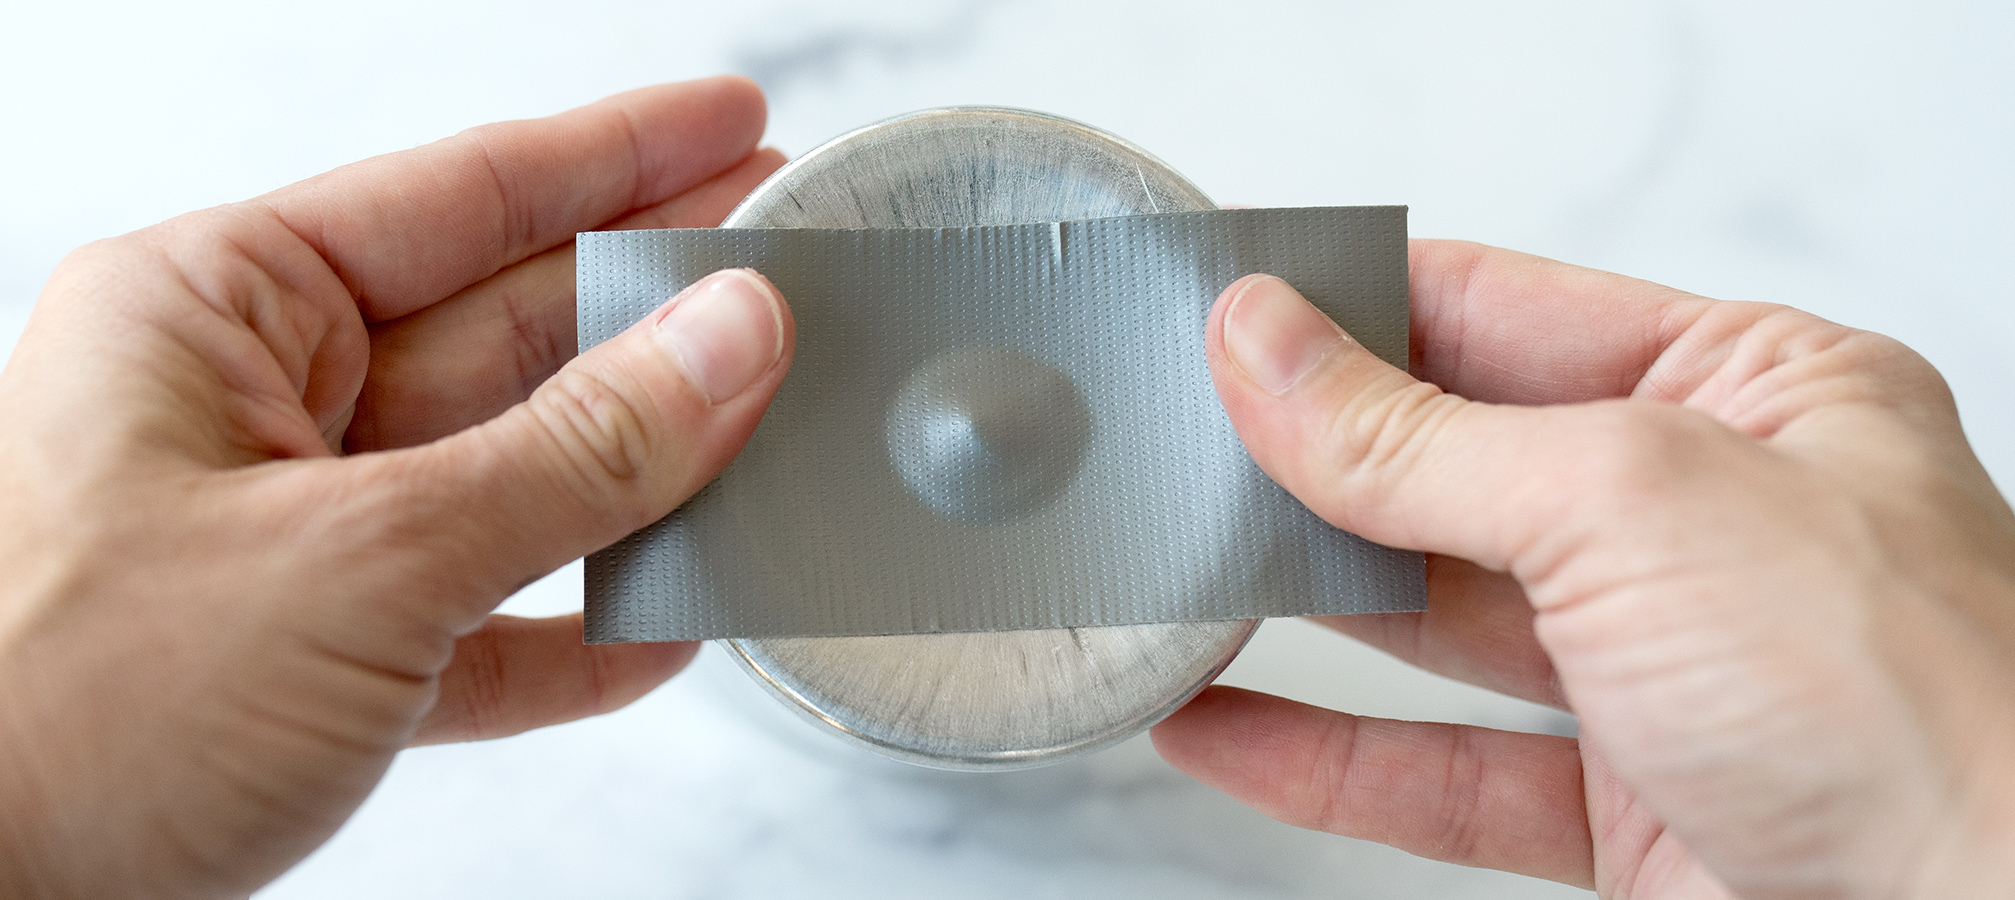
Step 3: Seal the mold
Stick a wick sticker on top pushing down the edges to ensure it has created a tight seal
Note: We found that Wick Sticker Pros are too sticky, and had better luck with Large Wick Stickers.
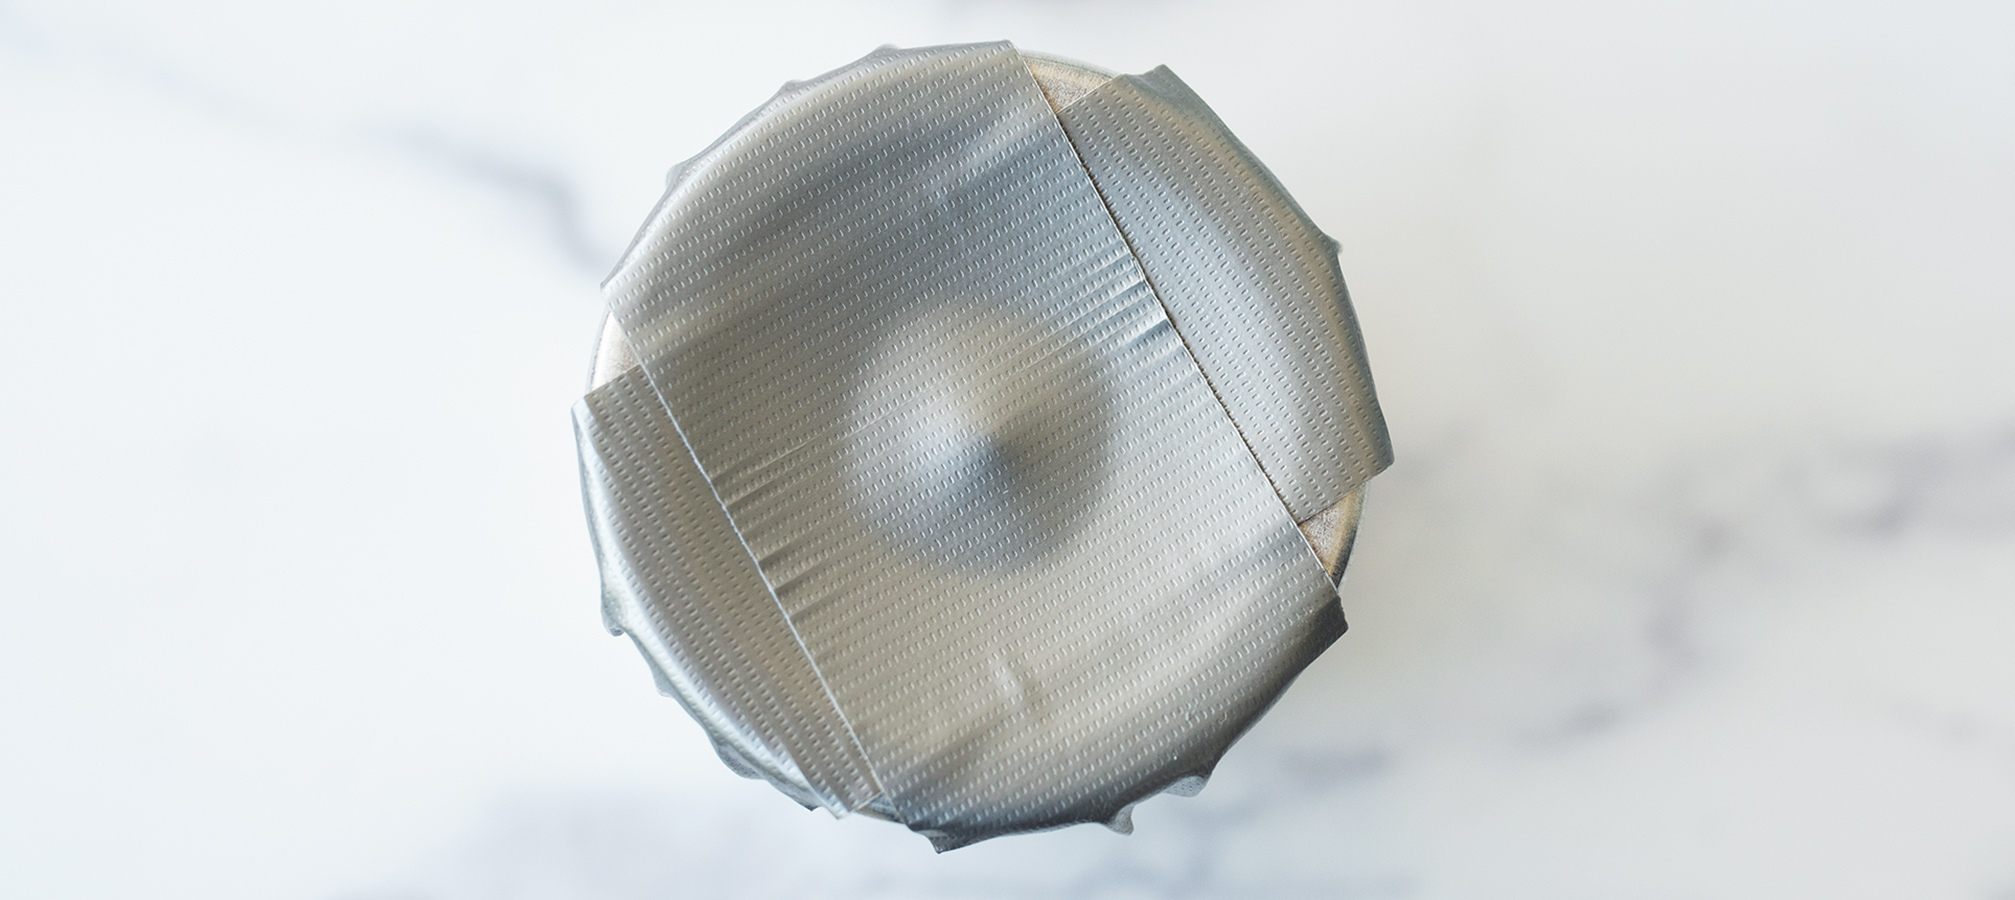
Cut a piece of duct tape and place it across the mold. Make sure the duct tape does not have any air pockets. Smooth the tape from the center out on each side.
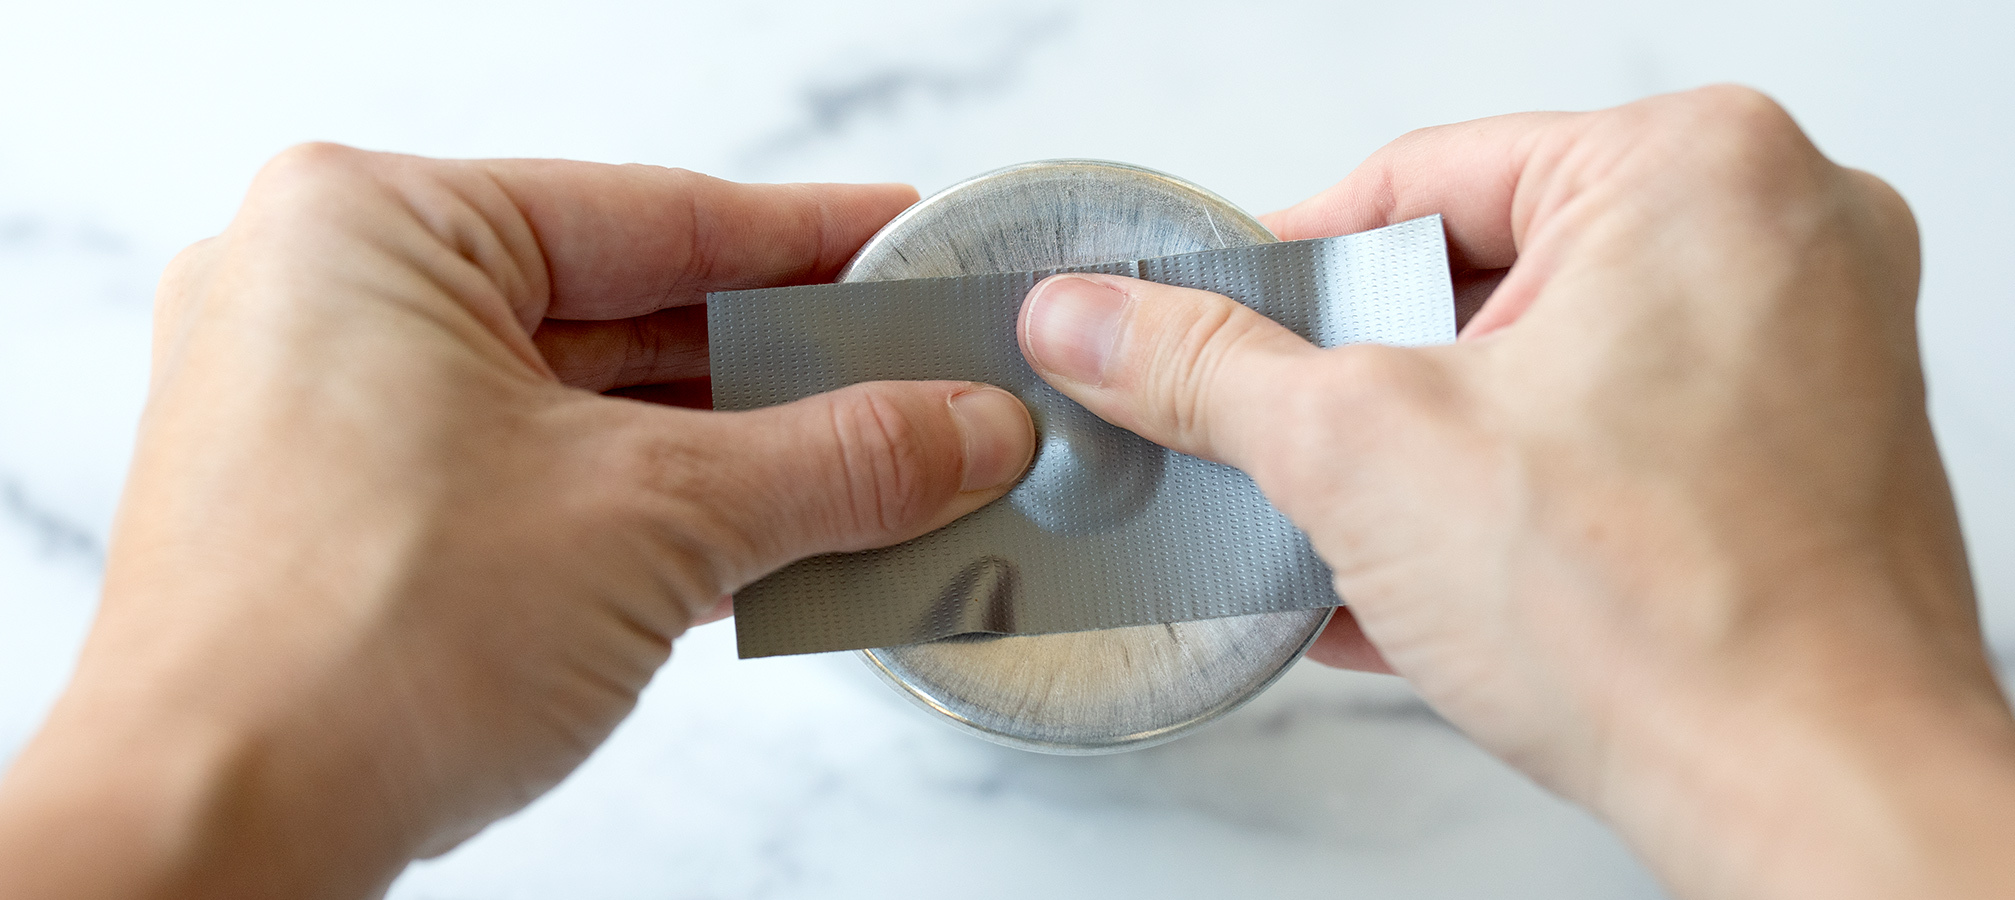
Add another piece of tape perpendicular to the first one to enforce the seal.
Step 4: Secure the wick
Flip over your pillar mold so the bottom of the candle is facing up. Secure the wick with a wick bar making sure it is nice and straight.
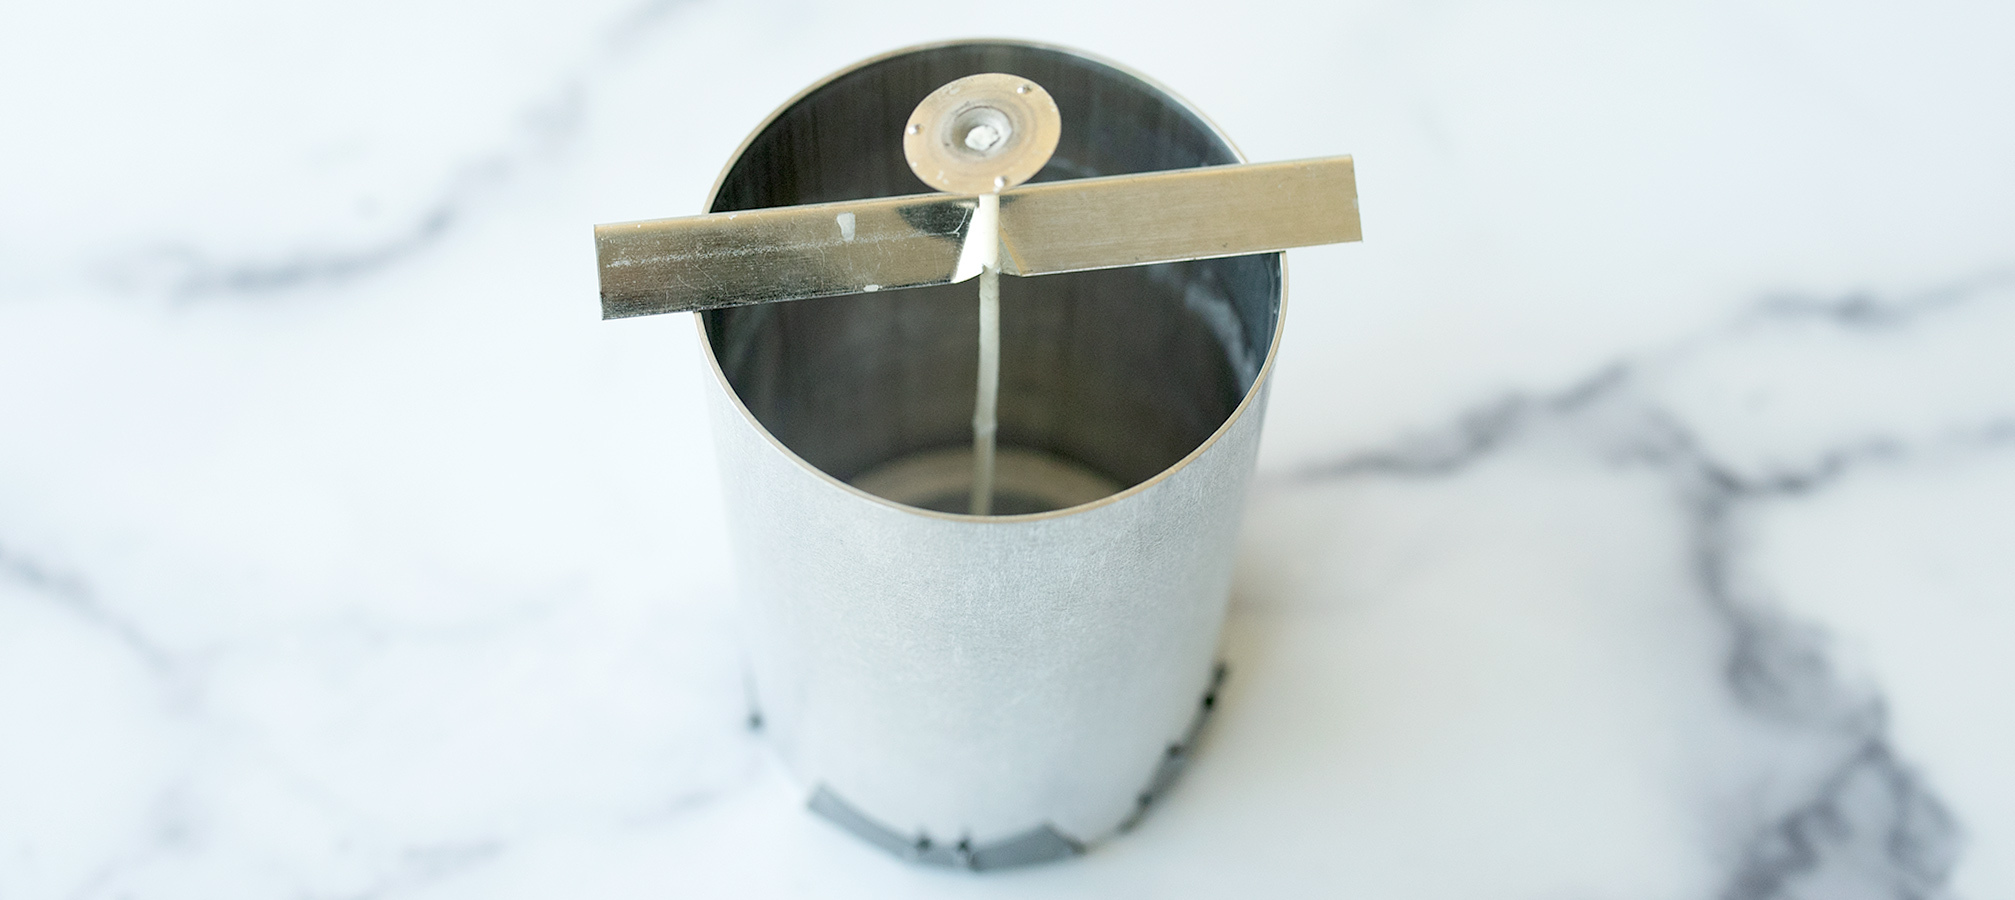
Now your pillar mold is ready for wax!