Product photography: using surfaces and backdrops
Learn how backdrops and surfaces contribute to the overall look and feel of product photography.
This is part 3 of our series on product photography tips. Be sure to check out our previous articles about Natural Light and Composition, as well as How to Shoot Shiny or Reflective Candle Containers.
Developing a brand aesthetic
Backdrops and surfaces are one of the first items to consider in a product image; think of them as the "base" or "foundation" you build on with a product, lighting choices, and props. Continue reading below to learn how to find inspiration for your brand's look, where and what to buy, and tips and tricks for staying within a budget.
Get inspired!
Before you gather up backdrops and surfaces to shoot on, you need to figure out the aesthetic, or look, you want to achieve. Trying to nail down a certain look you want can sometimes be difficult. Where do you even start?
There is inspiration all around you, it's just a matter of stopping to take it in.
Look at store displays, the way a home is decorated, mailers from your favorite stores, etc. Look at some of your favorite brands. What do you like about them? What don't you like about them?
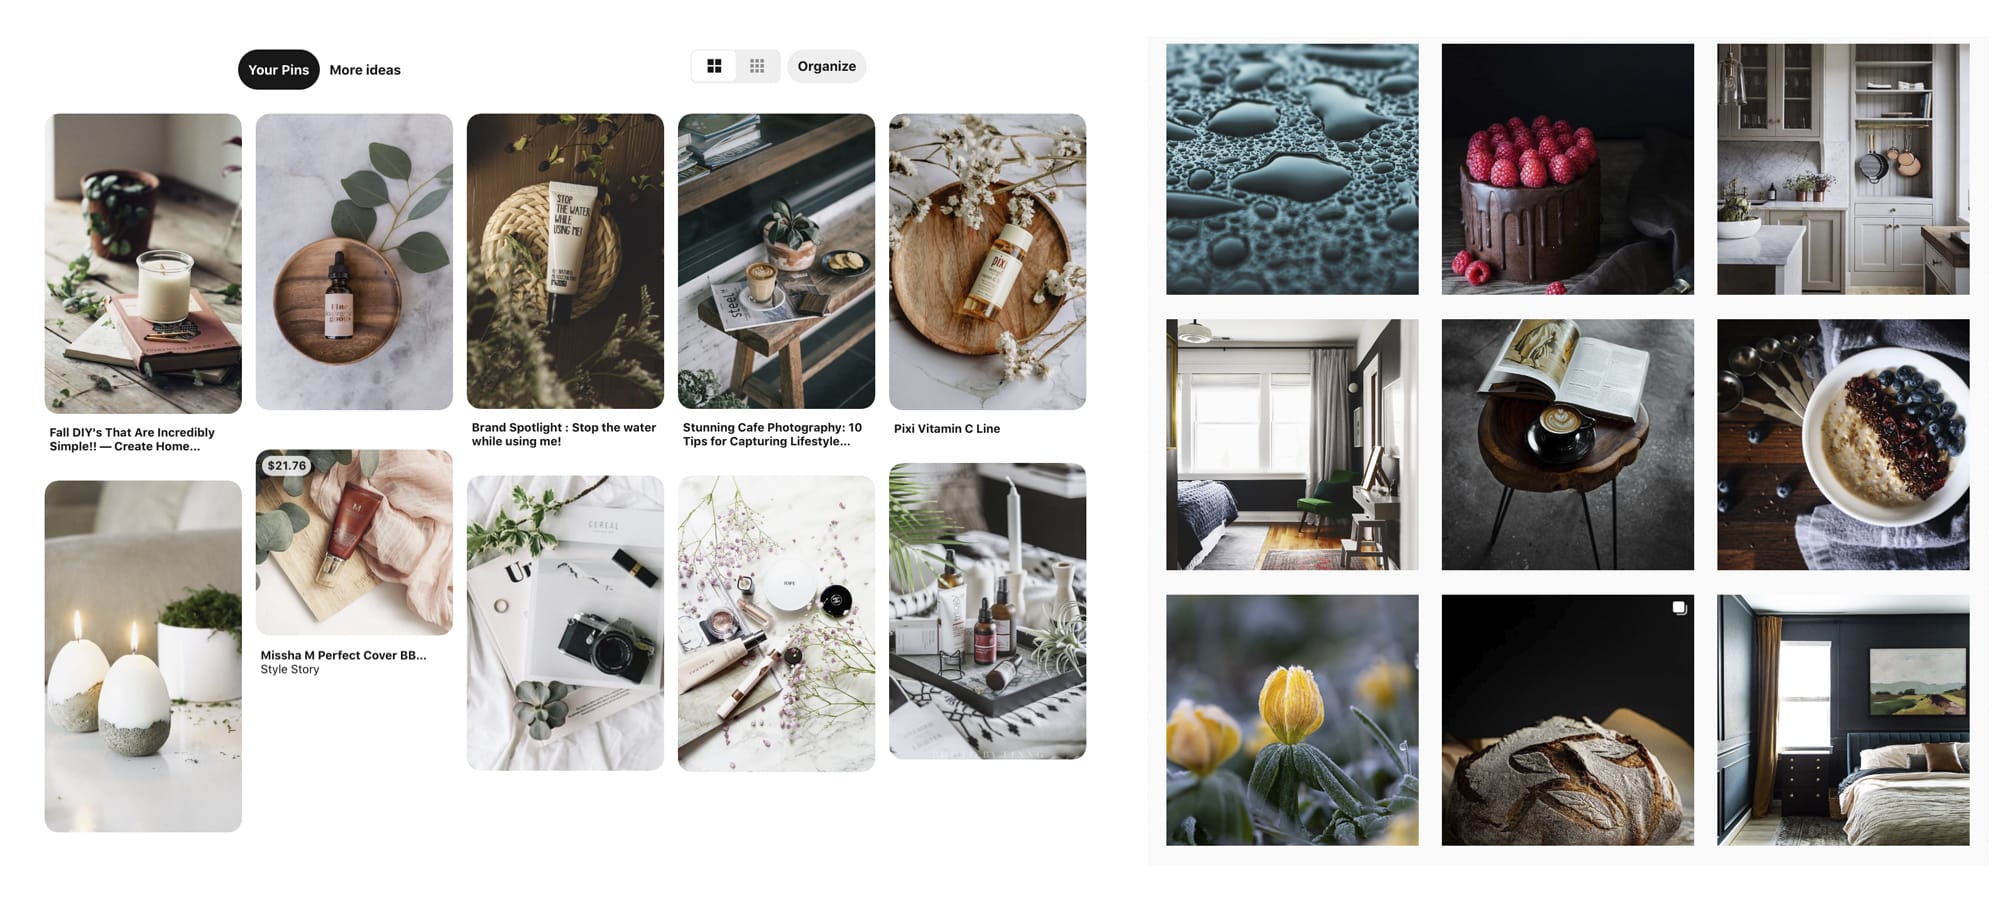
Pinterest and Instagram are full of beautiful images and are both great places to get inspired (and motivated, too). Pin images and looks you're drawn to on Pinterest, and save images from Instagram. You can pull all of these together to create mood boards for your brand.

Make note of what these images all have in common.
- Are they light and airy, dark and moody, or have a lot of natural elements in them? Do they have a combination?
- Is there a common color scheme?
- What is the feeling they evoke?
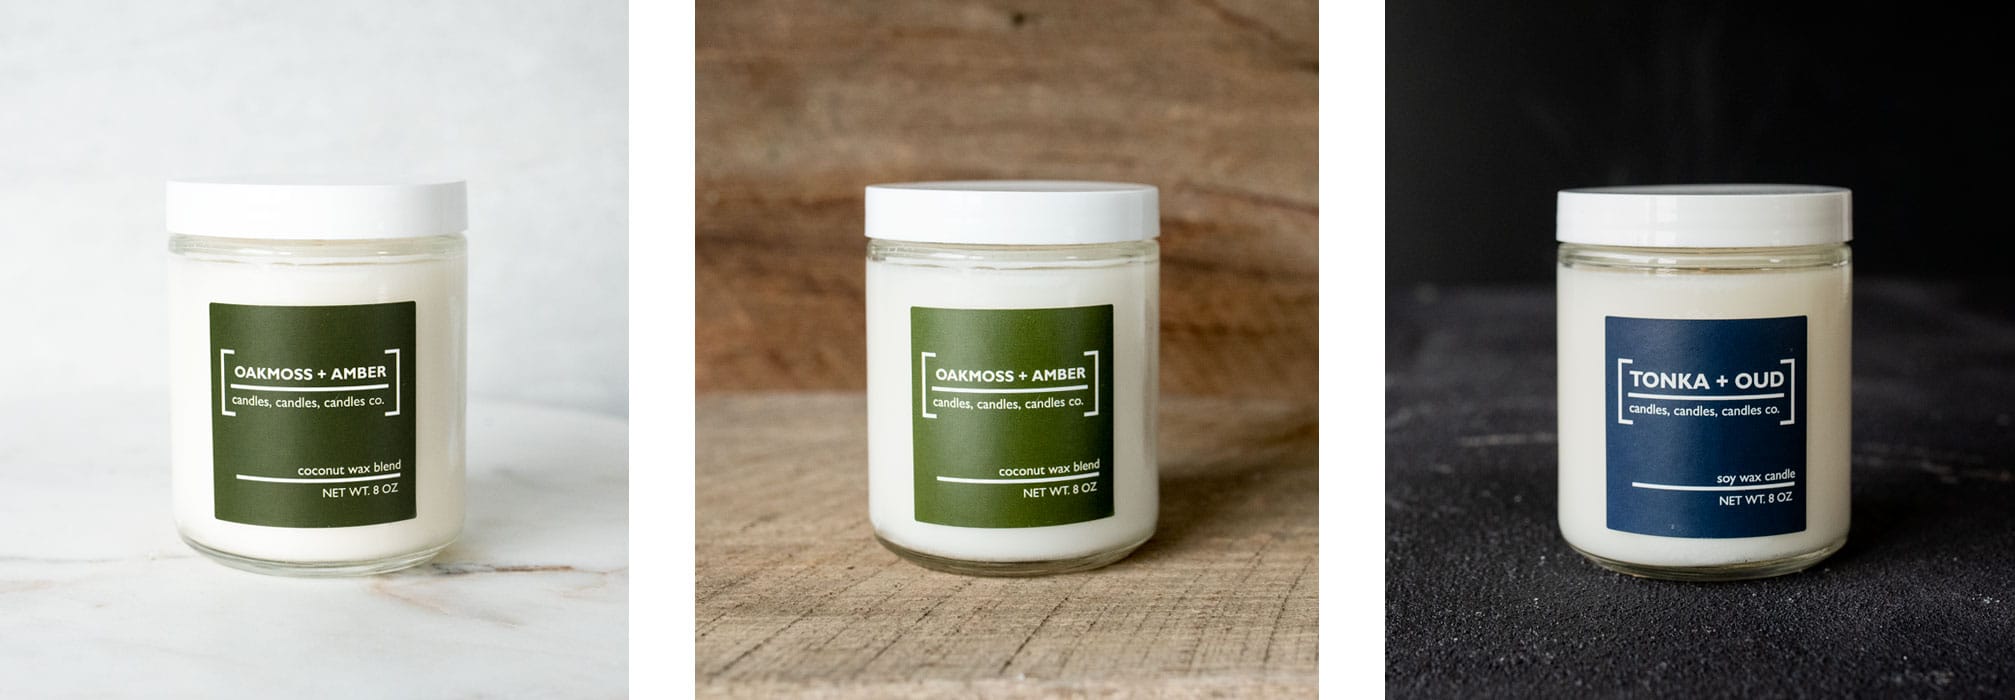
Below, you can see candles shot with three different backdrops and surfaces. We kept props out of it to show just how different a backdrop and surface alone can create a different look and feel.

Which one are you drawn to most?
1. Light and airy (more inspiration)
2. Natural (more inspiration)
3. Dark and moody (more inspiration)
Bringing it together
Now that you've nailed down the aesthetic you are drawn to, think about your target customer. What aesthetic would they be drawn to? Aligning your aesthetic to your target market may require a few adjustments, but it’s essential to keeping your branding cohesive.
So now you've been inspired, identified the aesthetic you like, made any adjustments in consideration of your target market; it's finally time to start gathering your backdrop and surface supplies to shoot.
We'll discuss other props for photos in a later photo tips article, so for now we'll just focus on the backdrop and surface.
What do you already have?
Don't run out to the store or fill your online cart just yet.
Before you go out and spend a ton of money on photo supplies, it’s always good to check to see what you already have. You may have items lying around that you never thought of, or even rooms that have the elements you want to include.
Things to look for:
- Leftover supplies from a house project - wooden boards, tiles, etc.
- Countertops, backsplashes, or furniture surfaces you like in various rooms of your house (they do need to get adequate natural light unless you use artificial lighting).
Get shopping!
Head to your favorite home decor, craft, and home improvement stores and start shopping! Be sure to check out the clearance sections; you never know what great items you might score at a discounted price.
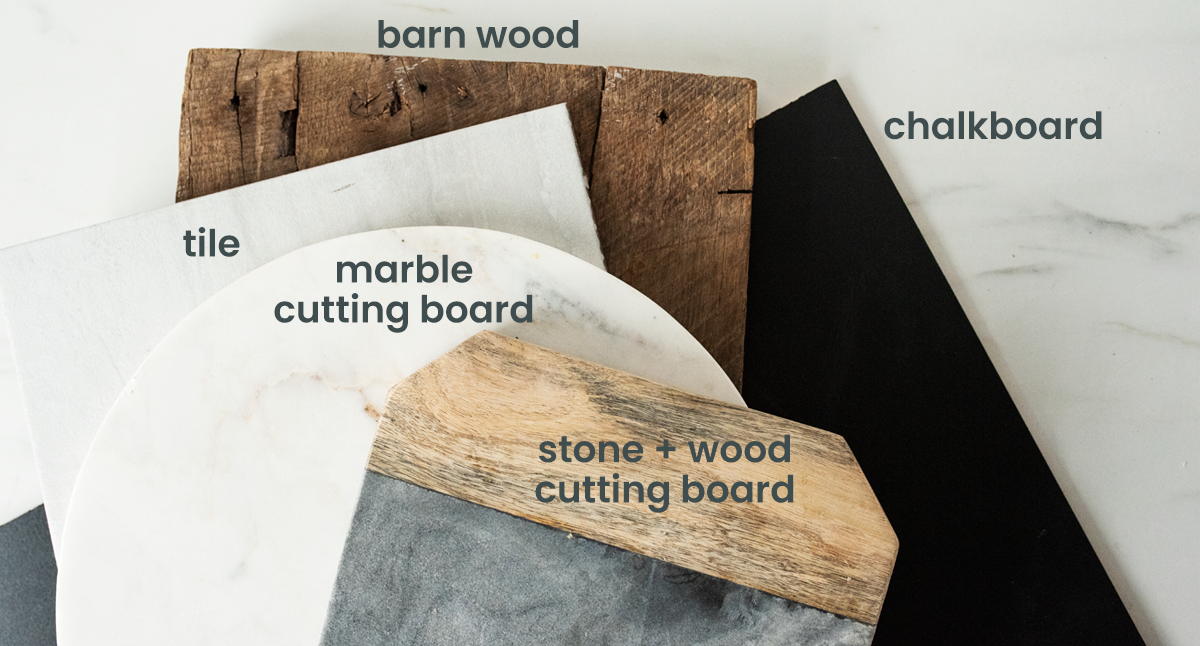
Be creative in your thinking. There are so many items that will serve as great backdrops and surfaces so try to think of them through a camera lens. Here are few items to get you started:
- Foam board or posterboard
- Large tiles
- Cutting boards
- Scraps of countertops
- Wooden decor items
- Large pieces of paper or paper rolls
There are great websites to order from as well Amazon and Etsy both offer some great options for photographers if you don't know where to start.

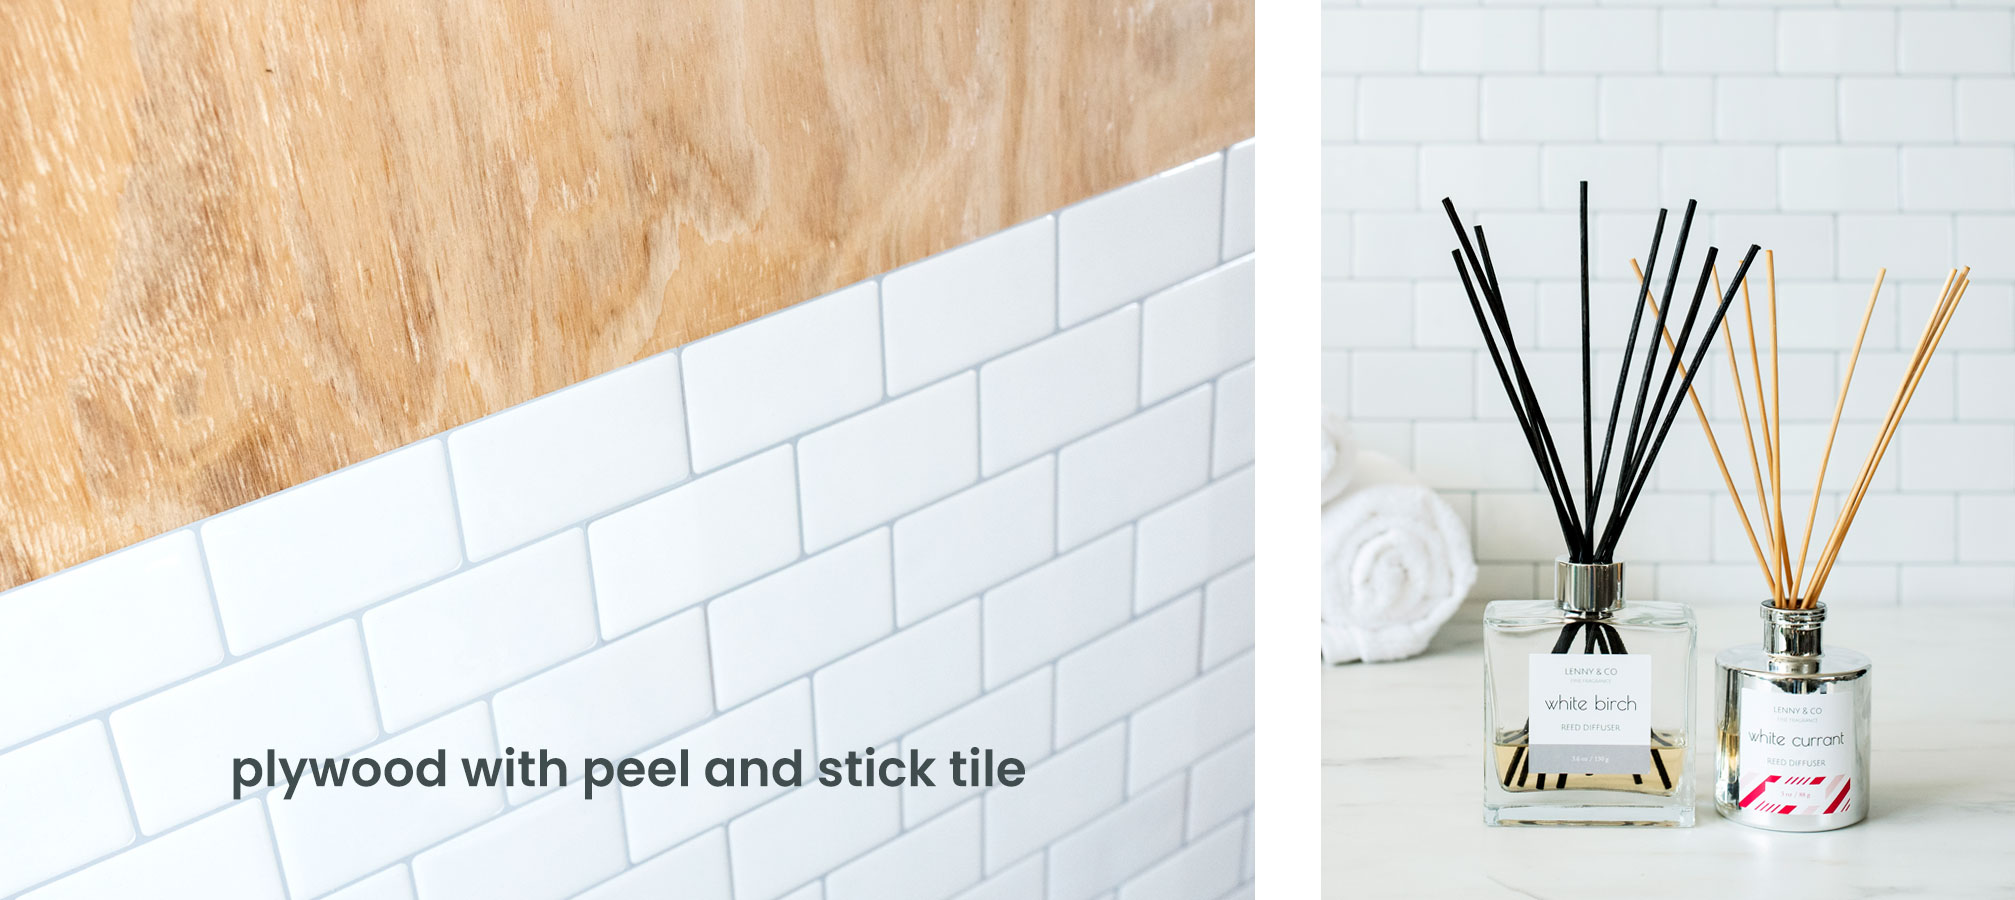
You can attach materials to a board or paint it with specialty paints like a chalkboard or textured paints. These are easy to store and are budget-friendly.
We used peel and stick tile for this backdrop to achieve the look on the right.

There are so many different backdrop and surface options and possibitlies to explore. Don't be afraid to try out a lot of combinations until you find the perfect aesthetic for you brand; one that both you and your customers will connect with.
If you loved these photography tips, be sure to check out Product Photography: Natural Light and Product Photography: Focusing and Composing Your Shot for more helpful ways to photograph your products.
Did you get creative with backdrops and surfaces in your product photography?
Show off your product images with the CandleScience community by tagging us @CandleScience and using the #CandleScientist hashtag on Facebook, Twitter, and Instagram. Leave any questions in the comments and we may answer your question in our Stories or in the next Photo Tips!