Start a soap business in 5 basic steps

You are a crafter at heart. Whether candle making is a new or long-loved hobby, a side hustle, or a full-time business, it’s never too late (or too early) to add soap making to your crafting wheelhouse. Melt and pour soap products are an excellent option if you’re interested in starting a soap business or adding soap products to your existing candle line. The melt and pour soap making process is easy to learn with a relatively low initial investment. If you already sell candles, it’s a simple way to expand your product line, reach more customers, and increase sales.
Step 1: Familiarize yourself with soap making
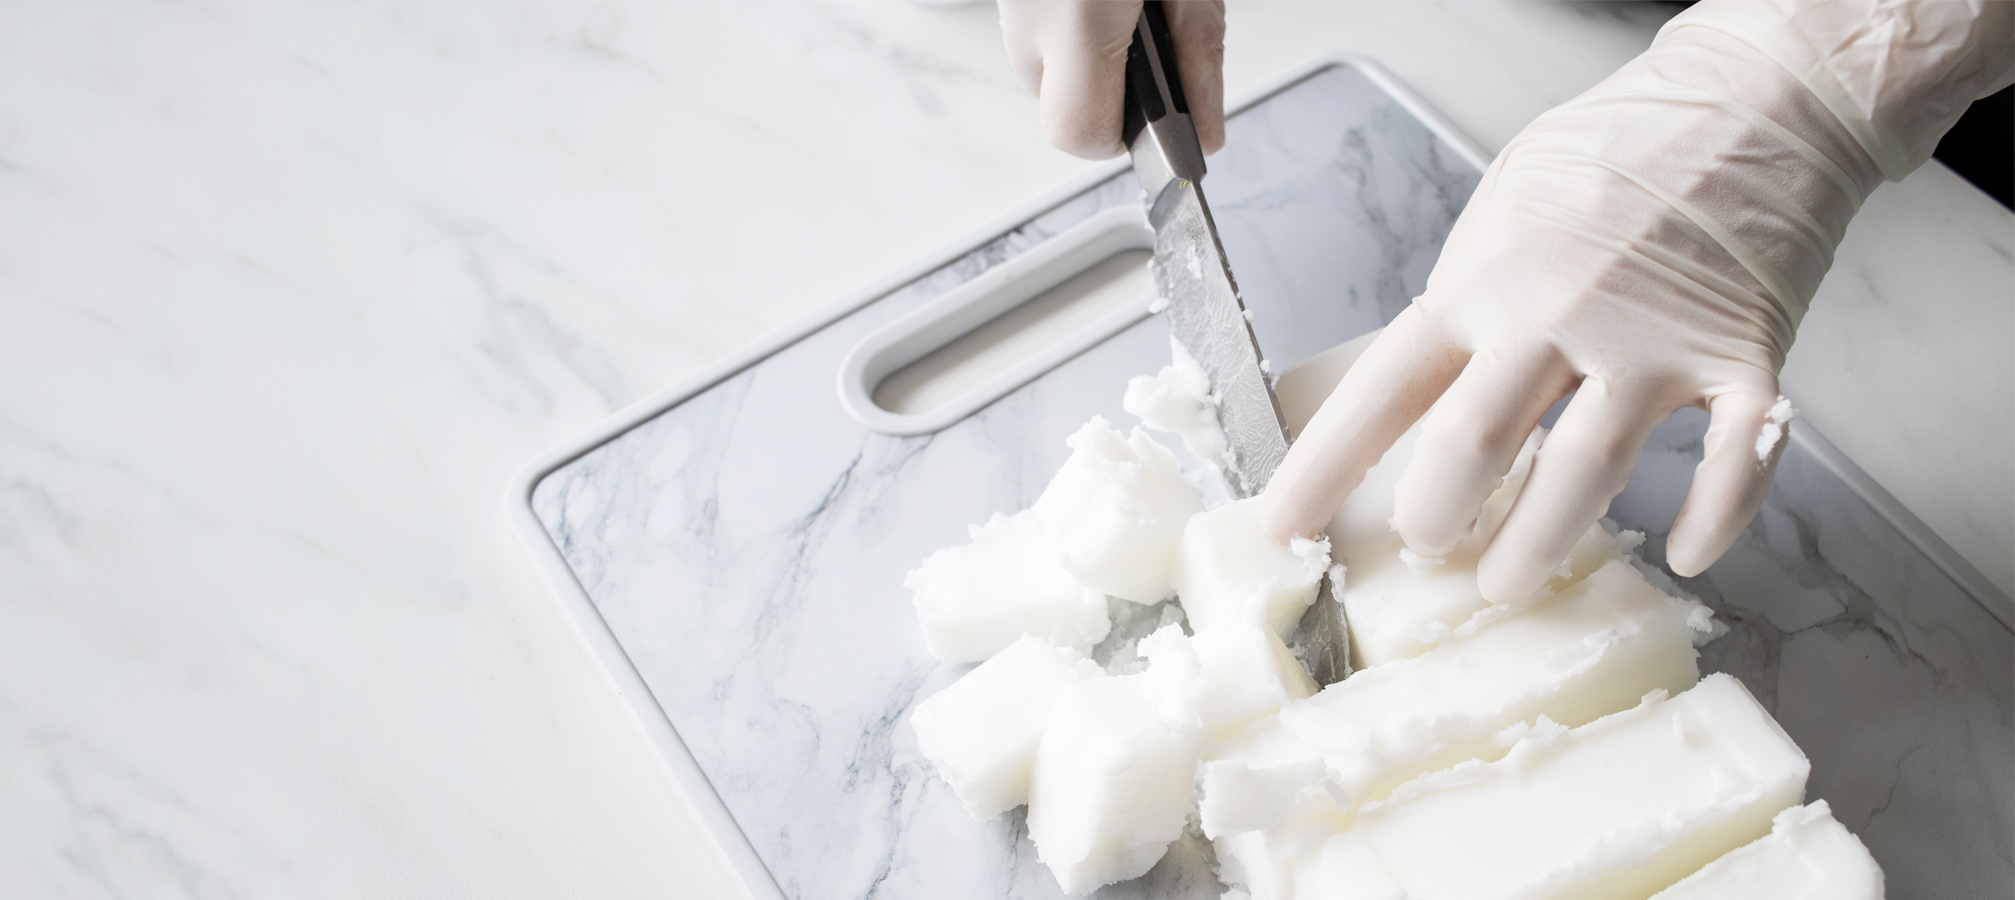
Take the time to really learn the melt and pour soap making process. We recommend starting with melt and pour soap because the process is pretty simple, but you should feel very comfortable with the process from beginning to end. The more comfortable you are, the easier it will be to streamline your workflow for efficiency; it will also help you troubleshoot more quickly if you run into results that vary or turn out differently than expected.
The Melt and Pour Soap Making for Beginners tutorial will help you get started:
What you need:
- Soap molds
- Melt and pour soap base
- Fragrance oil
- Soap dyes
- Microwave safe pouring pitcher
- Spatula
- Kitchen scale
- Soap cutter or sharp knife
Once you have the hang of it, it’s time to get inspired. We have a few fun project ideas to get your creativity flowing.
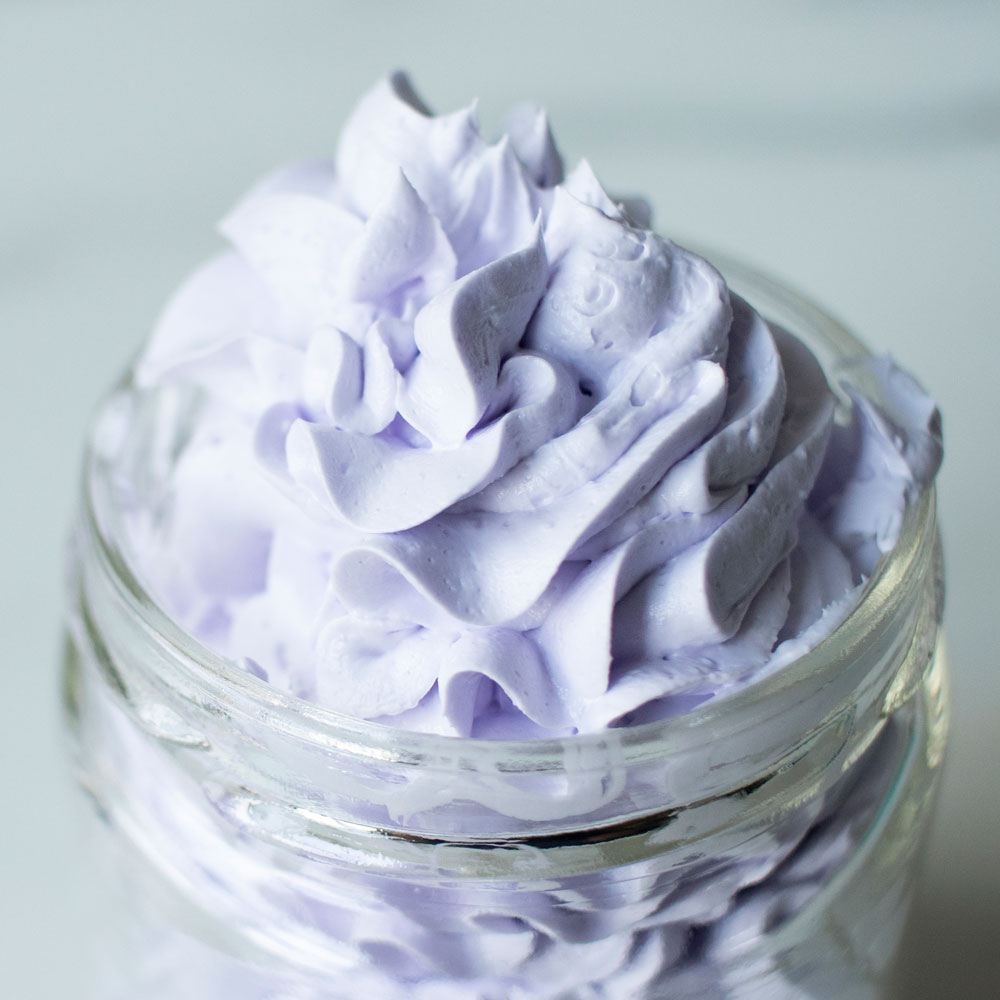
Make it: whipped bath soaps
Easy to customize and super fun to make, whipped bath soaps are an ultra luxurious addition to any product line or personal care collection.
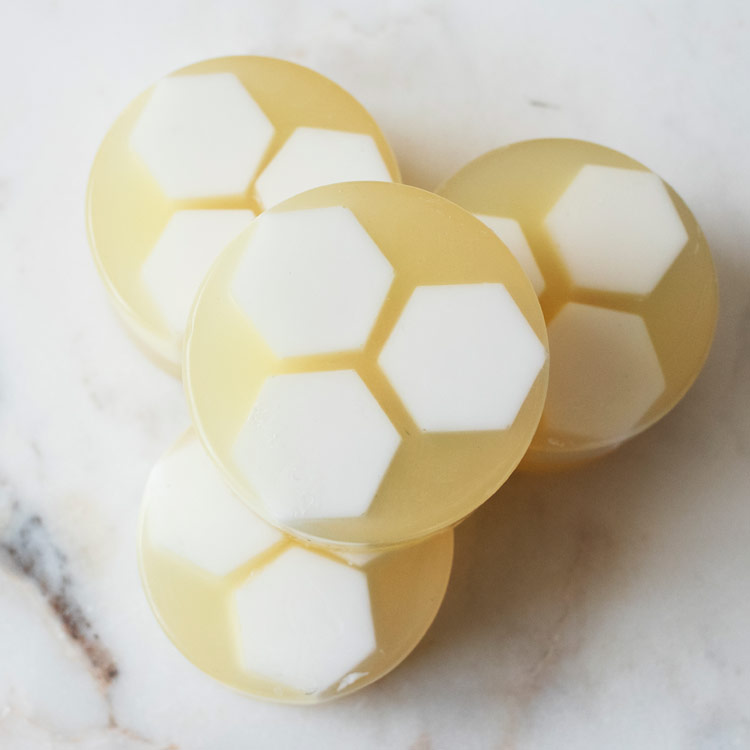
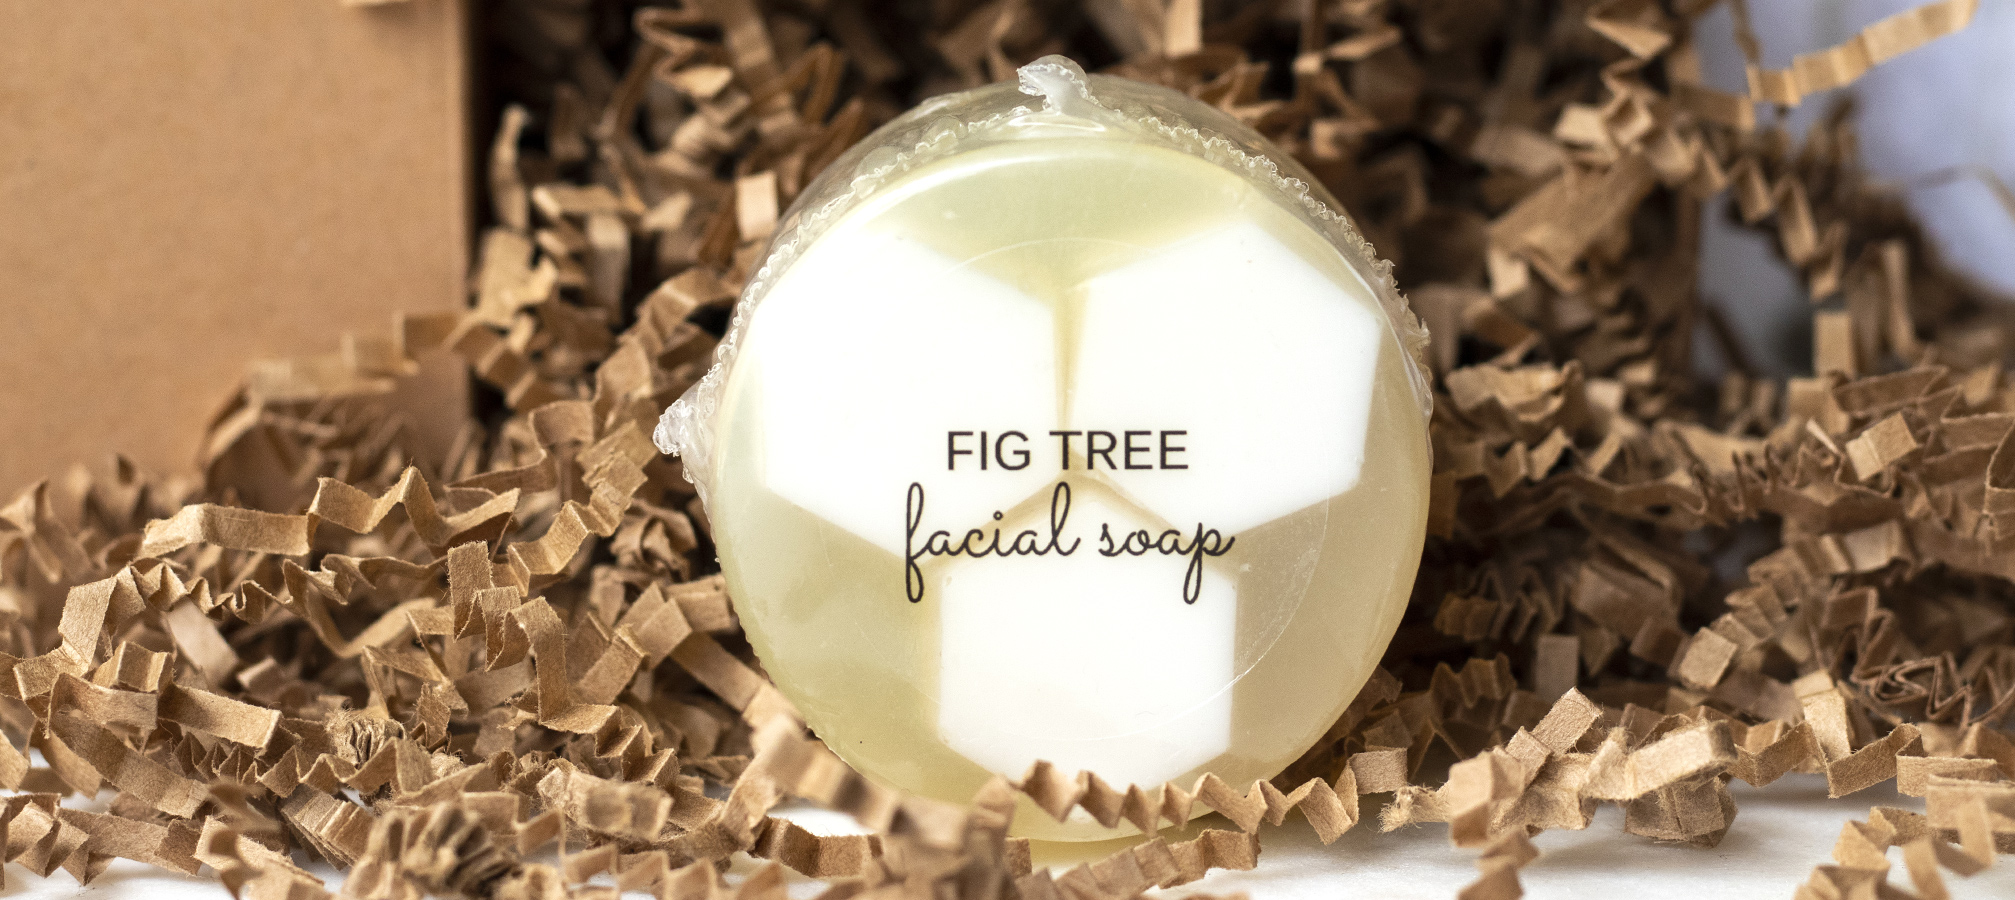
Make it: honeycomb facial soap
Made with two nourishing soap bases, these soaps are a great project for beginners or anyone who wants to explore additional melt and pour techniques.
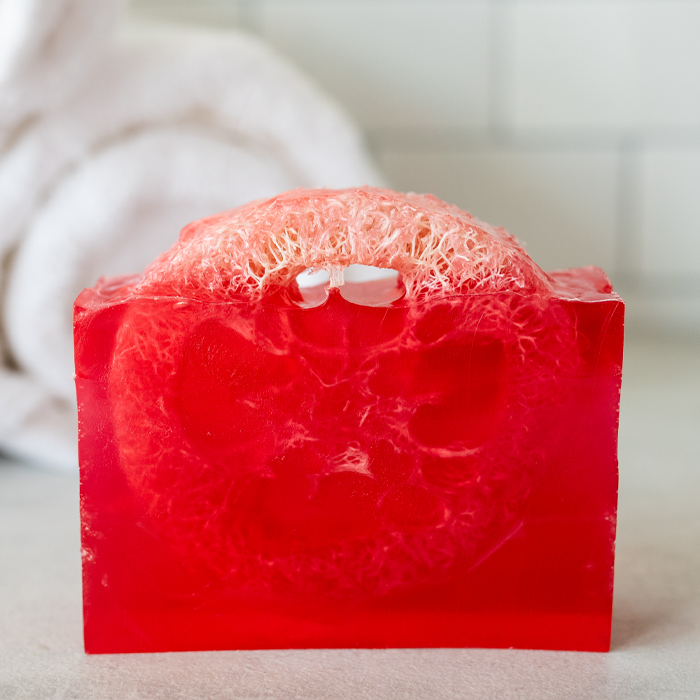
Make it: loofah soap bars
Luxurious loofah soaps provide the benefits of exfoliation to the skin, with the added aesthetics of the natural loofah sponge.
Find inspiration
Don’t let your inspiration stop here! Check out Pinterest, Instagram, and join Facebook groups to see what others are making. Let their projects be a catalyst for your creativity.
Look beyond just the soap aesthetics and do a little research. Take notes and create inspiration boards on packaging you’re drawn to, how other businesses are presenting their soap, the fragrances they're using, etc.
Step 2: Develop a product line
Now that you have a handle on melt and pour soap making and have done your research, it’s time to develop your own product line. Gather your notes and inspiration boards and start creating. Keep in mind who your target audience is as you go; you want to make sure you’re making a soap product that they will be eager to purchase.
Order supplies and samples
Start testing and craft your ideas into actual products. It’s a good time to test different soap bases, fragrance oils, silicone molds, and work out any issues you might encounter. Don’t be afraid to try different variations of your ideas to see what you like best. Take notes so you can reference adjustments you make and what did and didn’t work.
Keep sanitation in mind
As you are developing make sure you keep in mind the actual process of soap making. There are sanitary practices you need to follow, called good manufacturing practices (GMP). It’s a good idea to educate yourself on these practices so you can work them into your process from the beginning. The FDA lays out GMP here: Good Manufacturing Practices (GMP) Guidelines/Inspections Checklist for Cosmetics
This book by Marie Gale is a good read on the topic: Good Manufacturing Practices for Soap and Cosmetic Handcrafters by Marie Gale
Step 3: Design your packaging
Keep your packaging simple. It should reflect the aesthetic you’ve created for your brand to maintain a cohesive look. Melt and pour soap does need to be packaged to keep out moisture; use plastic wrap, shrink wrap, or cellophane bags. Packaging also protects your soap product, so think about how and where you’ll be selling your soaps. Soaps that will be shipped may require more protective packaging.
Labels
Labeling requirements are pretty strict for bath and body products. You'll need to include items like product ingredients, product weight, and business information. Visit the FDA's page on Regulations Related to Cosmetics to educate yourself on these requirements as you design your labels. Note: melt and pour soap is considered a “cosmetic”.
This book simplifies some of the FDA regulations and makes them easier to understand: Soap and Cosmetic Labeling by Marie Gale.
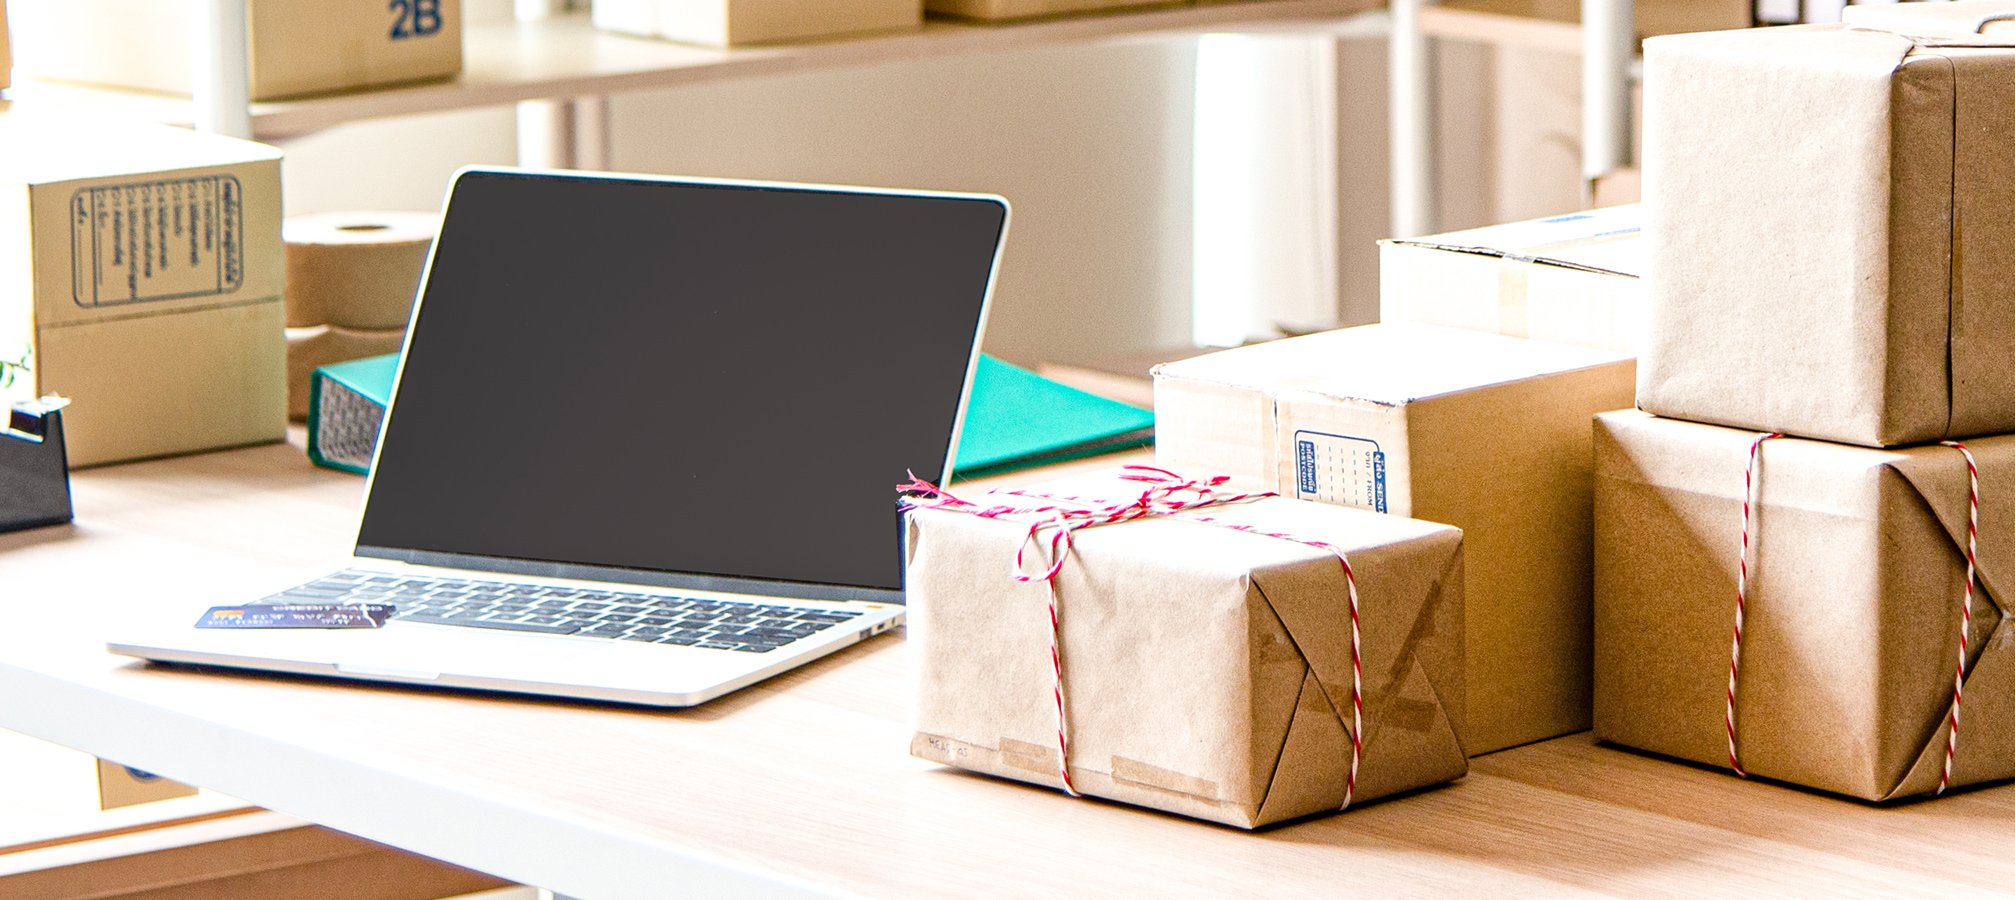
Step 4: Decide how and where to sell
If you already have a candle business, incorporate your soap products into your normal sales channels. If you are new, put some thought into how and where you want to sell.
There are different avenues for selling your melt and pour soap products. If you're looking to sell person to person, consider places like local shops or craft shows. These don't have to be your exclusive selling avenues; it's not a bad idea to diversify where you're selling.
As more people are turning to online shopping, setting up an online store or listing your products on sites like Etsy is highly recommended. Check out Selling Online: Tips and Resources to Get Started to help you decide what platform fits your business needs most.
Step 5: Start selling your soap!
It's time to open your business and start selling your soap! Get your name out there by telling friends and family about your new soap business and promote it through social media. One sale could lead to many.
Don't be afraid to ask close friends and family for feedback so that you can continue to improve. Remember that running a business can be a learning process; what might work for one business, might not work for yours. It's ok to make adjustments if something isn't working. Stay positive and happy selling!