
How to Make a Cloud Candle
In this easy step-by-step tutorial, we’ll show you how to make cloud candles—perfect for adding a whimsical touch to any space. Whether you’re making them to gift, sell, or simply enjoy at home, they’re as fun to create as they are to burn. This versatile technique lets you experiment with different skyscapes, from moody storm clouds to warm, sunset-inspired hues.
Pair your creations with fresh, airy scents like Baltic Dew, Rain Water, or Ocean Breeze for a clean, ozonic experience.
EO Notes: You can also use candle-approved essential oils for this project. Check the recommended usage percentage on the essential oil product page and start with low percentages.
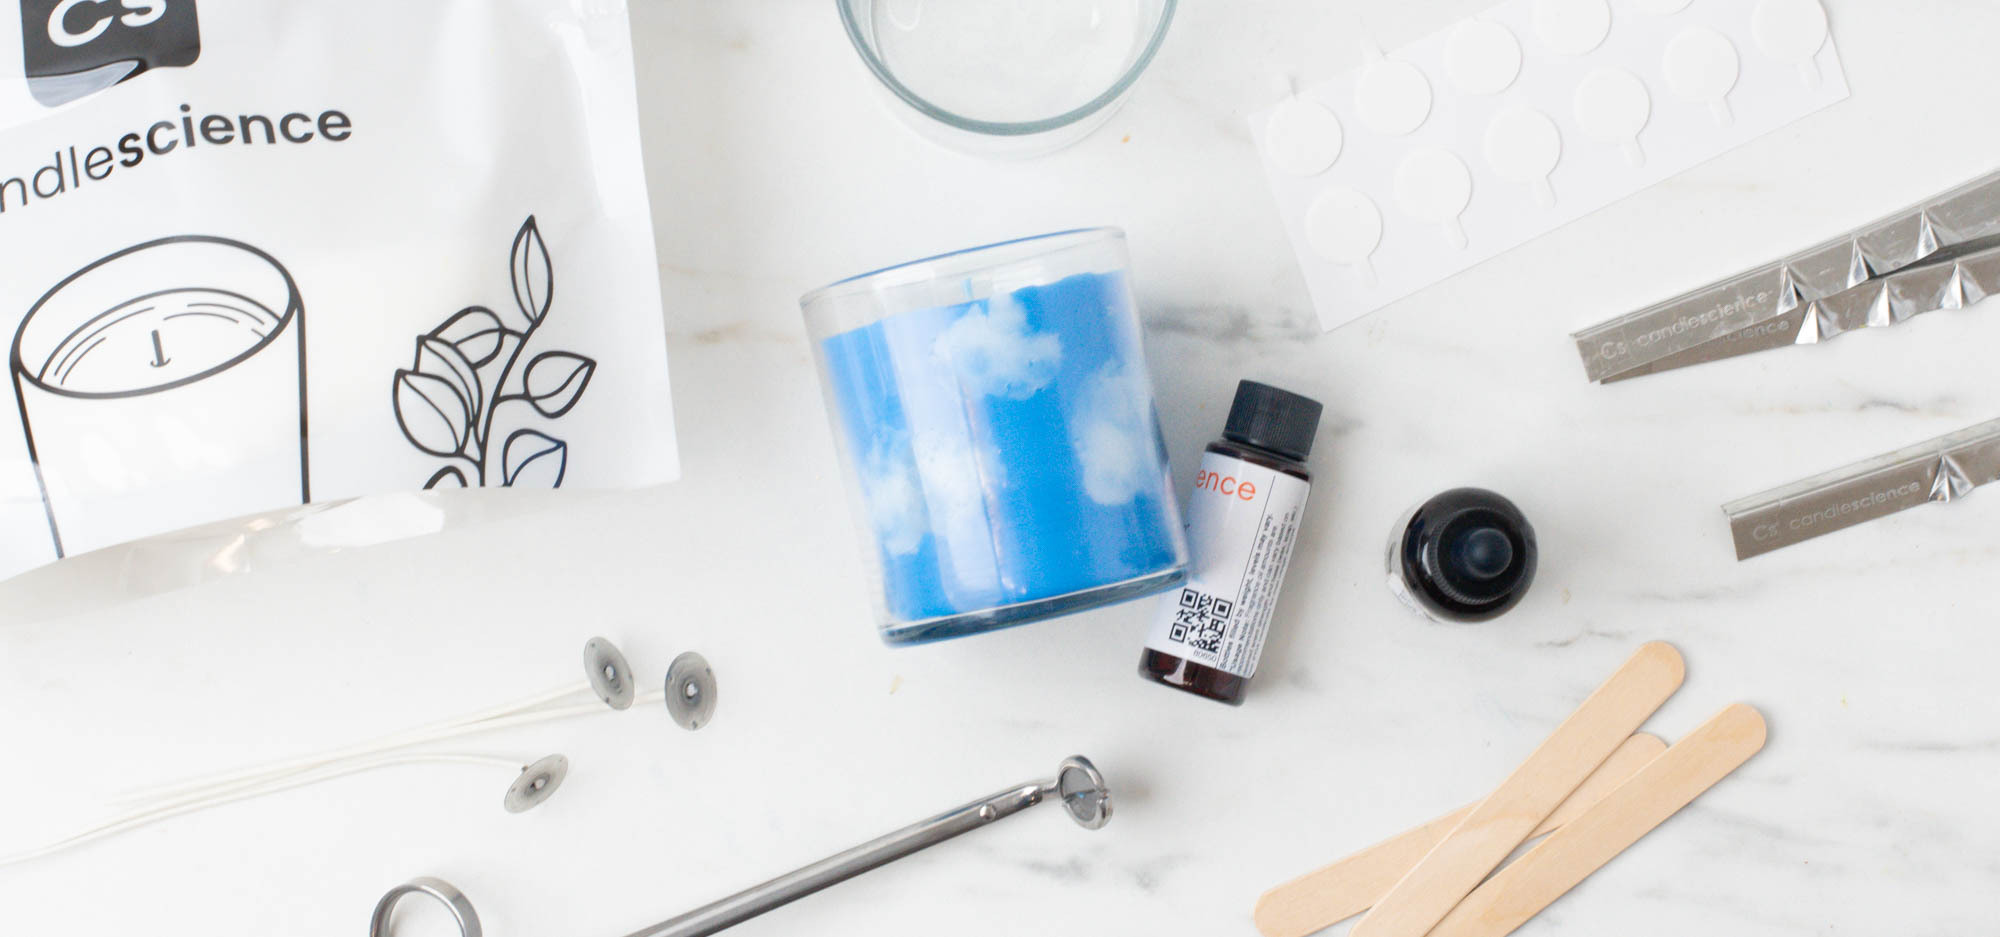
Additional items needed:
- Paper towels
- Isopropyl alcohol for cleanup
- Scissors or wick trimmer
- Craft sticks
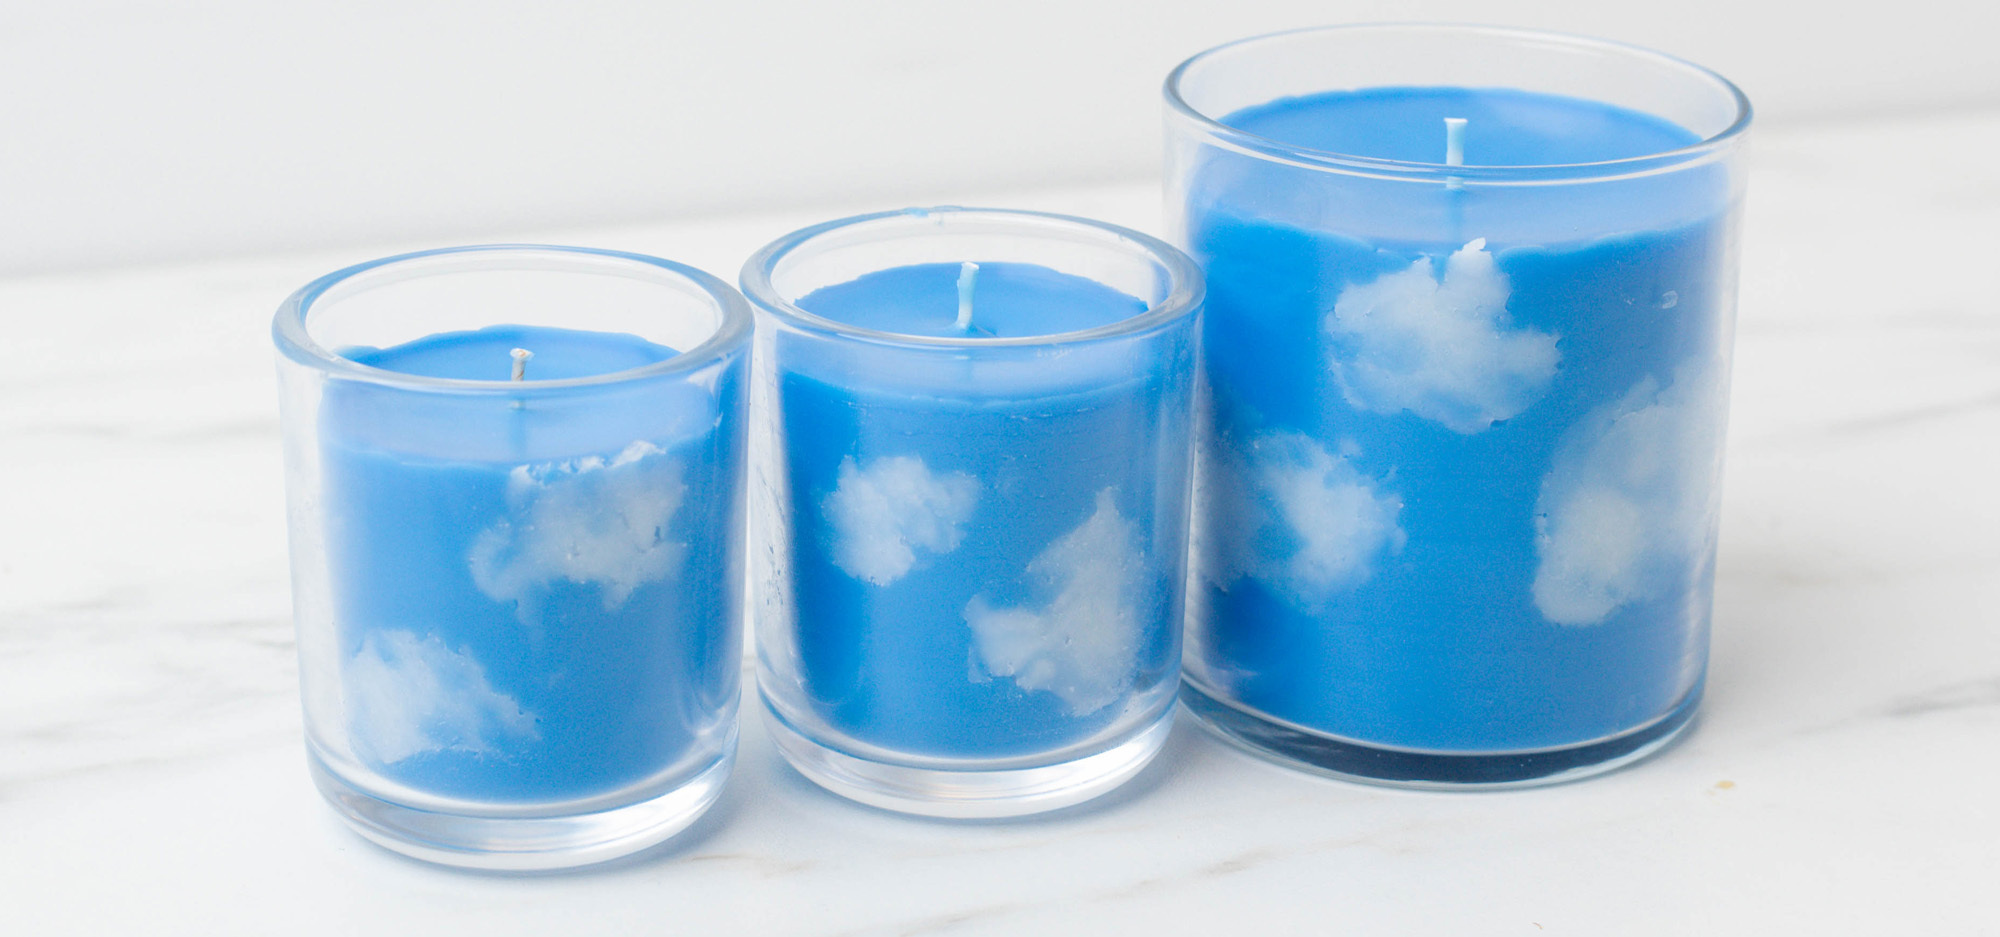
Note: This project will leave you with extra wax when making one candle in the Studio Tumbler Jar. We wicked two Mini Sonoma Tumbler Jars with AL100 wicks and made two mini cloud candles alongside our Studio Tumbler Jar cloud candle.
If you don't want to make extra clouds, you can just pour the extra dyed and fragranced wax you used for the sky into containers of your choice.
Cloud Candle Directions:
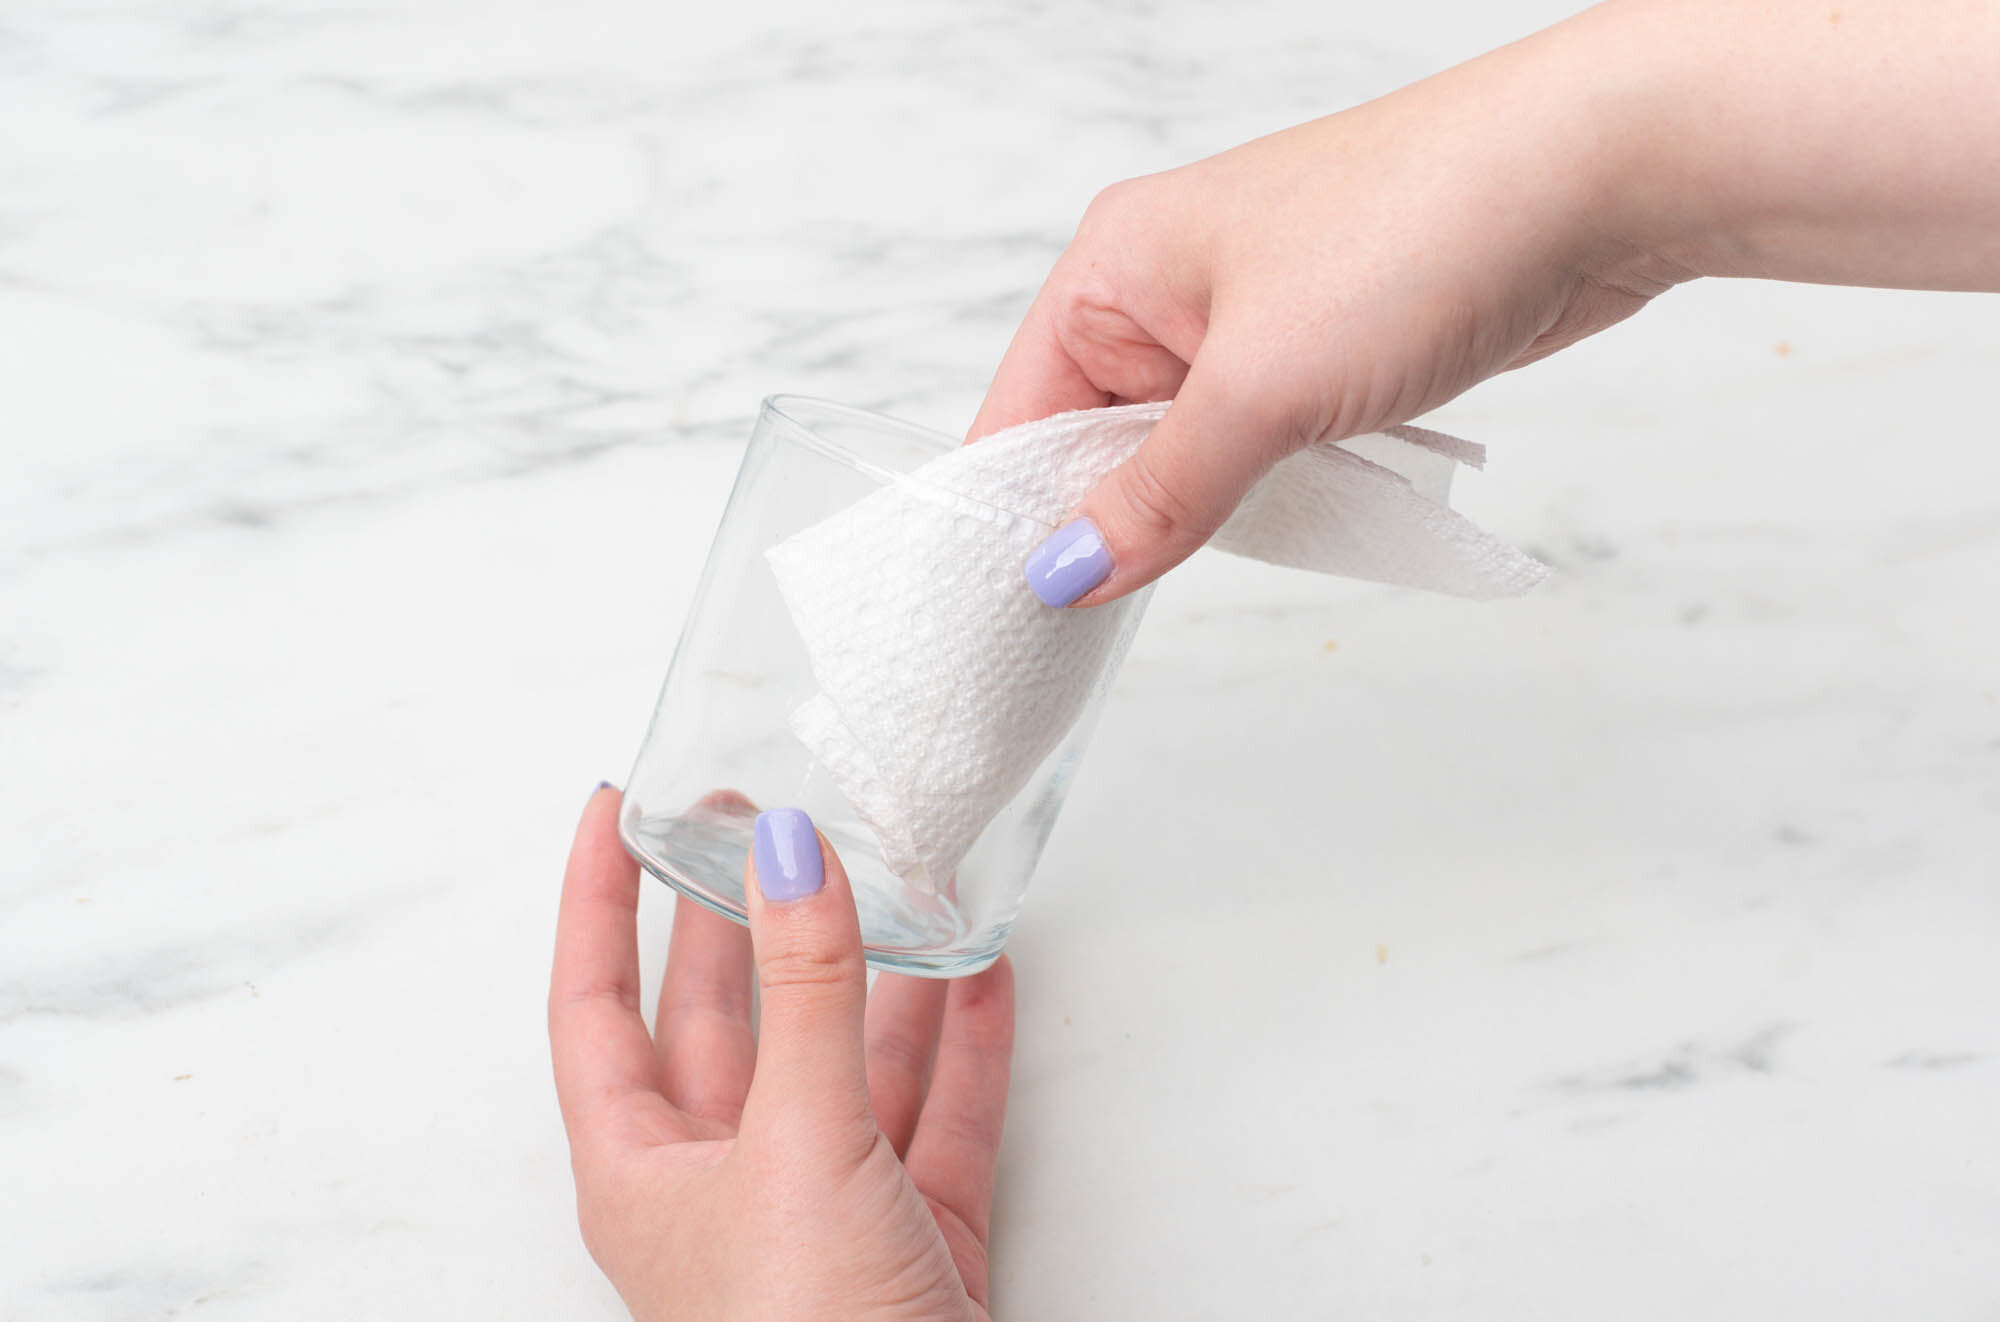
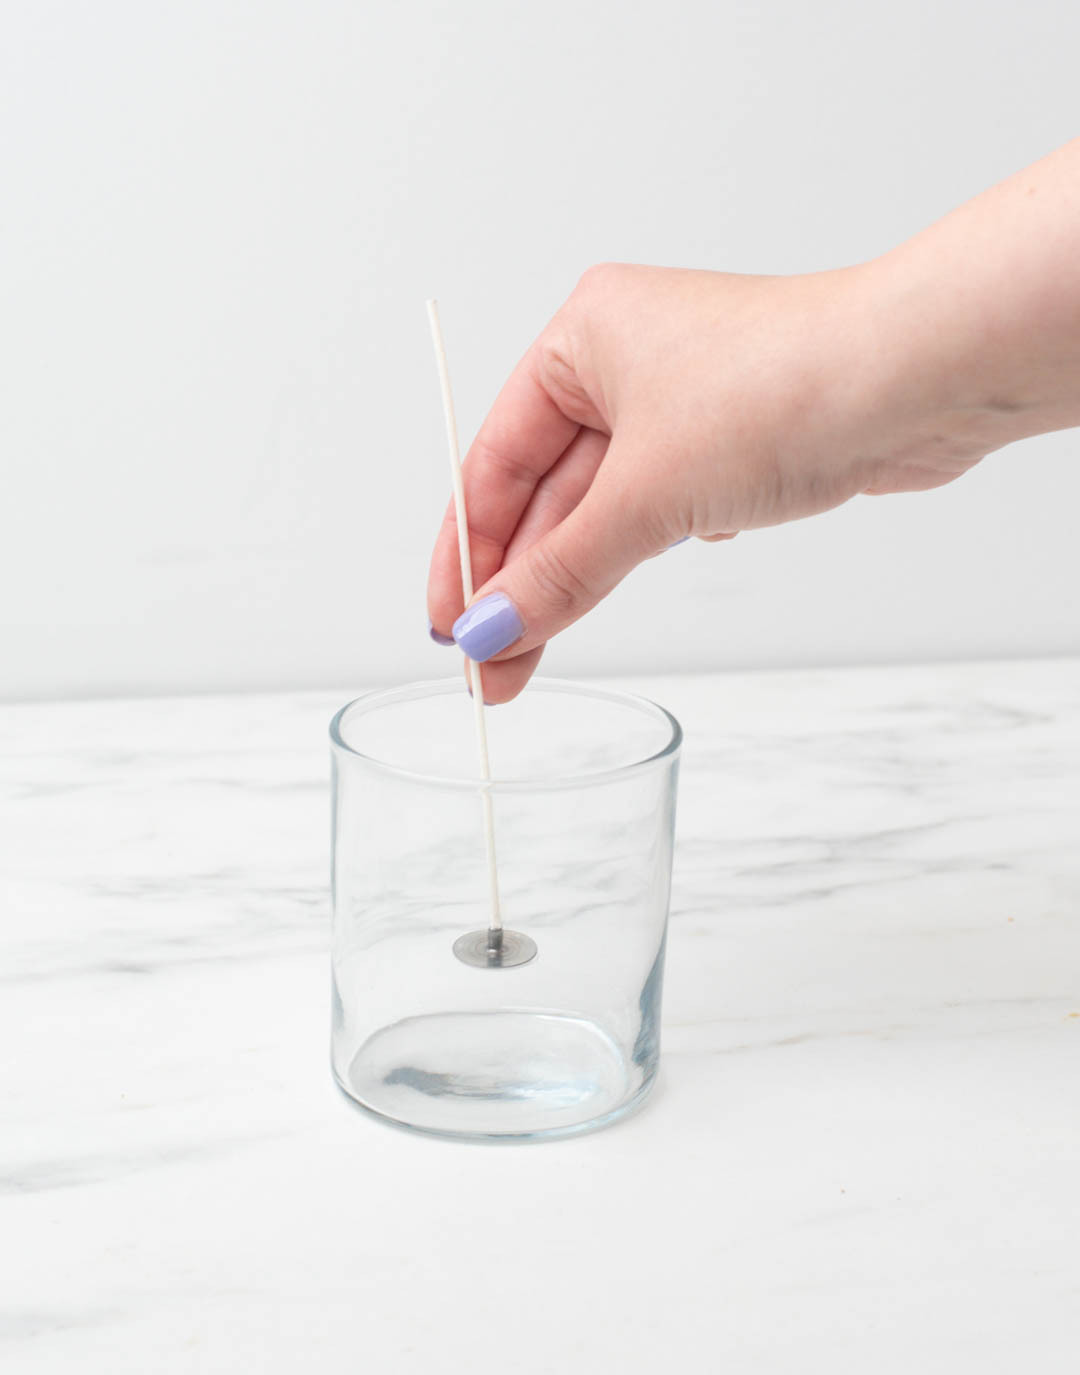
Step 1: Prepare the candle jar
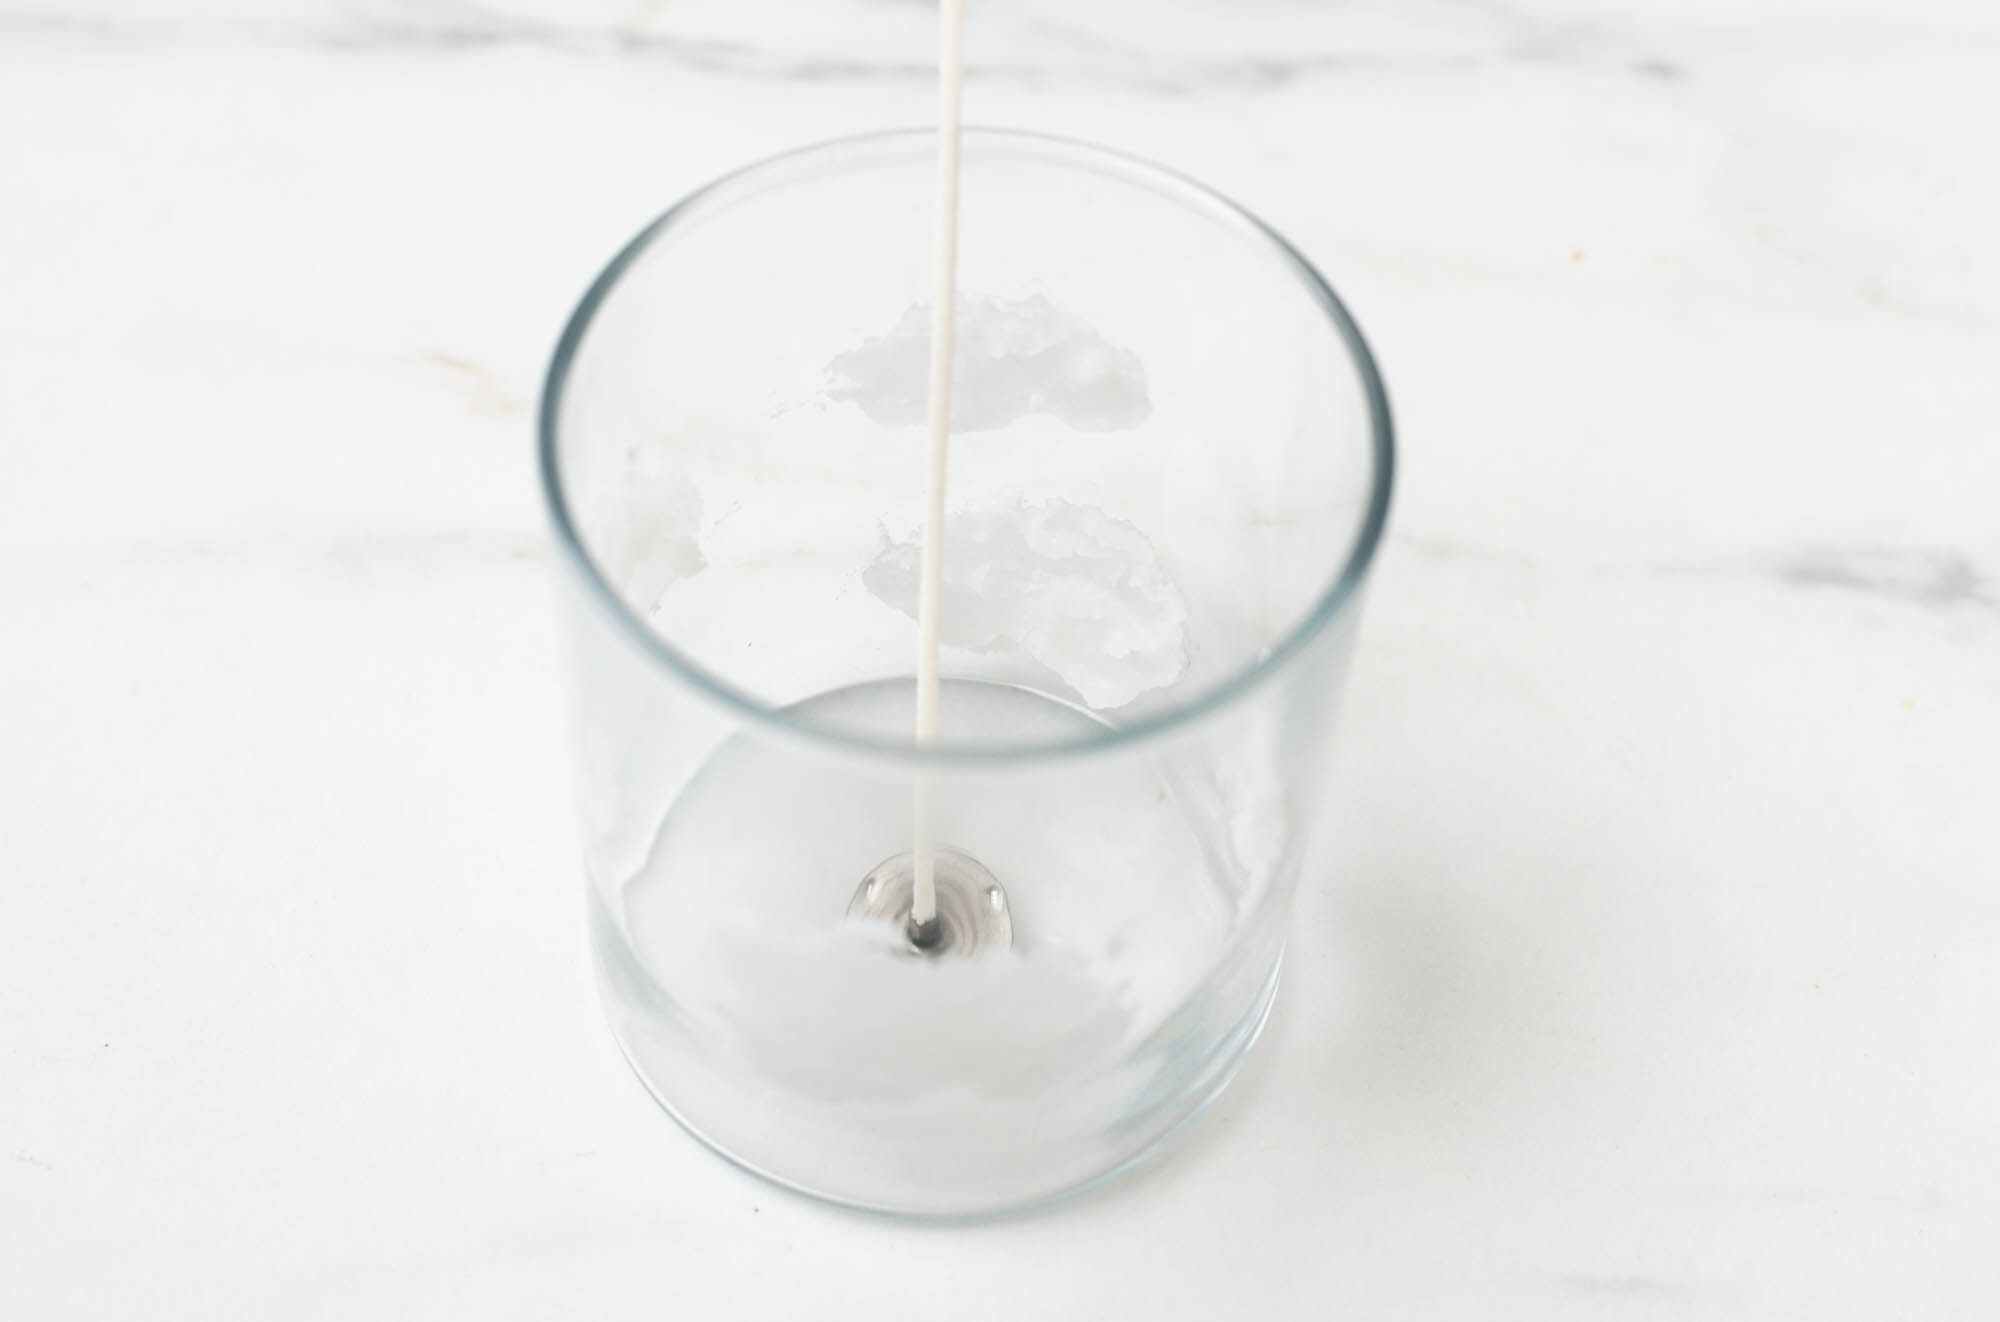
Wipe out your Studio Tumbler Jar with a small amount of isopropyl alcohol and a clean paper towel. Using a wick sticker, center one LX 18 wick in the jar.
Step 2: Melt the wax for the clouds
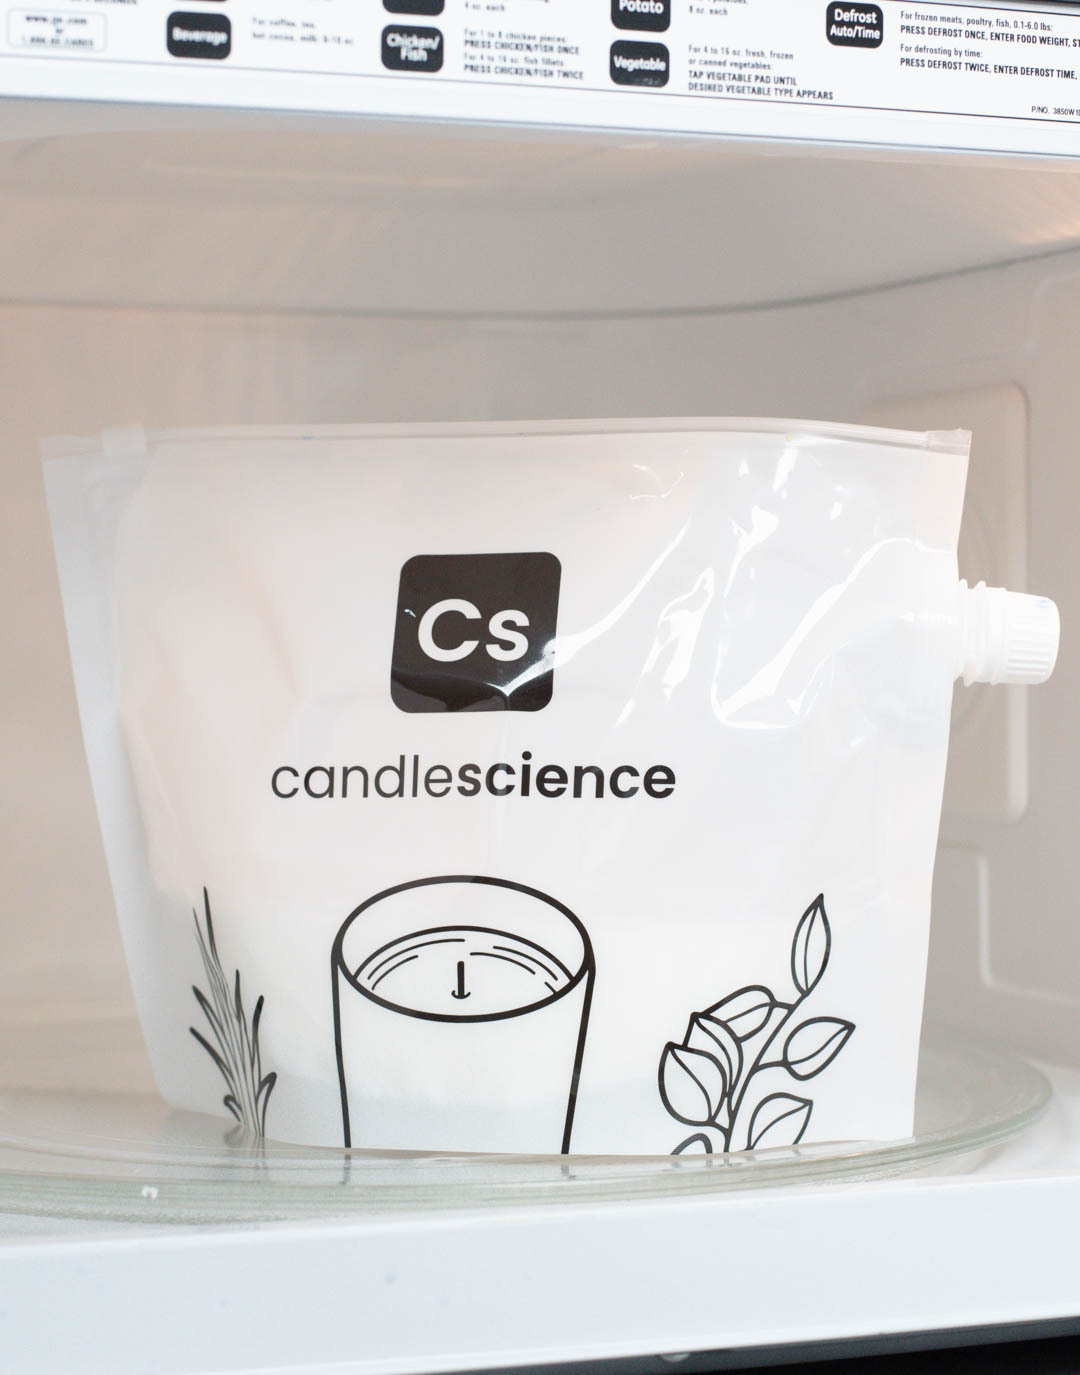
Place the bag of Coconut Apricot Wax into the microwave and follow the instructions printed on the bag.
Note: The bag will be hot when you remove it from the microwave so be sure to use caution when removing.
The size and number of clouds for this project is up to your preference, just make sure you set aside enough so the wax doesn’t cool immediately. We used approximately 1 oz (28.35 g) of the melted wax to create our clouds.
Pour the melted wax into the pouring pitcher and weigh your desired amount.
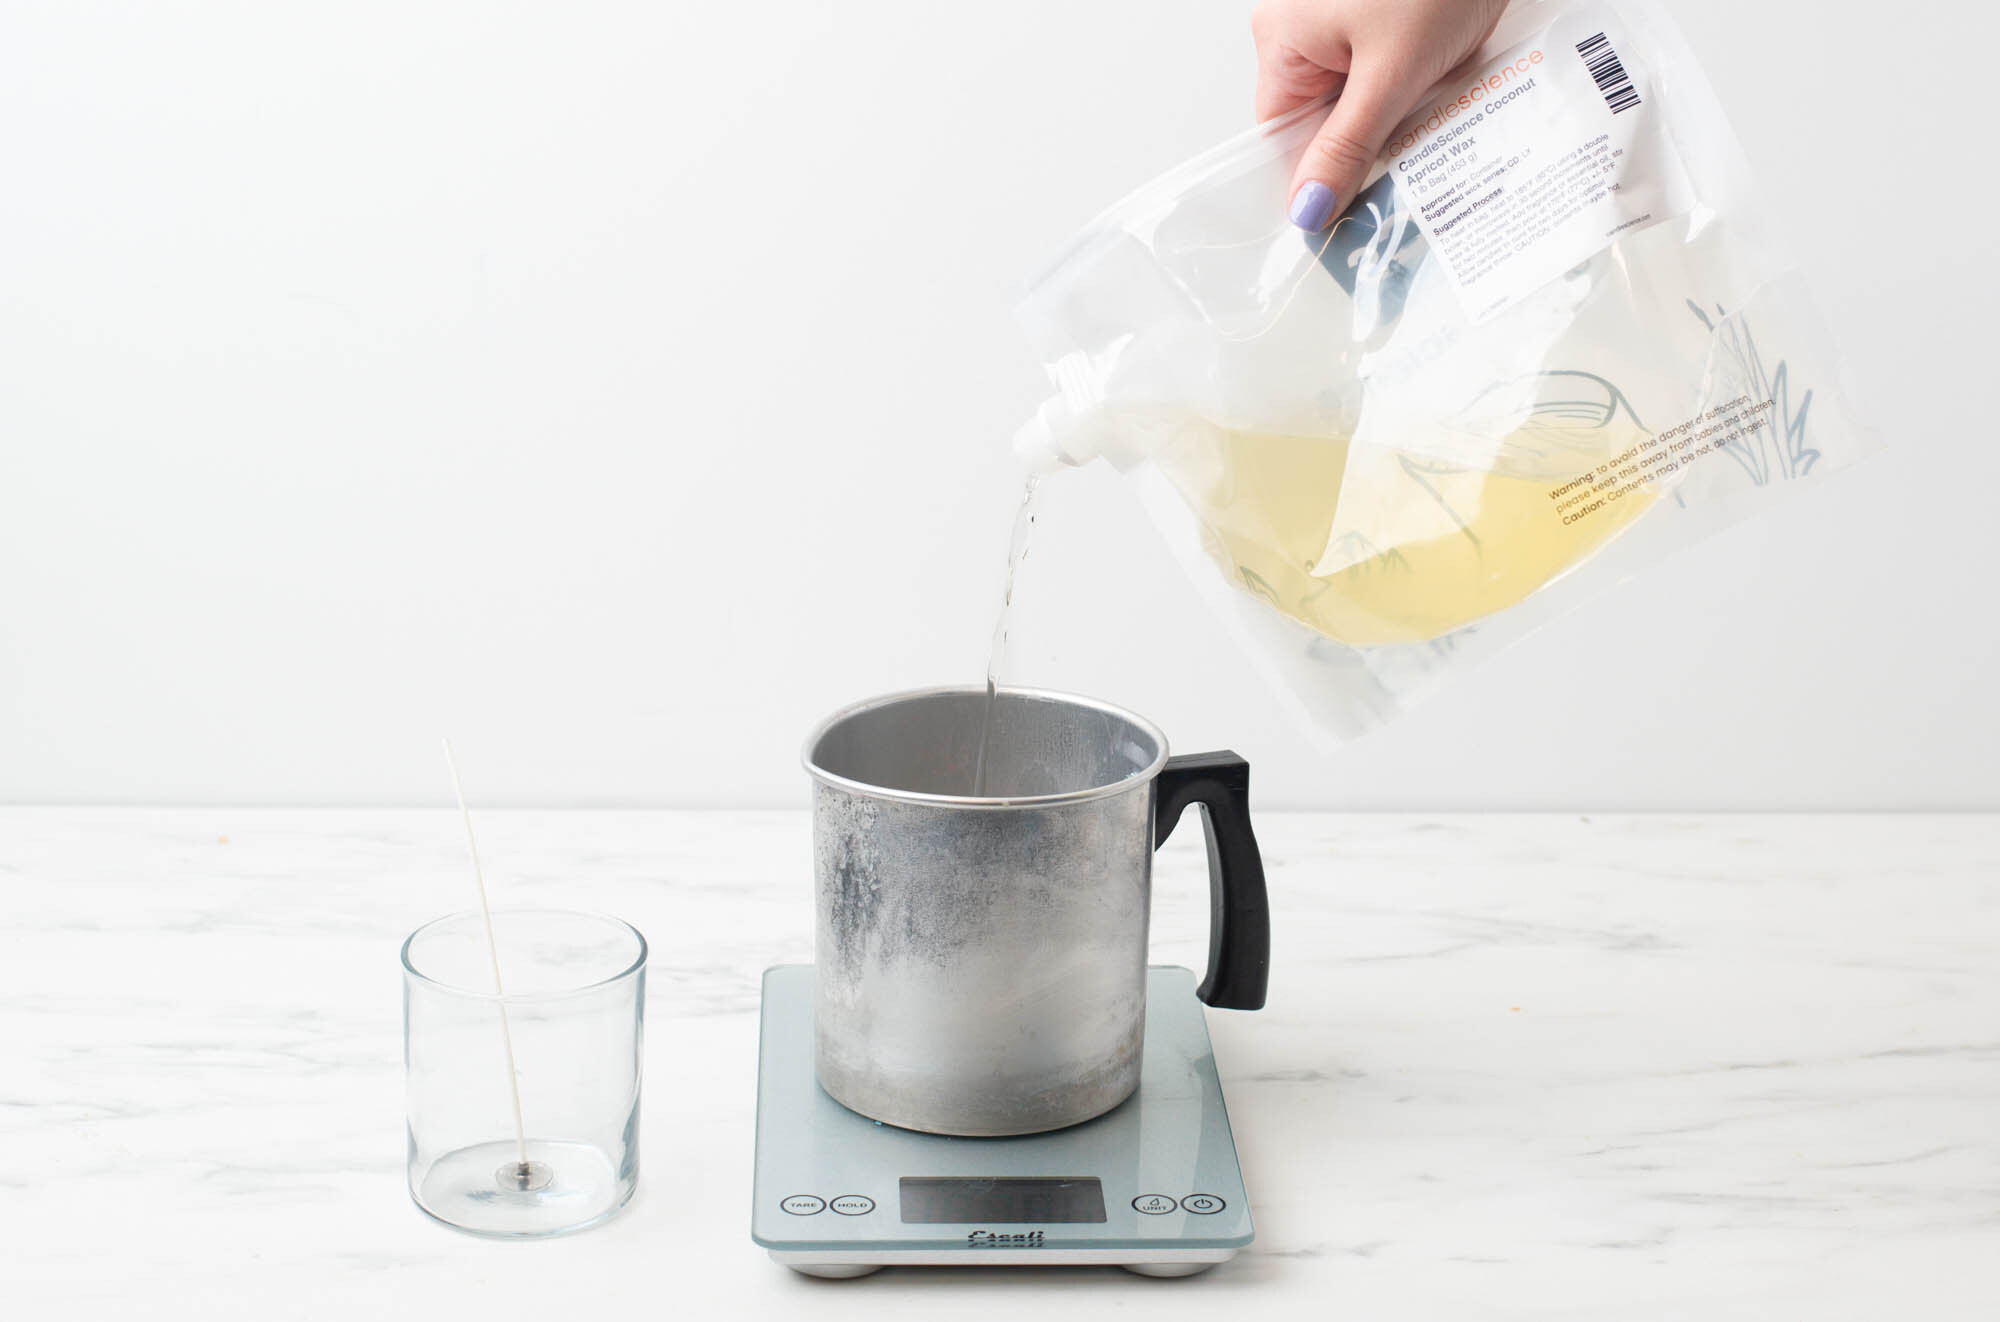
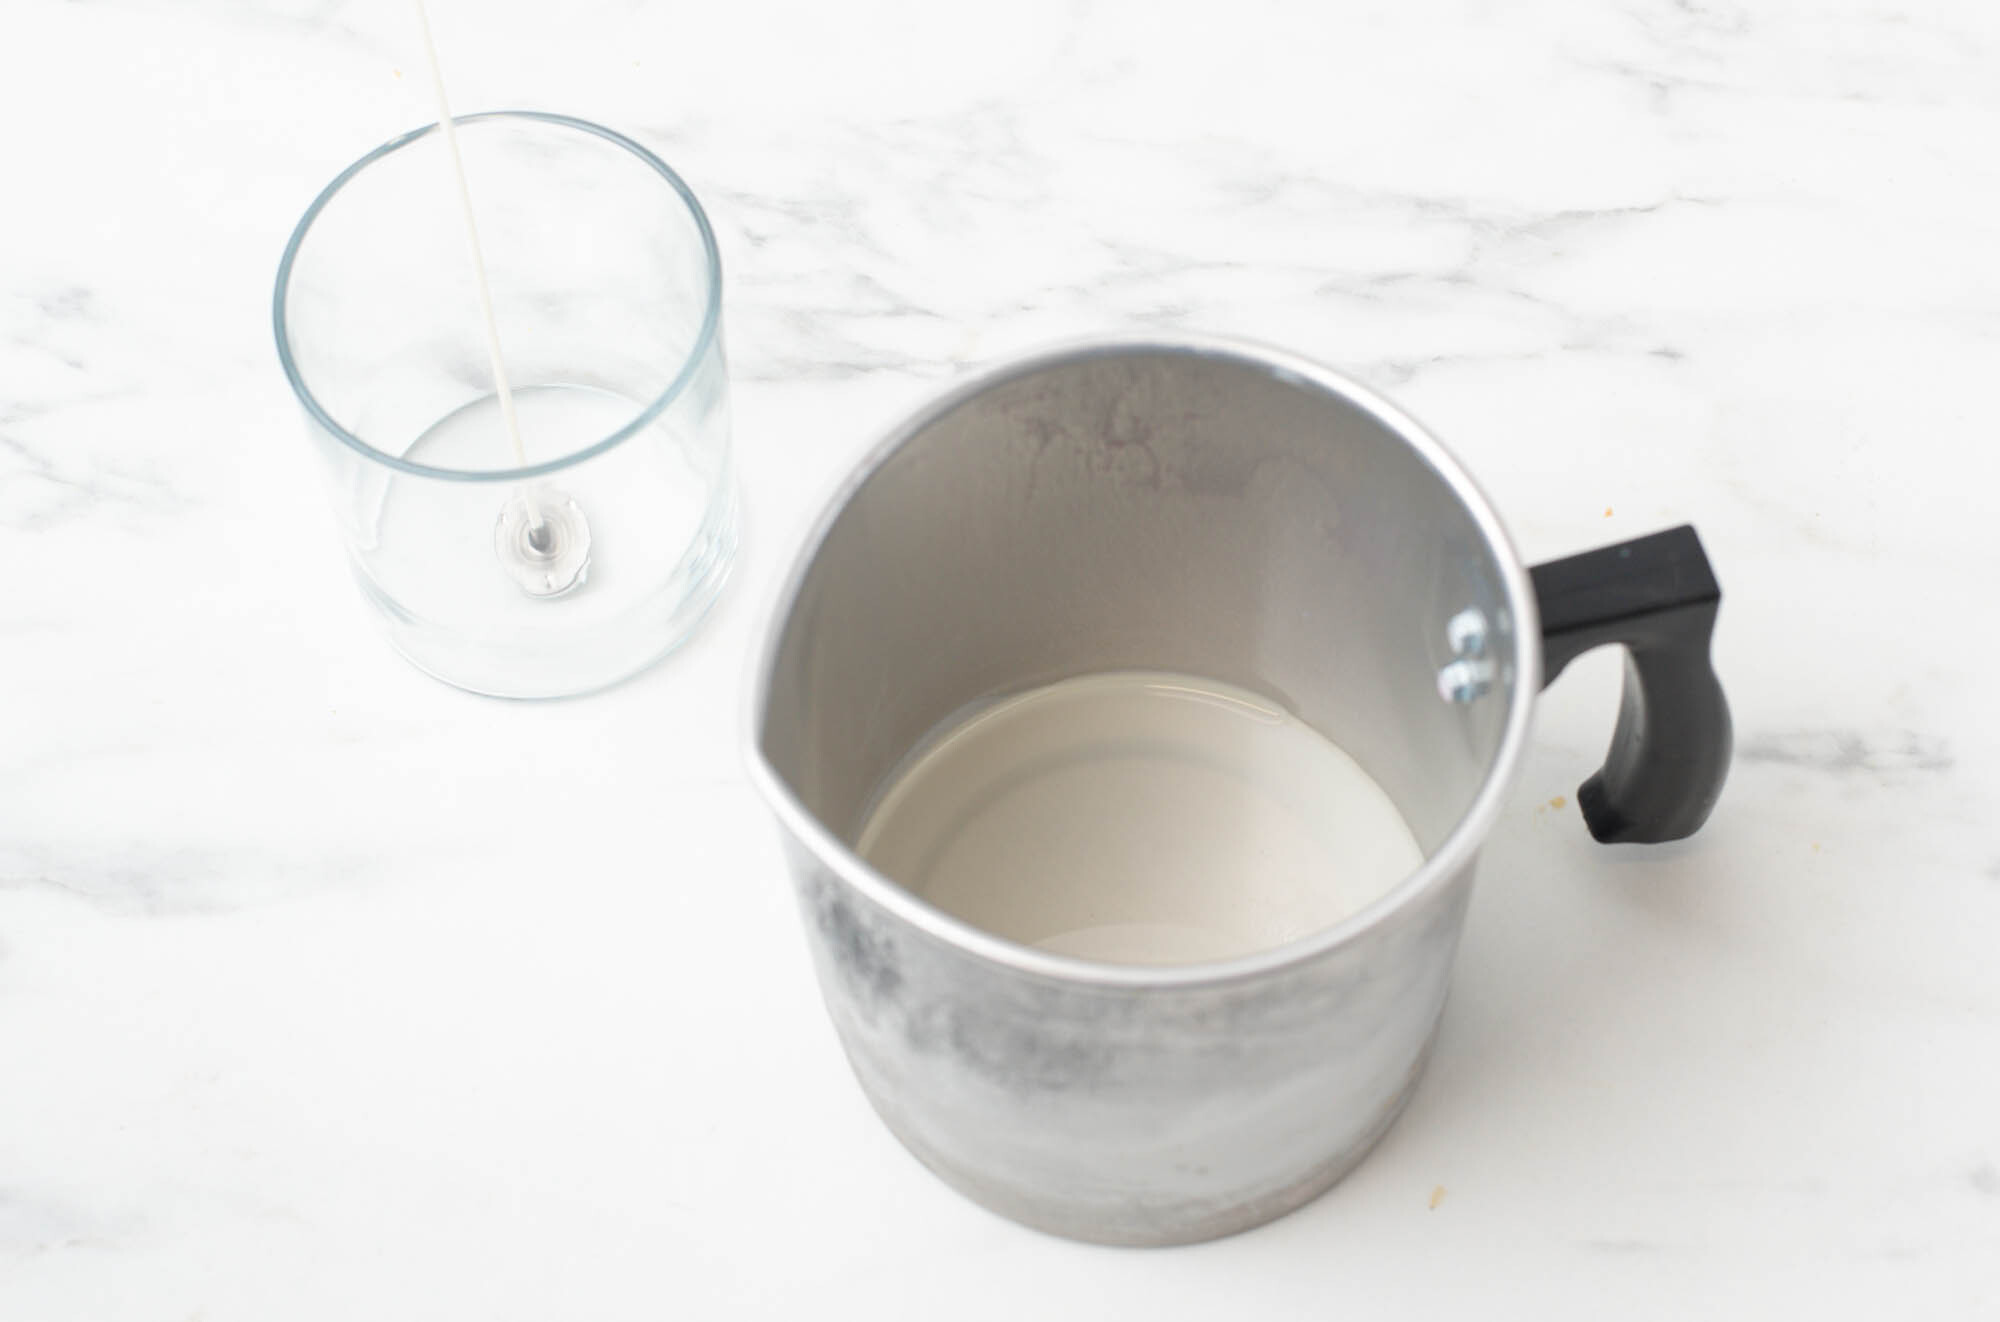
Allow the wax to cool to approximately 120°F (48.9°C), until it reaches a thick consistency.
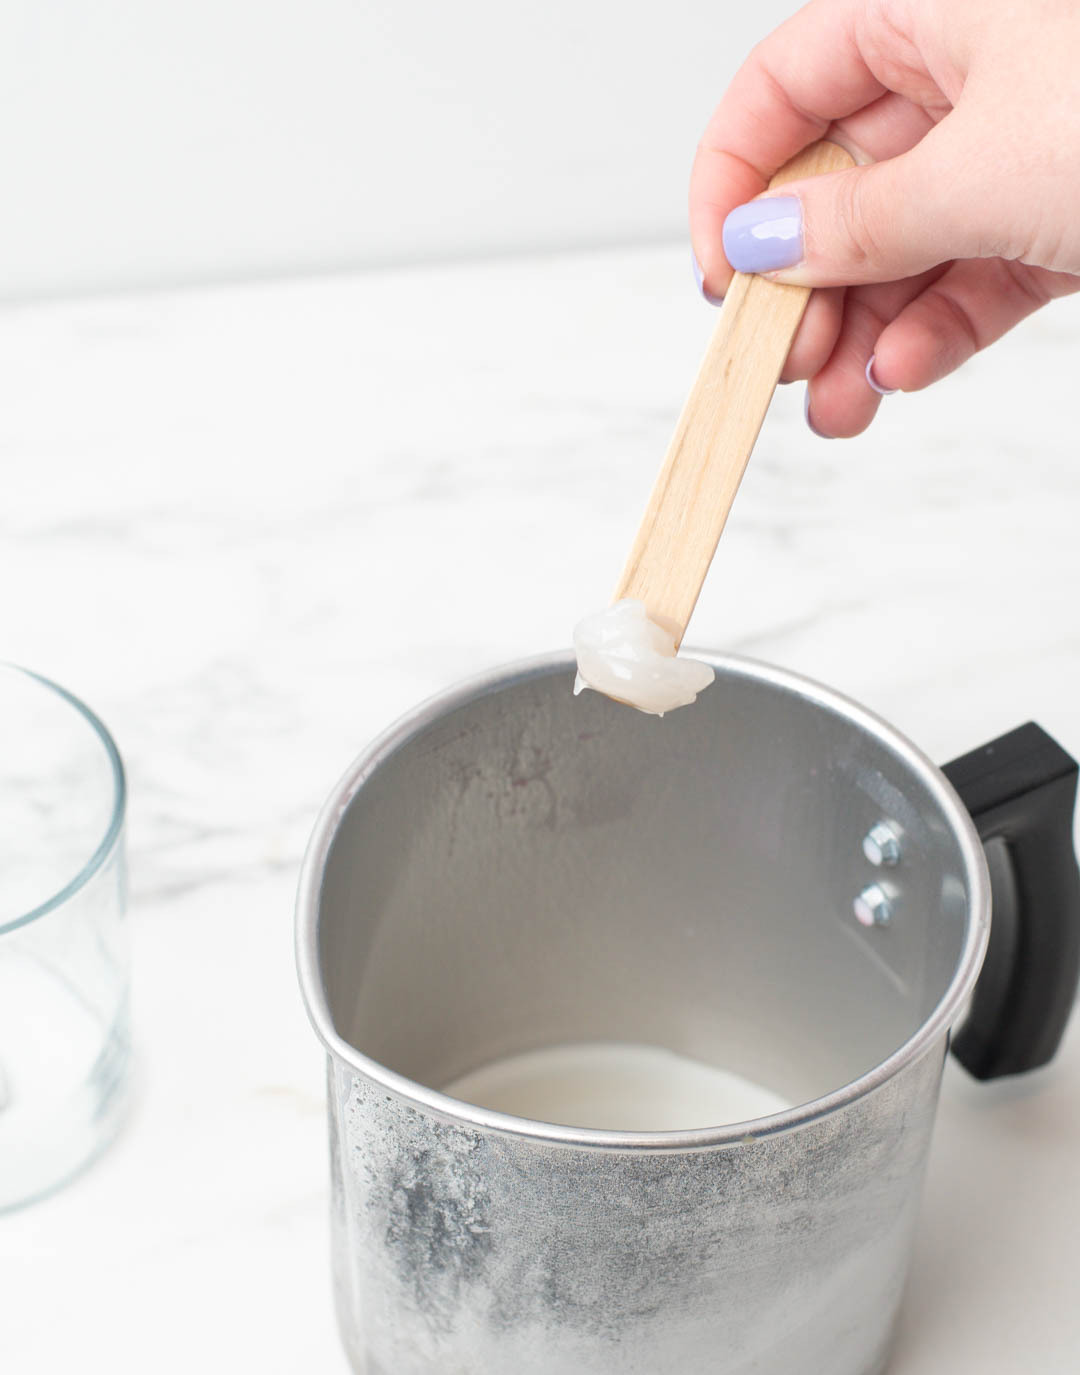
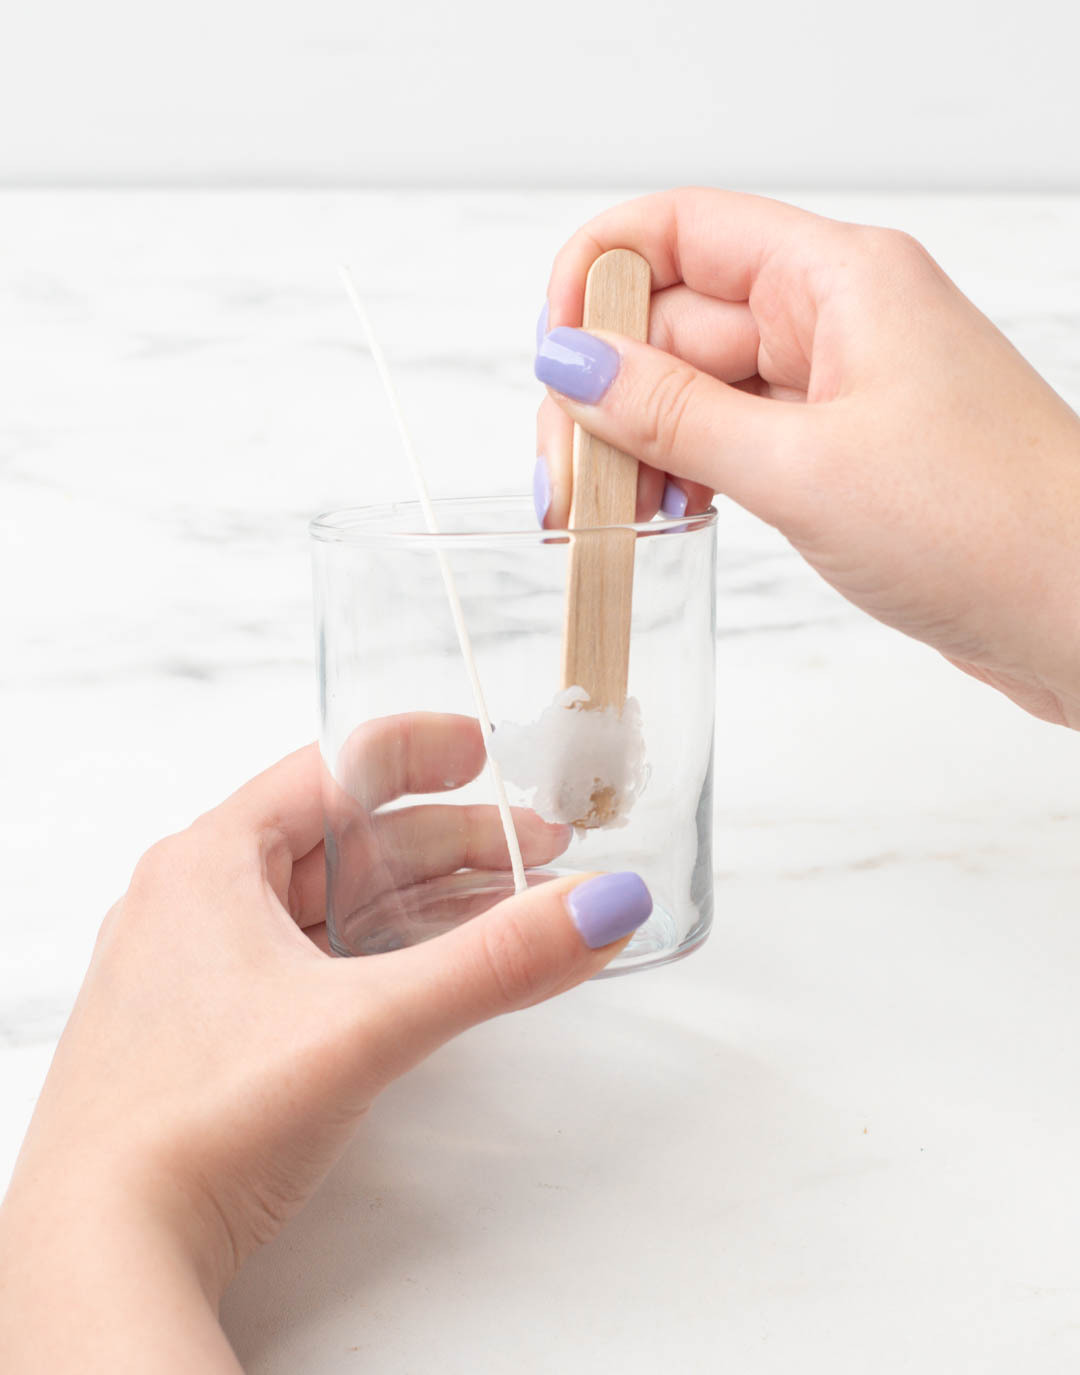
Step 3: Create the clouds
We used a craft stick to apply our clouds, but you can use other tools such as a small paint brush, tiny spatula, or coffee stirrer.
Apply layered strokes to the inside of your jar with your tool to create the clouds. This can involve a little trial and error to achieve the cloud look you are going for. Remember that cloud shapes vary—they can be puffy, wispy, or heap-like so don’t worry about each one being perfect!
Step 4: Melt the wax for the sky
After the clouds have cooled completely, remelt the remaining Coconut Apricot Wax in the microwave.
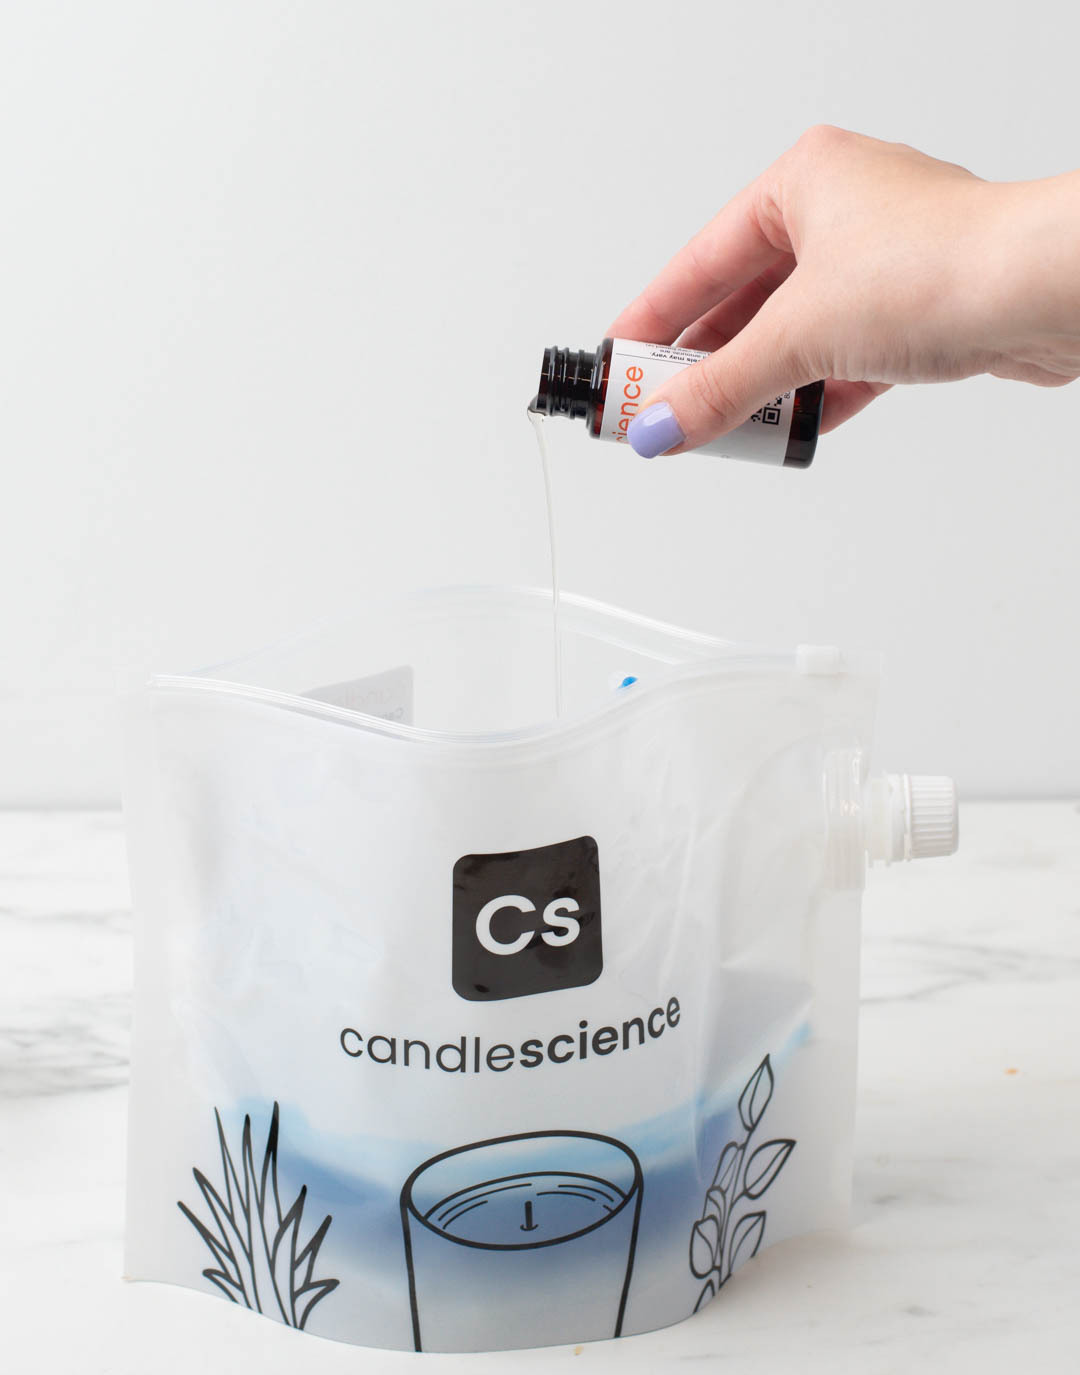
Step 5: Add dye and fragrance oil to the melted wax
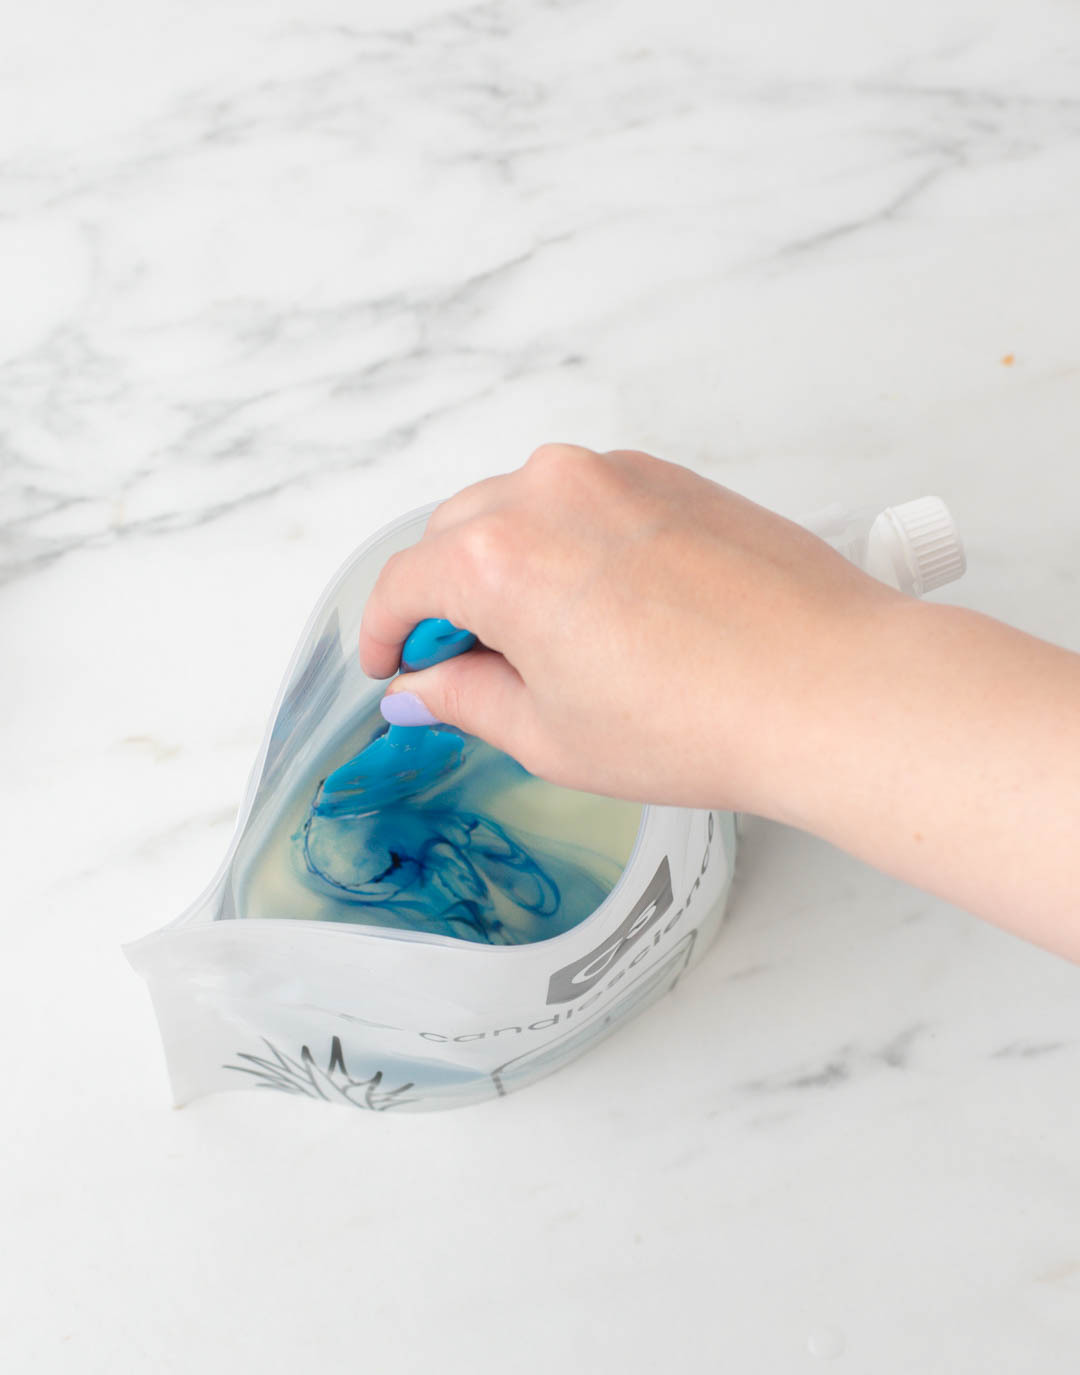
Once your wax is fully melted, add six drops of Blue Liquid candle dye to the wax and stir.
Note: You can add the less dye depending on how vibrant you want the “sky” to be.
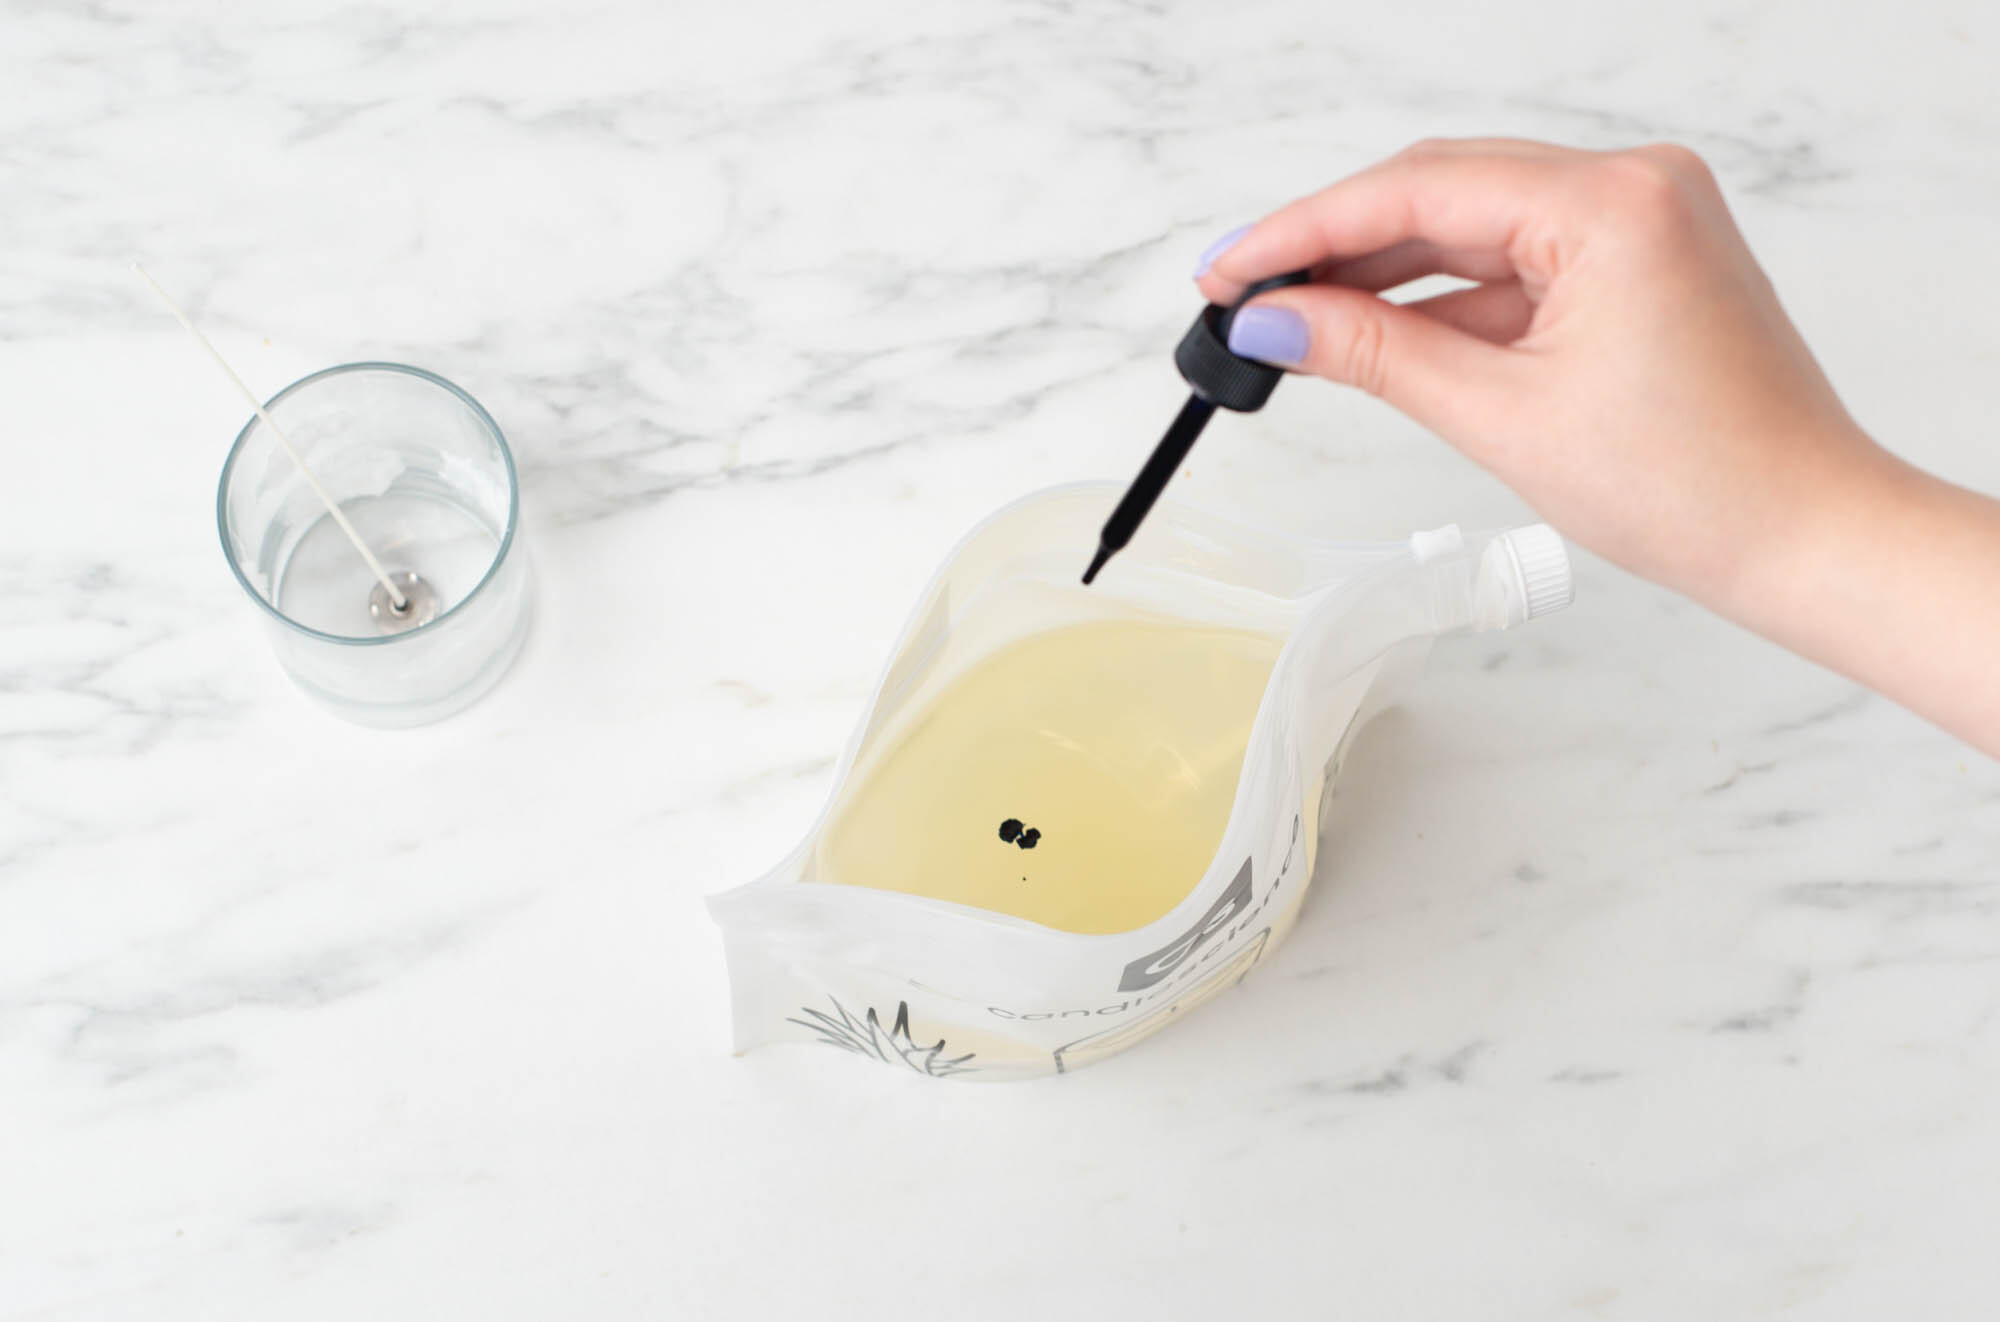
Once the dye is fully mixed in, check the wax temperature with a thermometer. When the wax has reached 185°F (85°C), it's time to add fragrance oil. Pour in the 1 oz (28 g) bottle of Baltic Dew fragrance oil, or another fragrance oil of your choice, which is approximately a 7% fragrance load. Stir gently for 2 minutes to ensure that the oil is fully incorporated with the wax.
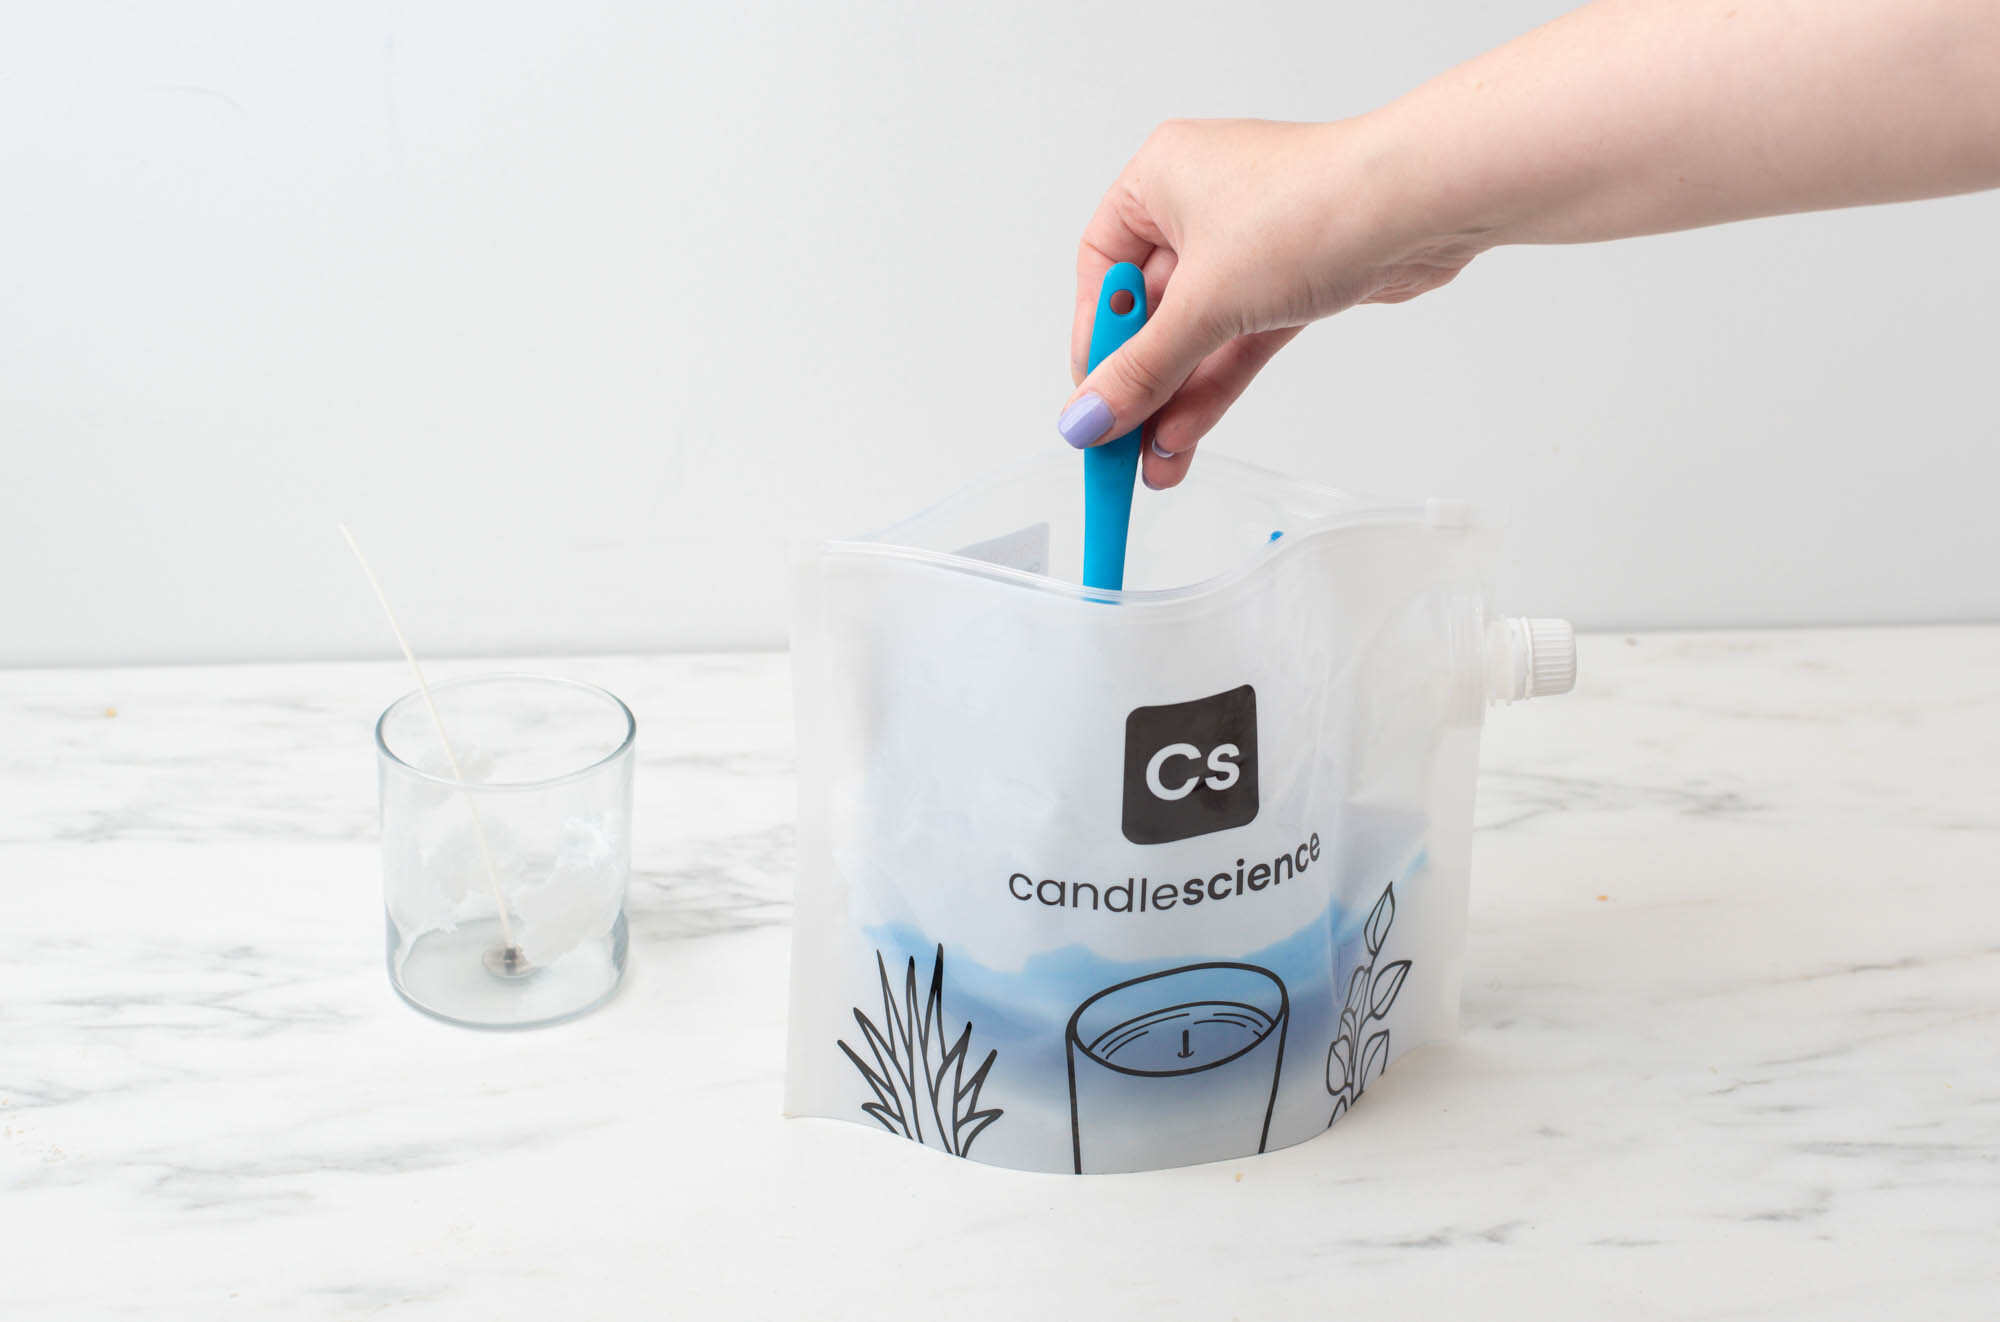
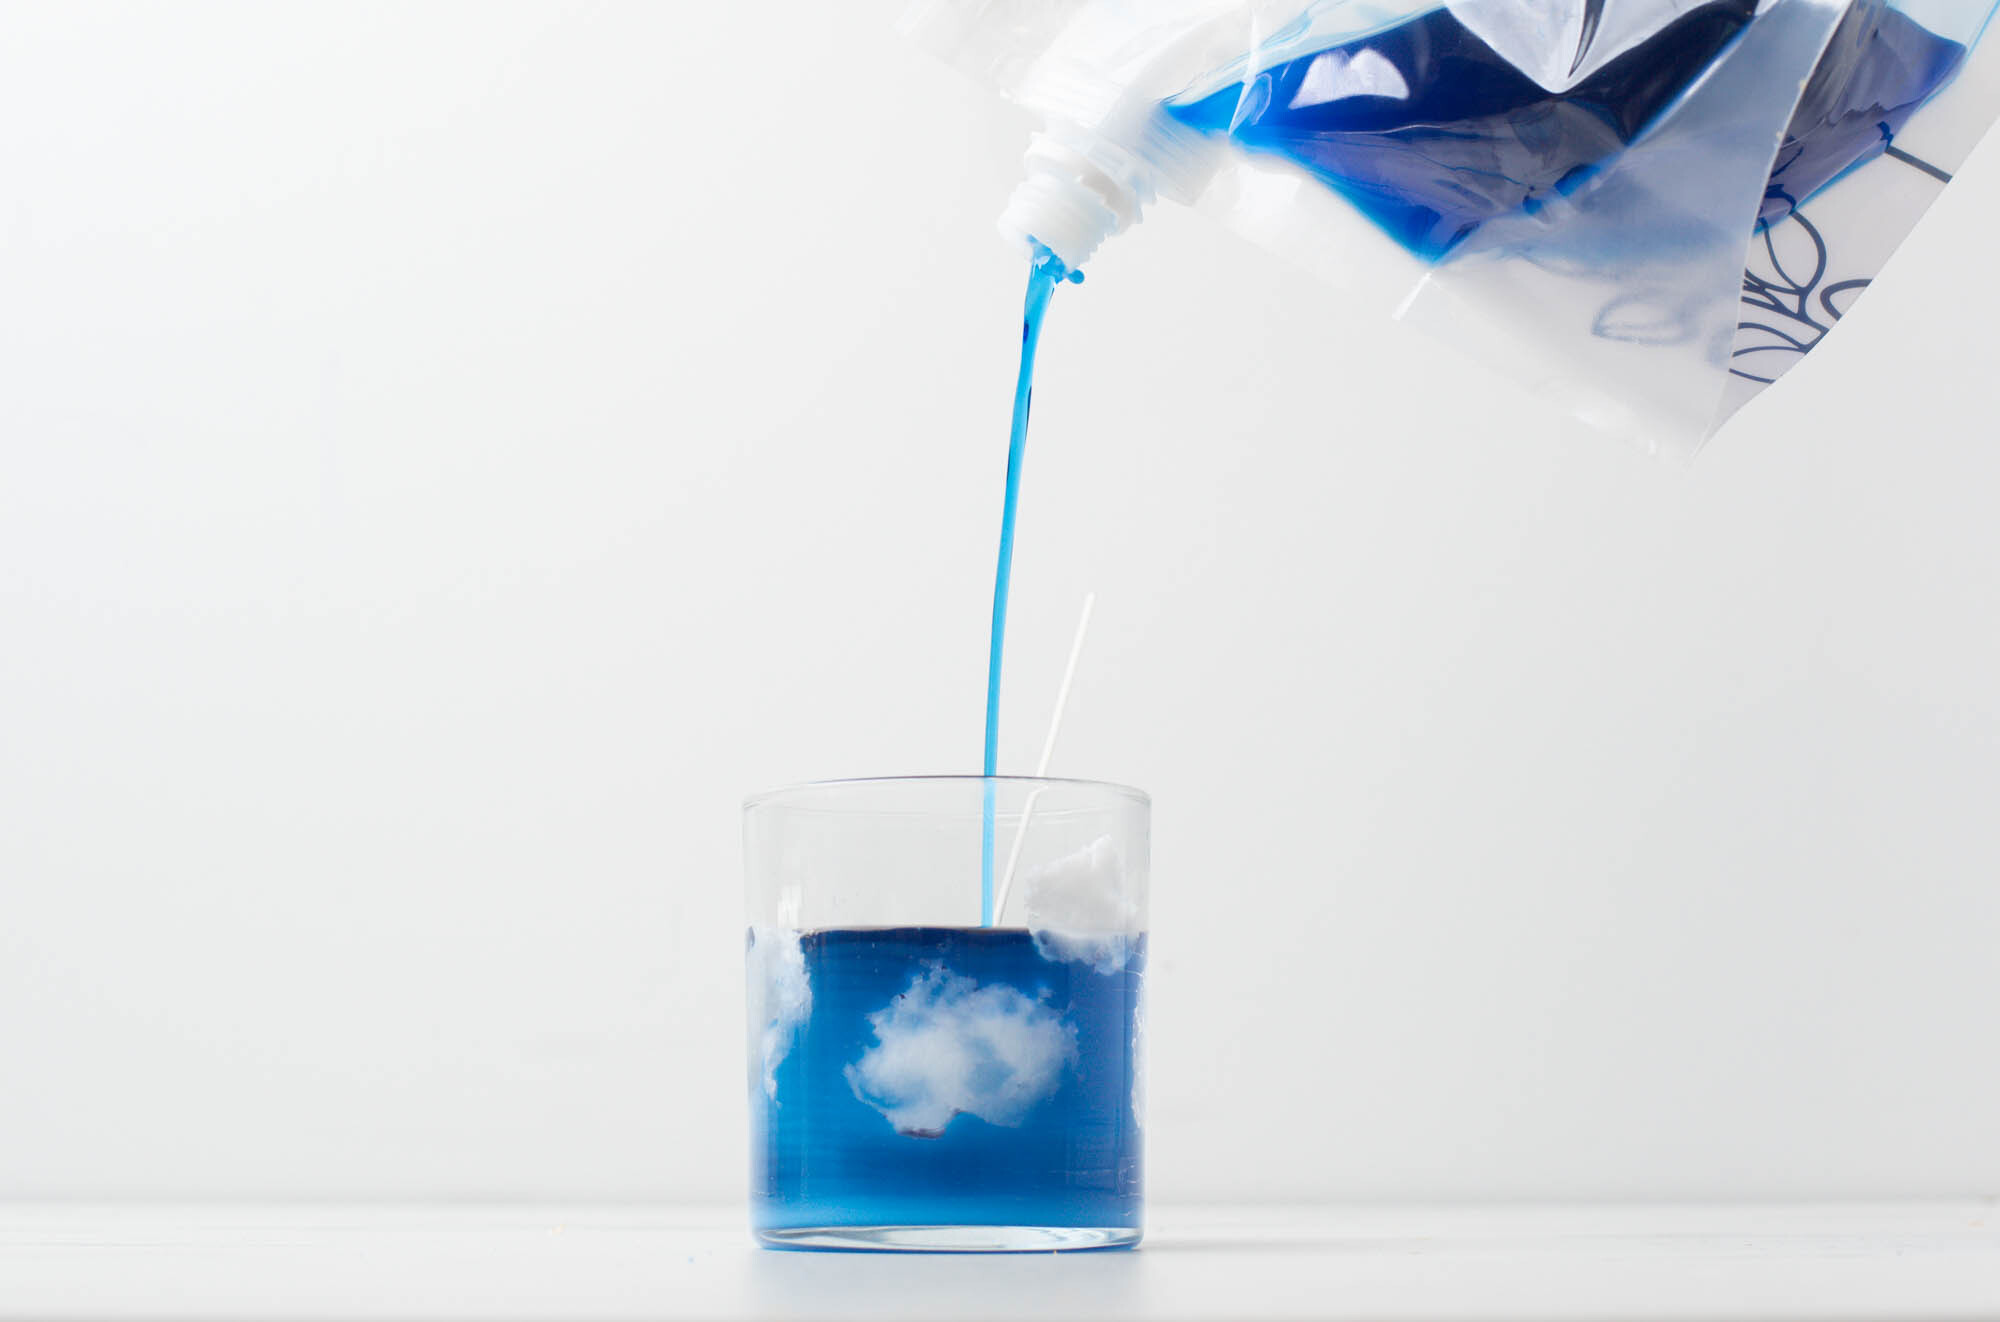
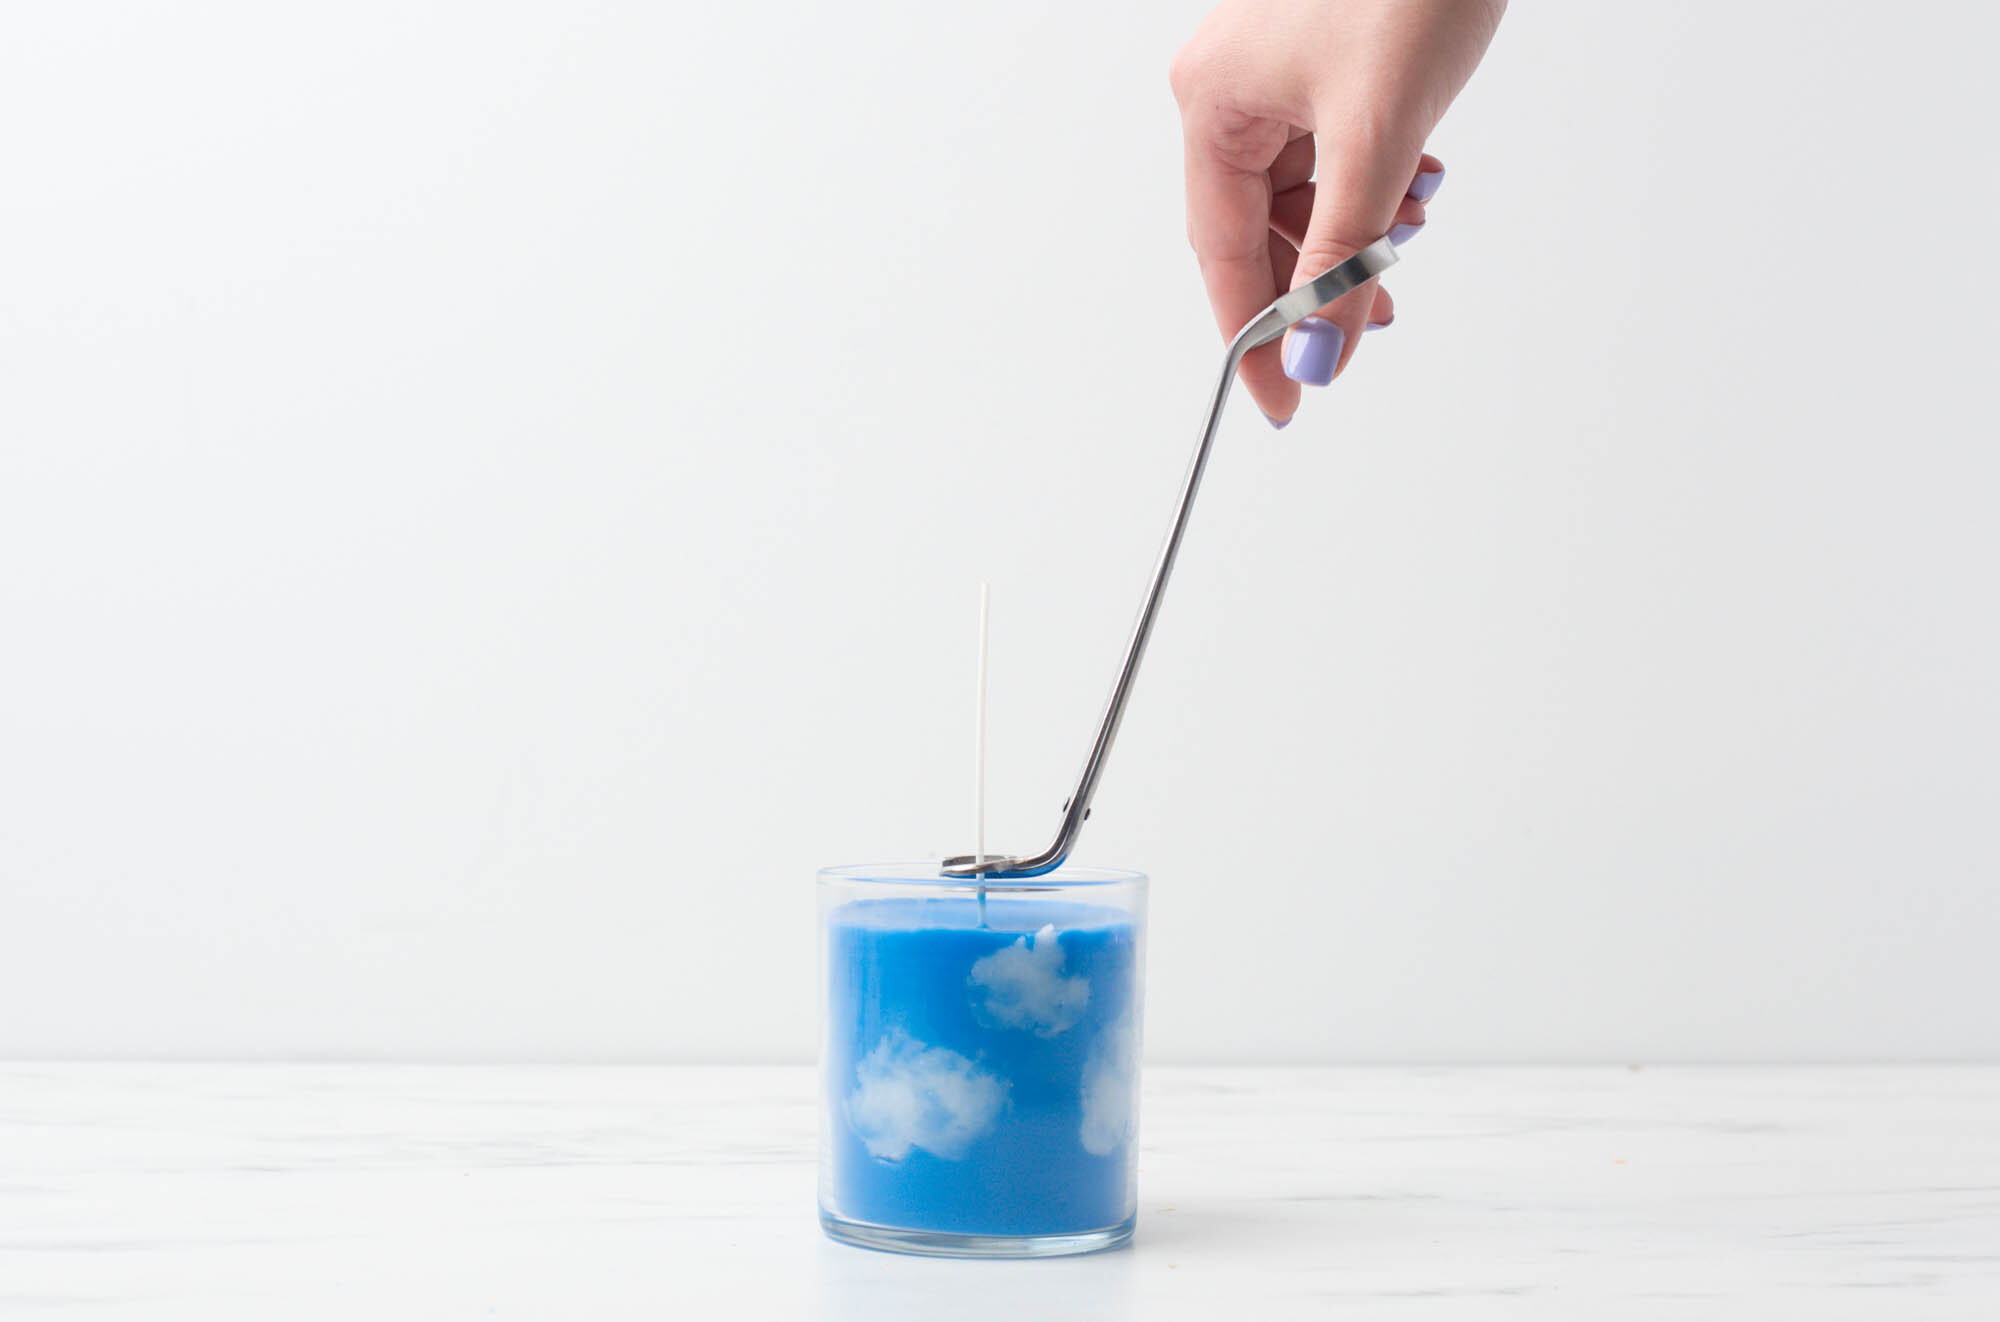
Step 6: Pour the wax
Allow the wax to cool a bit below the recommended pouring temperature to ensure that the “clouds” don’t melt on the sides of the container. We poured ours at 130°F (54.4°C).
Carefully pour the wax into the container making sure not to pour it directly on the sides where the clouds are. Secure the wick with a wick bar.

Allow the candles to cool completely.
.jpg)
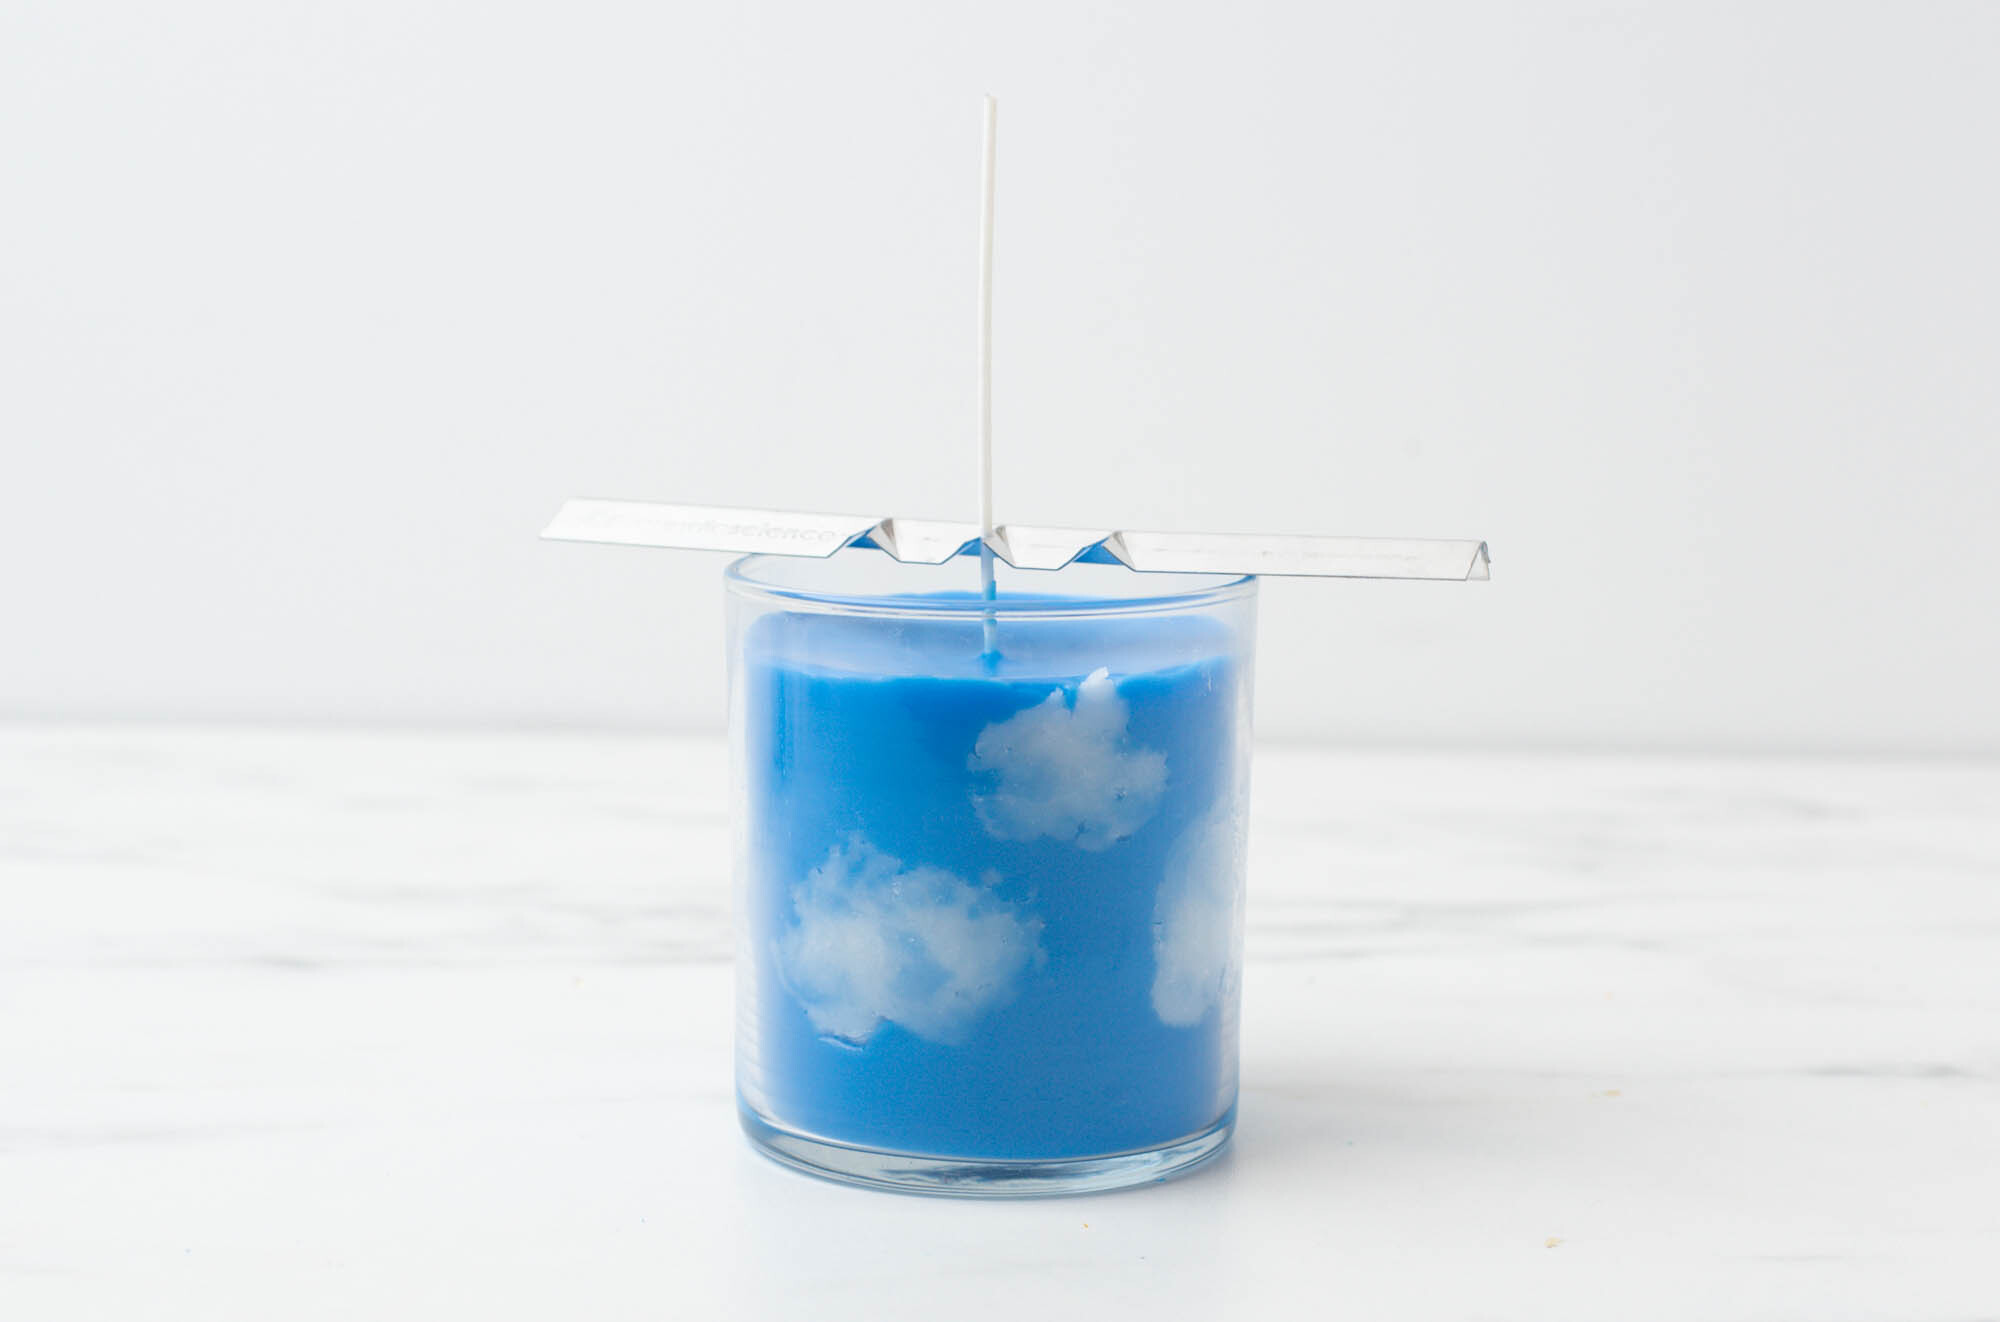
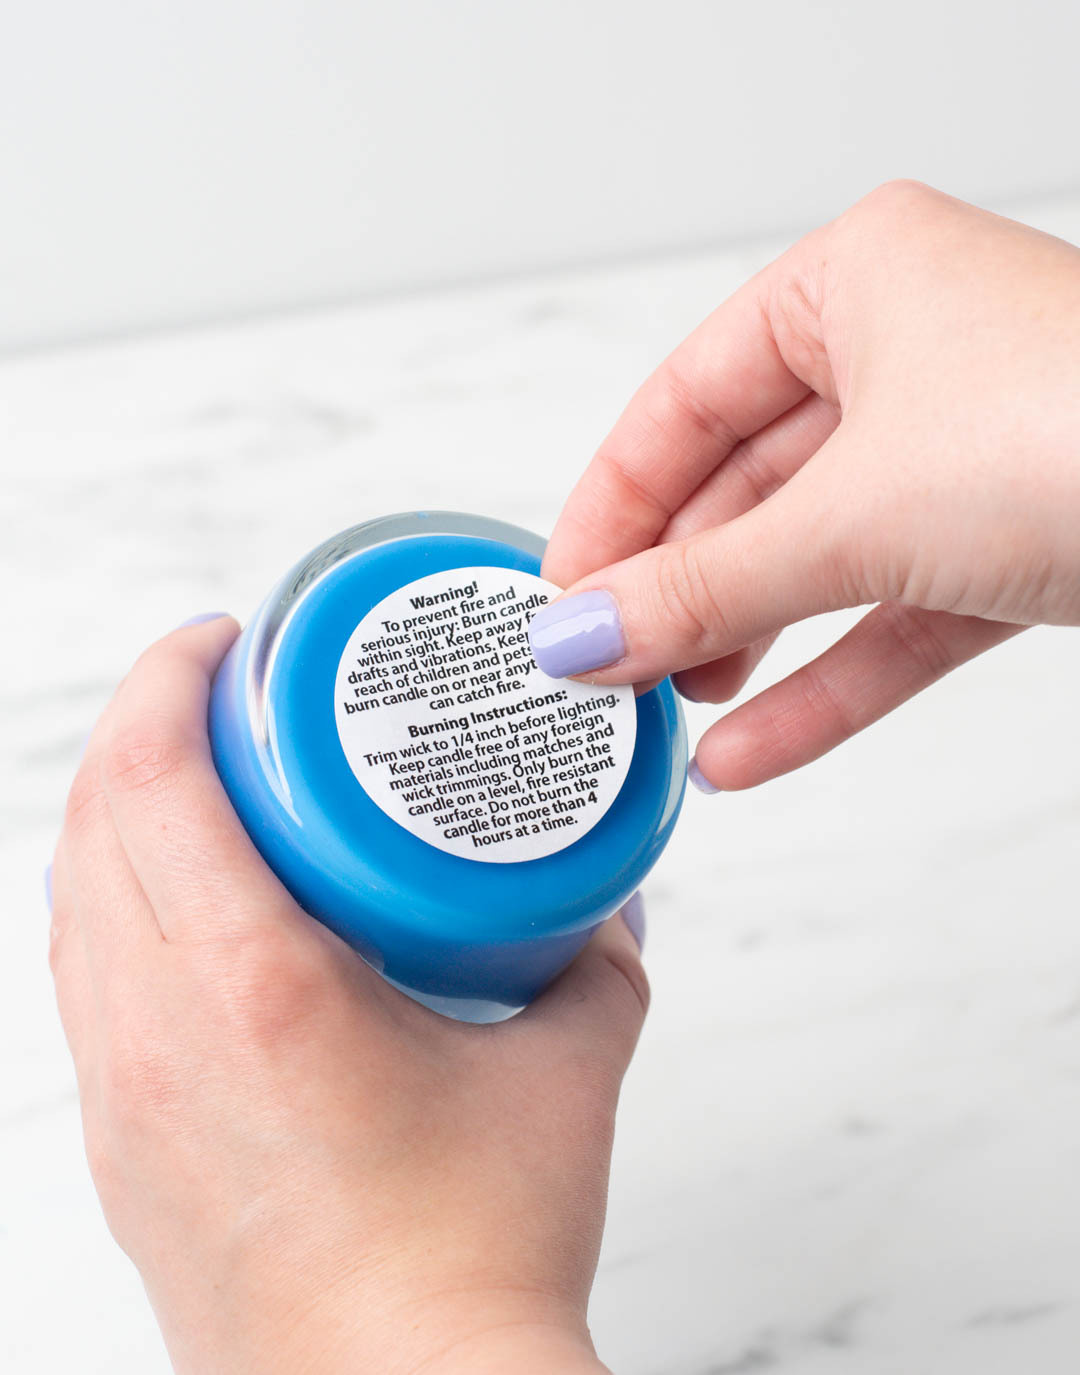
Step 7: Trim the candle wick and enjoy!
Once your candle has cooled completely, remove the wick bar and trim the wick to 1/4 in. (6 mm). Place a warning label on the bottom of the candle.
Show off your take on a cloud candle and all your handmade creations, with the CandleScience community by tagging us @CandleScience and using the #CandleScientist hashtag on Facebook and Instagram. We may feature you in our Stories or on our website!