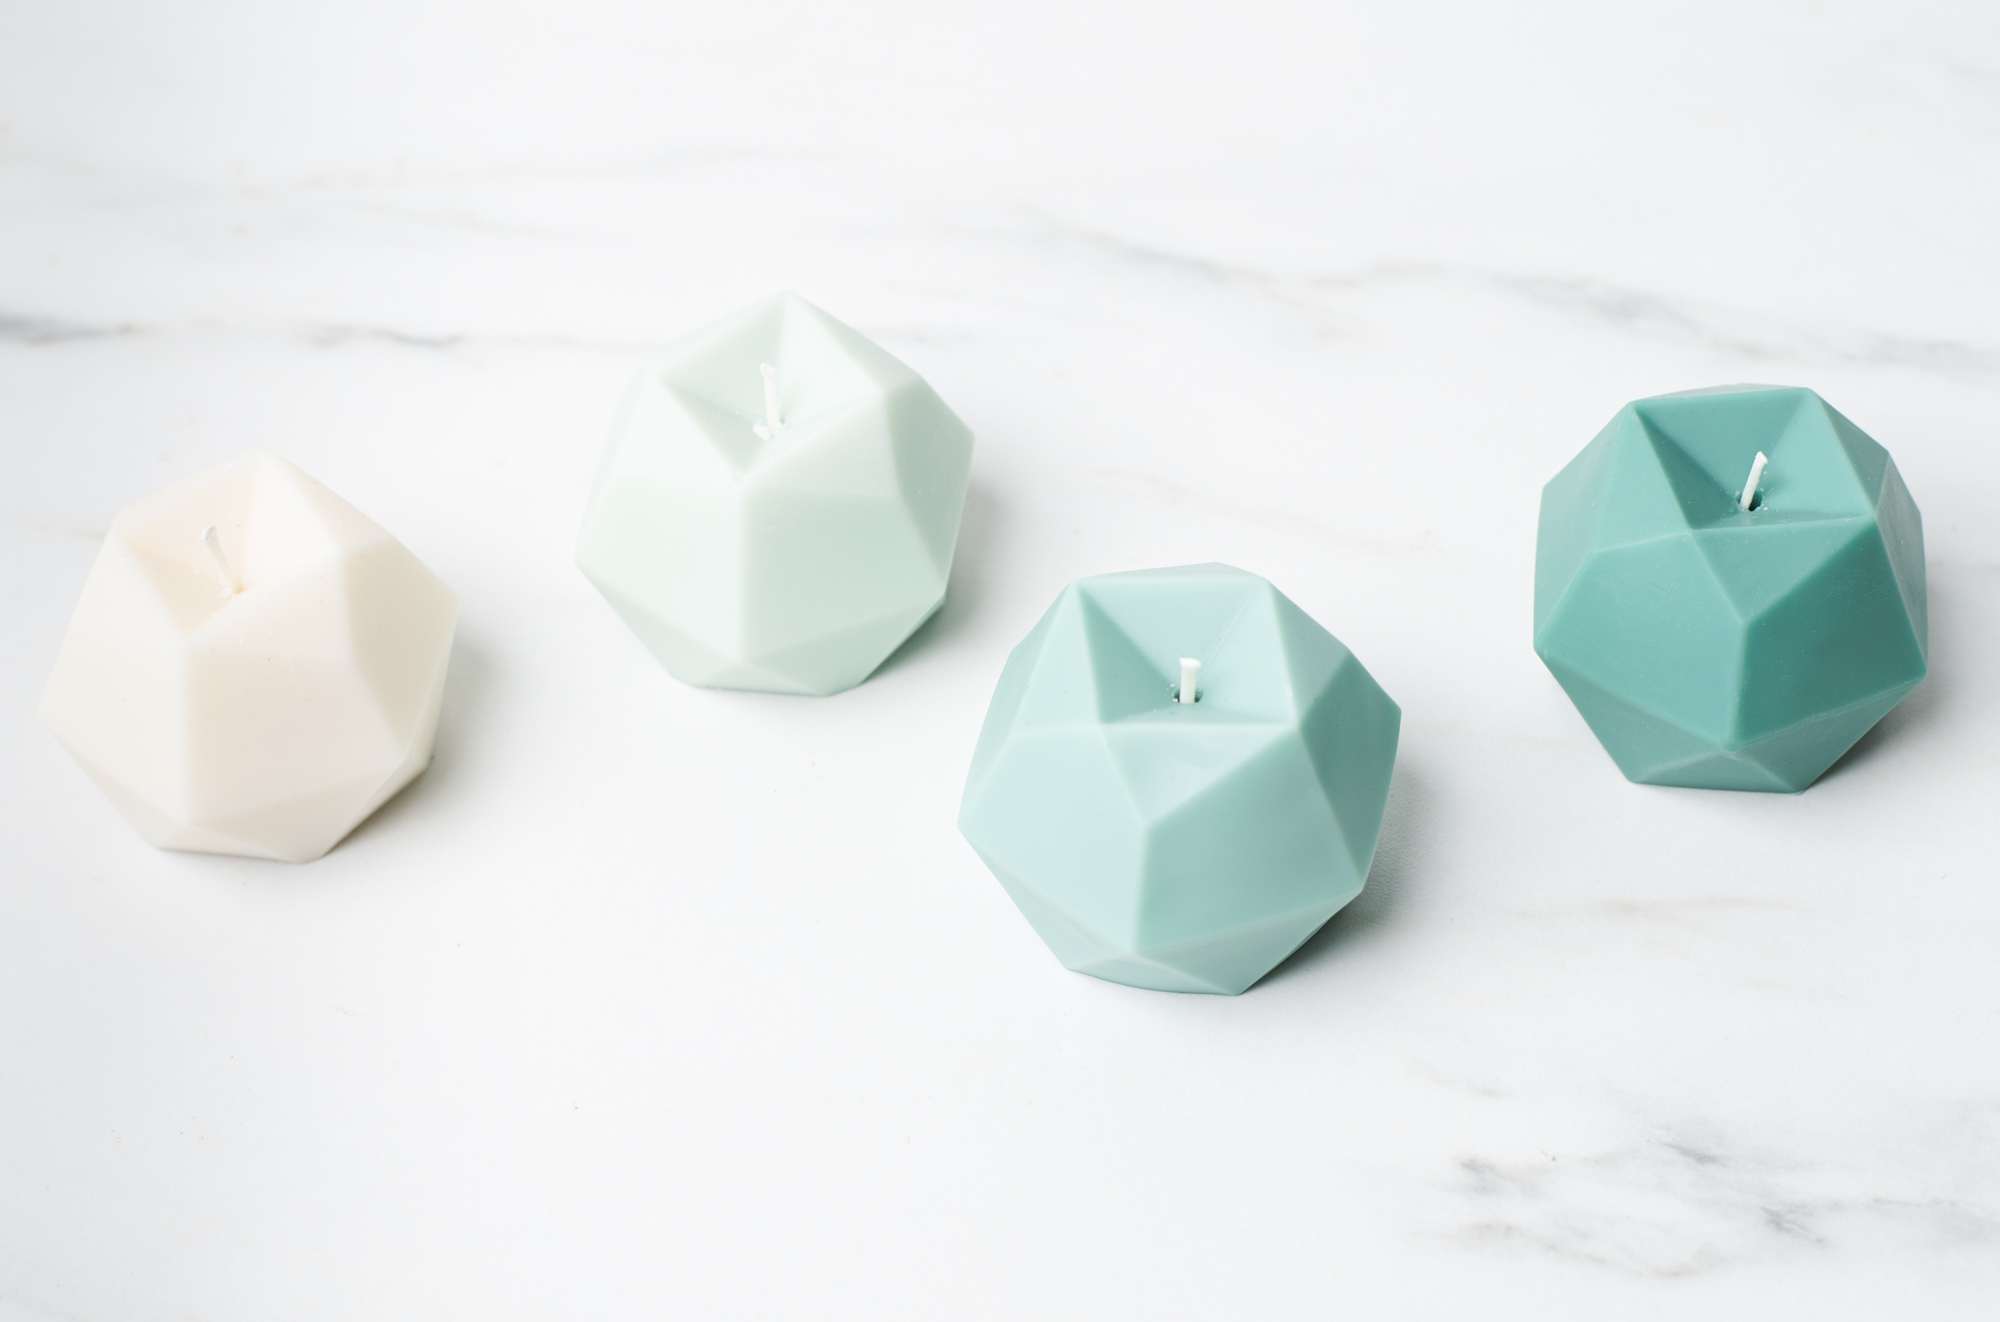
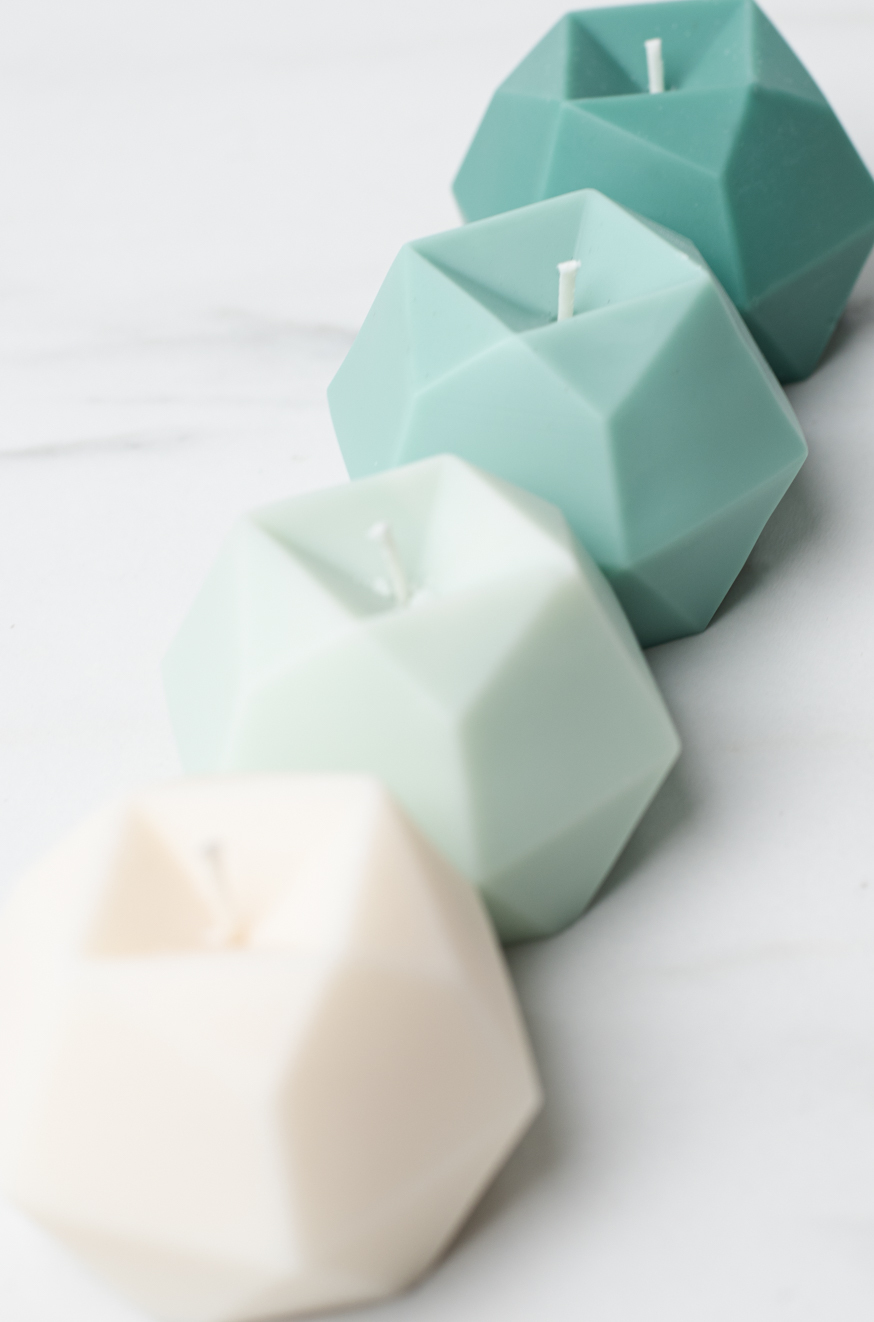
How to make decorative geometric pillar candles
Container candle tutorials were our most frequently requested tutorial years ago, but decorative pillar candles have risen in the ranks—and we can see why! Home decor stores, interior design blogs and magazines, and ultra-aesthetic Instagram feeds feature decorative pillar candles in abundance.
Candles make any space feel cozier, and the clean lines on these geometric pillars add a modern, chic touch to the classic pillar candle format. Plus, their cold throw provides a lovely ambient scent perfect for smaller rooms, homes with mischievous pets or kids, or delighting passersby.
Additional Items Needed:
- Paper Towels
- Isopropyl Rubbing Alcohol
- Stirring Spatula
- Scissors
- Silicone Geometric Mold (we found ours on Amazon!)
As an Amazon Associate CandleScience earns from qualifying purchases.
Directions:
Note: This tutorial was created with the silicone mold that we used. Be sure to calculate your wax and fragrance weight for your specific mold.
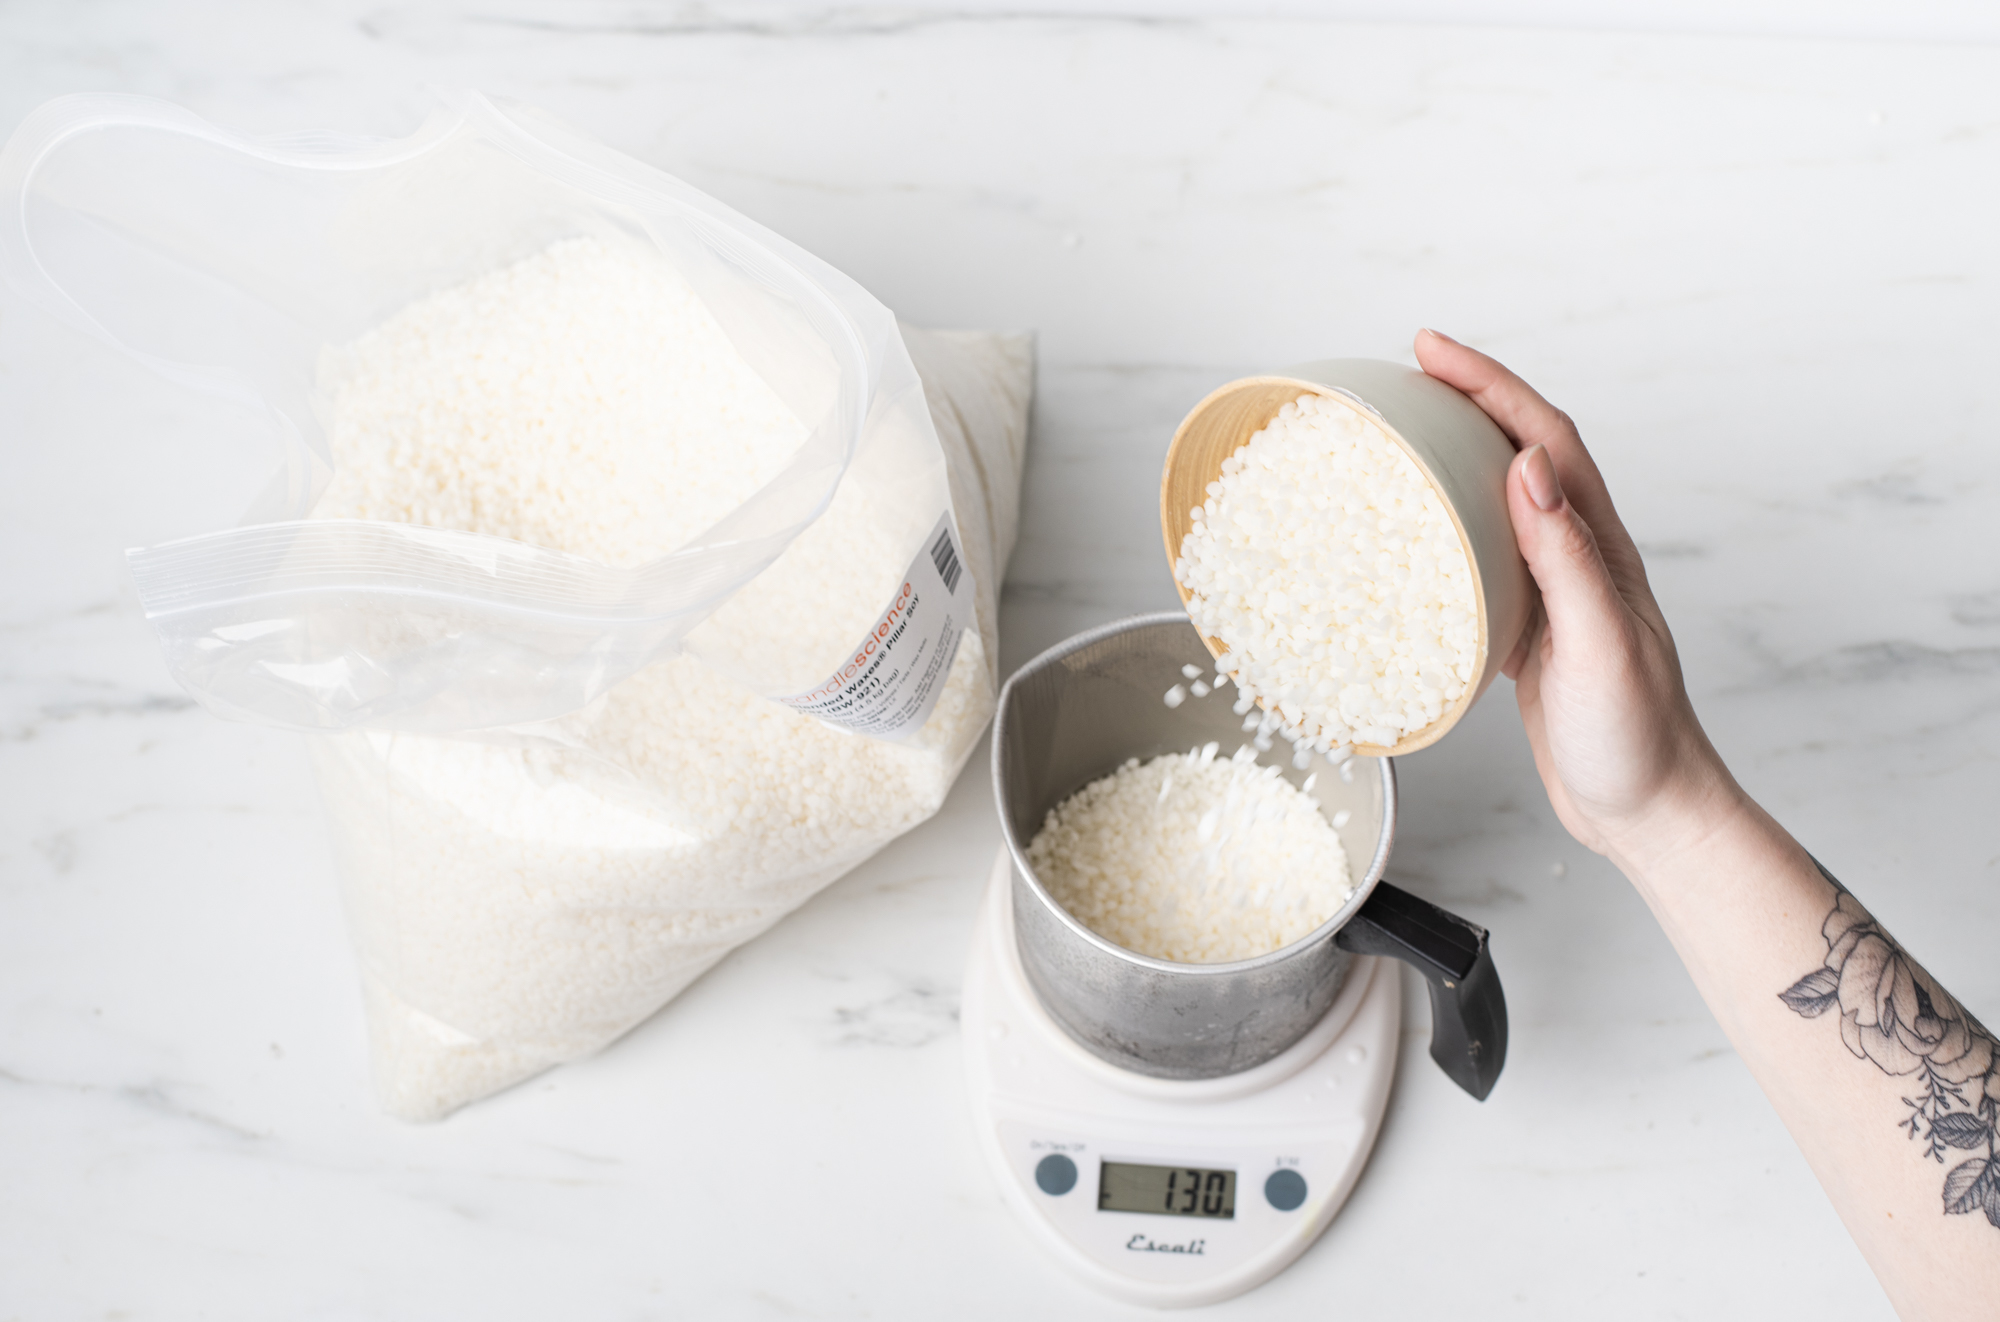
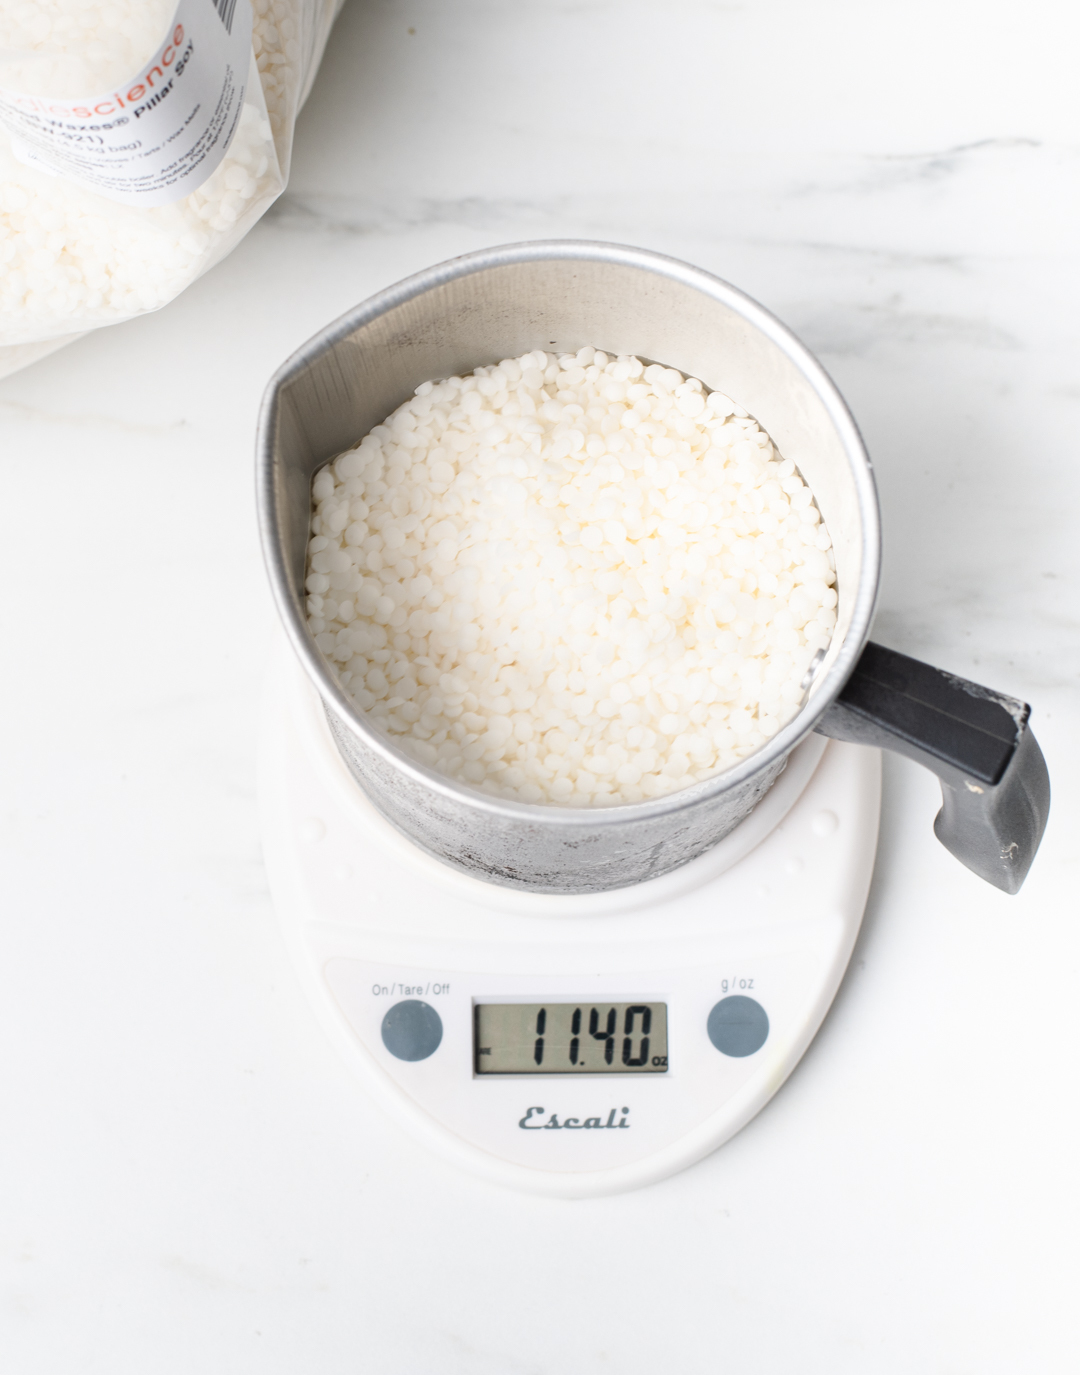
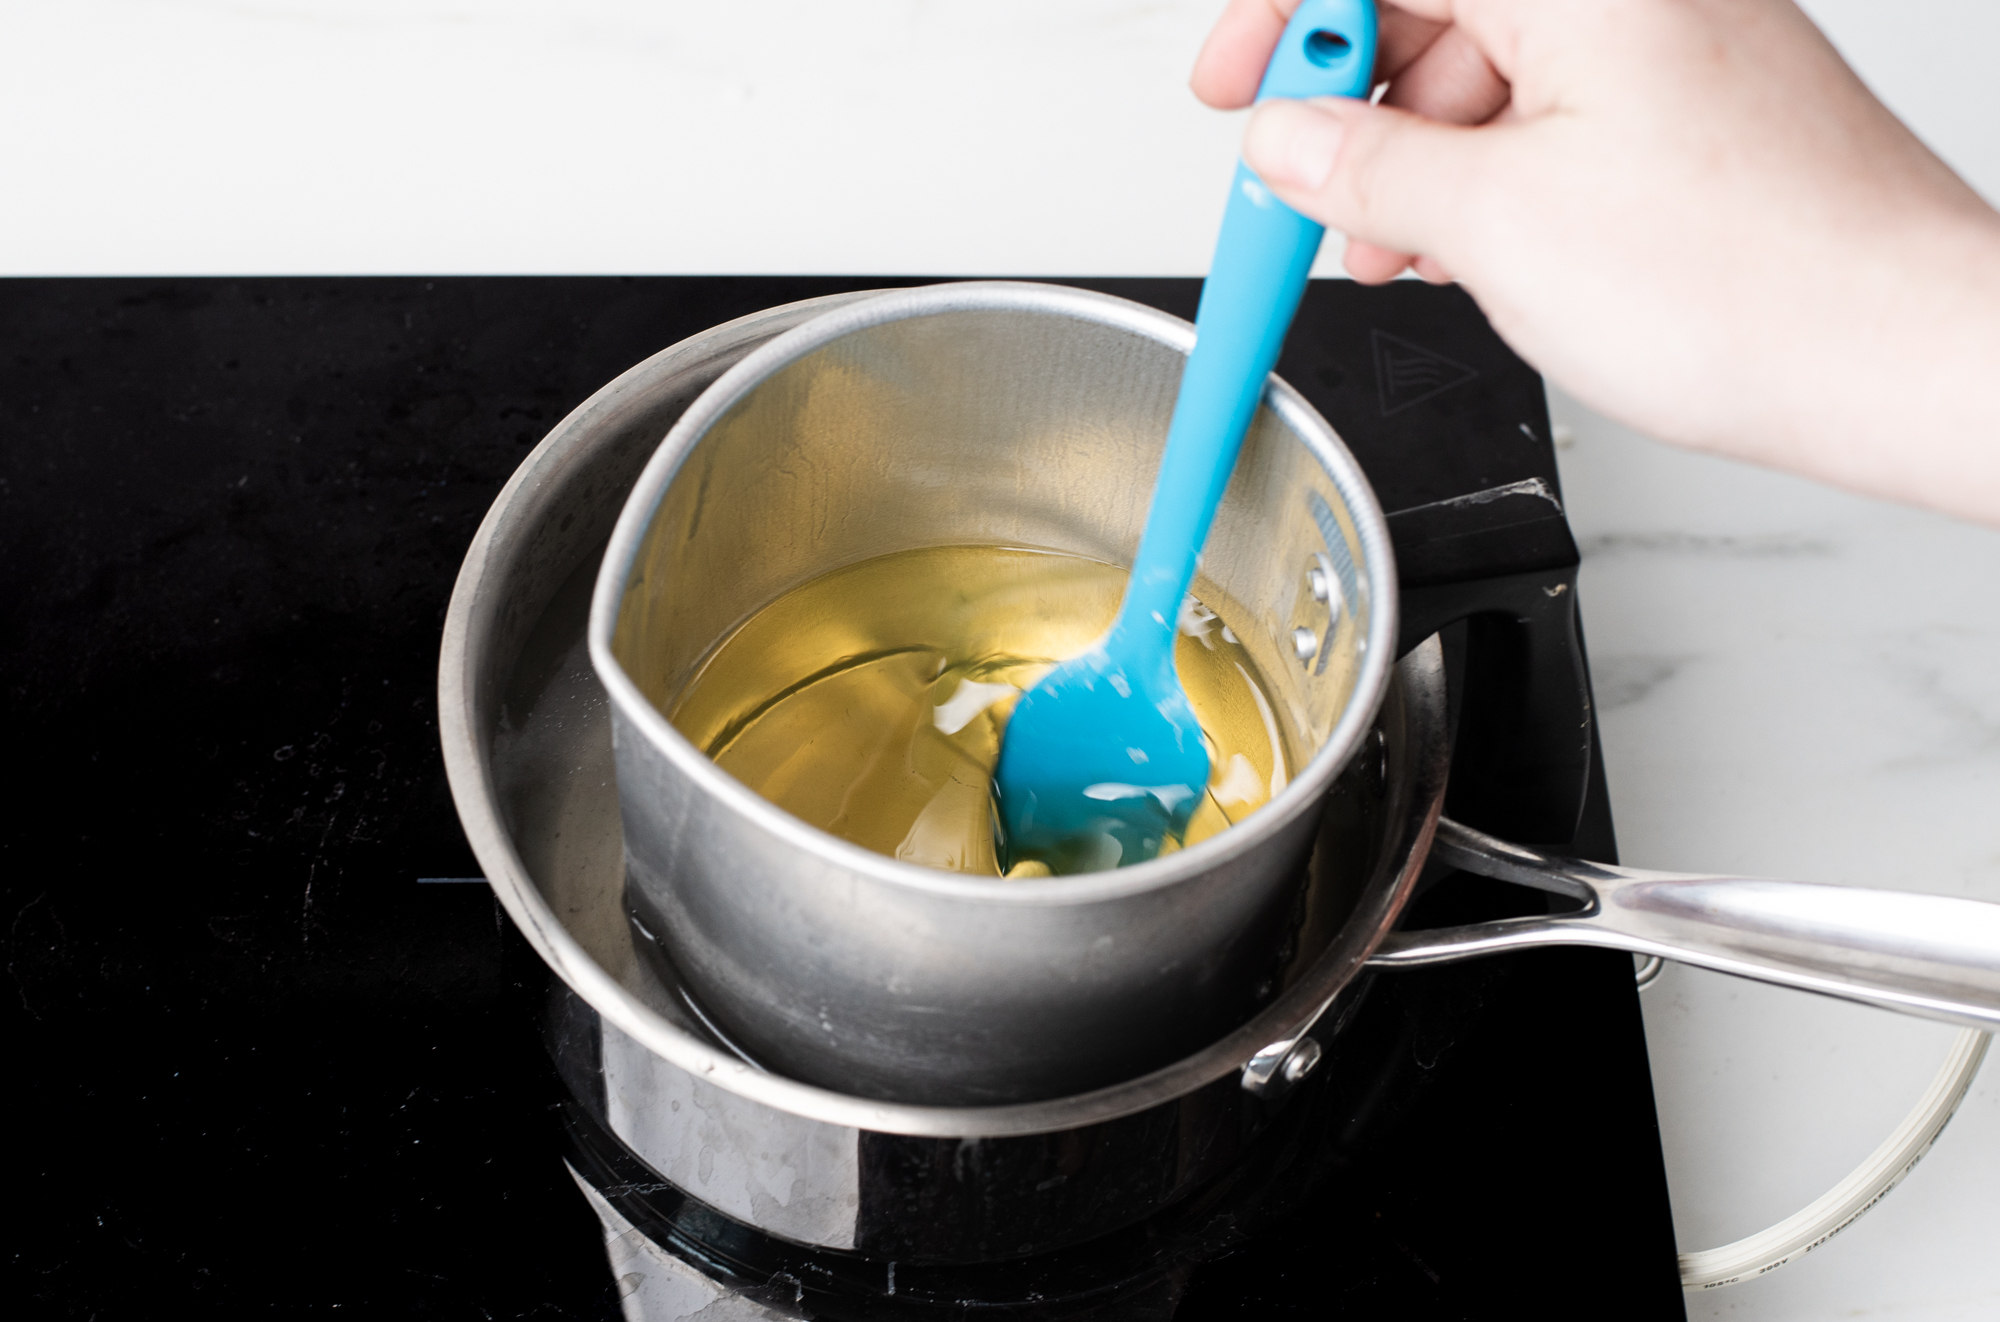
Step 1: Weigh and melt wax
Place the pouring pitcher on your digital scale and tare the weight. Weigh 11.4 oz (323.2 g) of the BW-921 soy wax pastilles in the pouring pitcher.
Note: The amount of wax can vary depending on the silicone mold you use. We used about 2.85 oz (80.8 g) for each geometric cavity on this particular mold.
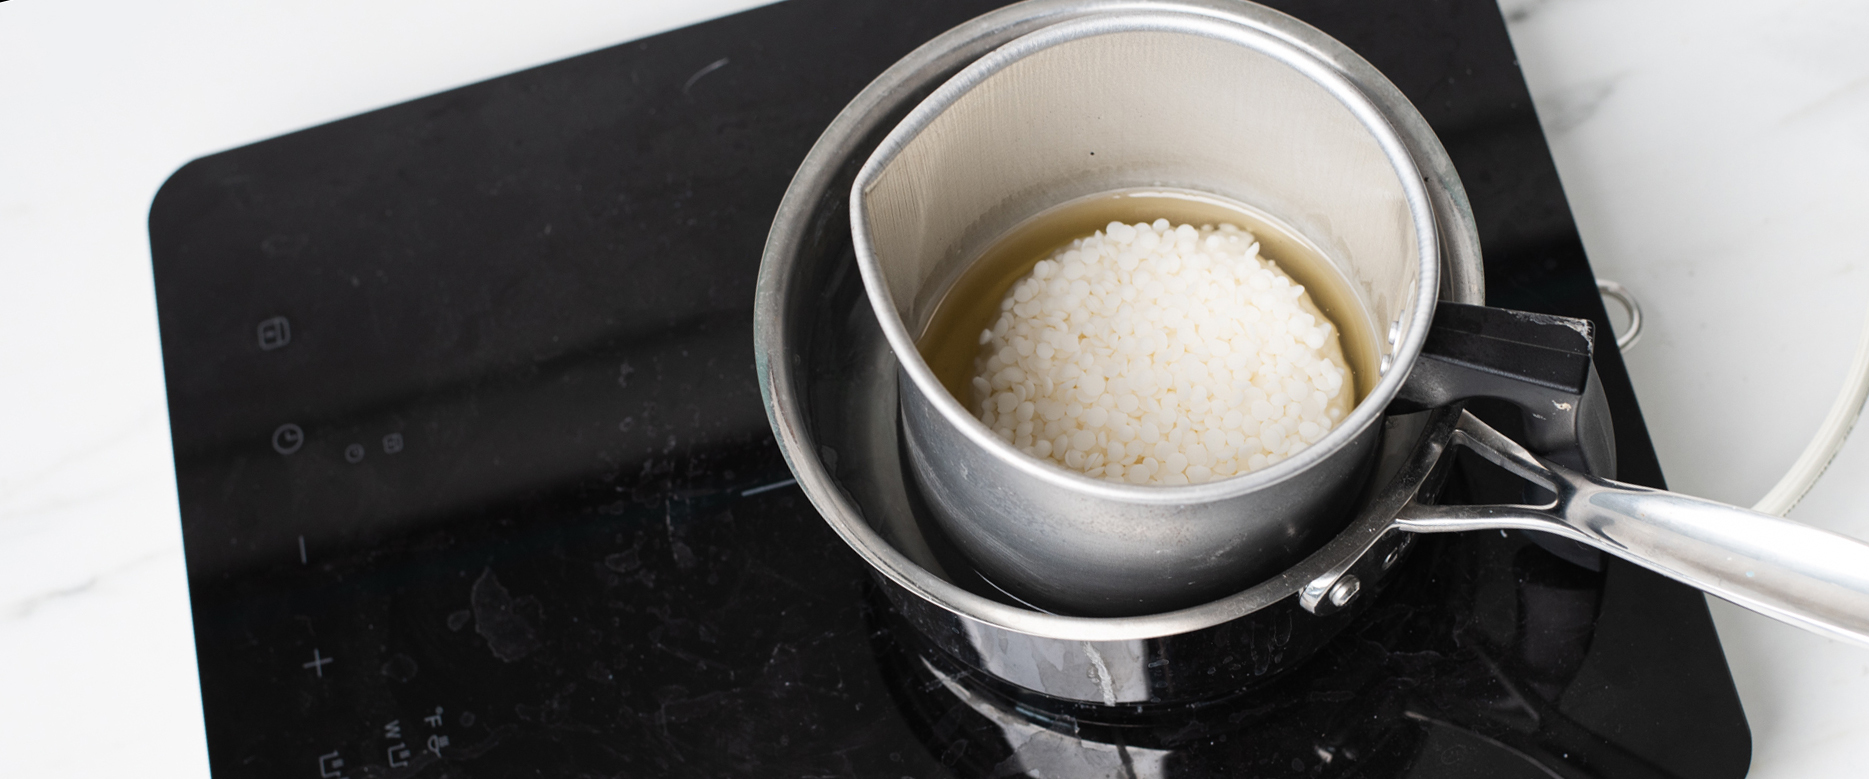
Begin to melt the wax with a double boiler or on a hot plate.
Step 2: Prepare your mold
While you're waiting for the soy wax to melt, you can begin to prep your silicone mold. Flip the mold inside out, and wipe out each cavity with a small amount of isopropyl alcohol and a clean paper towel.
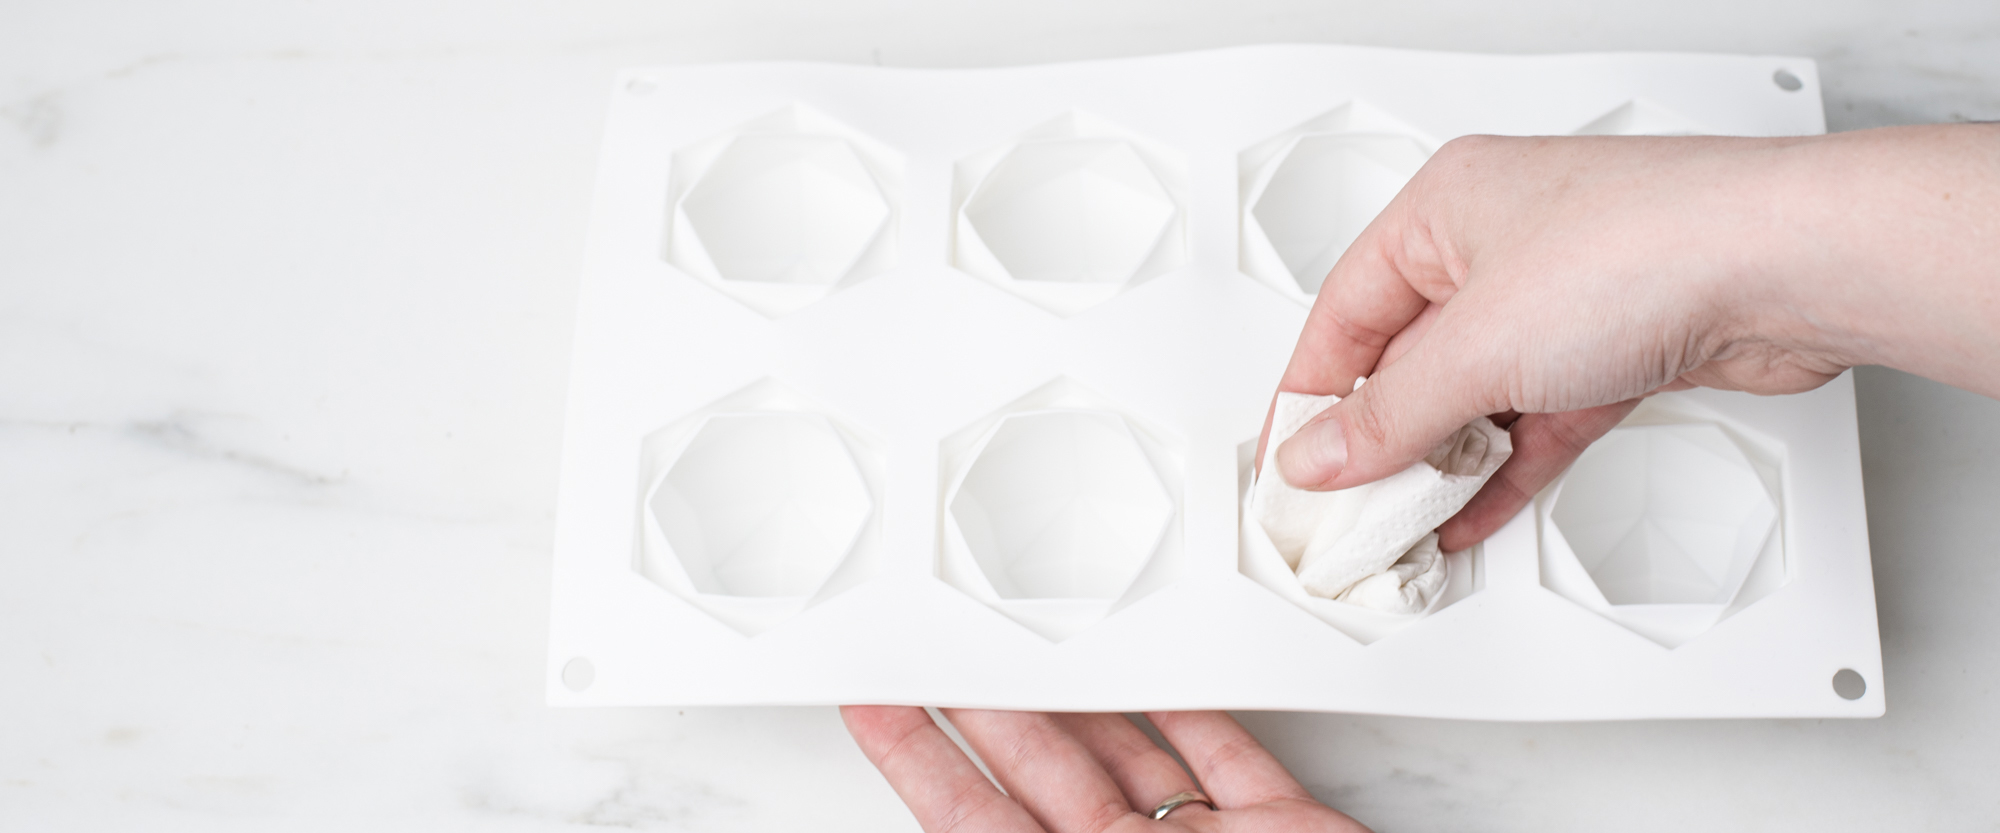
Note: You can poke a hole in the mold for the wick if you don’t want to poke a hole in the candle and thread wick at the end.
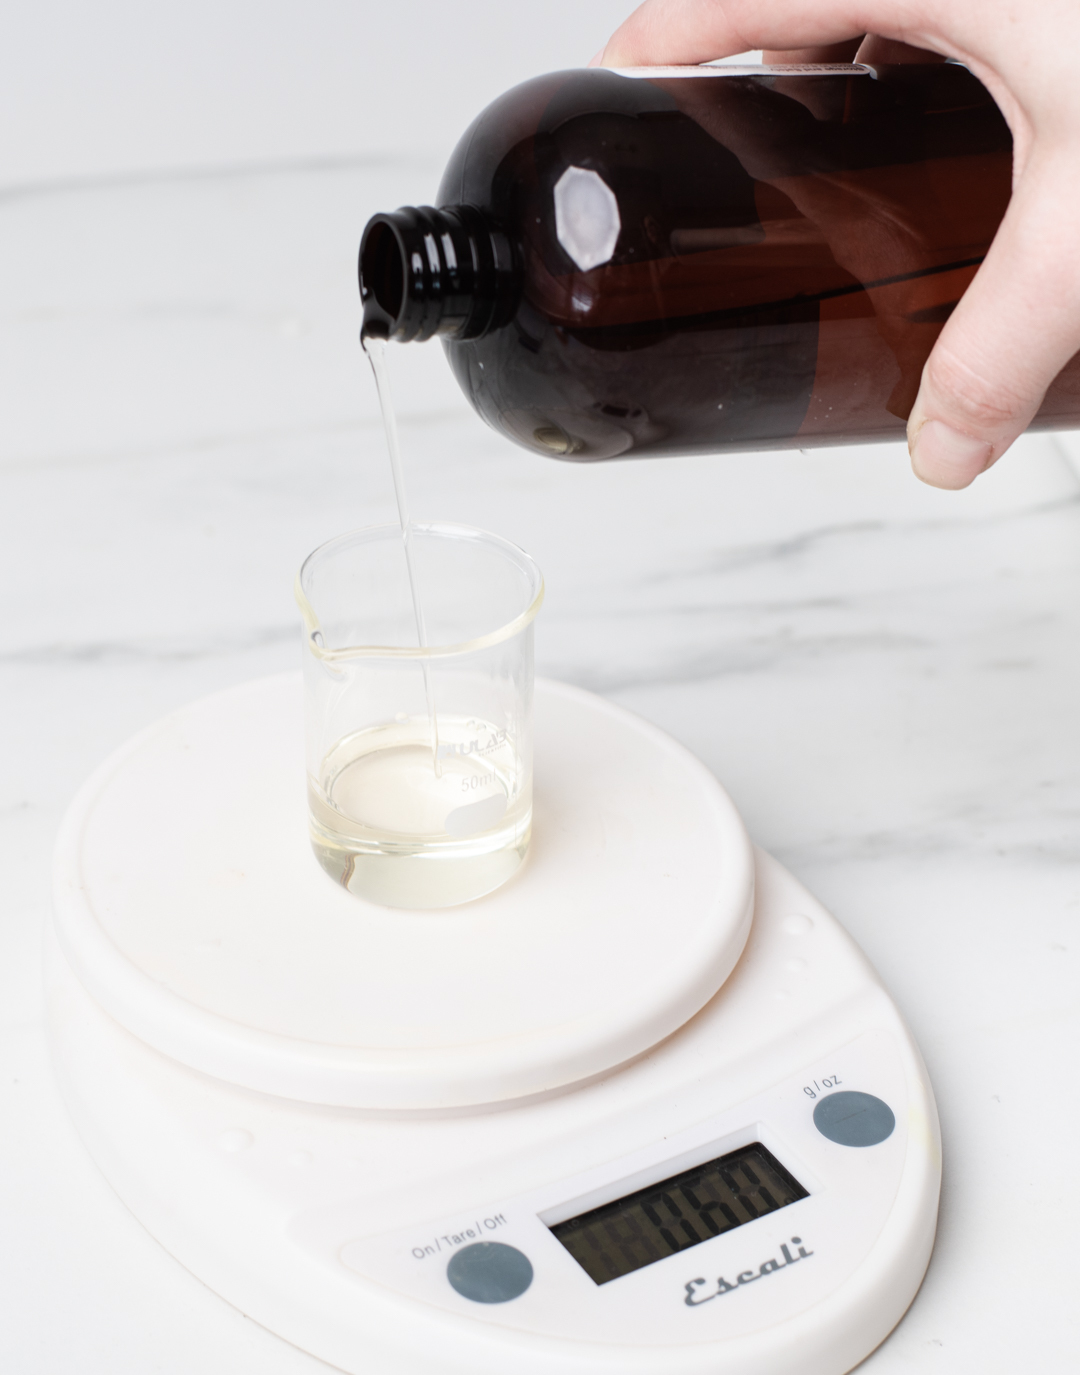
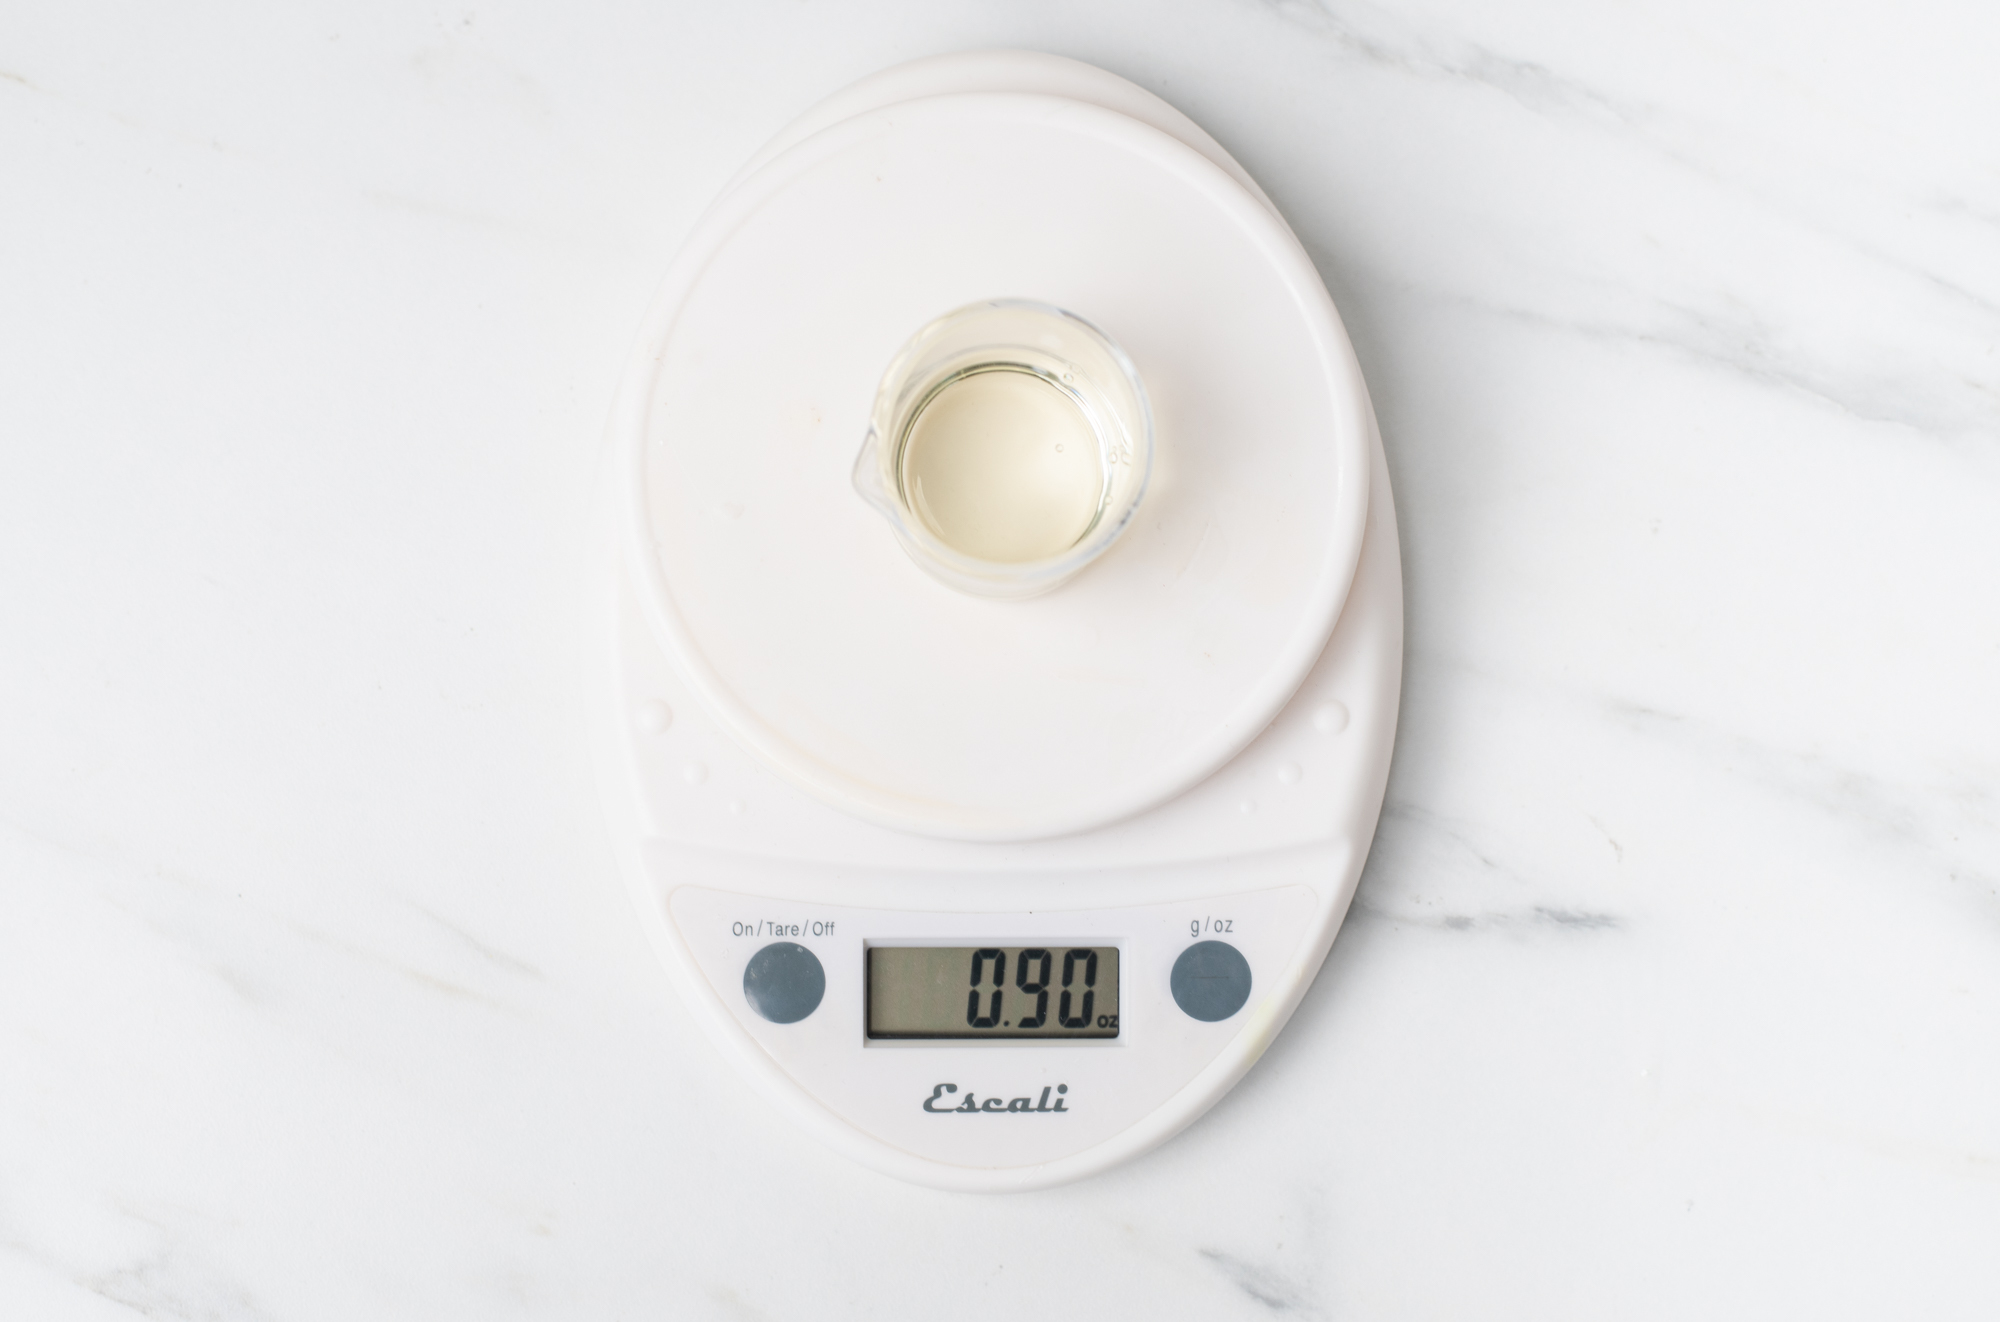
Step 3: Weigh and add fragrance oil
In a glass container, weigh .9 oz (25.5g) of the Cucumber Water and Melon fragrance oil, which is about a 8% fragrance load. Set aside.
Note: We chose 8% to give it a strong cold throw since these will be used for decoration only. You can adjust up or down to your preference.
Once your wax has reached 185°F (85°C), add the fragrance oil. Stir gently for 2 minutes to ensure that the oil is able to bind with the wax.

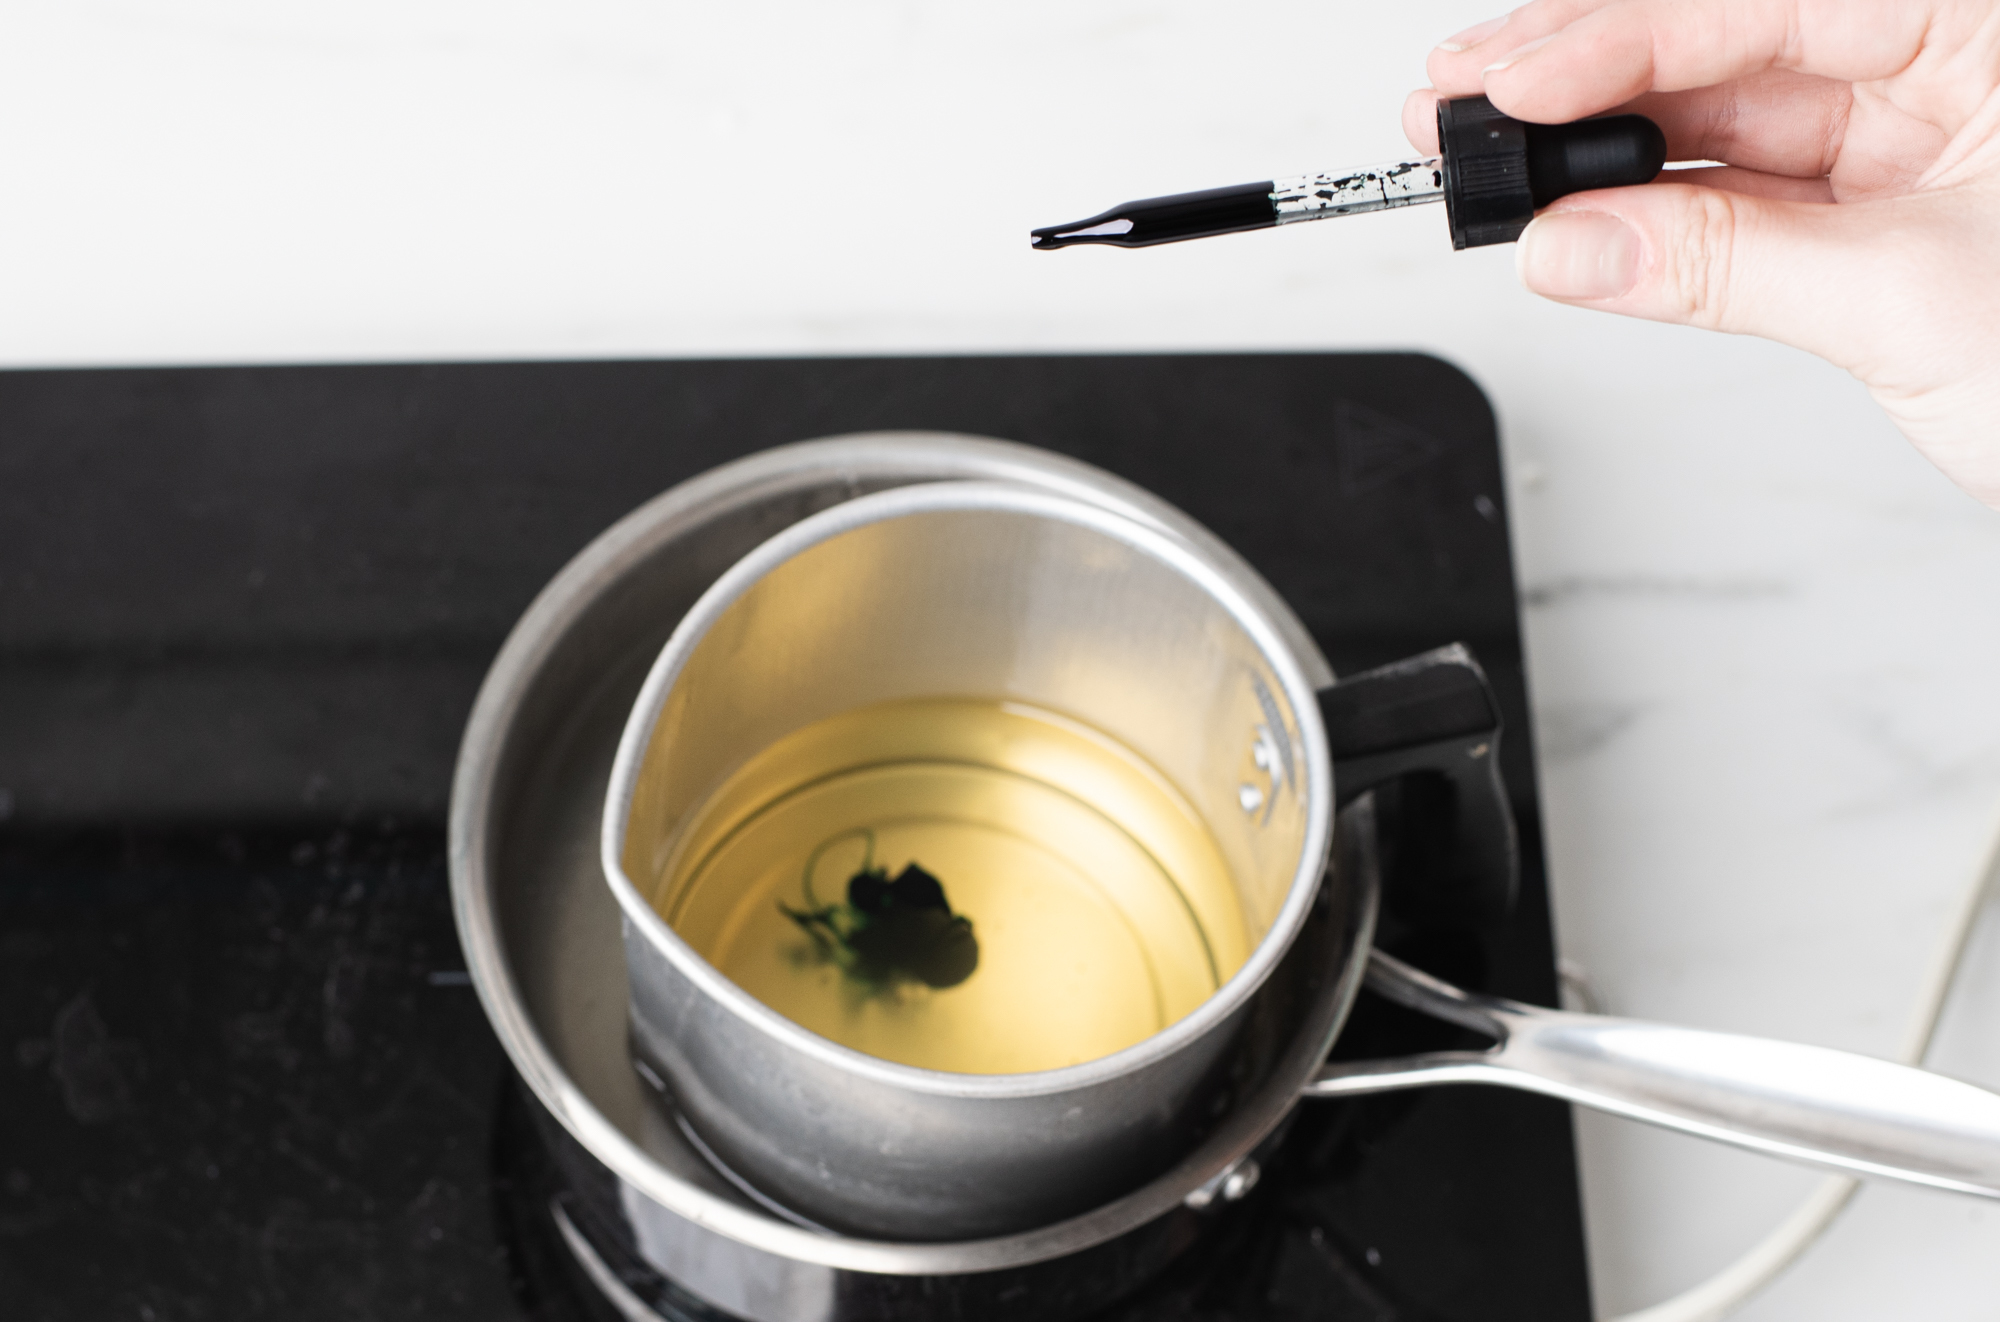
Step 4: Add the candle dye
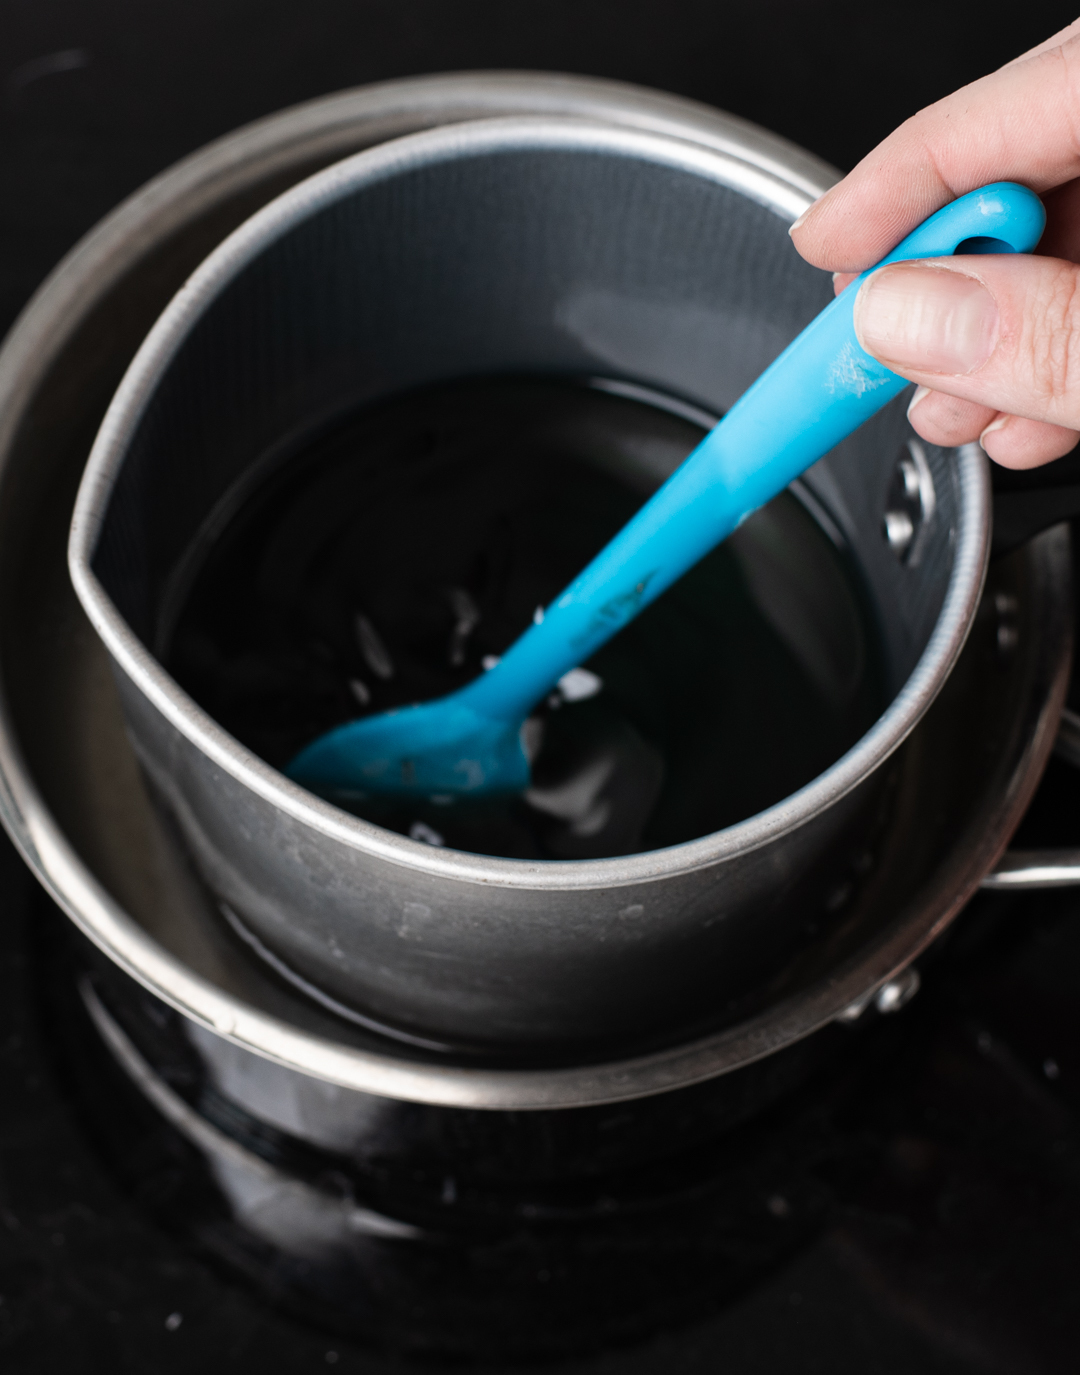
Add 2 drops of Hunter Green Liquid Candle Dye and stir until the dye is fully incorporated with the wax.
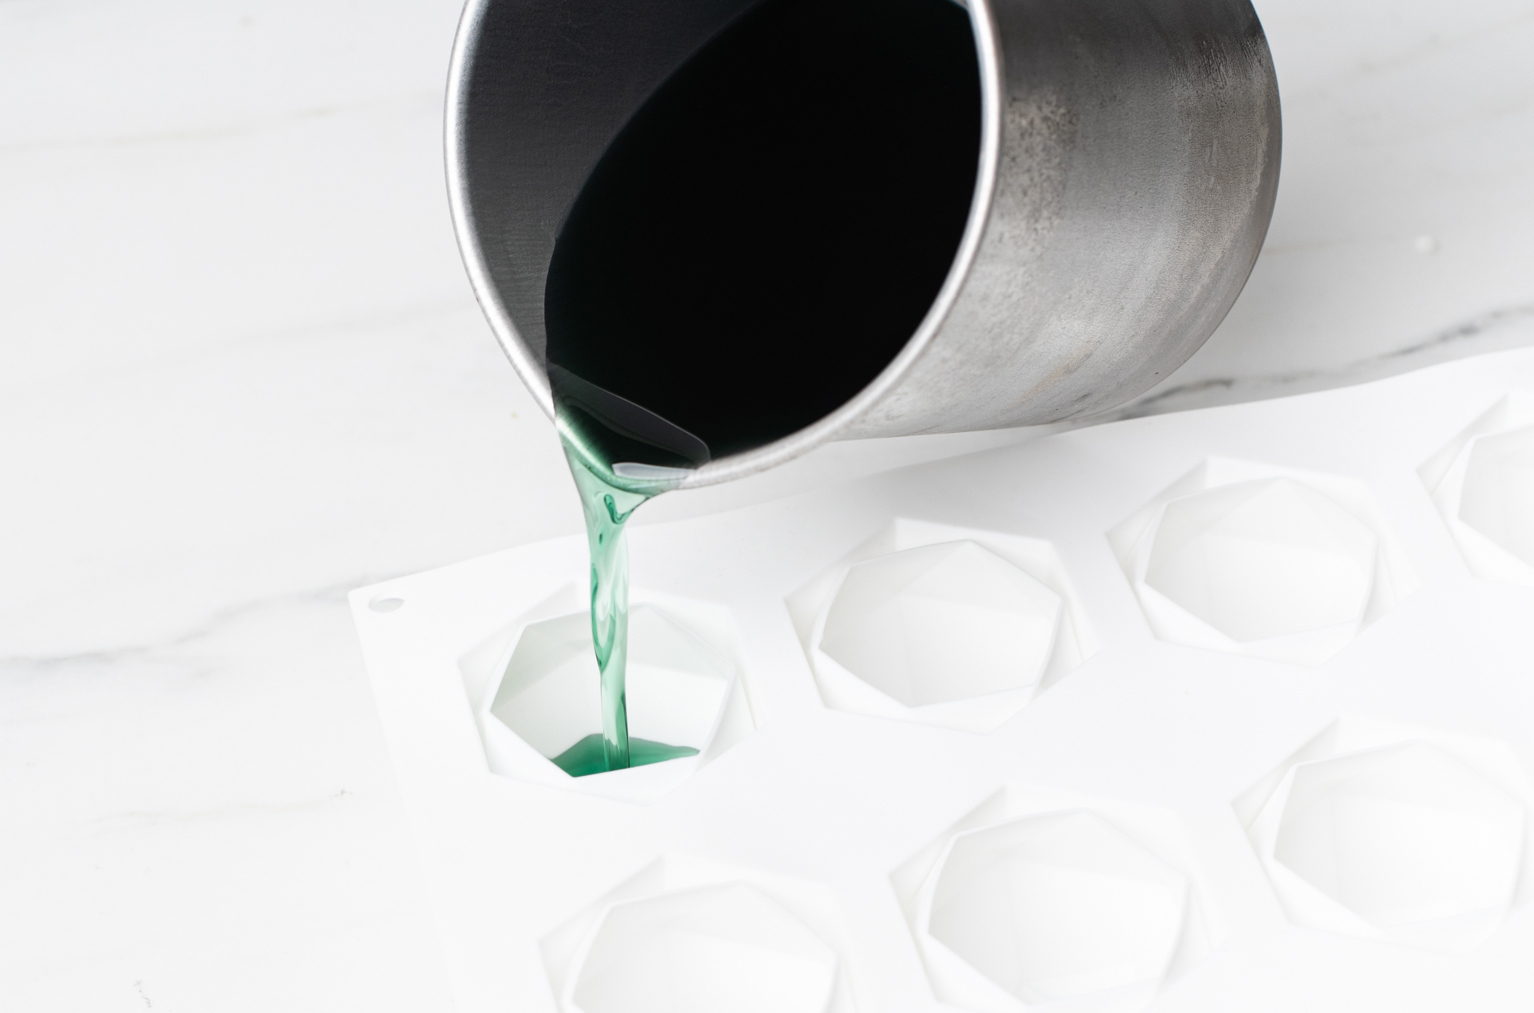
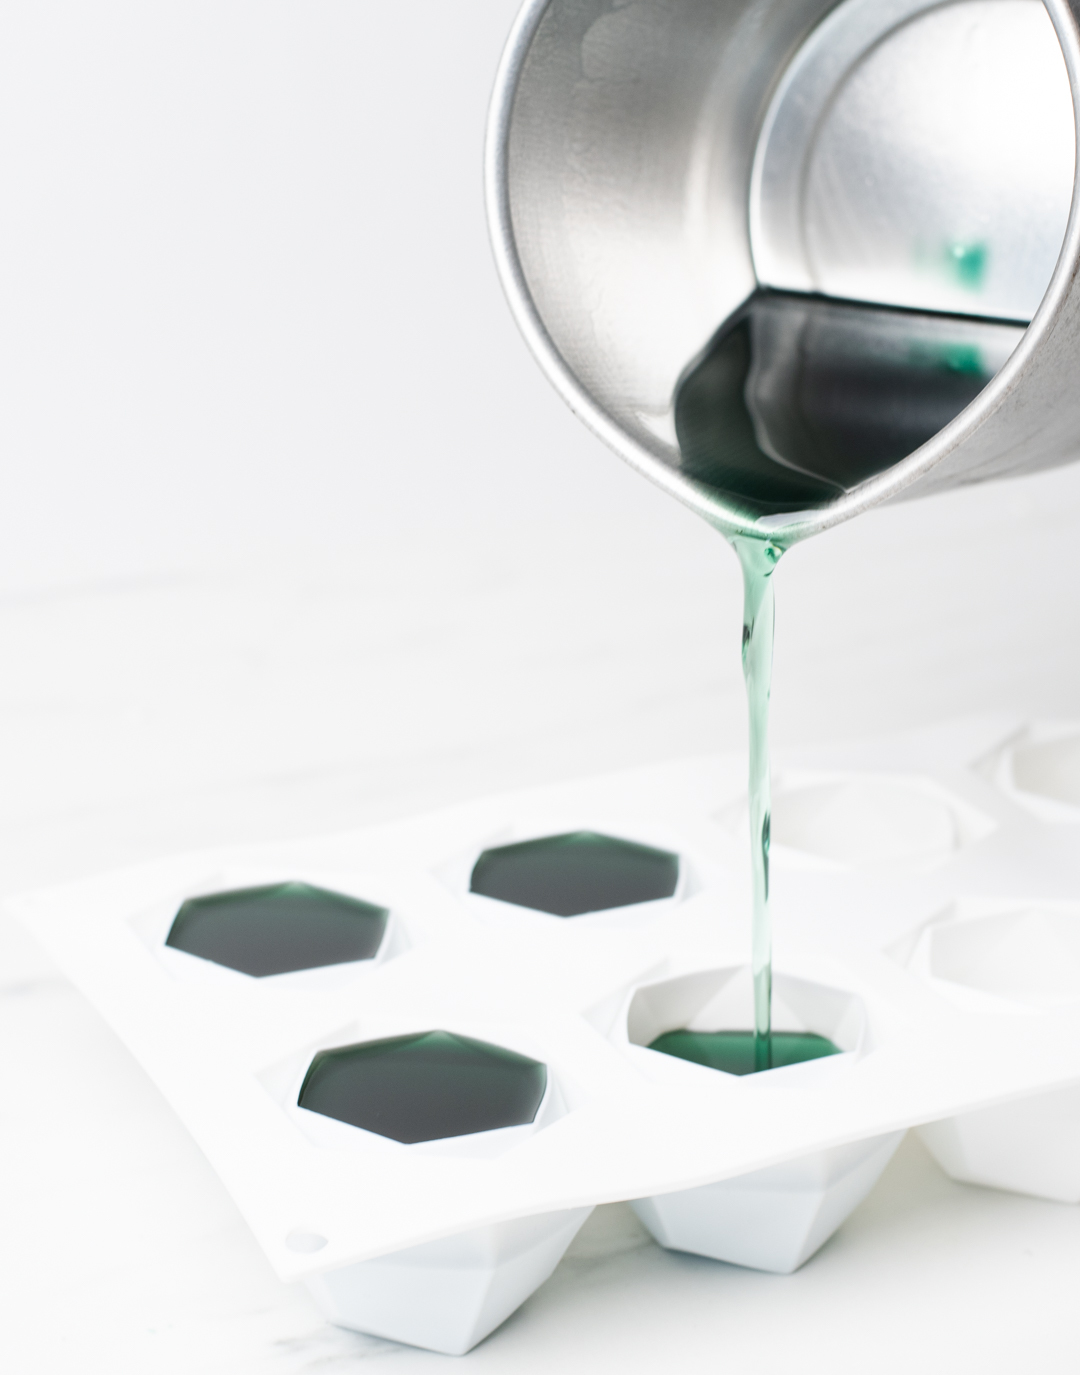
Step 5: Pour into mold
Pour the wax into the silicone molds when the wax cools to 170°F (77°C). Fill each cavity to the top being careful not to let it spill over.
Allow to cool until its is only a little warm to the touch, approximately 30-45 minutes.
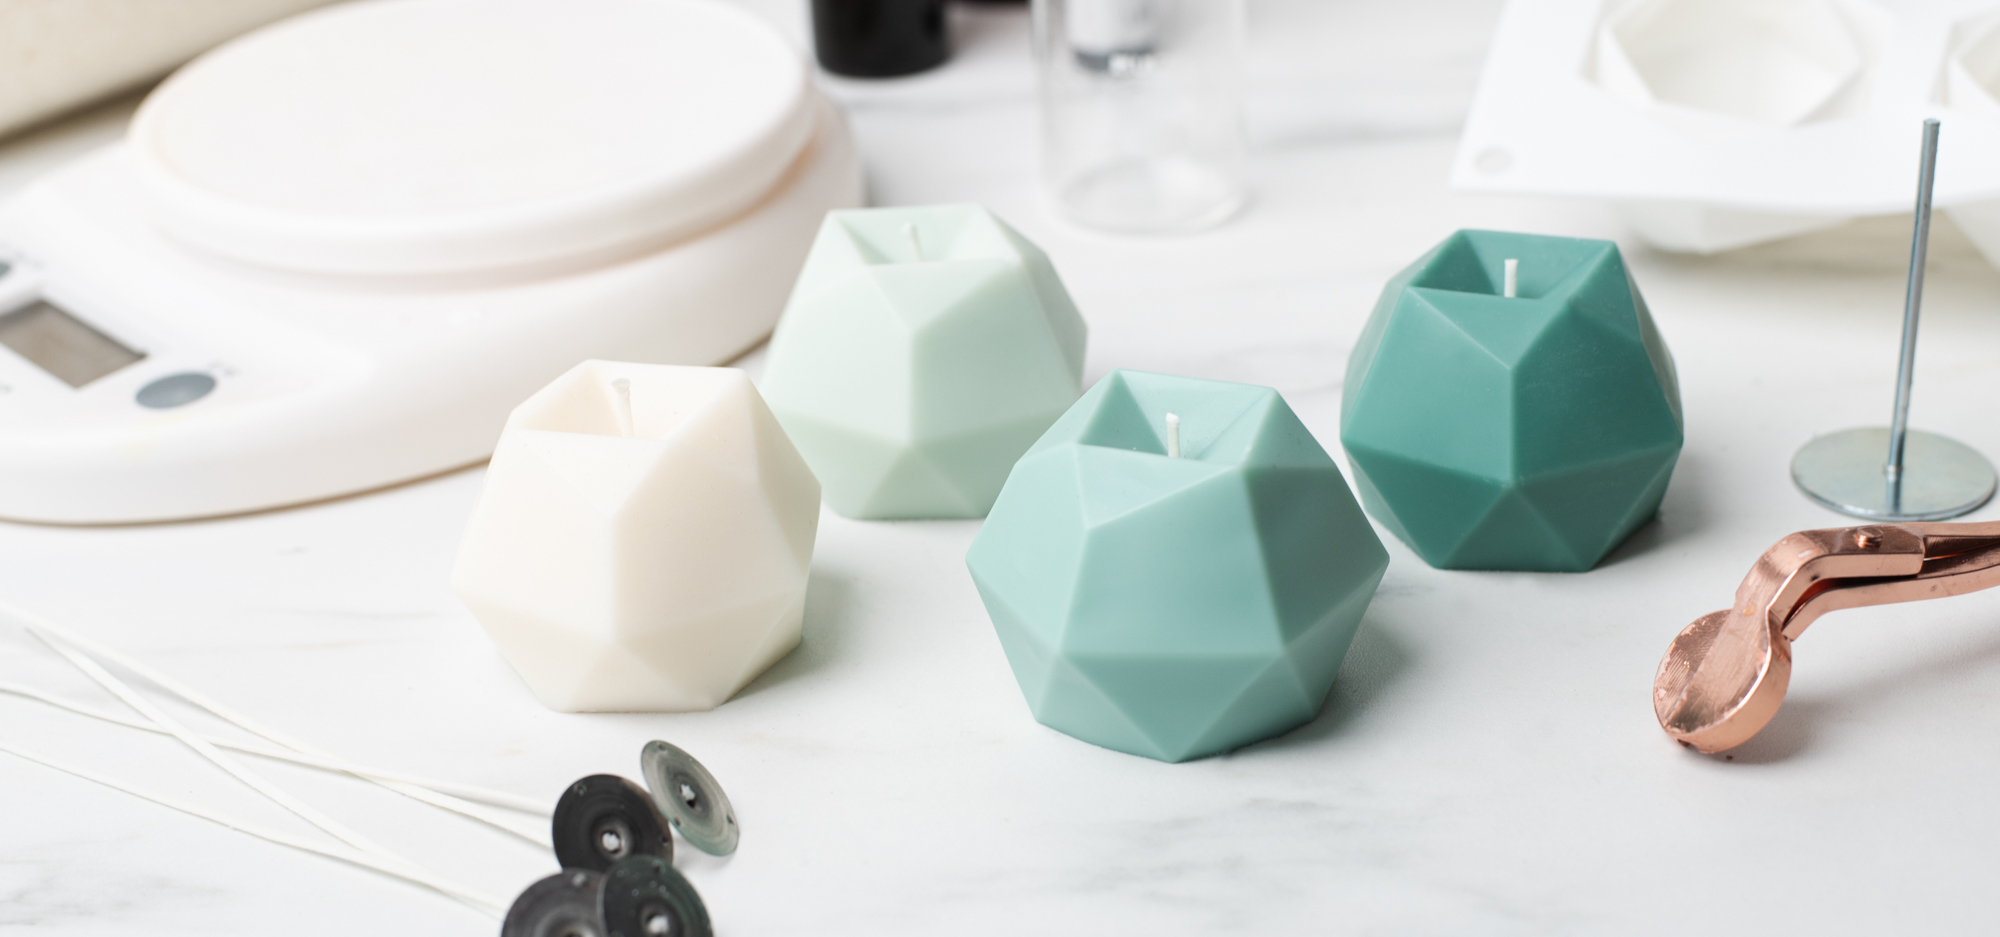
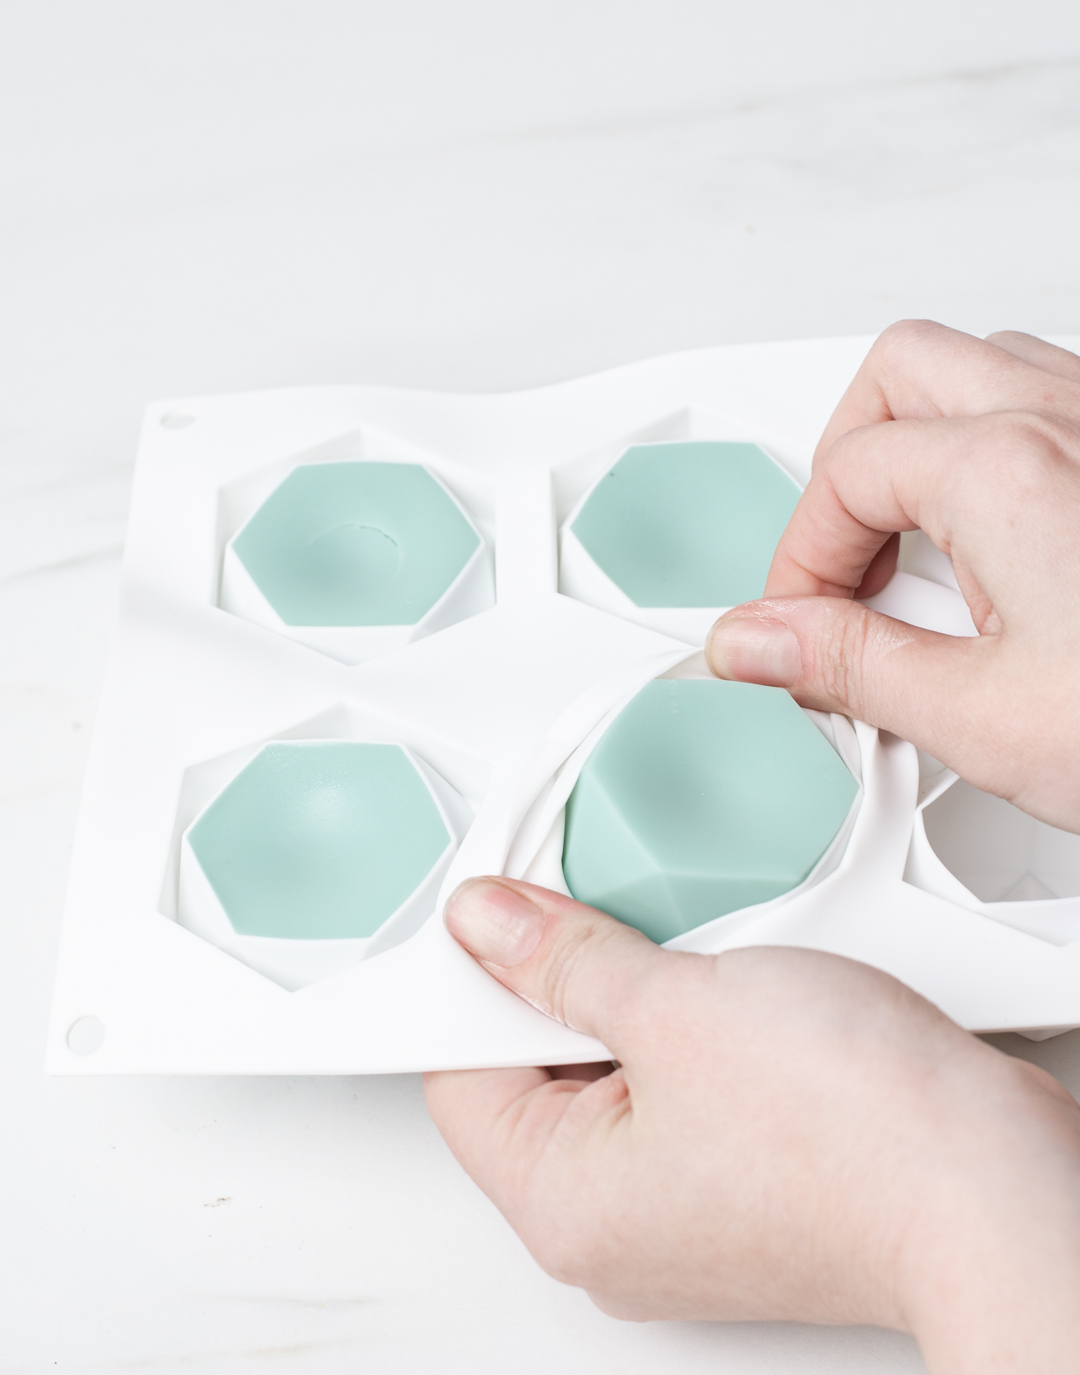
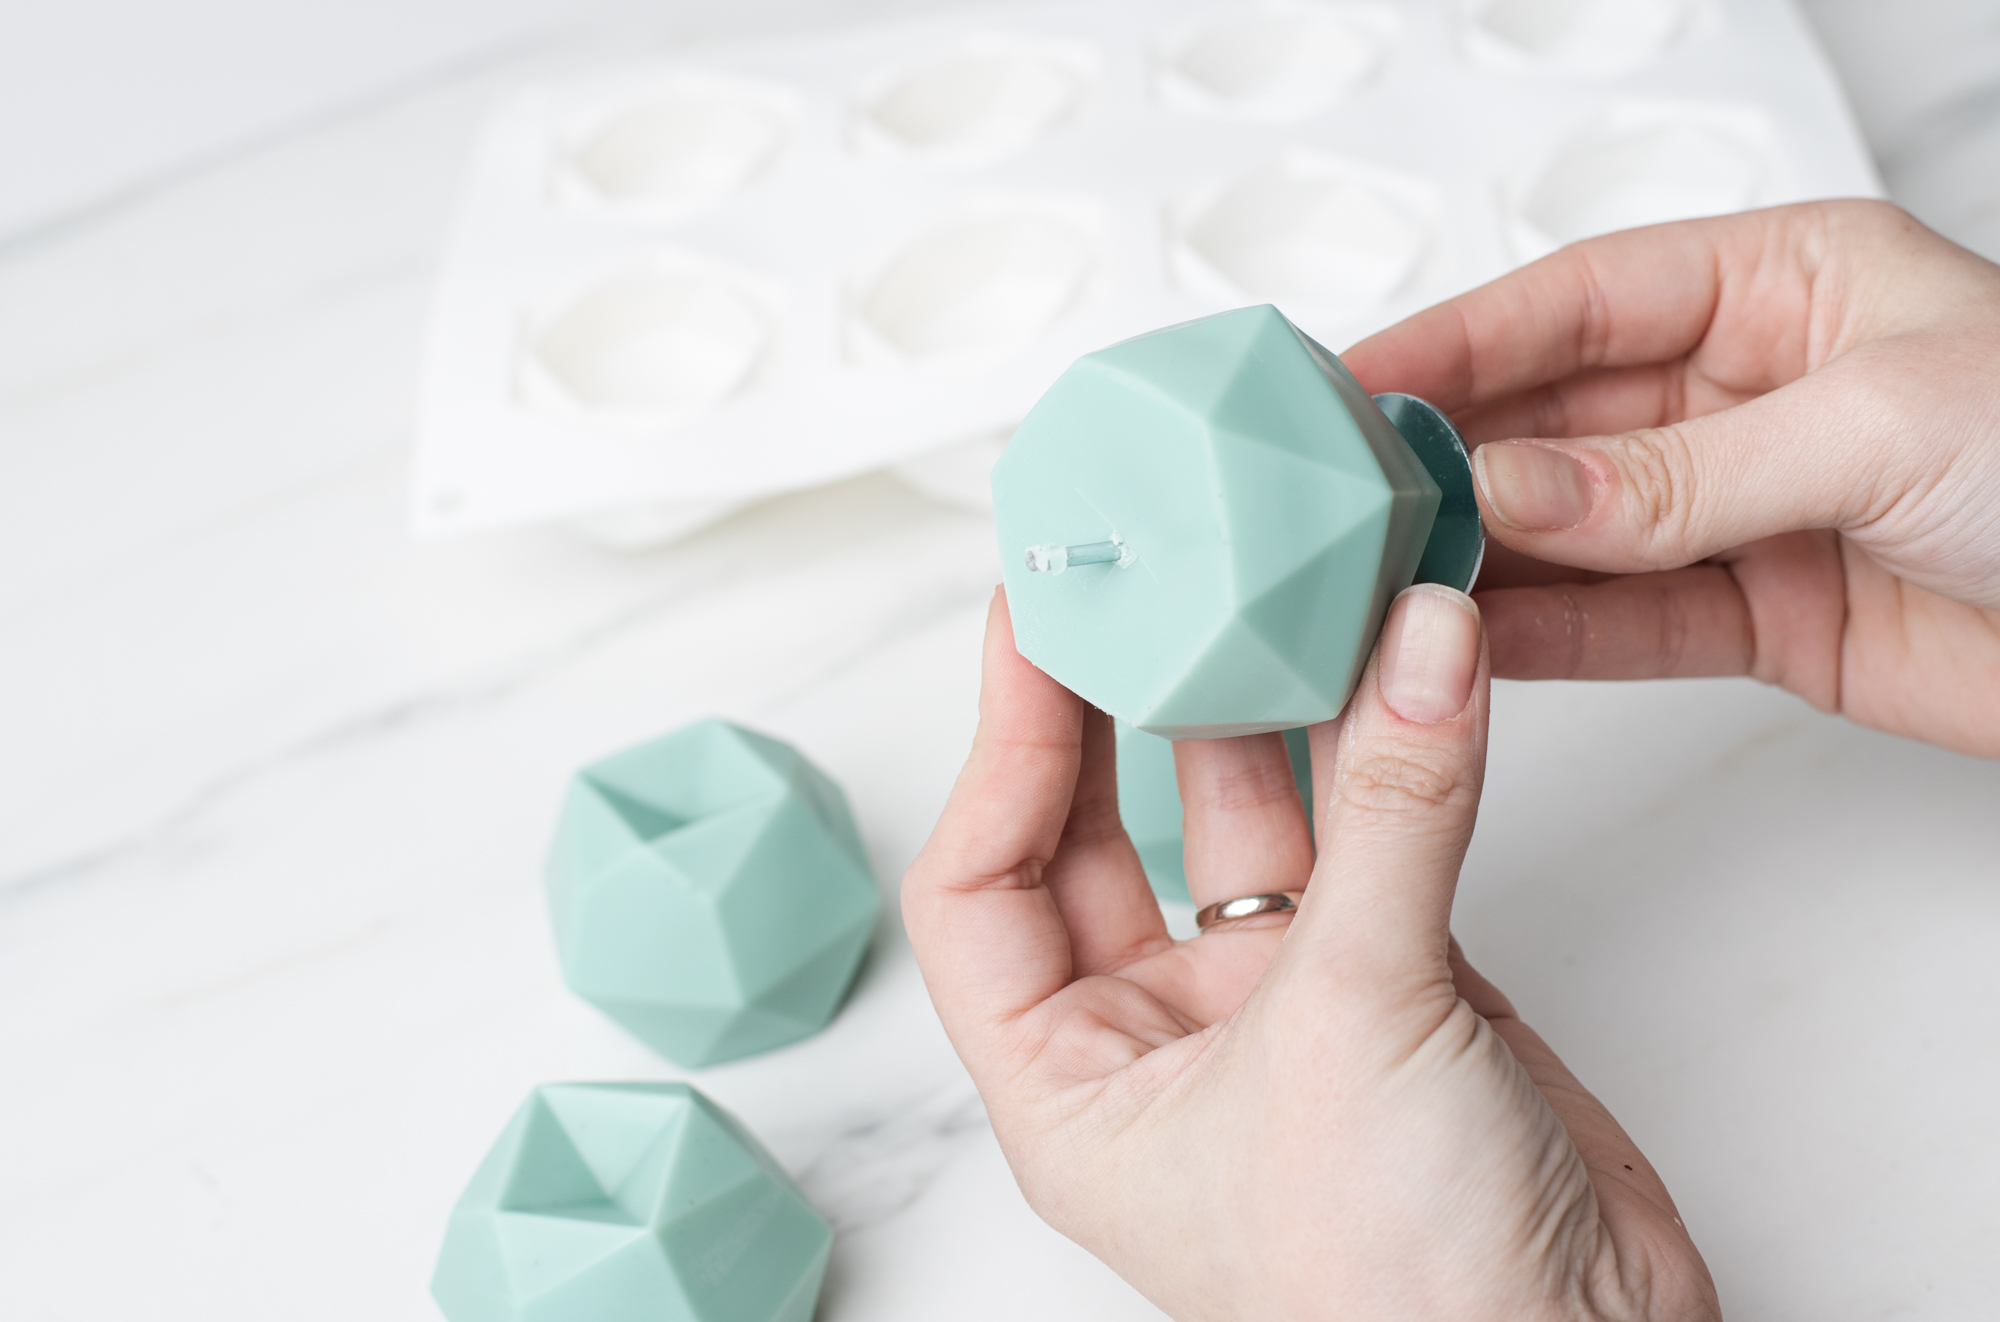
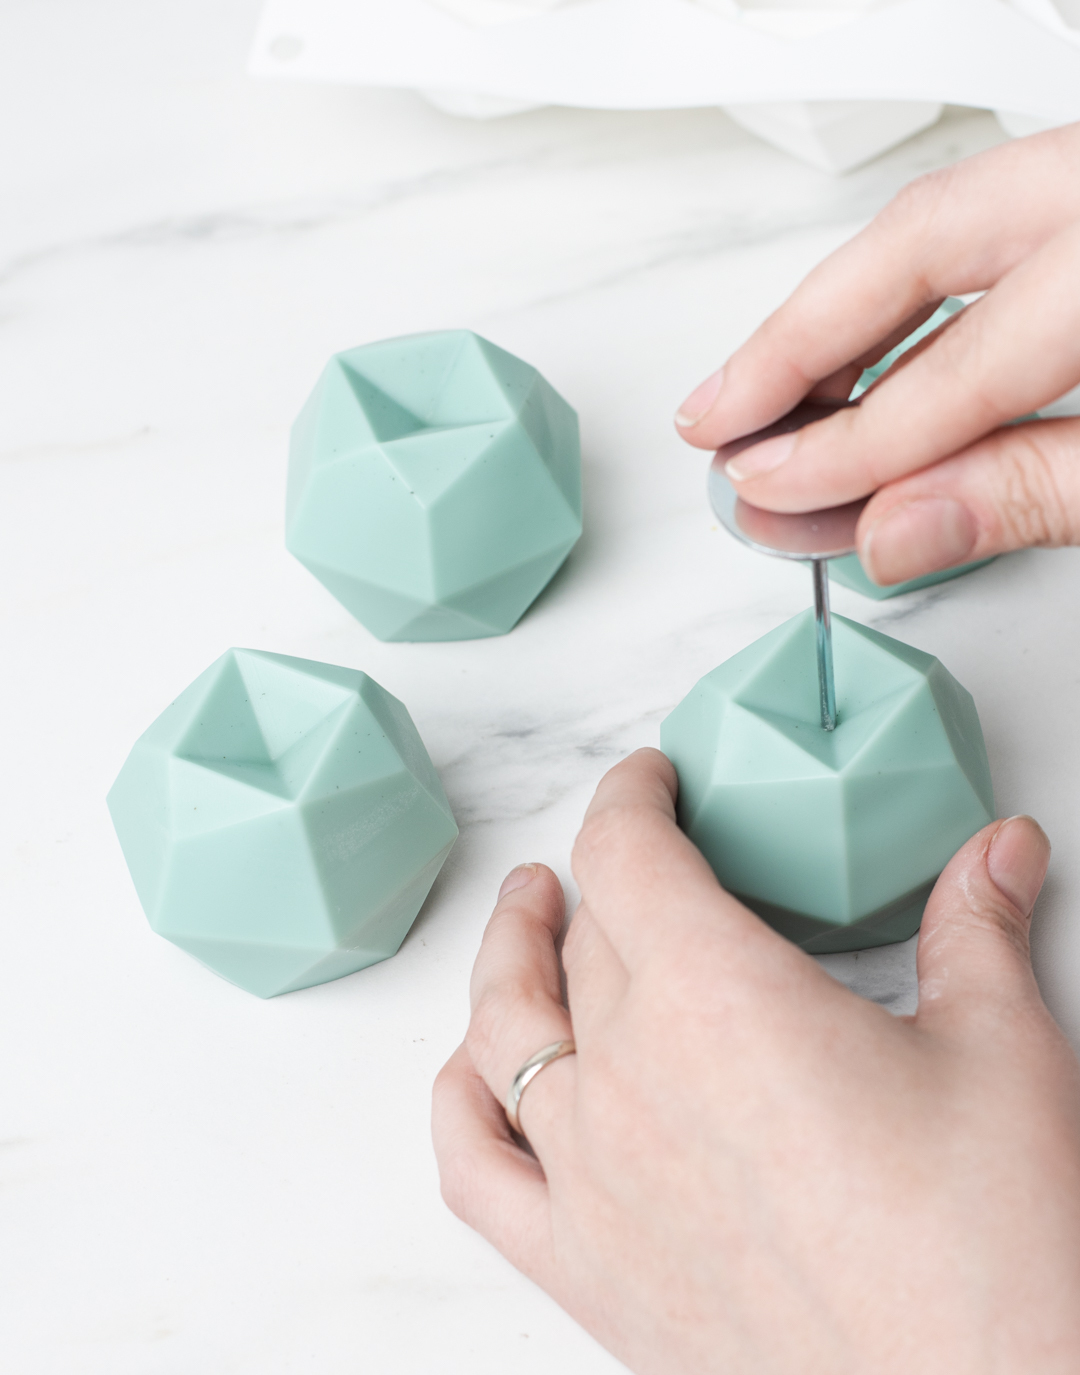
Step 5: Remove and wick your candles
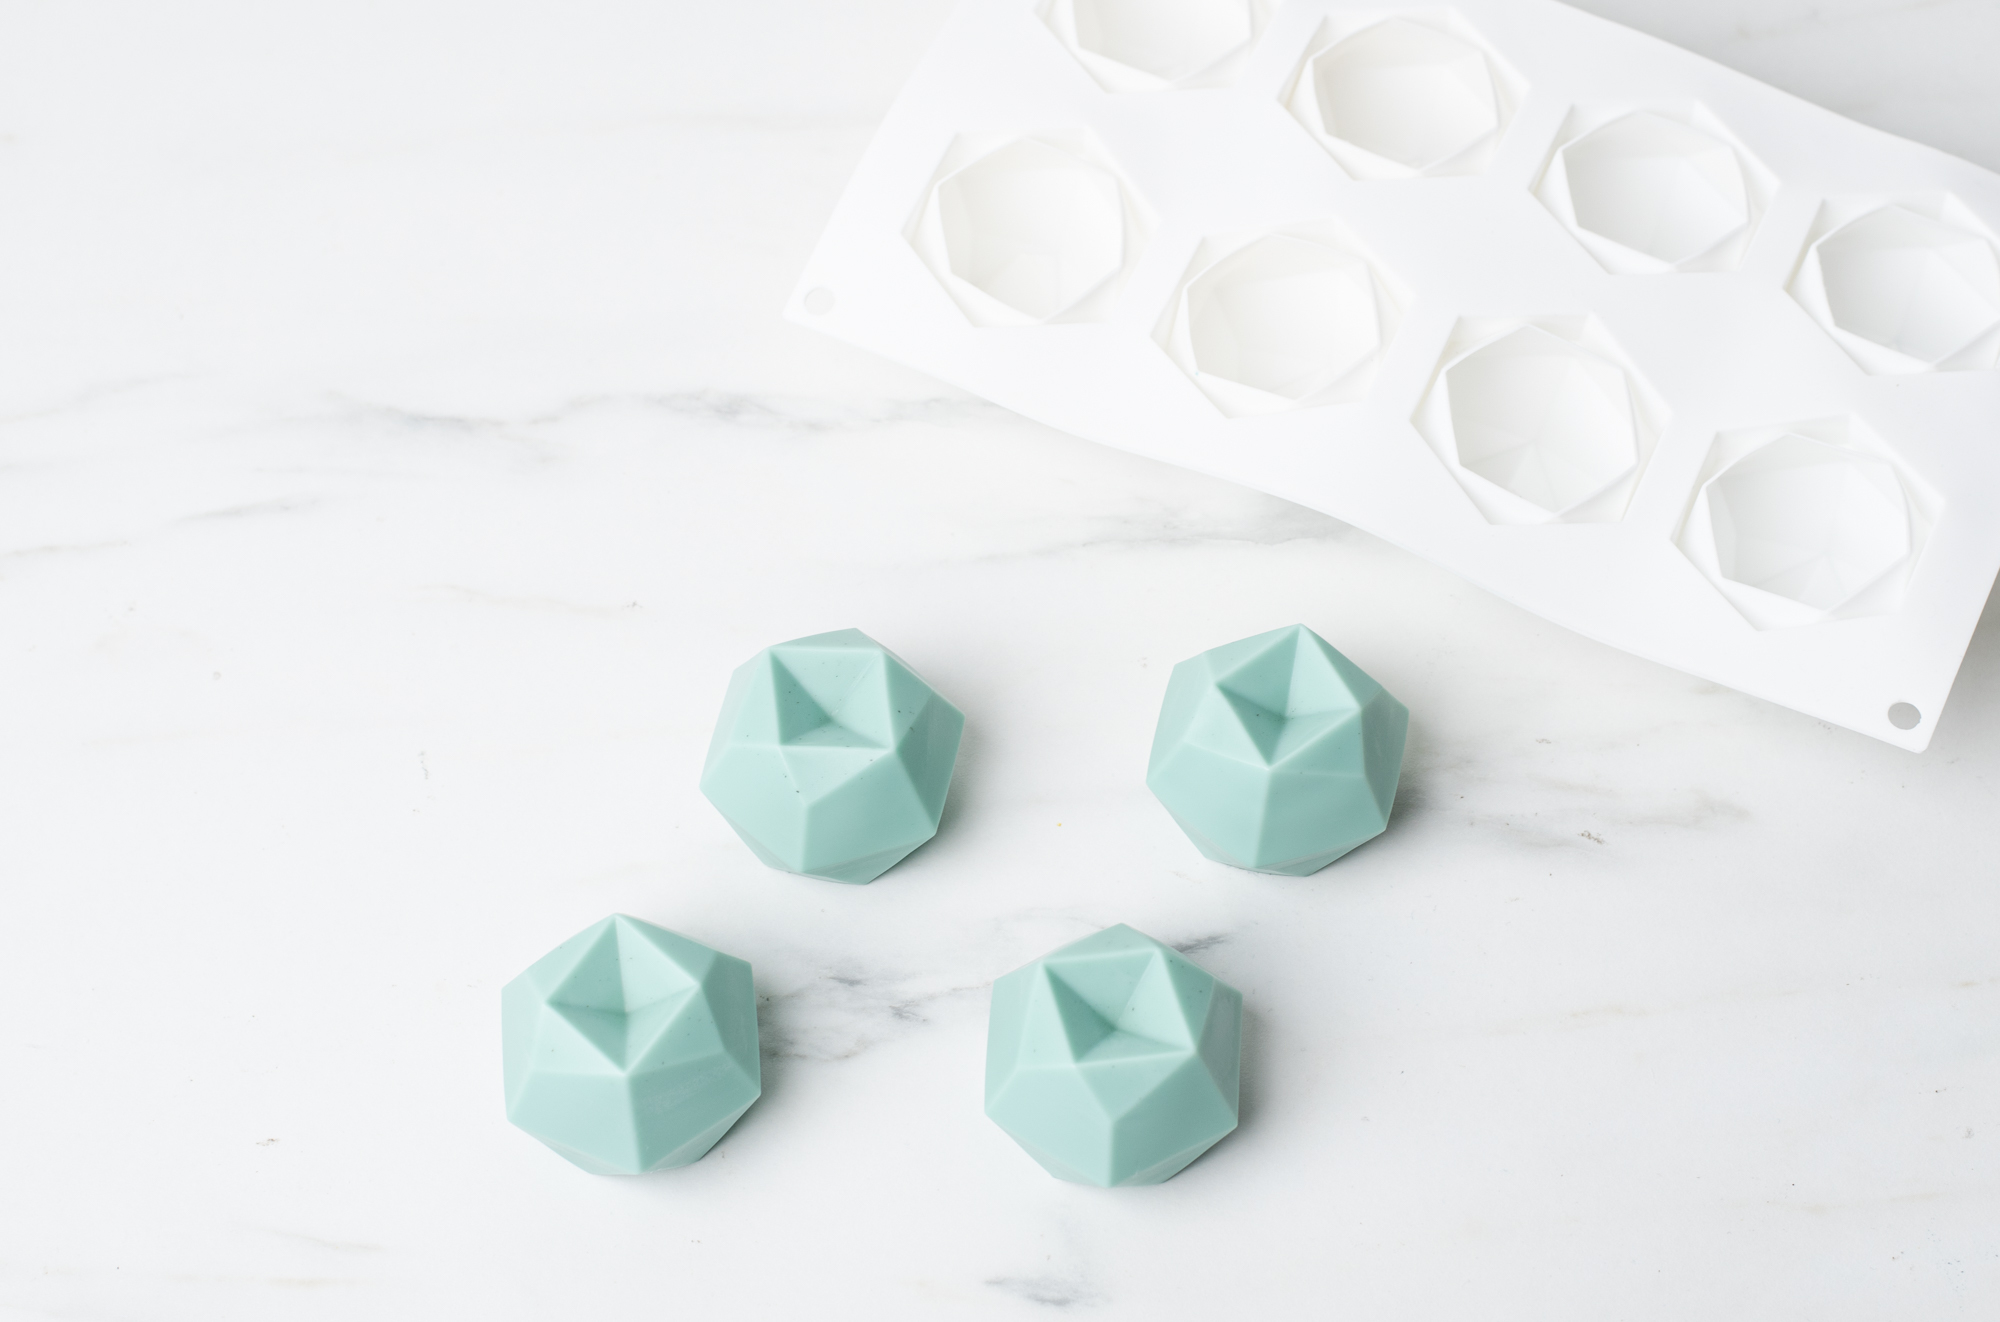
Gently unmold your geometric candles.
Take a wick pin and push a hole into each candle. Allow the candles to fully cool.
Thread an LX-10 wick through the candle and press the bottom of the wick securely to the bottom of the candle. With scissors or a wick trimmer, trim the wick to ¼ in (.635cm).

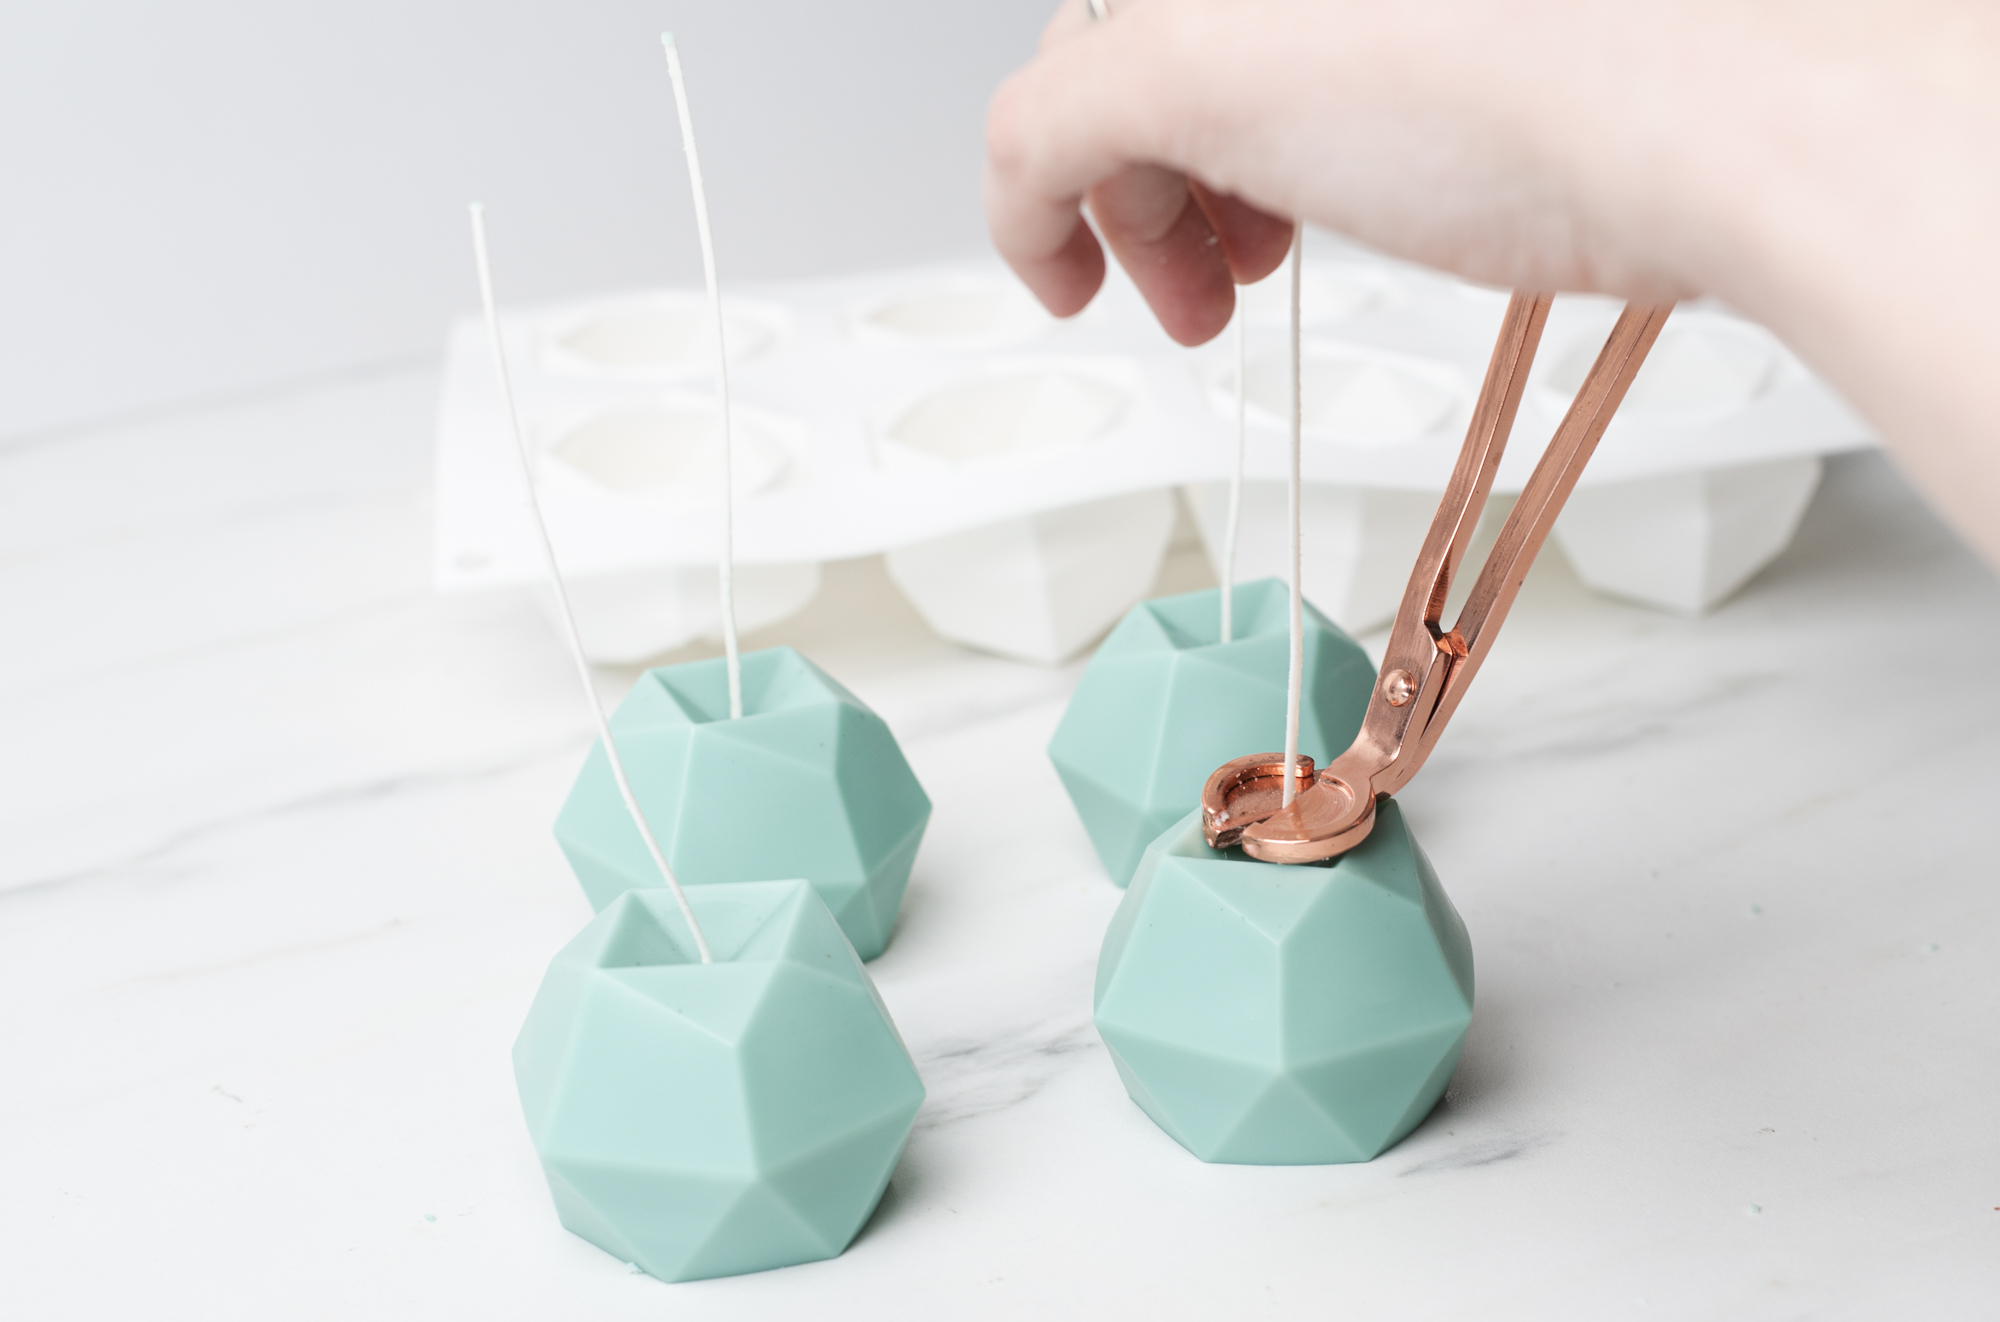
Your candles are ready!
Note: Just for fun, we made extra batches of these candles and used different amounts of candle dye to create an ombre set.