
How to Make Reed Diffusers
Looking for a flame and heat-free fragrance or essential oil option for your home? Want to expand and add value to your candle line? Try reed diffusers.
Reed diffusers are very easy to make—and they offer great profit margins! They provide a continuous scent to a room without the use of flame or heat, making them great for people with small children or mischievous pets. Easily customizable to fit in with any decor or existing product line, reed diffusers are an elegant, low-maintenance home fragrance option.
How do reed diffusers work?
Reed diffusers are a simple mixture of a base solution and fragrance oil or essential oil poured into a glass bottle.
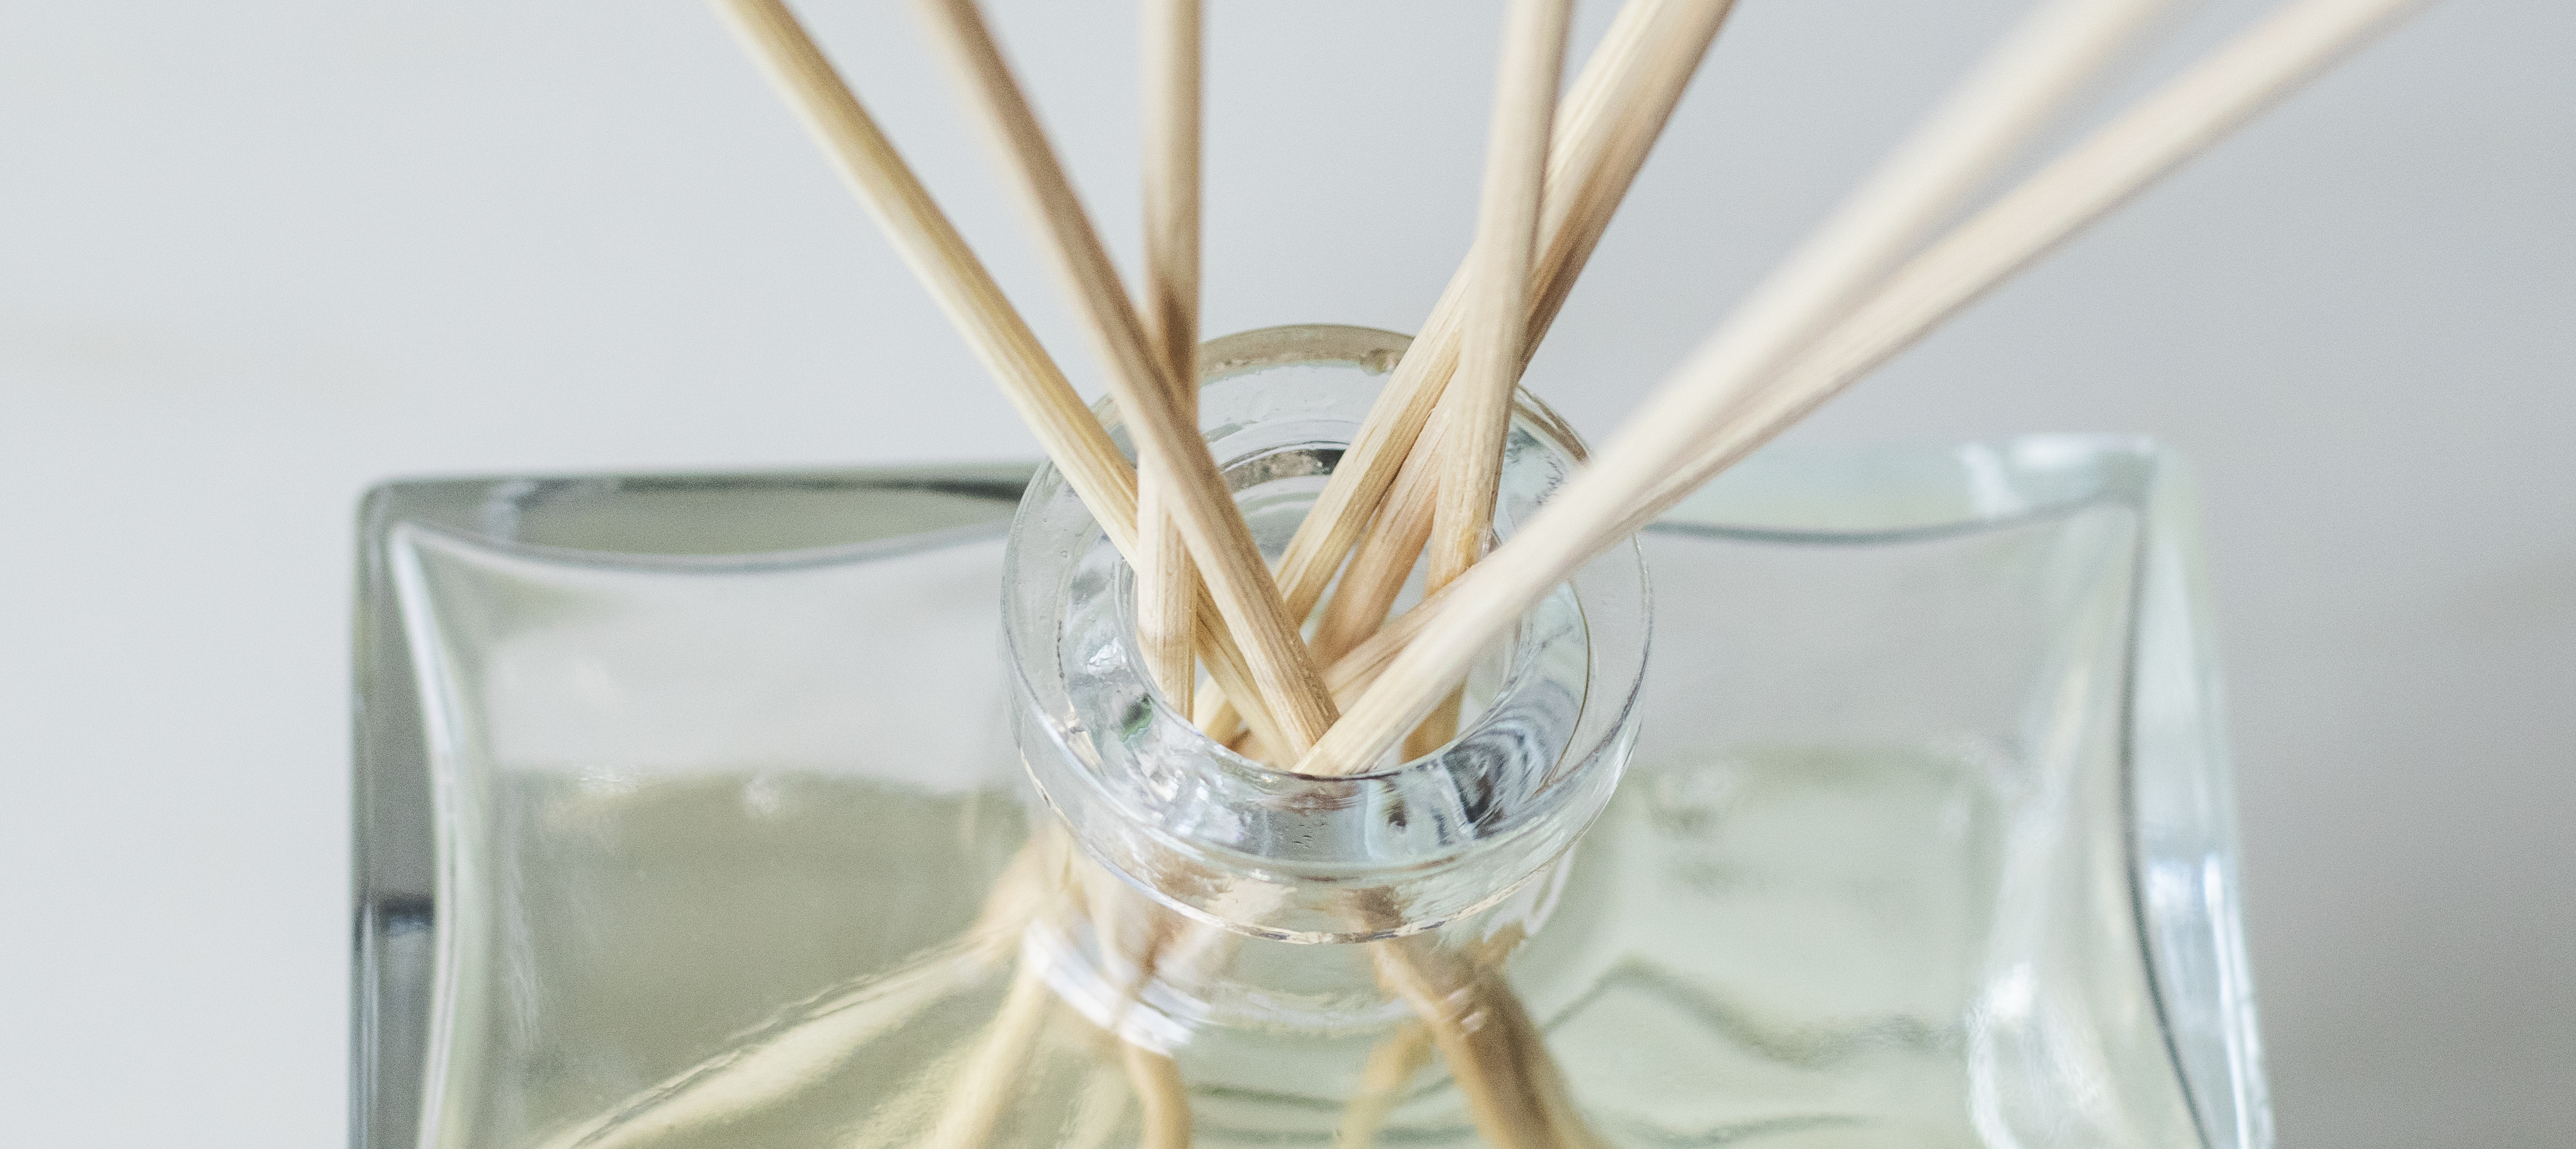
Typically, rattan reeds are placed into the mixture to draw the solution up. The solution then evaporates into the air and disperses the aroma molecules for you to smell.
That's it!
Most reed diffusers use 6-8 reeds. But the more reeds you add to the mixture, the stronger the scent. If the reed diffuser will be fragrancing a very large room, or you enjoy a strong scent, begin with 7-10 reeds.
Keep in mind that a diffuser with lots of reeds will not last as long as a diffuser with fewer reeds.
What is reed diffuser base?
Our reed diffuser base is made from a proprietary blend of silicones and organic compounds to help release fragrance into the air. It does not contain any ethanol or DPG, which evaporates much faster and can clog the reeds. It is also VOC compliant in all 50 states when recommended fragrance loads are used.
Recently, we launched our most sustainable product in this lineup yet: CandleScience EcoBase™ Reed Diffuser Solution. This versatile new base was formulated for enhanced performance with CandleScience fragrances and essential oils.
It can be used as a reed diffuser base or in other passive diffusers like paperboard air fresheners, wood, ceramic, and other porous materials that do not contain electronic or plastic components. It was created to be a more sustainable base, and is made with 50.1% renewable resources. And, just like our standard reed diffuser base, it doesn’t contain any ethanol or DPG, and it is VOC compliant in all 50 states when following our recommended fragrance guidelines.
What are reed diffuser sticks made from?
Our reed diffuser sticks are made from high-quality, all-natural rattan reeds responsibly harvested and sourced from Indonesia. Each reed is precision cut to avoid crushing the channels that carry the solution up to the top and to ensure you get a great fragrance throw. You can use as many or few as you like; the more reeds you add, the more scent you will have, but the mixture will not last as long.
Which fragrances or essential oils can I use in reed diffusers?
Fragrance is the fun part! Many of our fragrance oils, and some of our essential oils, work with our diffuser bases. We have tested them all and provide a recommended maximum for approved fragrances on the product page. If a fragrance is not approved for use in diffuser bases that is also noted on its product page. Quickly locate reed diffuser approved fragrances by using the Fragrance Oil Finder. To find approved essential oils, visit our Recommended Essential Oils for Diffusers page.
How much fragrance or essential oil do I use in my reed diffusers?
Let’s look at an example. Say you’re using the Cedarwood Blanc fragrance oil, which is diffuser base approved up to 25%, and a jar that will hold 1 oz (28 g)of liquid total. Just like with measuring fragrance oils for candle making, you want to measure by weight and use a scale.
1 oz (28 g) (the size of your jar) x 25% (the percentage of fragrance you plan to use) = .25 oz (7 g) of fragrance
Now that you know how much fragrance you need, you can find out how much diffuser base to use.
1 oz (28 g) (the size of your jar) - .25 oz (the amount of fragrance) = .75 oz (21 g) of diffuser base
For CandleScience fragrances, we typically recommend a usage percentage of 25%, but check the recommended usage levels on the product page for the scent you choose.
When it comes to reed diffusers, more fragrance doesn’t always mean a stronger scent. Using more than the recommended 25% will likely cause separation and may clog the reeds. If you find that you’re not quite getting the scent throw you’d like at the maximum usage level, try adding a few more reeds.
Another great thing about reed diffusers is their longevity. A typical 1 oz (28 g) mixture with 6-8 reeds will last for around 2-3 months in an average-sized room. However, this can vary based on the size of the bottle and the number of reeds used.
How should I package my reed diffusers?
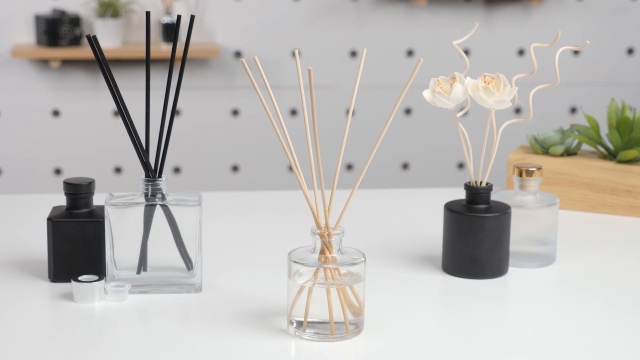
A container like our round matte black diffuser bottle and clear square diffuser bottle that has a wide base and a narrow opening is perfect for diffusers. Place these into a retail reed diffuser box, in black, white, or kraft for a completed look. Mason Jars are also a great vessel choice for your reed diffusers, especially if you enjoy a rustic look or already use these jars in your candle line. If your jars do not have a lid or cap, you’ll want to package your pre-made fragrance mixture into a glass or PET plastic bottle for your customers to transfer into the container.

Don’t forget the finishing touch: your labels! A customized label is a great way to elevate the look of all your handmade items and crafts, and is essential if you plan on selling. Get started creating your own brand labels with Avery WePrint and take advantage of the easy-to-use design program and professional printing. And as a special bonus for the CandleScience community, take 10% off your label orders, too! Head over to avery.com/candlescience to get started.
Directions:
Step 1: Create a Diffuser Solution
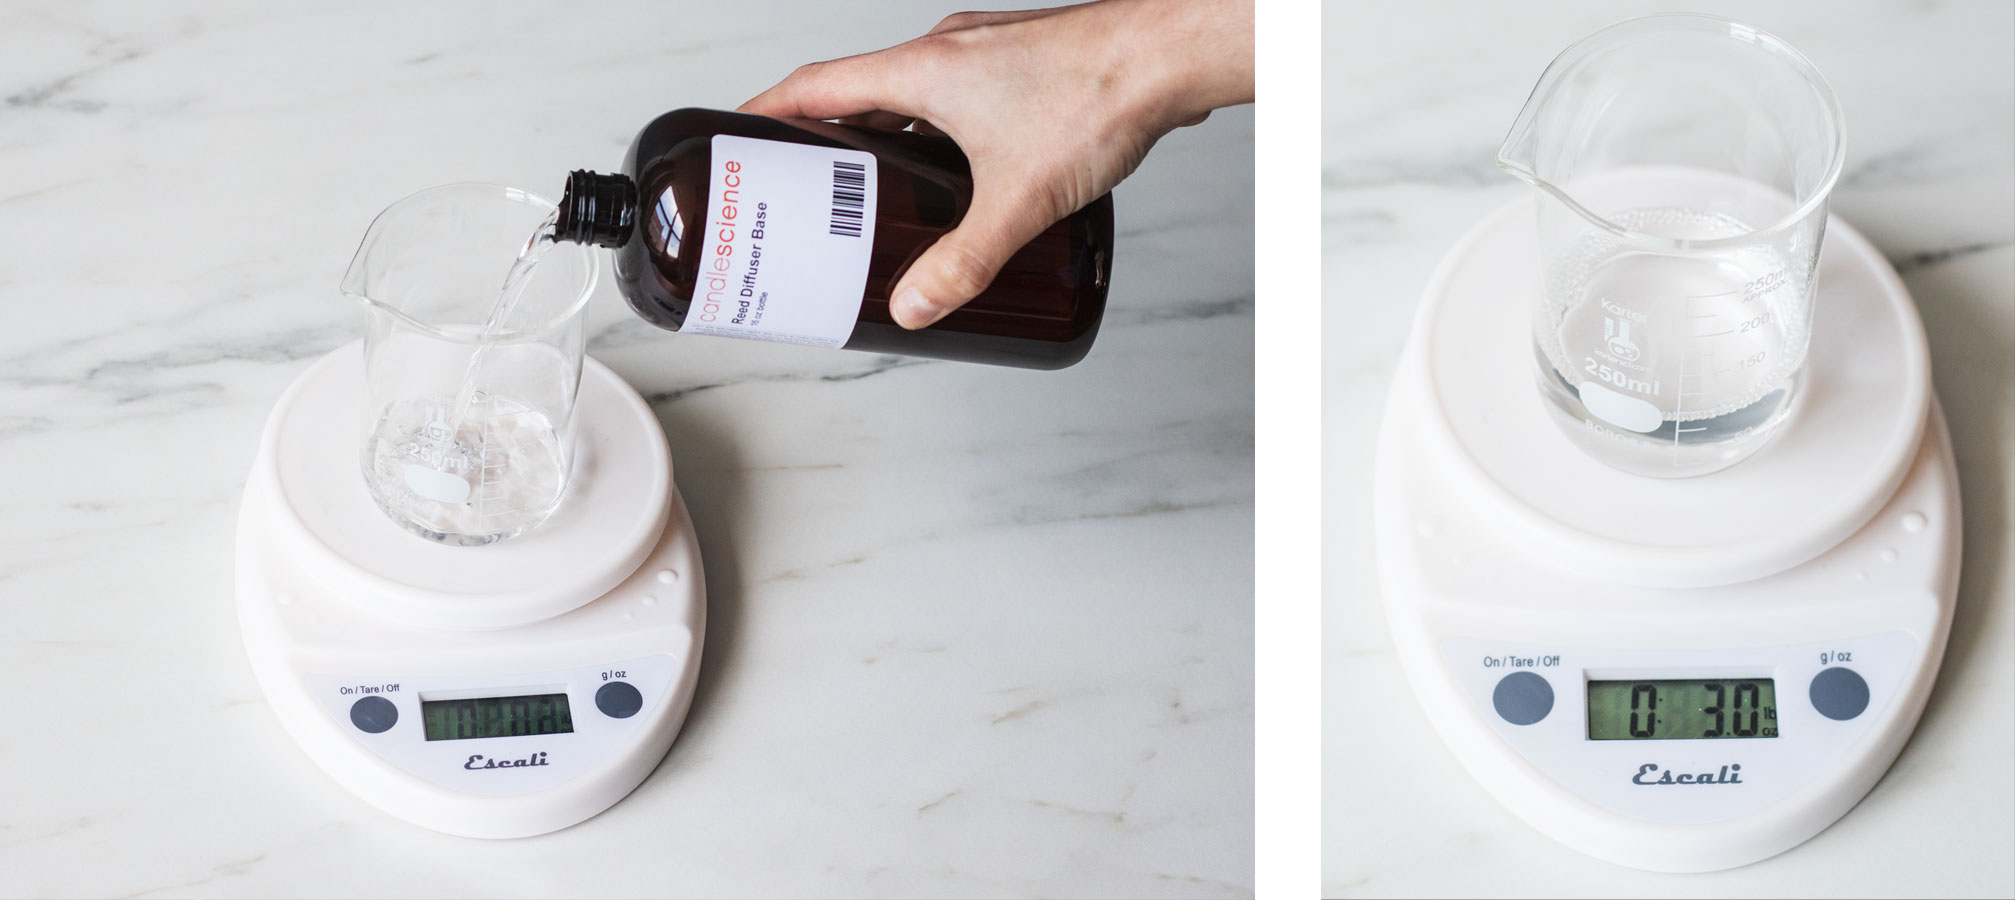
Place a small measuring container on the scale and tare the weight. Weigh out 3 oz (85 g) of CandleScience EcoBase Reed Diffuser Solution as your reed diffuser base and place it to the side.
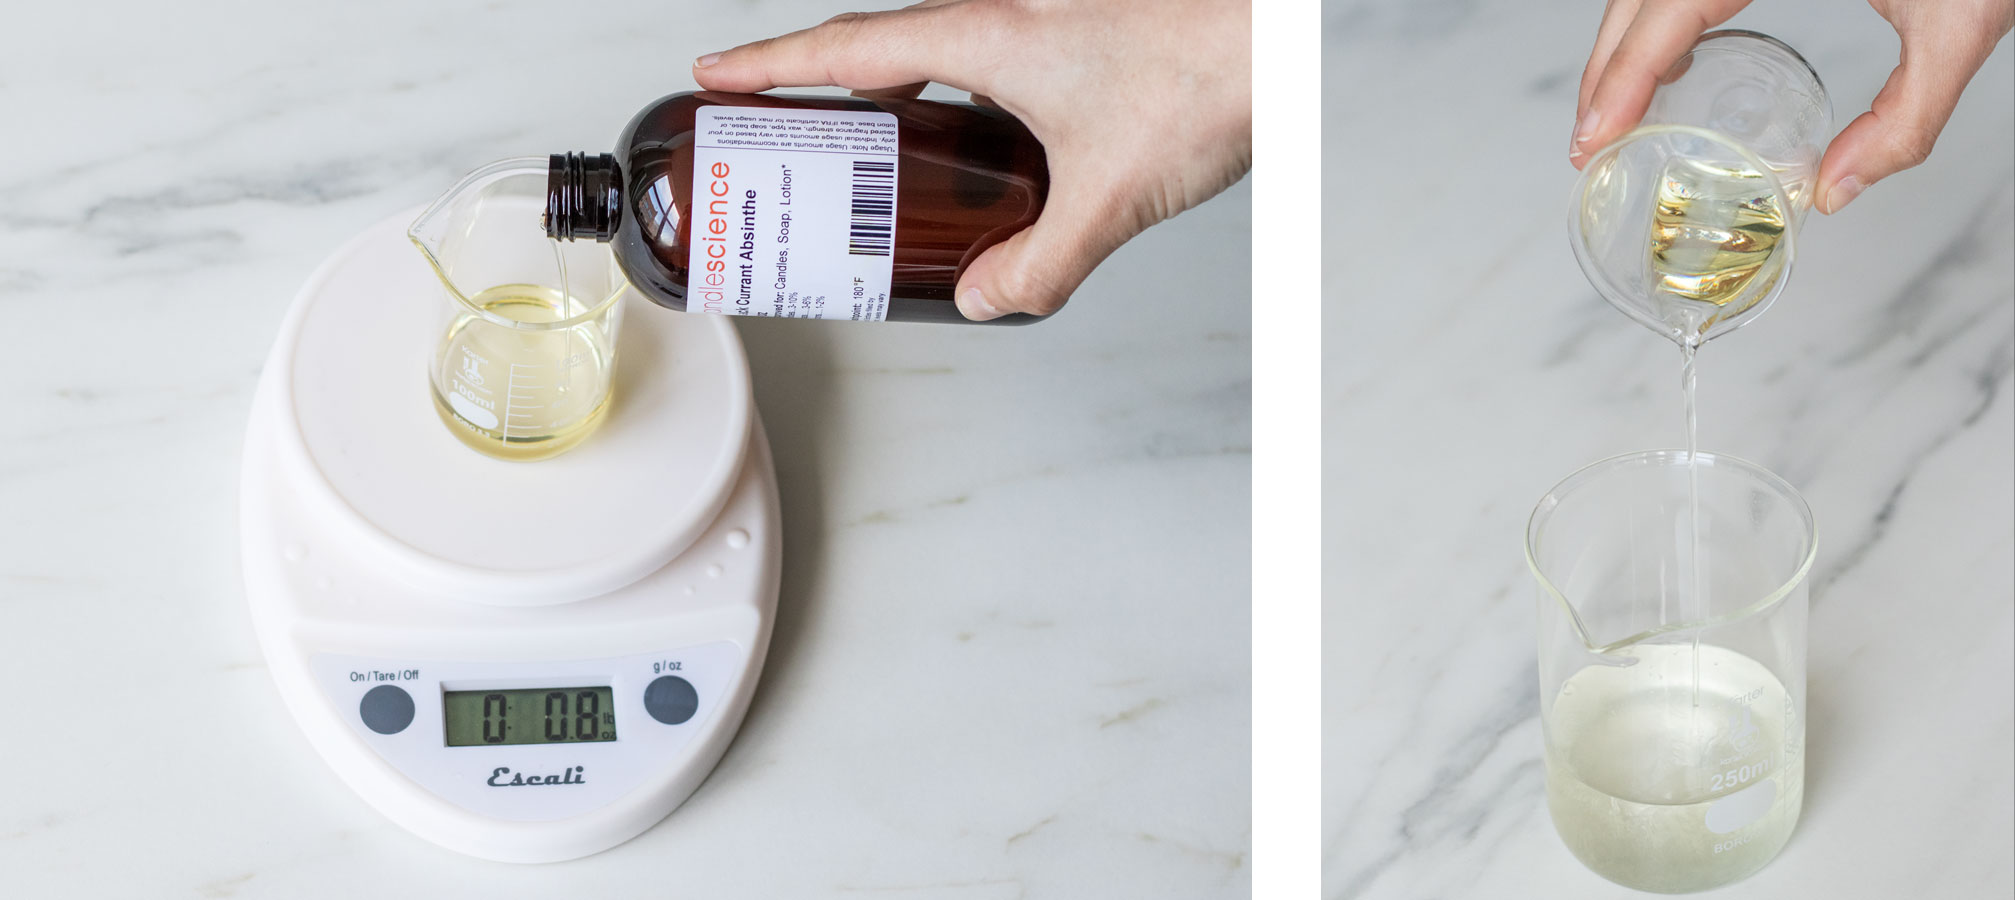
Using a second container, weigh out 1 oz (28 g) of fragrance oil. Then pour the fragrance into the container with the 3 oz (85 g) of reed diffuser base and gently stir.
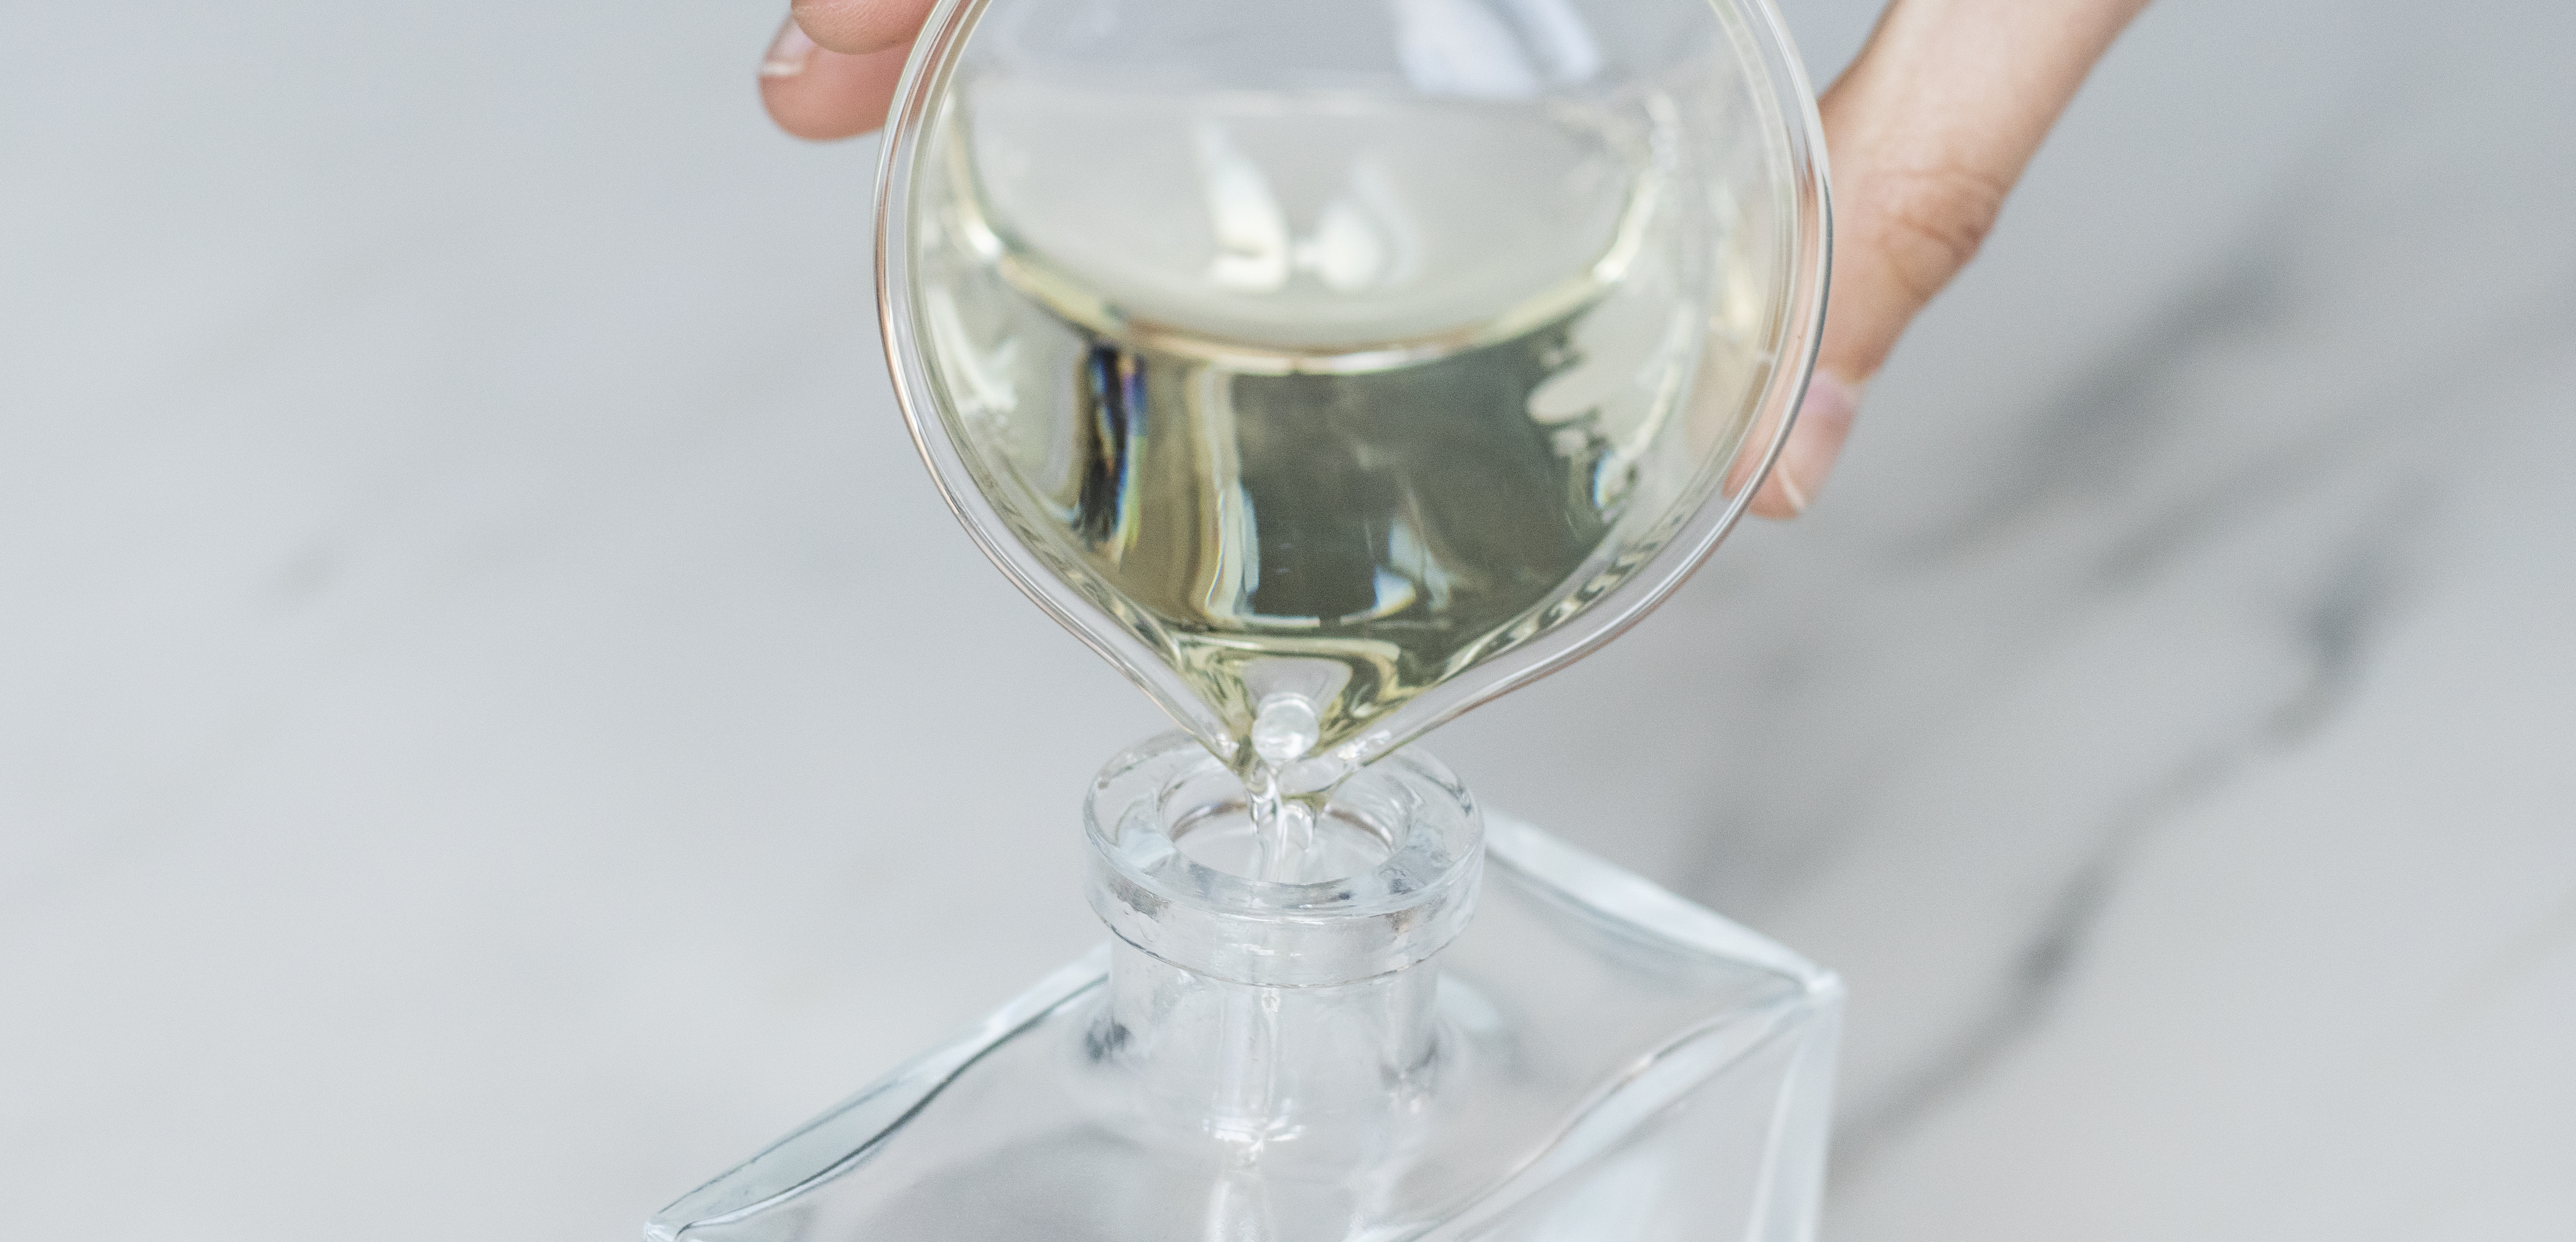
Step 2: Add Reed Diffuser Solution
Carefully pour your diffuser solution into your diffuser bottle.
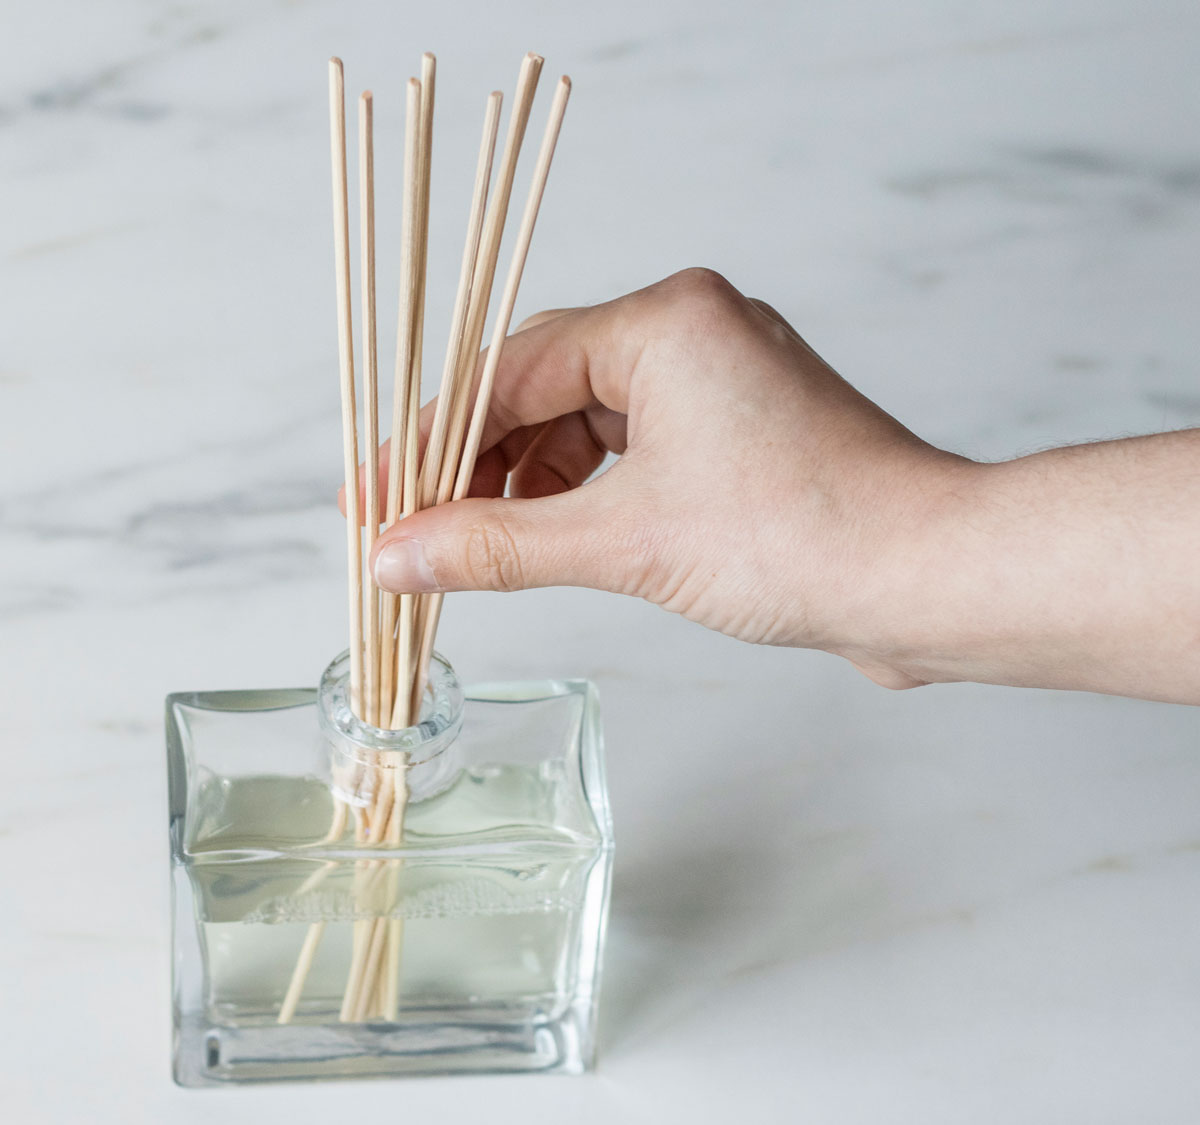
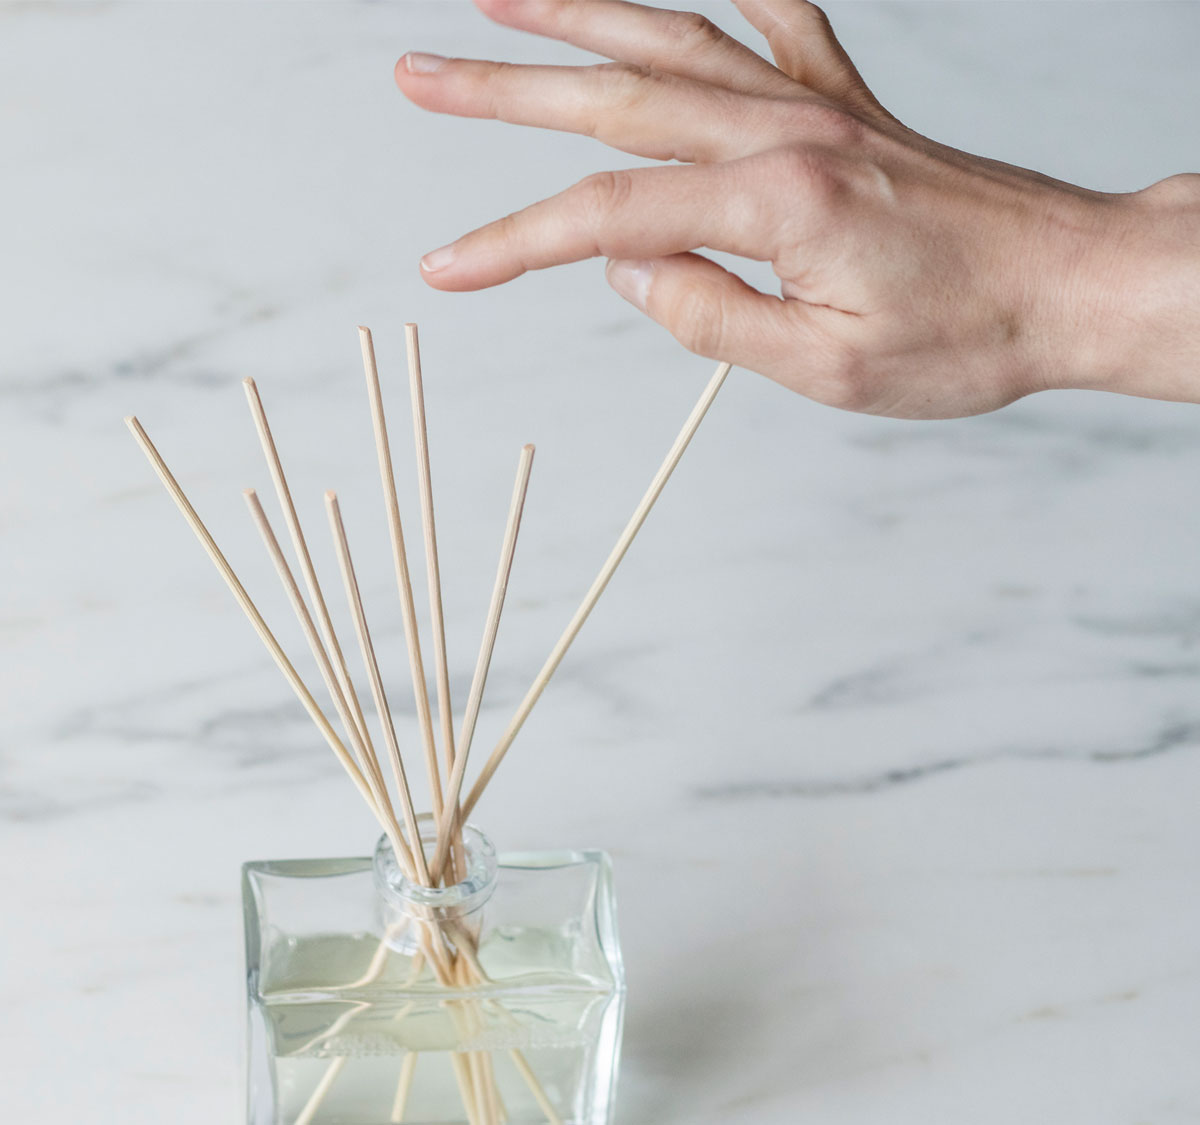
Step 3: Add Reeds
Insert 6-8 reeds into the container, and spread the top of the reeds out, allowing air to flow between them. Place your finished reed diffuser in the desired area. Replace with new reeds and solution every 2-3 months.
.jpg)
Lastly, add your customized label and your warning labels.
And that’s how you make reed diffusers! Share photos of how you package and label your reed diffusers by tagging us @CandleScience and using the #candlescience and #candlescientist hashtags. We may feature you in our Stories or on our website!