
LAB NOTES: Golden Brands 454 coconut soy wax
Our testing process
We divided our testing into three parts:
- Aesthetics: We tested for adhesion, frosting, and color issues.
- Fragrance Performance: We looked at fragrance solubility, retention, and cold and hot throw performance.
- Burn Performance: We tested various wick series and sizes to find the best burn.
For the fragrance testing segments, we used Cranberry Apple Marmalade, White Tea, and Very Vanilla fragrance oils. They have very different densities, viscosities, and ingredients. We hoped the variation would reveal potential solubility and burn issues.
General overview
Application: Containers and Tealights
Recommended Fragrance Load: 6-10%
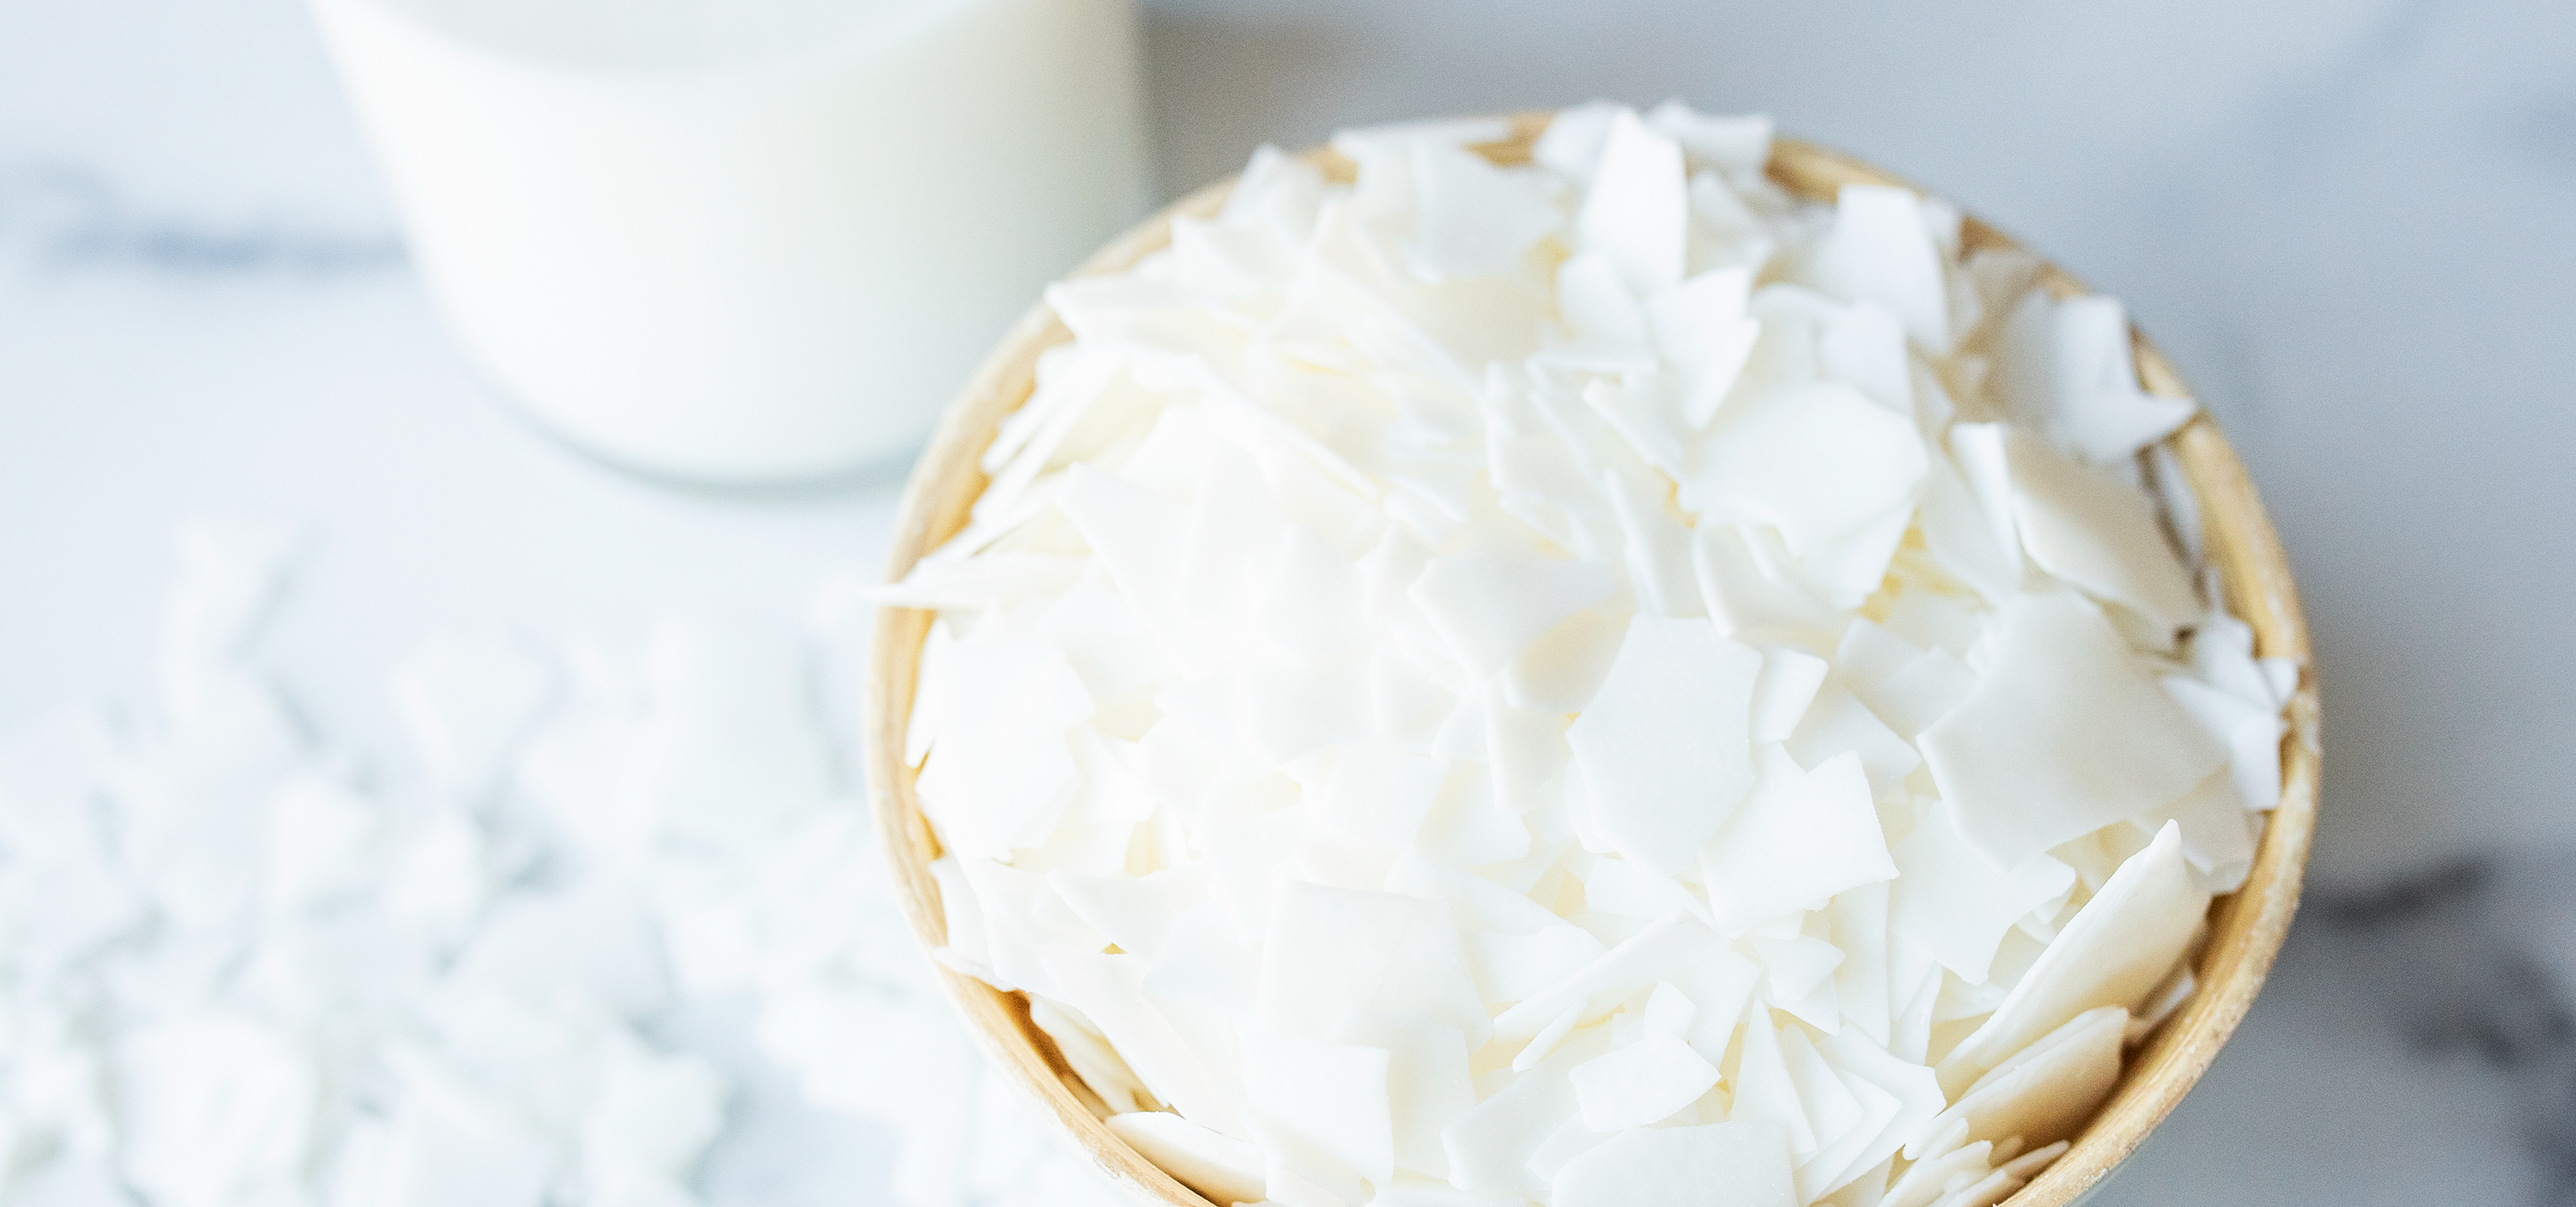
We are excited to see that AAK, makers of Golden Wax 464, have launched their own coconut soy candle wax. Even if you are a new candle maker, you’ve probably heard about coconut wax and know this wax is in high demand by both makers and consumers. We’ve seen coconut wax become as popular as soy wax was in the early 2000s!
This wax comes in flake form, just like all of AAK’s waxes, making it easy to scoop and measure. The wax does not look any different from other flaked soy wax, so the transition from pure soy to this soy/coconut blend may be easier than you think. It is available in both a 10 lb (4.5 kg) bag as well as a 45 lb (20.4 kg) case.
While the ratio of soy to coconut is proprietary, we do know that it is made up of a majority of soy. This means you’ll experience that same creamy, off-white appearance as pure soy and candle dye will have a similar appearance as pure soy.
This coconut/soy blend allows for a higher pour temperature than pure soy, and less chance of frosting, and rough, bumpy tops. Since this wax is still a 100% vegetable-based wax, you may experience these common issues at some point, but we think you’ll appreciate having to deal with temperamental wax less often.
If you’re curious about using coconut wax, this is a great wax to start with, especially if you prefer to avoid paraffin wax in your candles.

Aesthetics
Surface and glass adhesion
We tested pour temperatures ranging from 135ºF up to 180ºF (57.2°C to 82.2°C). Having worked with a few different coconut waxes in the past, we knew that finding the best pour temperature was going to take a bit of trial and error.
We found that pour temperatures from 165ºF to 175ºF (73.9°C to 79.4°C) gave us smooth tops and perfect glass adhesion. The lower the pouring temperature, the worse the tops looked and cratered. The glass adhesion was still good for temperatures as low as 145ºF (62.8°C), but we started to experience some wet spots at lower temperatures.
After burning the candle, there was a greater chance of cratering when the wax reset. Unfortunately, there is not a perfect way to prevent this, but wick size did seem to have an effect. Check out our notes on wick testing for more details.
Frosting
We mostly tested the wax without using dye and found that frosting was virtually undetectable. Even when we experimented with dye, we found very little to no frosting on the wax. Our test candles that are well over 6 months old still do not have frosting. While it will always have the potential to frost, we think it will be minimal if it does happen.
When we did smooth out tops and imperfections with a heat gun, the wax did have a greater occurrence of frosting after it solidified. Consider saving extra wax to top off the candles if they don’t have a smooth top initially.
Note: The fragrance oil and dye can greatly affect the amount of frosting.
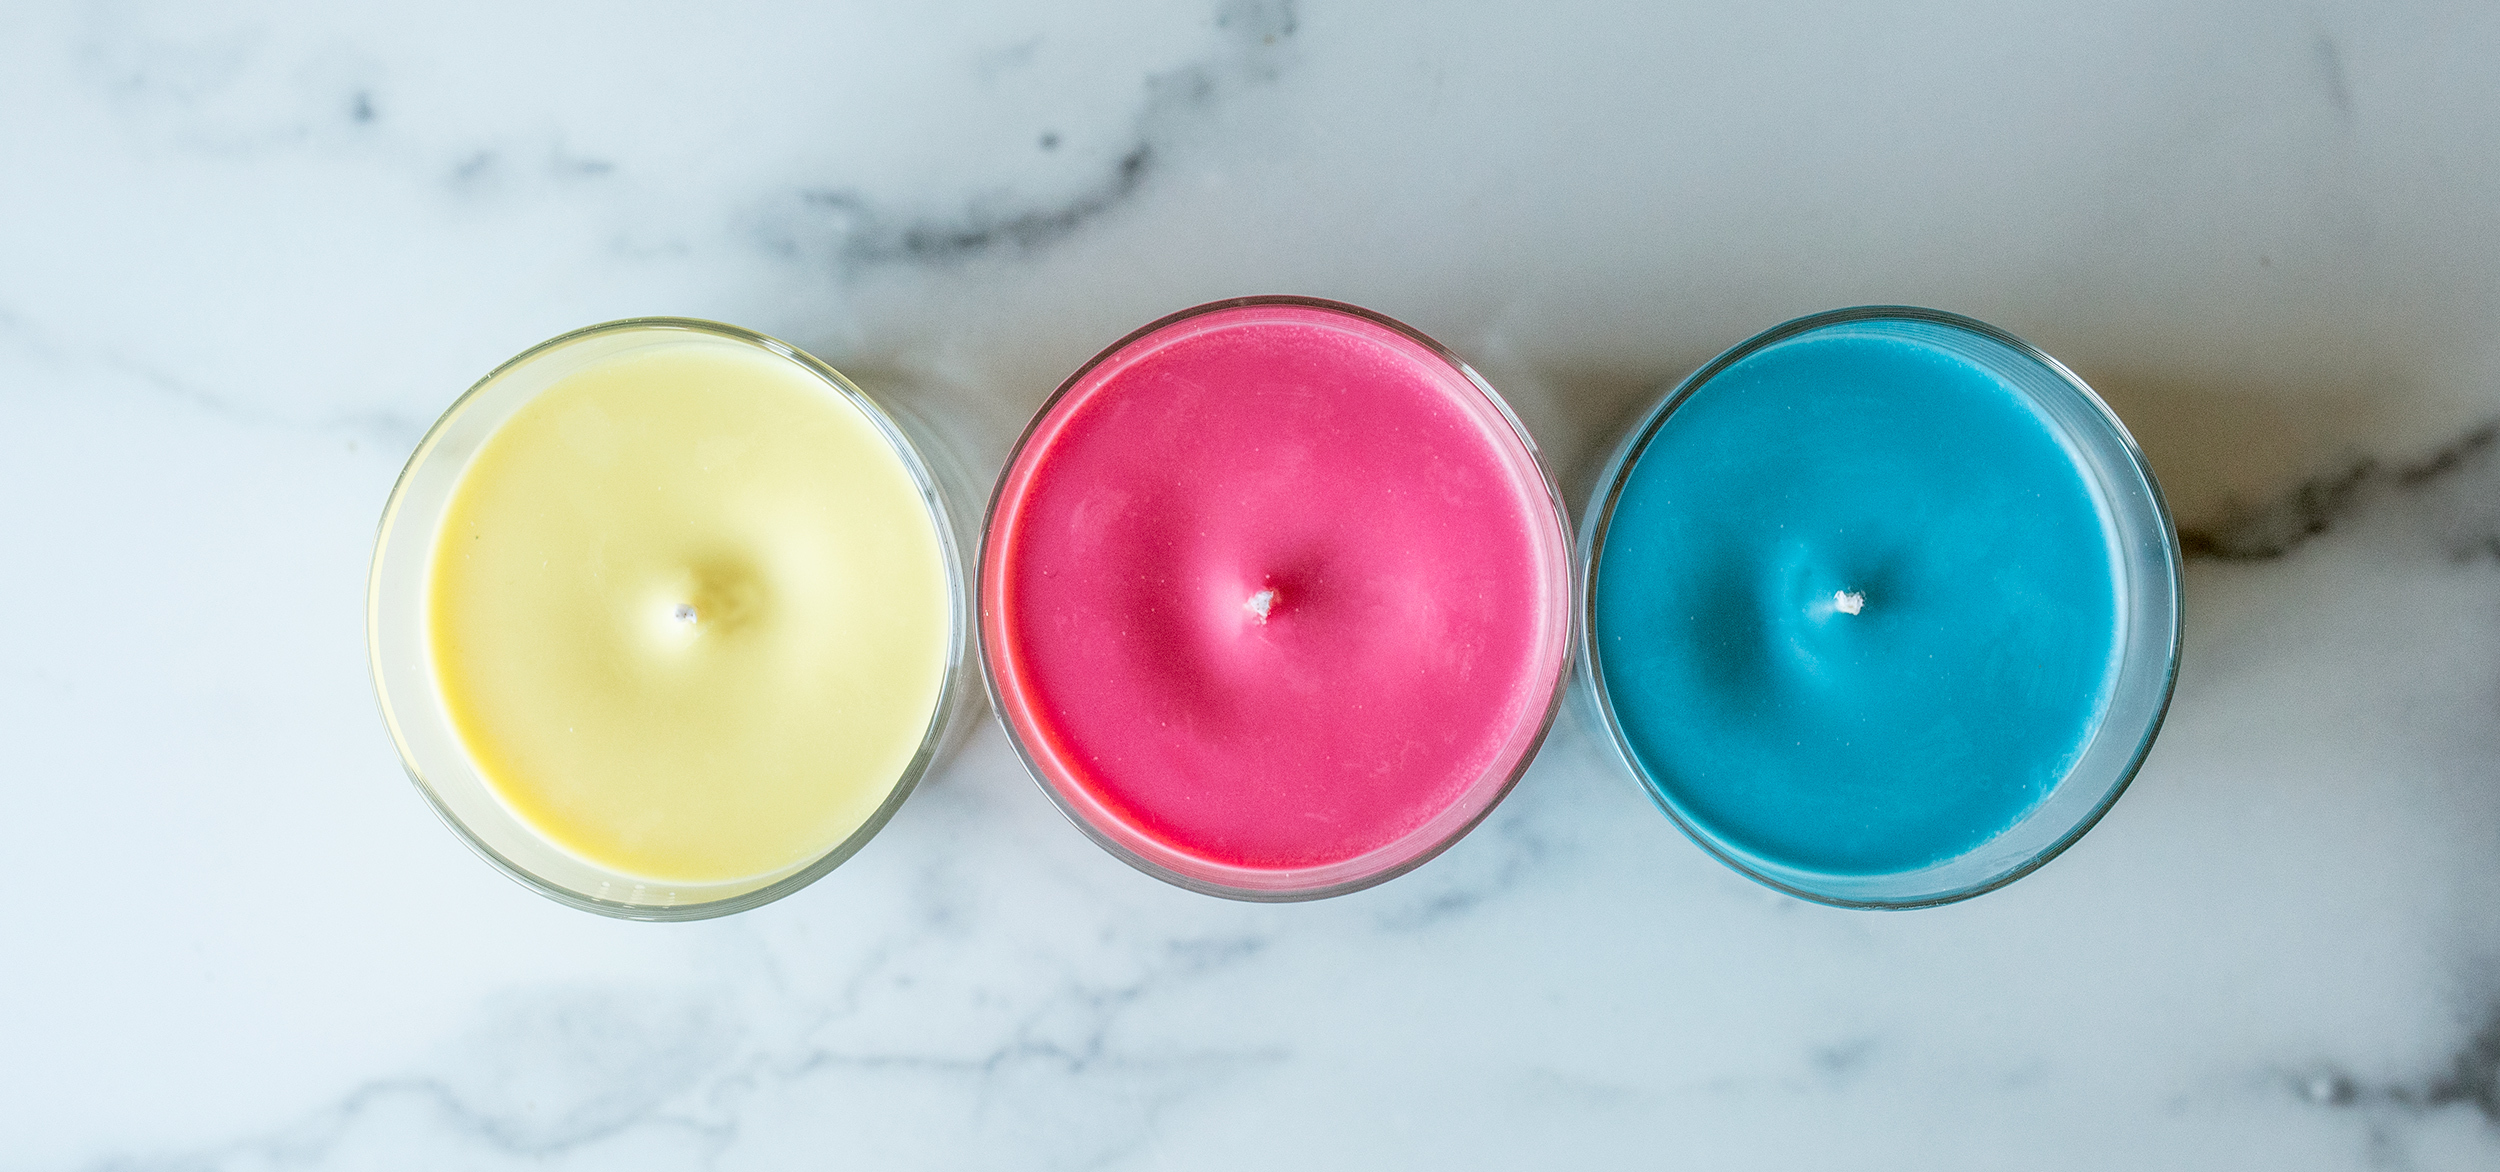
Coloring
We mixed the dye in at 185ºF (85°C), and it mixed in quickly and easily.
We tested our Red and Summer Breeze Liquid Candle Dyes at 6 drops per pound and Yellow Liquid Candle Dye at 2 drops per pound.
- Red: deep pink shade that is common with natural waxes.
- Summer Breeze: medium shade of blue.
- Yellow: pastel, butter color.
We chose to use such a small amount of Yellow Liquid Candle Dye as a way to see if any frosting would show and how it affected frosting, if at all, compared to the darker colors.
The red and blue candles did have small patches of frosting in one area, however, the yellow did not appear to have any frosting.
Fragrance performance
Solubility
We melted the wax to 190ºF (87.8°C) and then added the fragrance oil. The fragrance incorporated easily, and we didn’t see any signs of separation. We were able to add up to 10% fragrance with no signs of sweating in our finished candles. However, we recommend using no more than 6-9% fragrance for best performance.
Once we found the perfect pour temperature for this wax, we had to modify our typical use instructions. We recommend heating your wax to 185ºF-190ºF (85°C-87.8°C) and leaving it on the heat source while you add the fragrance oil. Still mix for 2 minutes. If the wax was taken off the heat before adding the fragrance oil and stirring, the wax often fell below the 165ºF-175ºF (73.9°C-79.4°C) range that we wanted to pour our candles; we didn’t get the nice smooth tops we wanted as well.
Hot and cold throw
We checked the cold throw after 24 hours, 3 days, and 1 week.
After...
- 24 hours: the cold throw was a little weak.
- 3 days: it was much stronger and a solid 3 on our 3 leaf scale.
- 1 week: the cold throw was the same as after 3 days.
We tested hot throw after 3 days and 1 week.
After...
- 3 days: the hot throw was strong, but not quite a 3 based on our 3 leaf scale.
- 1 week: we got a solid 3.
Some fragrances may take longer to cure for the best hot throw so we do recommend allowing 2 weeks to cure for best performance.
We put this wax head to head with 464 to see how they compared. With all factors the same except for the wax, we found the new coconut/soy blend was a little stronger.
Burn performance
Wicking
Wicking is never an easy task, and this wax was no different. We found this wax to be a little trickier to find the right wick than we expected. Not to worry, we did all the experimental testing so you don’t have to!
We tested our CD, Eco, and LX wick series.
- The CD seemed to perform well in the smaller diameters and did ok with the widest containers when using multiple wicks.
- The LX also performed well in the smaller sizes and the widest diameters.
- The Eco did well in the mid-range diameters where the CD and LX seemed to struggle to get full melt pools.
We continued testing the CD and LX to find great options for you. Because the Eco is limited in the sizing, we found that they only worked in containers between 2.5” to 3” (6.4 cm to 7.6 cm) in diameter. Due to this strange anomaly, our wick guide has our recommendations for the best wick size for the diameter range, even if it isn’t in the same series as all the other diameters.
The most difficult part of finding the right wick size is not only getting a full melt pool, but also leaving the sides of the container as clean as possible. Many test candles had perfect melt pools, but still had a lot of wax left on the sides. Normally the solution would be to go up a wick size in the series. In many cases this worked just fine. However it did reduce the overall burn time significantly. Several times we found that going up a wick size made it tunnel. While it can be a rare occurrence in general, it’s worth noting here so you don’t go in the wrong direction during your testing.
CandleScience typically does not recommend multi-wicking containers unless they are over 3.5” (8.9 cm) in diameter. We found that for our Extra Large grouping in the wick guide, a single wick was just not going to get a good clean burn. We do have recommendations to double wick these size containers (3.3” - 3.79”, or 8.4 cm - 9.6 cm). The single wick sizing ended up producing very large flames, significant mushrooming, and an incomplete melt pool. We think you’ll be much happier with the results than when using a single wick.
More surprising to us, was our test results in our Large grouping in the wick guide. This is where our most popular containers, like the Straight Sided Tumblers and 8 oz. Candle Tins, fall.
We’ve always discouraged using multiple wicks in these diameter containers for concerns over safety. The diameter usually is not wide enough to allow adequate spacing between the wicks and the edge of the glass. The placement can be tricky for well seasoned candle makers, and we want to make sure new candle makers are making safe candles and using proper wick sizes.
We tested 15 different single wick sizes across multiple series and discovered that to get a full melt pool, there would be very large flames, sometimes 2.5” (6.4 cm) in height. It also came with excessive mushrooming and a thick wall of wax left on the sides of the containers. This is when we decided that double wick testing was a necessity. We started with the smallest wicks possible in the LX and CD series. We found the LX performed very well and maintained small, tight flames while producing a full melt pool and a great hot throw. The CD did alright, but the flame heights were a little taller and sometimes flickered into the glass; this is why we recommended only the LX double wicked in this group in our wick guide.
This was noteworthy from our testing results, but we found that the better the melt pool, (meaning it was ½”-¾” or 1.3-1.9 cm deep and extended edge to edge of the container) the less pitted and bumpy the wax set up after the wicks were extinguished. When we had shallow, incomplete melt pools the wax set up more pitted and in some cases with bubbles around the edges. This doesn’t necessarily mean you can control the look of reset wax by the wick choice but it may show that testing a larger (or smaller) wick may be worth the added time if you have concerns about the look of your burned candles. We like the rustic look of natural wax candles and we encourage you to embrace it also. This shows it is truly a natural wax with just enough additives to make the candle perform well without obsessing over the aesthetics during use!