
Soy candle making kit instructional video
Use our instructional video guide to make your own handmade candles with our Soy Candle Making Kit.
Video Transcript:
Hi, I’m Rose with candlescience. Welcome to the fun and creative world of candlemaking.
Today I'll show you how to make your own natural soy wax candles quickly and easily with our candlescience candle making kit. Let's get started...
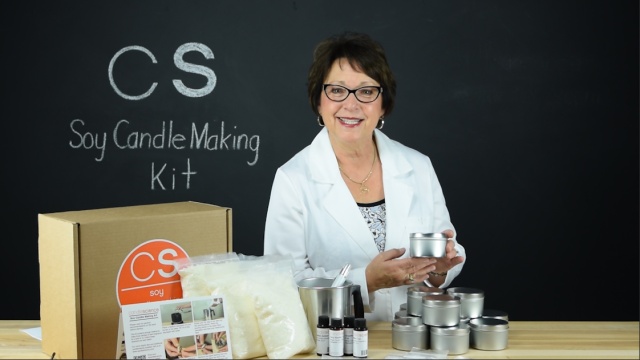
First, let’s take a quick look at the items included in the kit:
All Natural Golden Brands 464 Soy Wax, Conveniently packaged in 1lb. bags.
Twelve, 8oz. Candle Tins.
Four 1oz. Bottles of Fragrance Oil.
ECO 12 Pre-tabbed Candle Wick.
And a glass thermometer.
These materials will allow you to make three scented candles out of each fragrance, for a grand total of 12 candles.
In addition to the supplies found in the kit, you will also need...
A medium sized pot - We'll use this to create a double boiler with the pouring pitcher to melt our soy wax.
Large stirring utensil - Not to be reused with food.
Scissors for cutting the wick.
For an easy cleanup we also like to use paper towels and a little rubbing alcohol.
Before you begin making your candles, it’s a good idea to take some time to prep your workspace.
You'll need enough space to prepare the candle containers, melt the soy wax, and cool the poured candles.
While you can use your kitchen as a work space, it’s generally a good idea to have a separate space away from where you prepare food. It helps to cover your counter space with newspaper or butcher paper to easily clean any spills or drips that can occur.
For safety we recommend using a heat source that does not use an open flame. An electric stove top or hotplate works best.
Lastly, we recommend working in an area with a consistent room temperature. We find the 70-74 degrees (21.1-23.3°C) works best.
Now that you have everything ready, let's make our first batch of candles.
First, fill the medium saucepan one third full with water and place it on your burner or hot plate.
Next, take one of the 1 pound bags of soy wax and empty it into the pouring pitcher. Then place the pitcher in the water filled pot and heat over medium-low heat. Be sure to monitor the water level and add more if the water boils down too low.
While the wax is melting, remove a wick sticker from the paper sheet and place the sticky side on the bottom tab of a candle wick.
Remove the paper backing from the sticker and place the wick in the center of the candle tin. Repeat until you have prepared 3 candle tins.
As the wax begins to melt, it helps to gently stir it with a spoon or spatula. As the wax is heating, continue to monitor the temperature until it reaches 185 degrees Fahrenheit (85°C).
Once the wax reaches 185 degrees (85°C), pour one of the 1 oz. bottles of fragrance oil into the melted wax and give the wax a quick stir.
Once the wax cools to 135 degrees Fahrenheit (57.2°C), stir again then carefully pour the wax into the three prepared tins. Fill each tin to a quarter of an inch. (6 mm) from the top.
After filling the three tins with the liquid wax, place a wick bar on the top of each tin. To center the wick in each candle, pull the wick taught and press it into the opening of the wick bar.
While the wax is still warm, you can quickly clean your pouring pitcher, thermometer and stirring utensil by wiping each item out with a paper towel and some rubbing alcohol.
Allow the candles to cool overnight.
Once the candles have cooled, remove the wick bar and trim the wick to a quarter of an inch (6 mm). Place a lid on each container, and add a warning label to the bottom of the candle.
When you're ready, repeat these steps to make the 3 remaining batches of candles. You can also use the instructional insert included with your kit as a guide.
We recommend allowing your candles to cure for a few days before burning them for a stronger scent. Be sure to also follow all safety rules for burning your candles.
Once your candles are ready, you can keep them for yourself, give them away as gifts, or sell them as a fun part-time or full-time business!
I hope you had lots of fun making your soy candles. For more helpful tips and additional candle making supplies visit candlescience.com.
Thanks for watching!