Candle Making Inspiration and Ideas
Candle Project Ideas, Recipes, and More
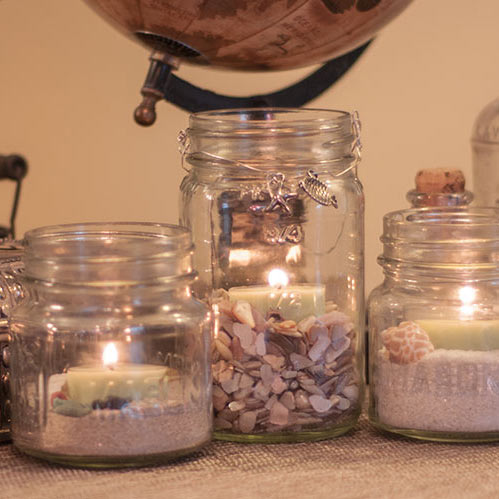
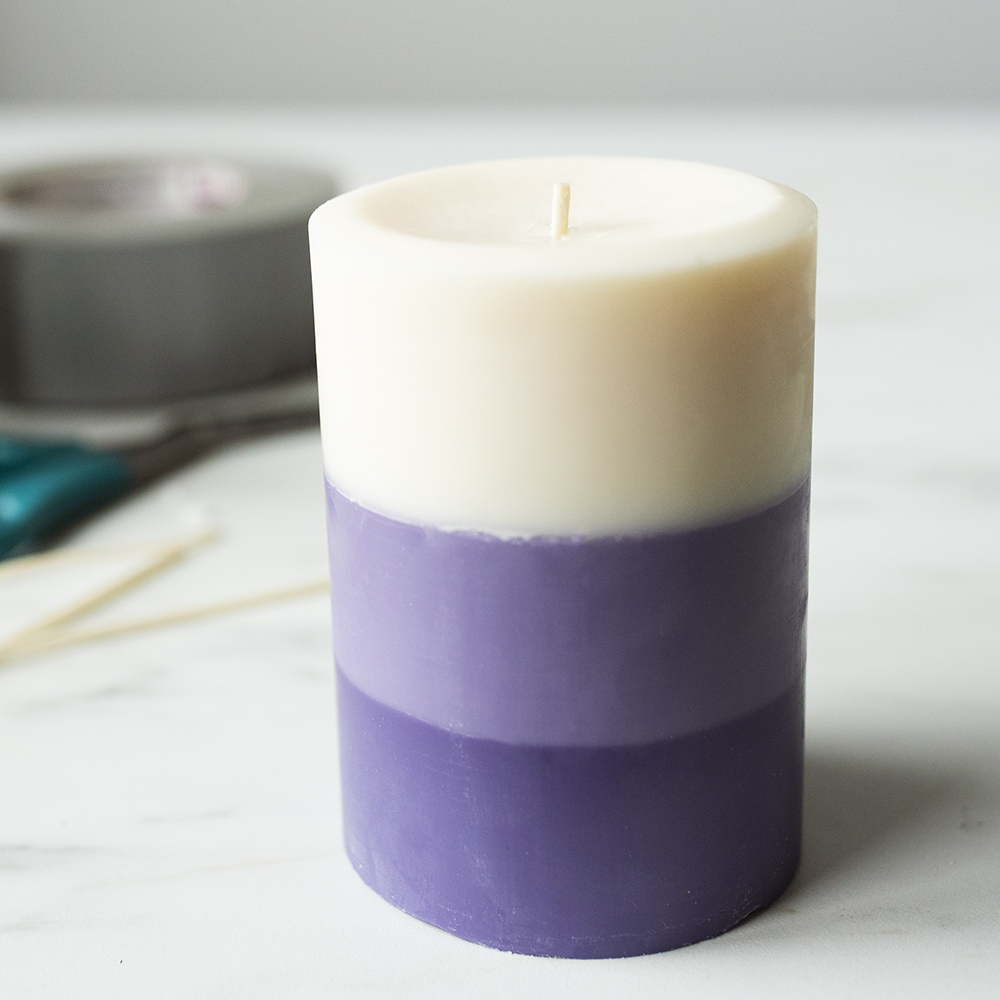
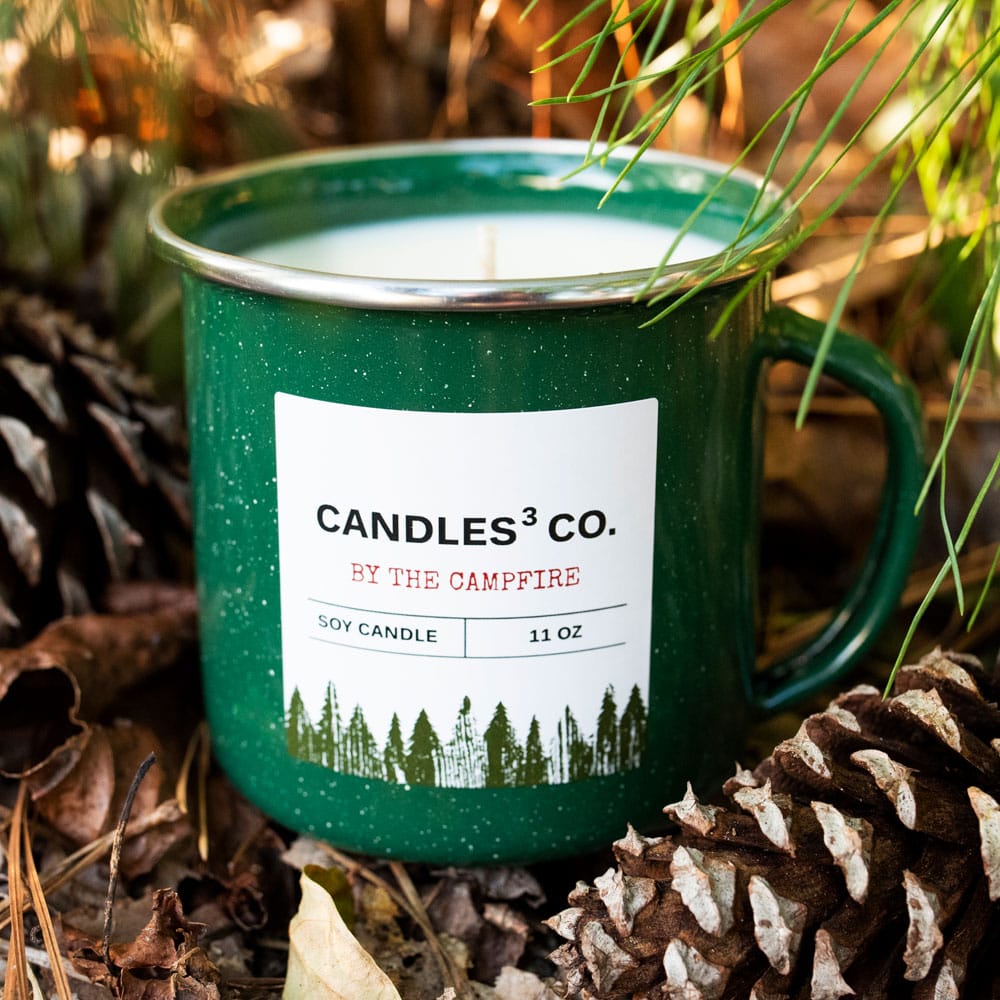
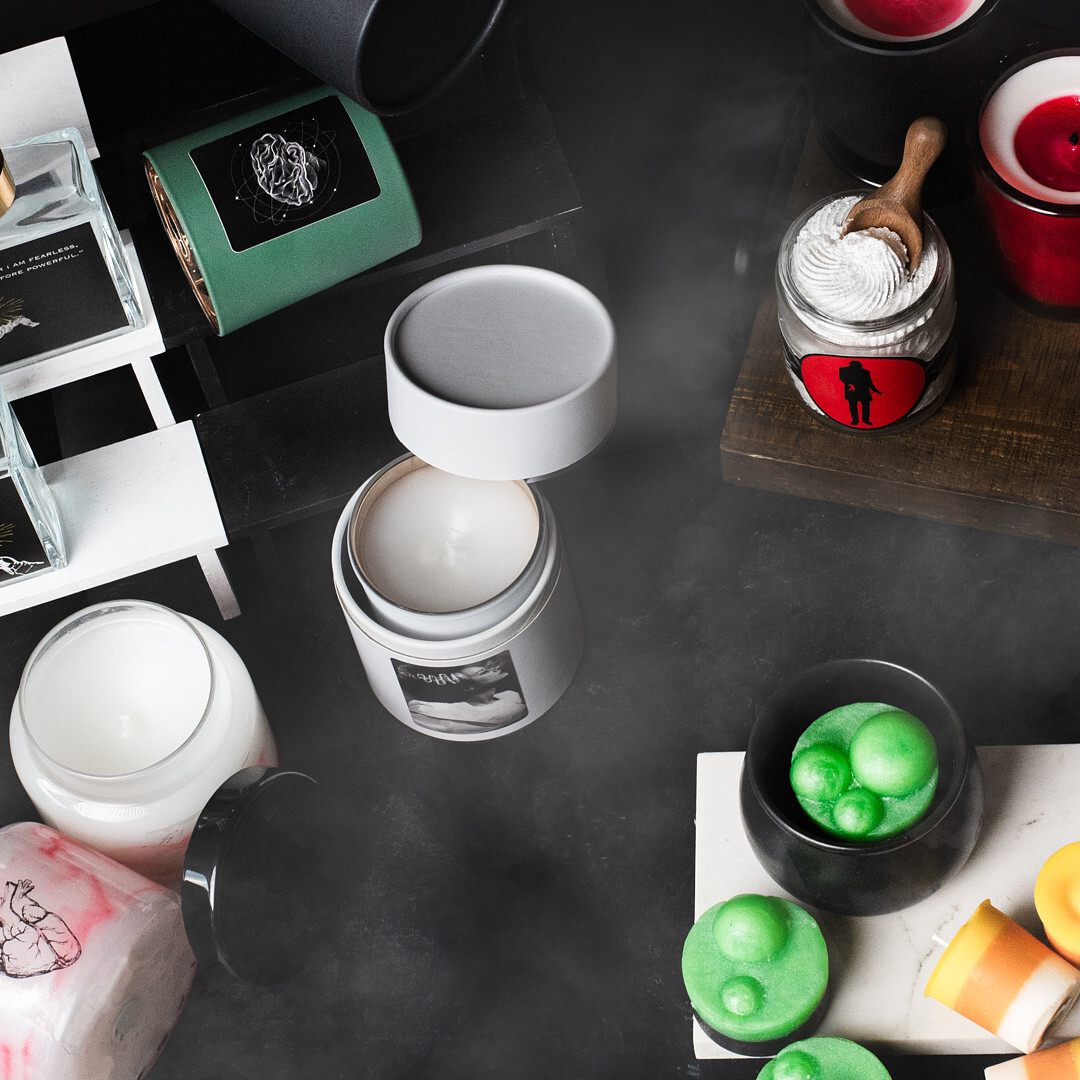
Looking for inspiration or a creative idea for your next batch of candles? Check out our candle projects and recipes below, or get inspired by what other makers are creating. Have an idea for a project? Let us know by sending an email to support@candlescience.com.
.jpg)


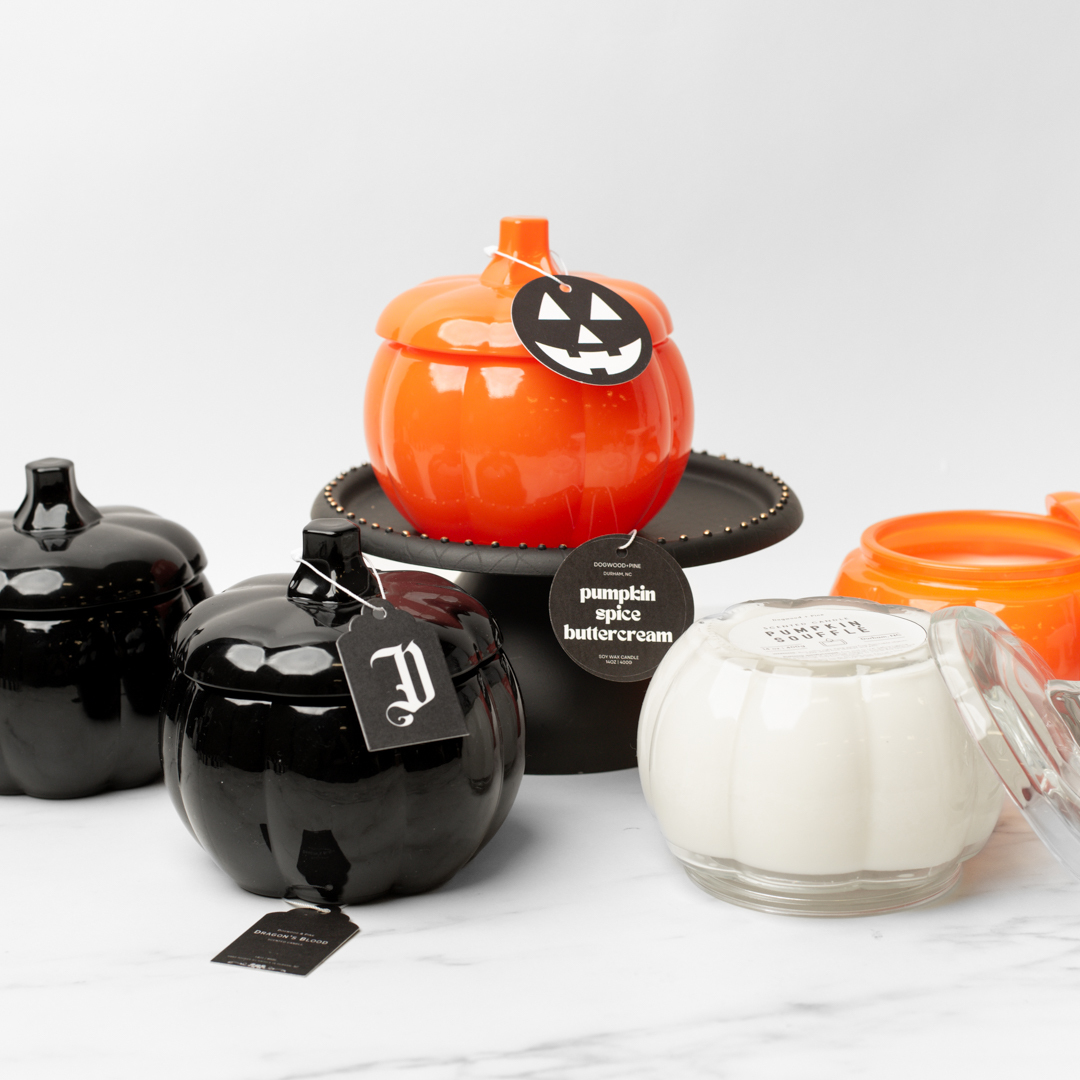
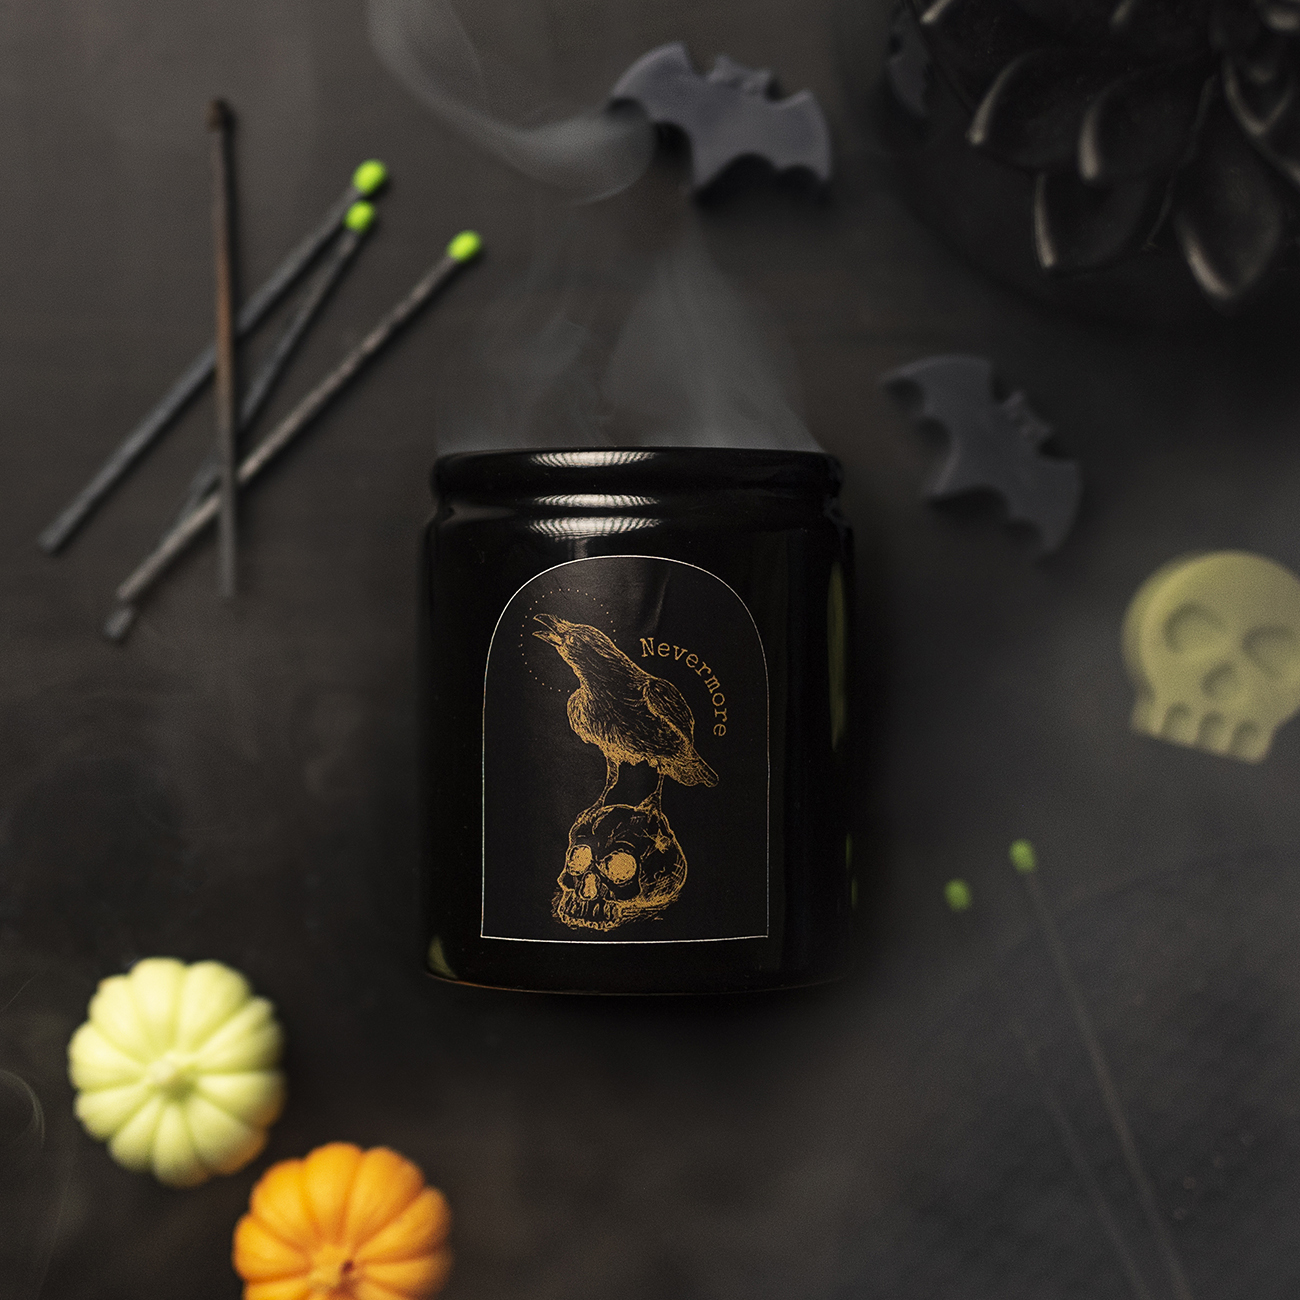
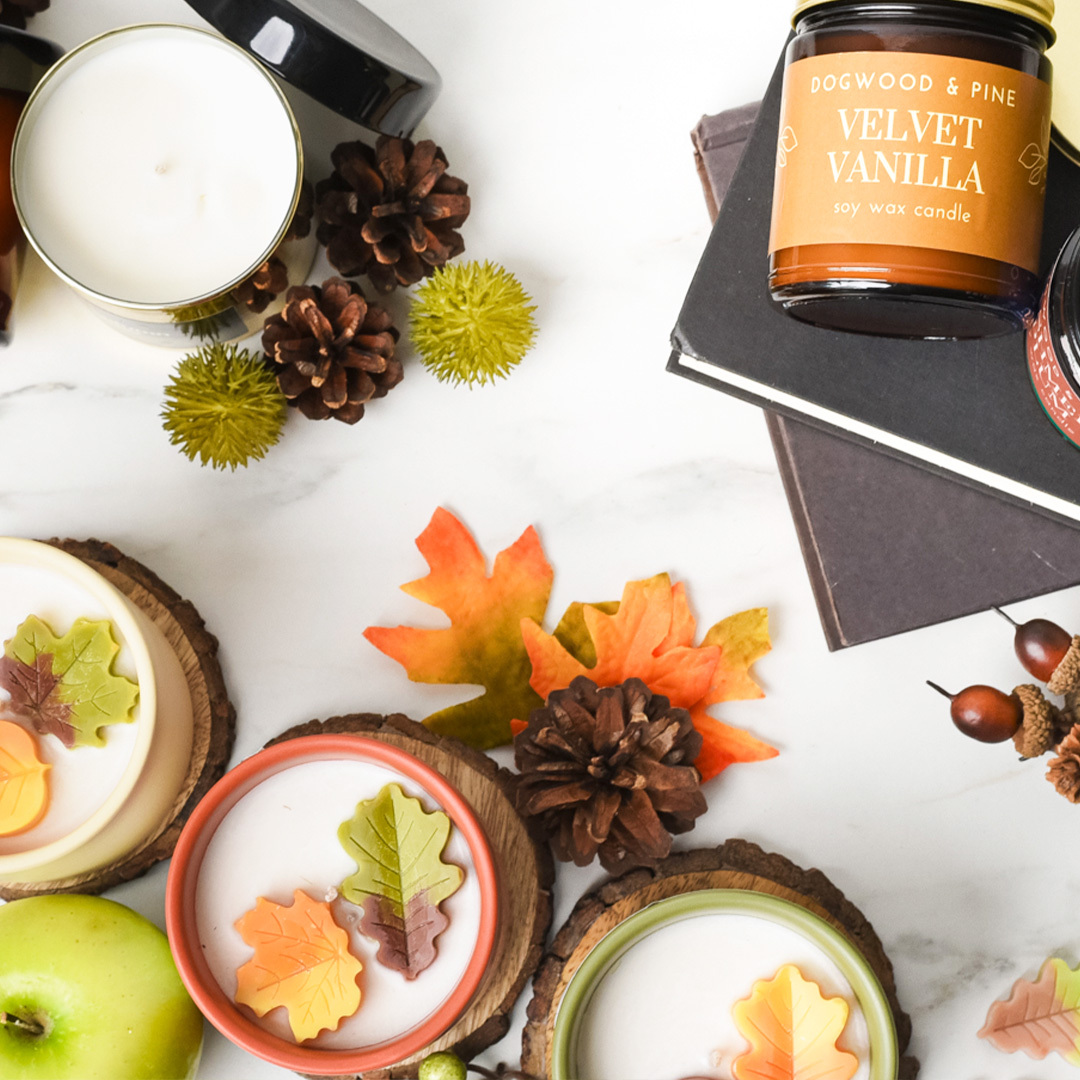
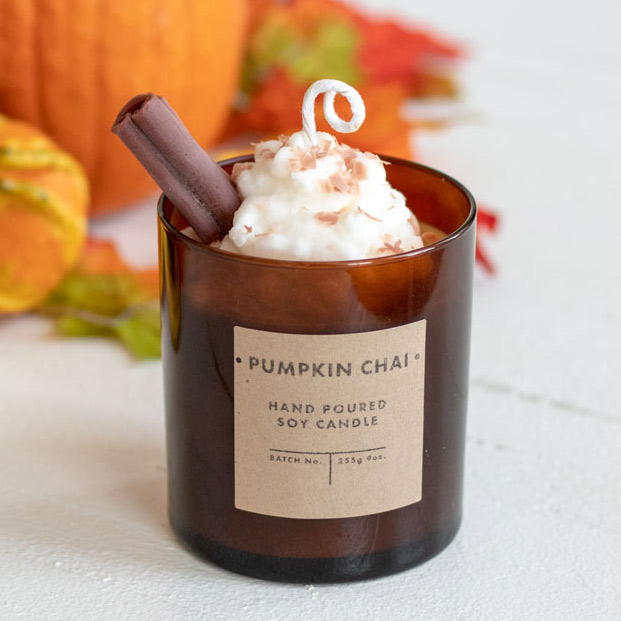
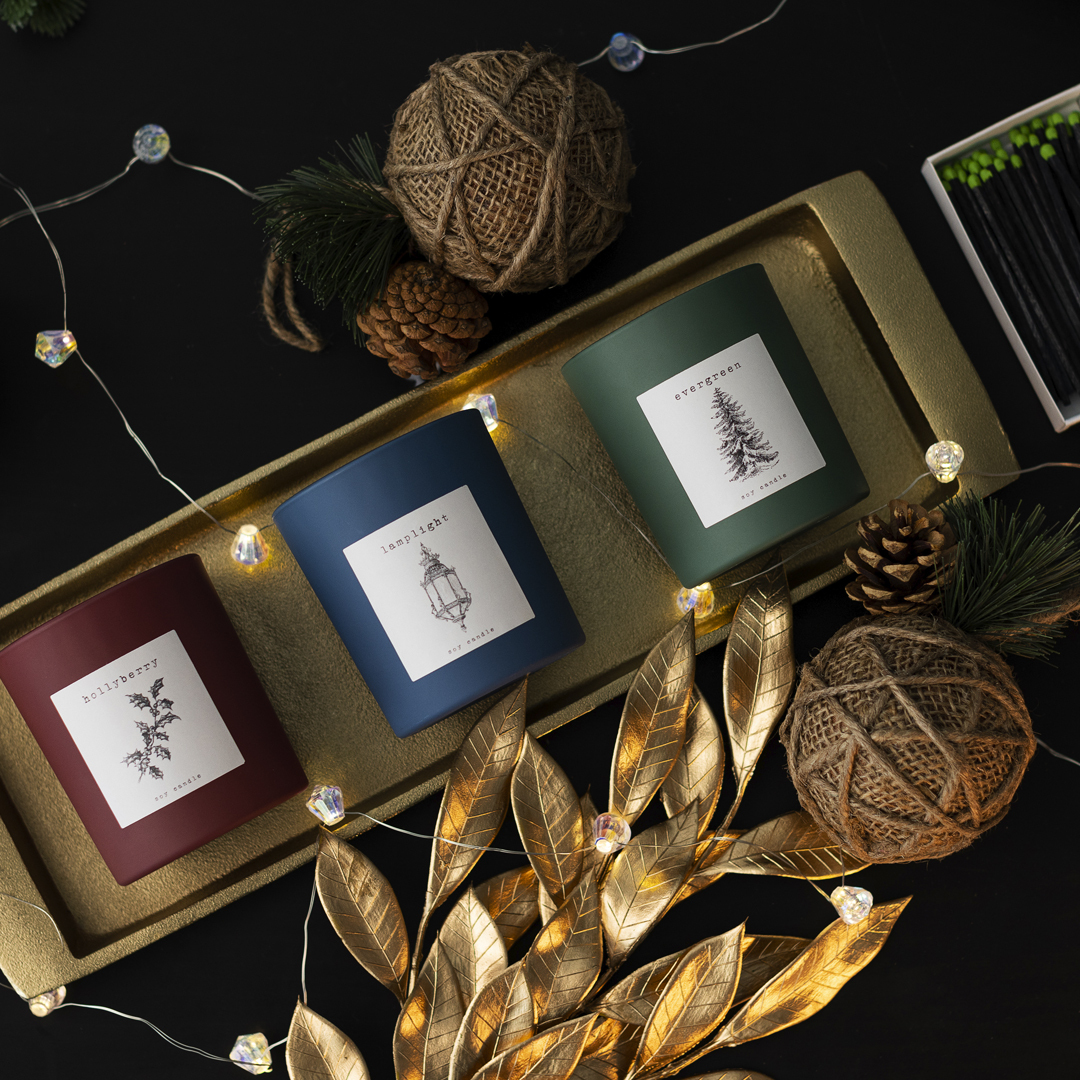
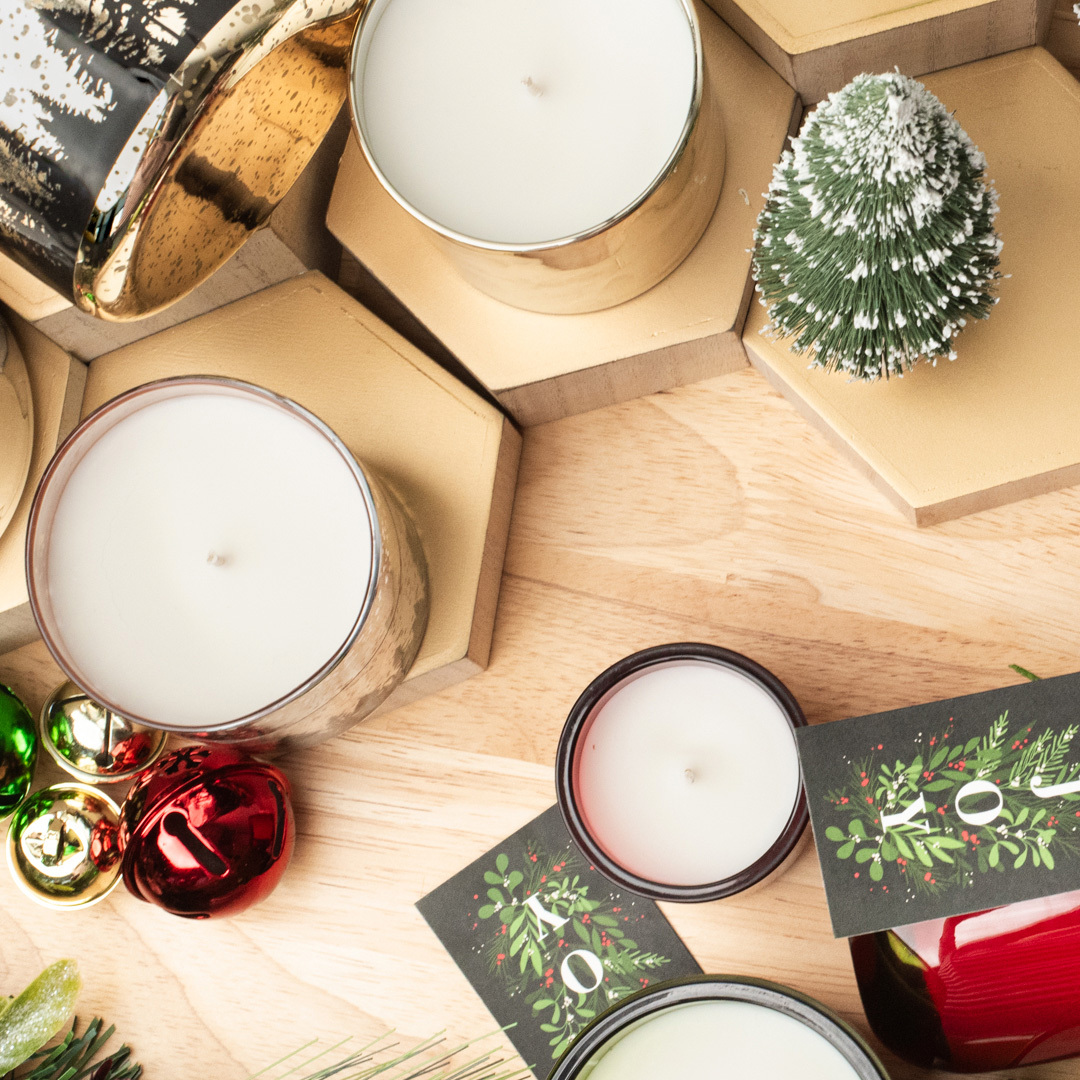
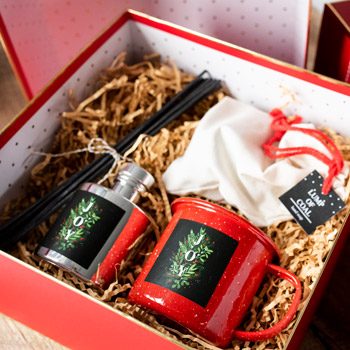
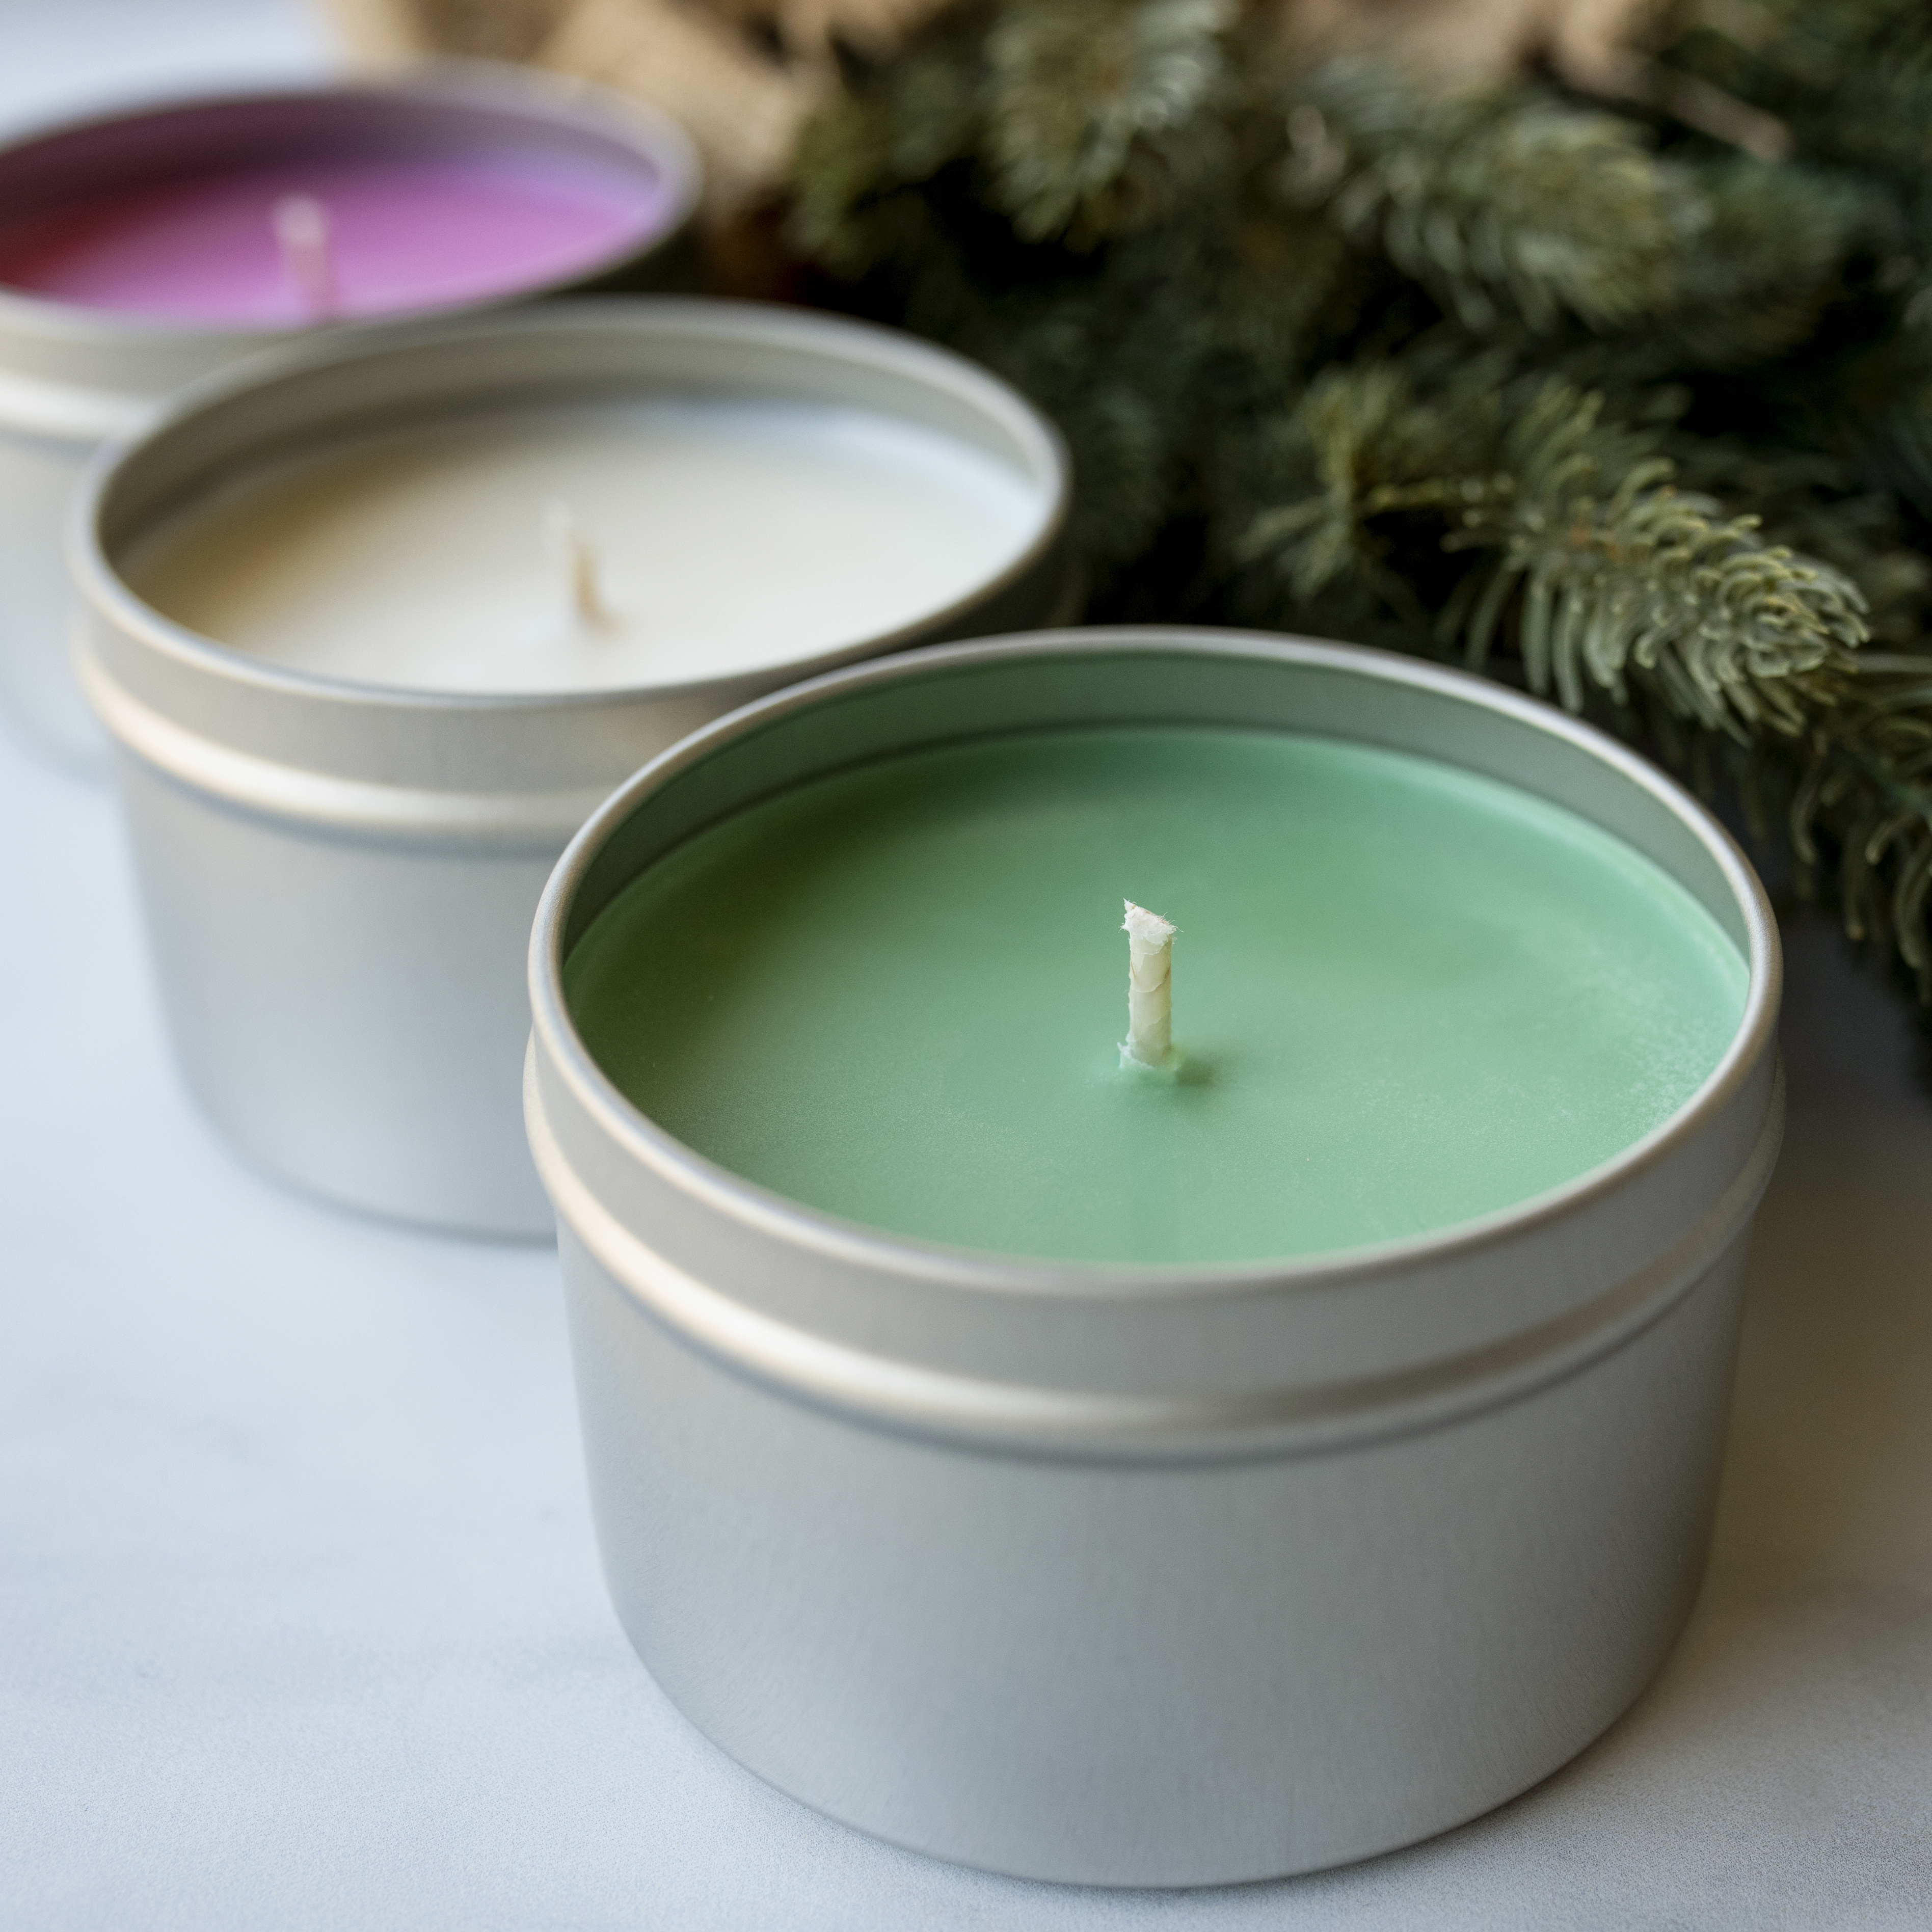
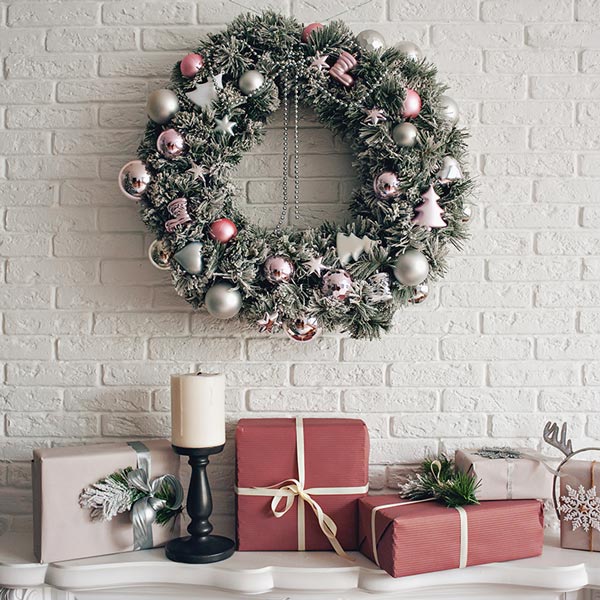
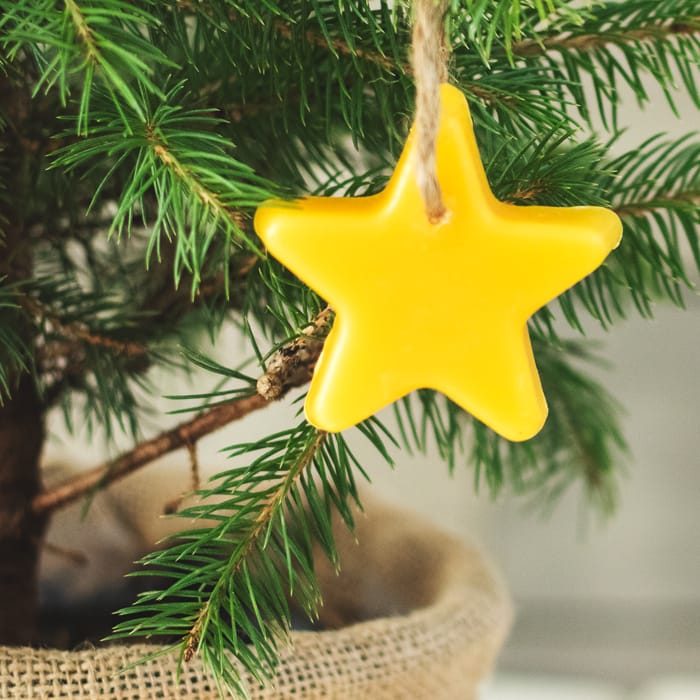
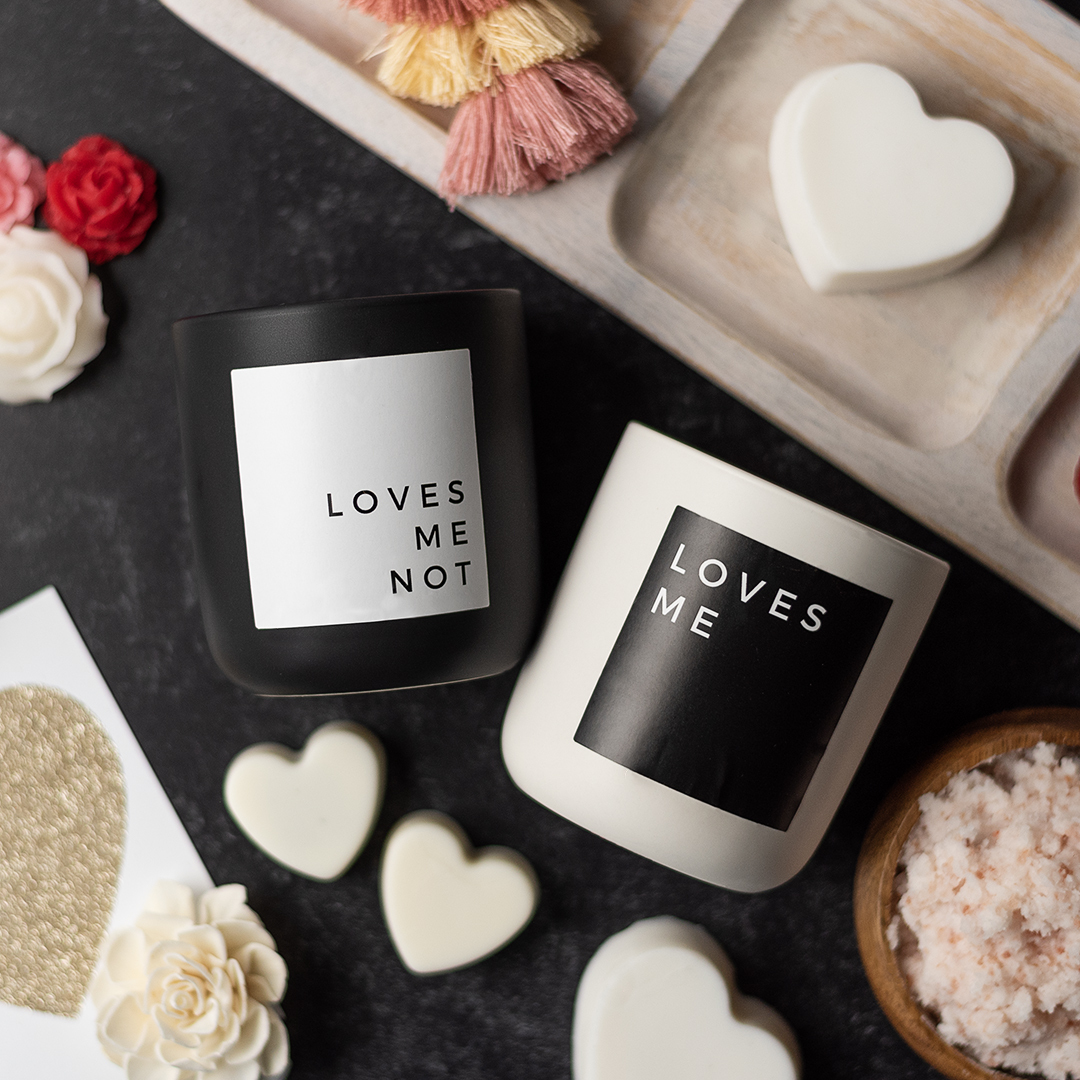
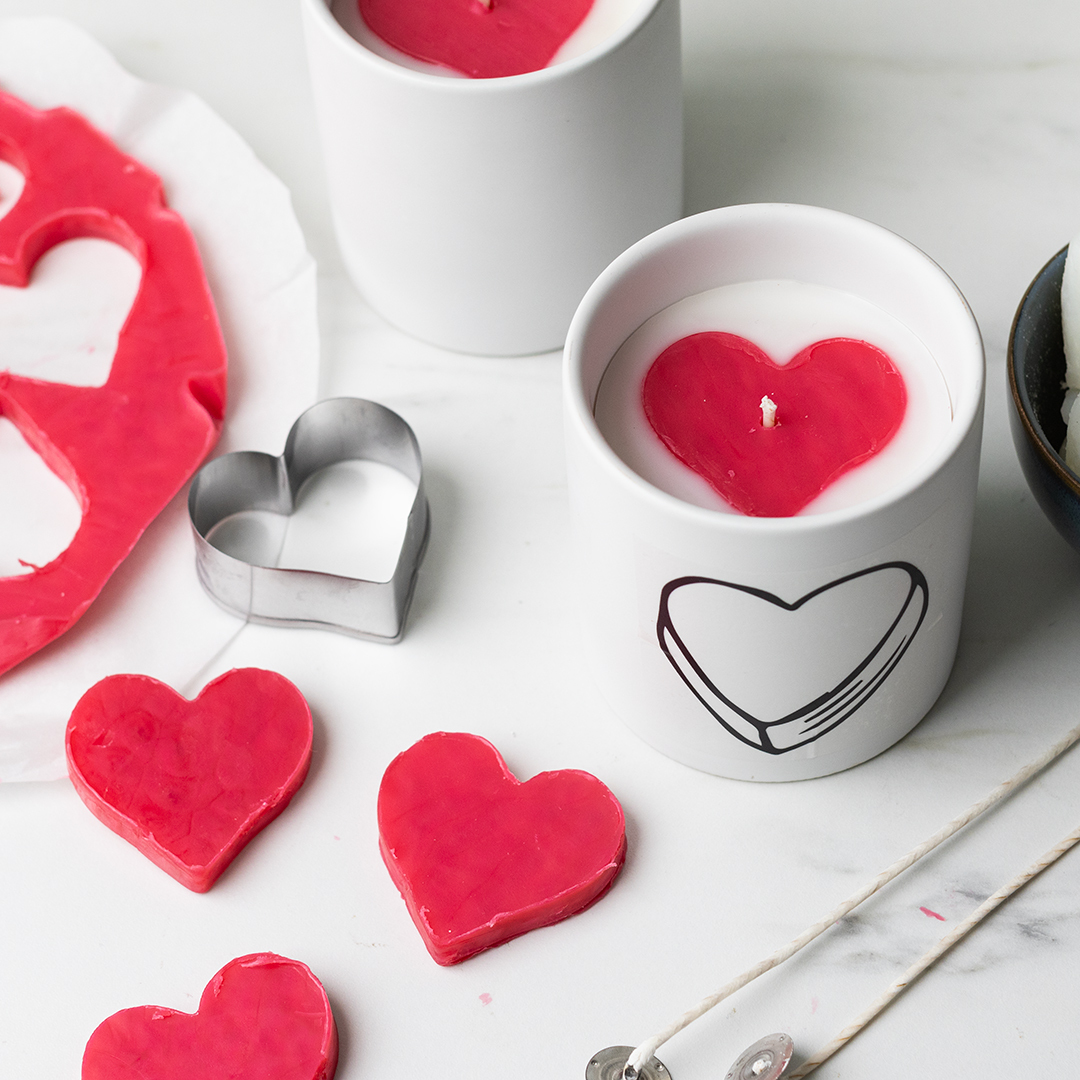
Seasonal and Holiday Projects

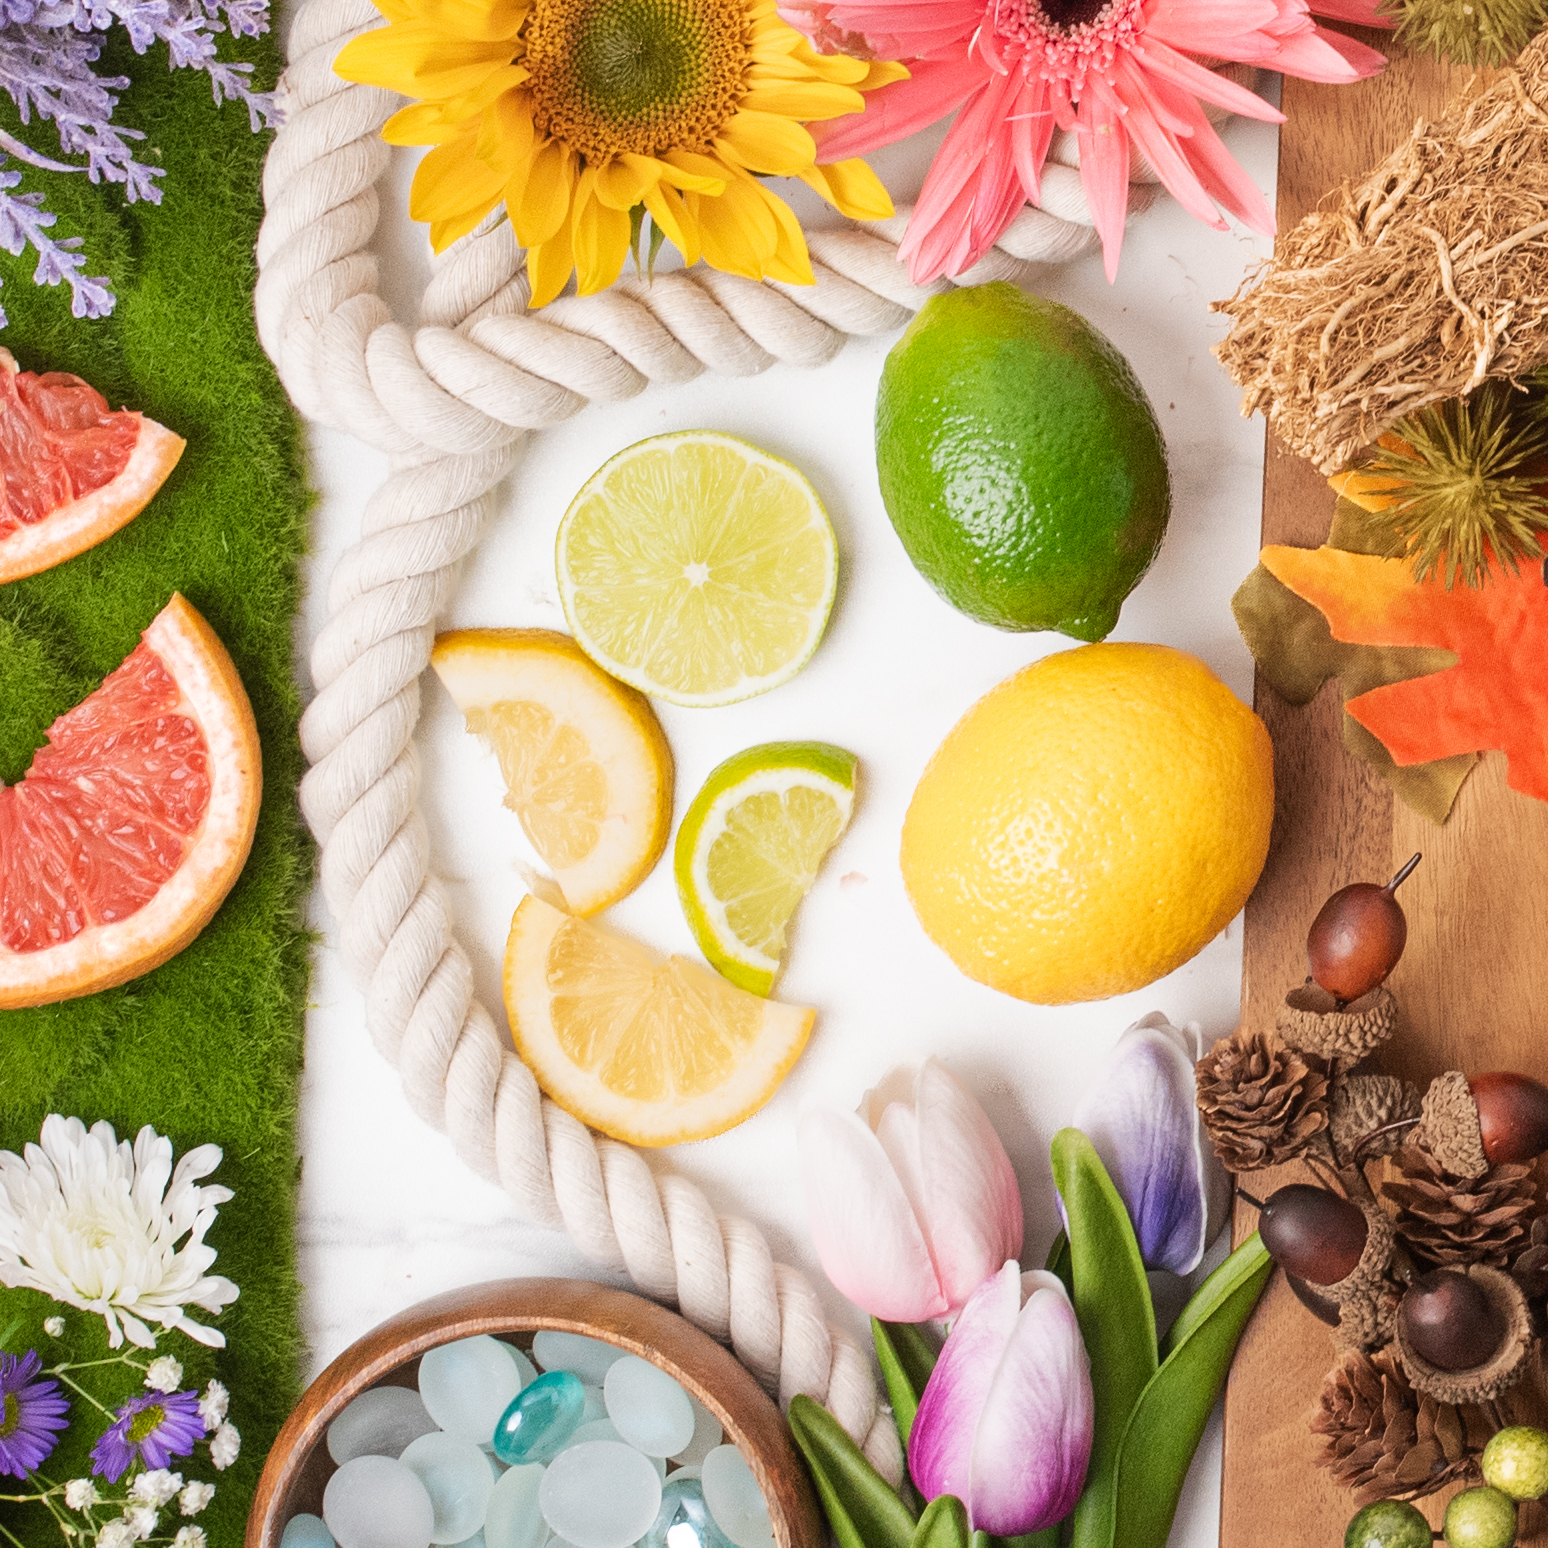
Fragrance Oil Guides Learn more about our fragrance oils.

Stories and Interviews
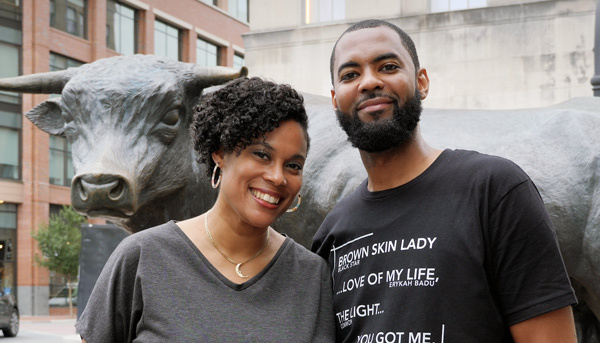
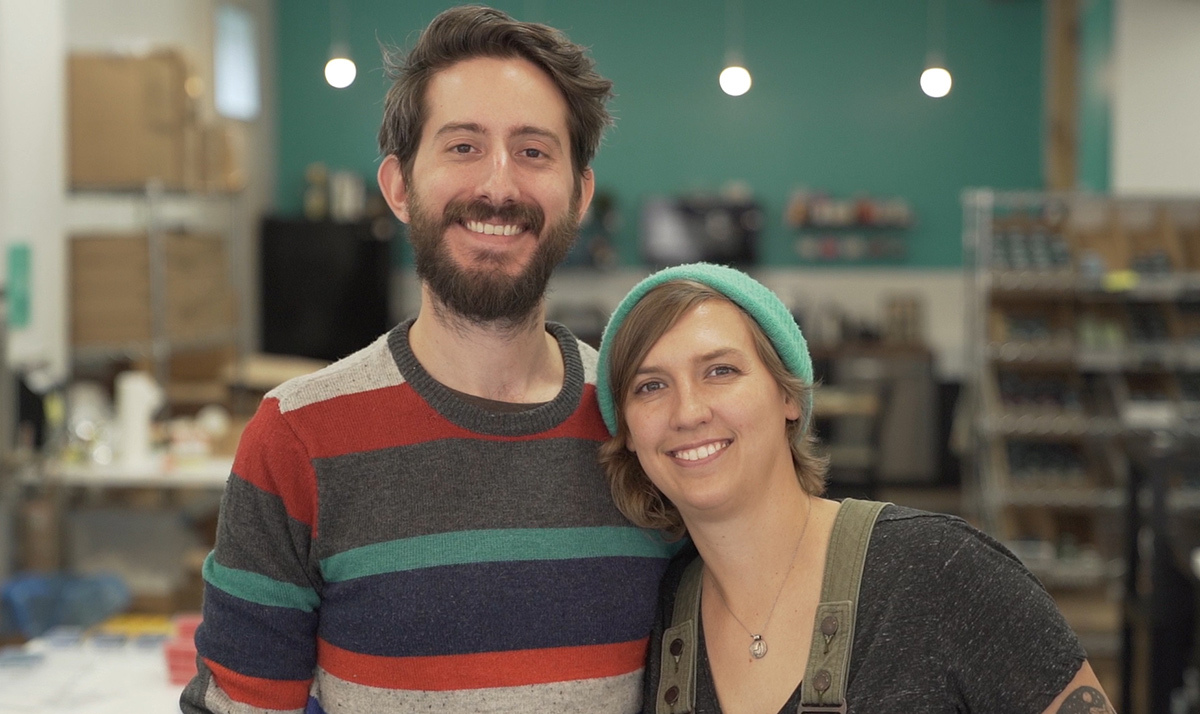
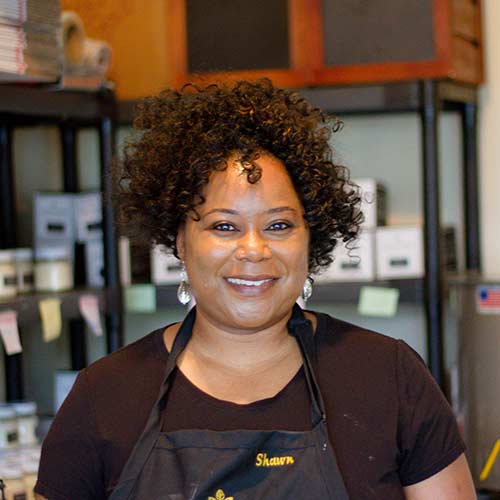
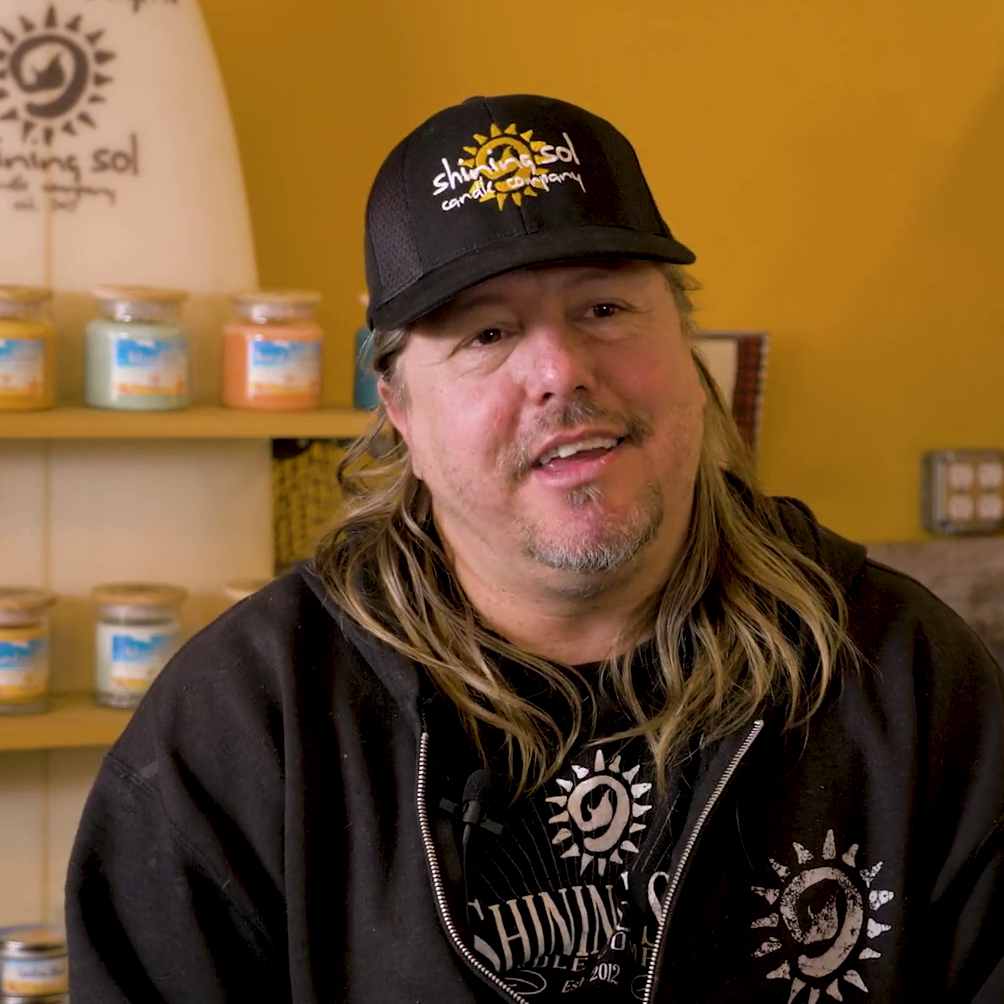
Explore these inspiring stories of creative entrepreneurs and small business owners who use their skills and passion to make a positive change. And if you have a unique story of your own, we'd love to hear it!